
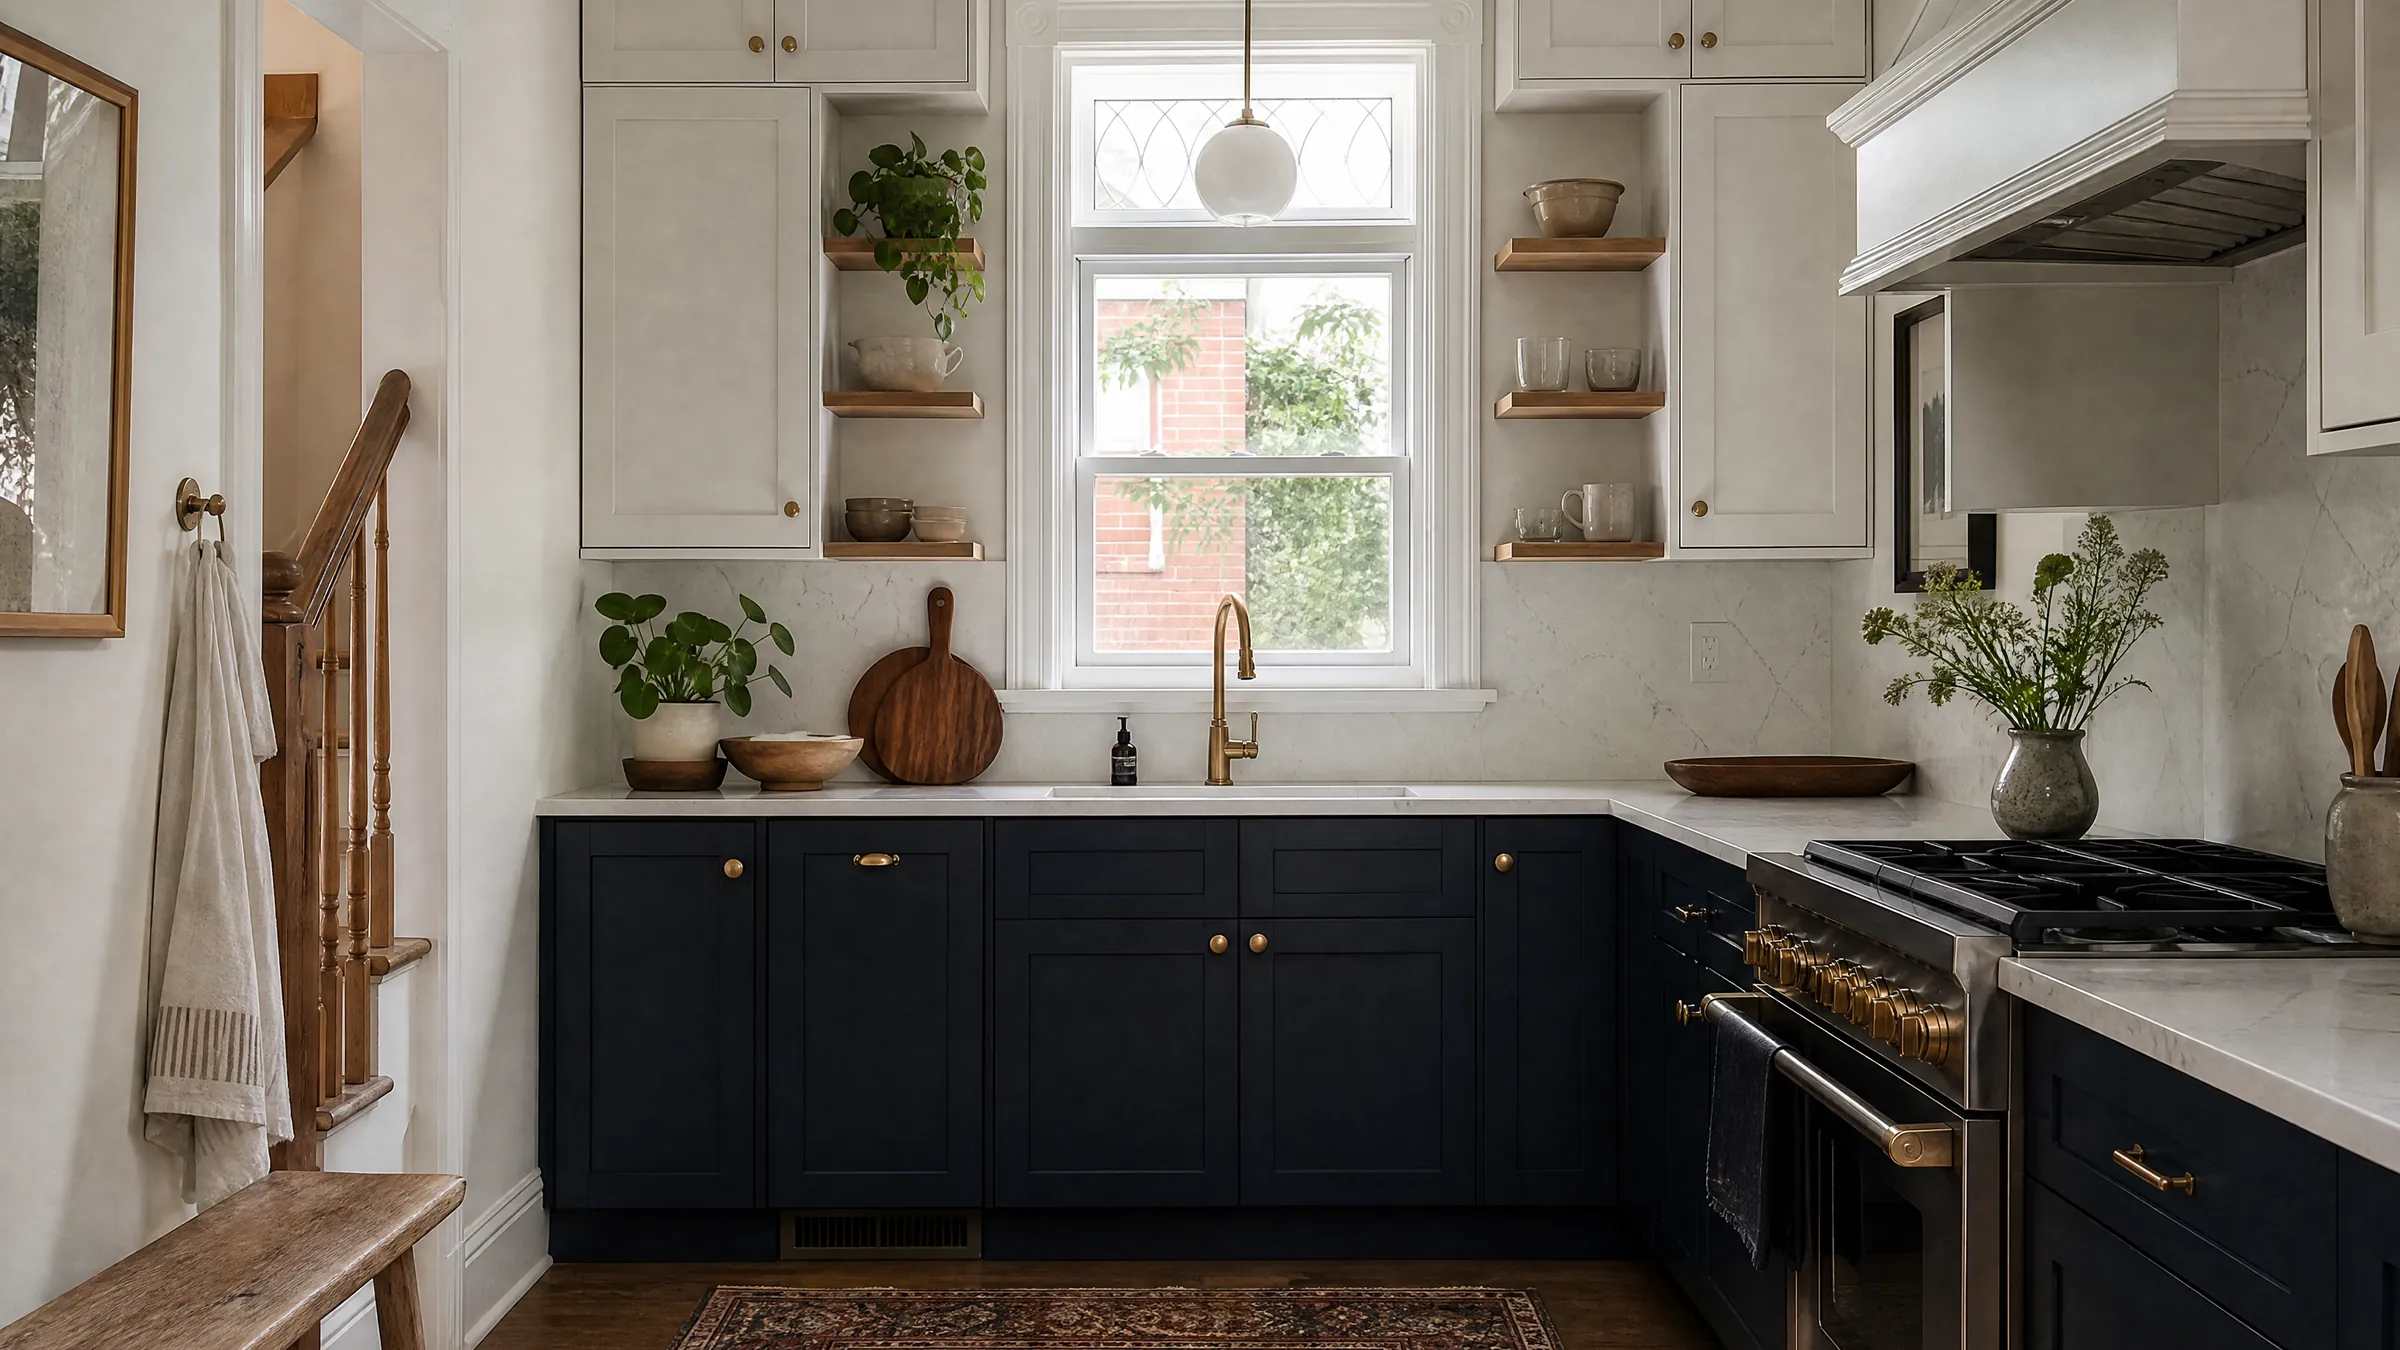
KITCHEN
CABINET
PAINTING a smooth new look without a remodel

- Free quotes
- Itemized written quote
- Since 2010
- Open 7 days
We refinish the cabinets you already own. Doors and drawer fronts come off to be degreased, sanded, primed and sprayed with at least two finish coats, while the boxes and frames are painted in place.
Cabinets, not a remodel
Kitchen cabinet painting in Toronto homes and condos
Kitchen cabinet painting gives the cabinets you already own a new colour and a hard, washable finish without tearing anything out. The work covers upper and lower cabinets, pantry towers, drawer fronts, end panels, a centre island if you have one, and the face frames that hold it all together. We also paint bathroom vanities, laundry cabinets and custom built-ins, including units tucked into awkward or hard-to-reach spots. The layout, counters, sink, backsplash and appliances stay exactly where they are. What changes is the surface: tired oak, yellowed white or dated cherry gives way to the colour and sheen you choose.
Most calls come from owners whose cabinet boxes are still solid but whose kitchen looks a decade or two behind the rest of the house. Some have just bought a home and want it to feel like theirs before they unpack. Others are getting ready to sell, or want a kitchen that suits new floors and wall colours. Condo owners ask because replacing cabinets in a tower means freight elevator bookings, demolition and trades they would rather avoid. If the boxes are water damaged or the layout no longer works for you, we say so, because paint will not fix either problem.
A good result feels like a factory finish when you run a hand across the door. There are no brush marks, drips, sags or dust nibs, the colour is even from the highest shelf to the toe kick, and the edges do not wear through to bare wood after ordinary daily use. Doors close without sticking because the paint was allowed to harden before they went back up. Hinges sit in their original screw holes, every door returns to its own opening, and the inside of each box stays clean unless you asked us to paint it too.
Planning starts with photos or a visit. We count the doors and drawer fronts, check what the current finish is made of, look for grease build-up, chips and swollen edges, and ask how you use the kitchen day to day. You then get an itemized written quote that lists doors, drawer fronts, boxes, panels and any extras such as interiors or a vanity. Together we agree which days the kitchen will be partly out of use, where the doors will be sprayed, and how you will reach the sink and fridge while the boxes are being painted.
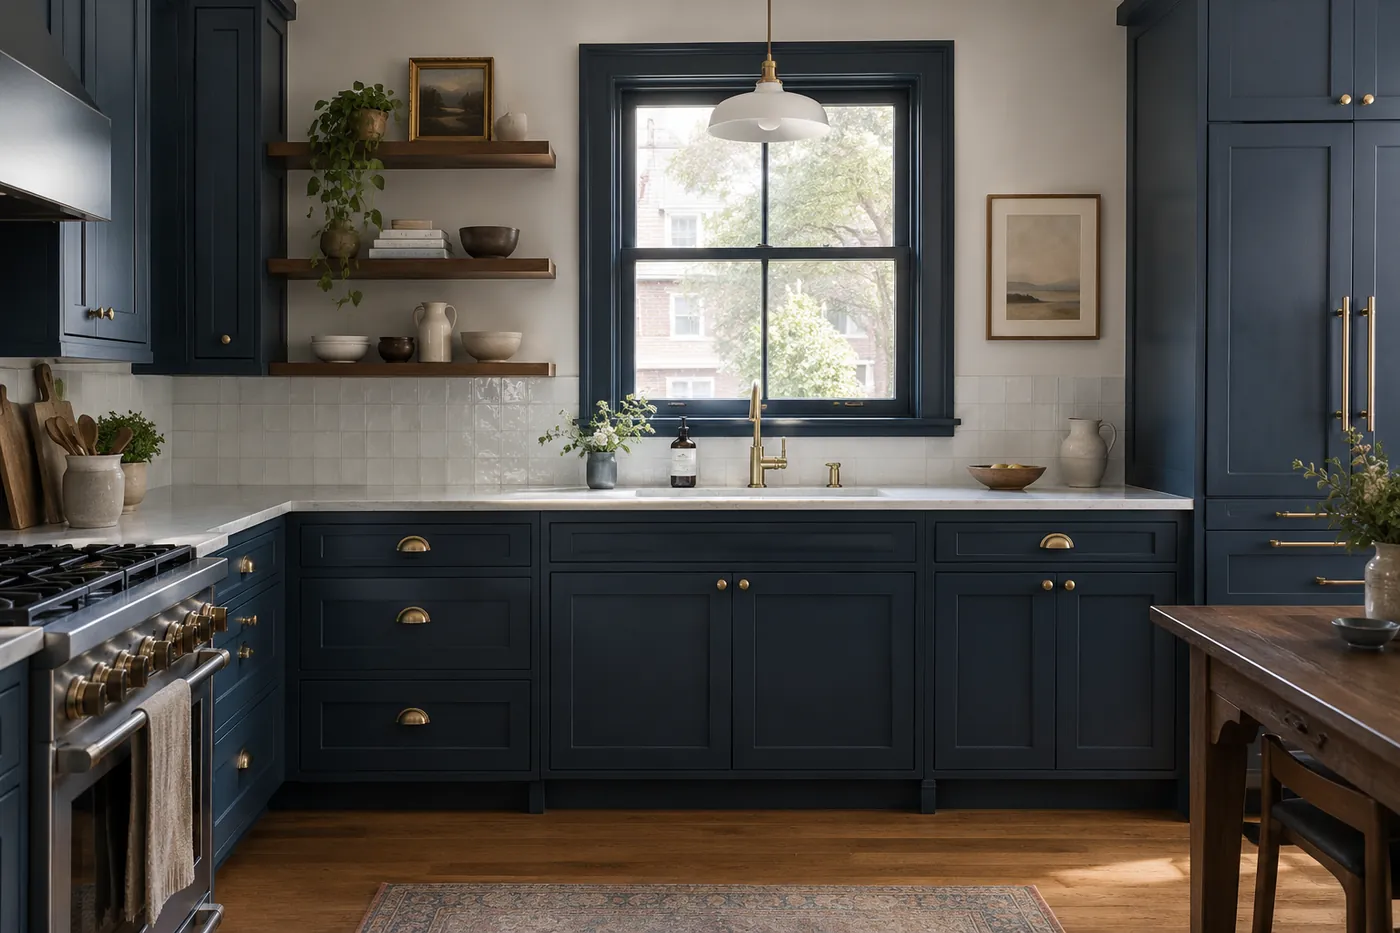
Doors and drawer fronts
Removed, numbered on a hidden edge and taken to a protected spray area. Each one is degreased, sanded, primed and sprayed on both faces, with the back done first so the show face gets the final, cleanest coats. Hinges and screws are bagged and labelled with their door.
Boxes, frames and panels
Cabinet boxes, face frames, end panels and valances stay on the wall and are painted in place. Counters, the backsplash, appliances and the floor are covered first, and the fine work around hinge cups and inside corners is done with small brushes and foam rollers.
Centre islands
An island can match the perimeter cabinets or take a deeper colour of its own, a simple way to add contrast without making a small kitchen feel dark. Island panels, legs and the supports under a seating overhang are prepared and finished with the same care as the doors.
Vanities and built-ins
Bathroom vanities, laundry cabinets, mudroom lockers, bookcases and other custom cabinetry go through the same degreasing, sanding and priming. Units squeezed into tight corners or hard to reach are still covered properly, and they can be added to the kitchen quote as separate lines.
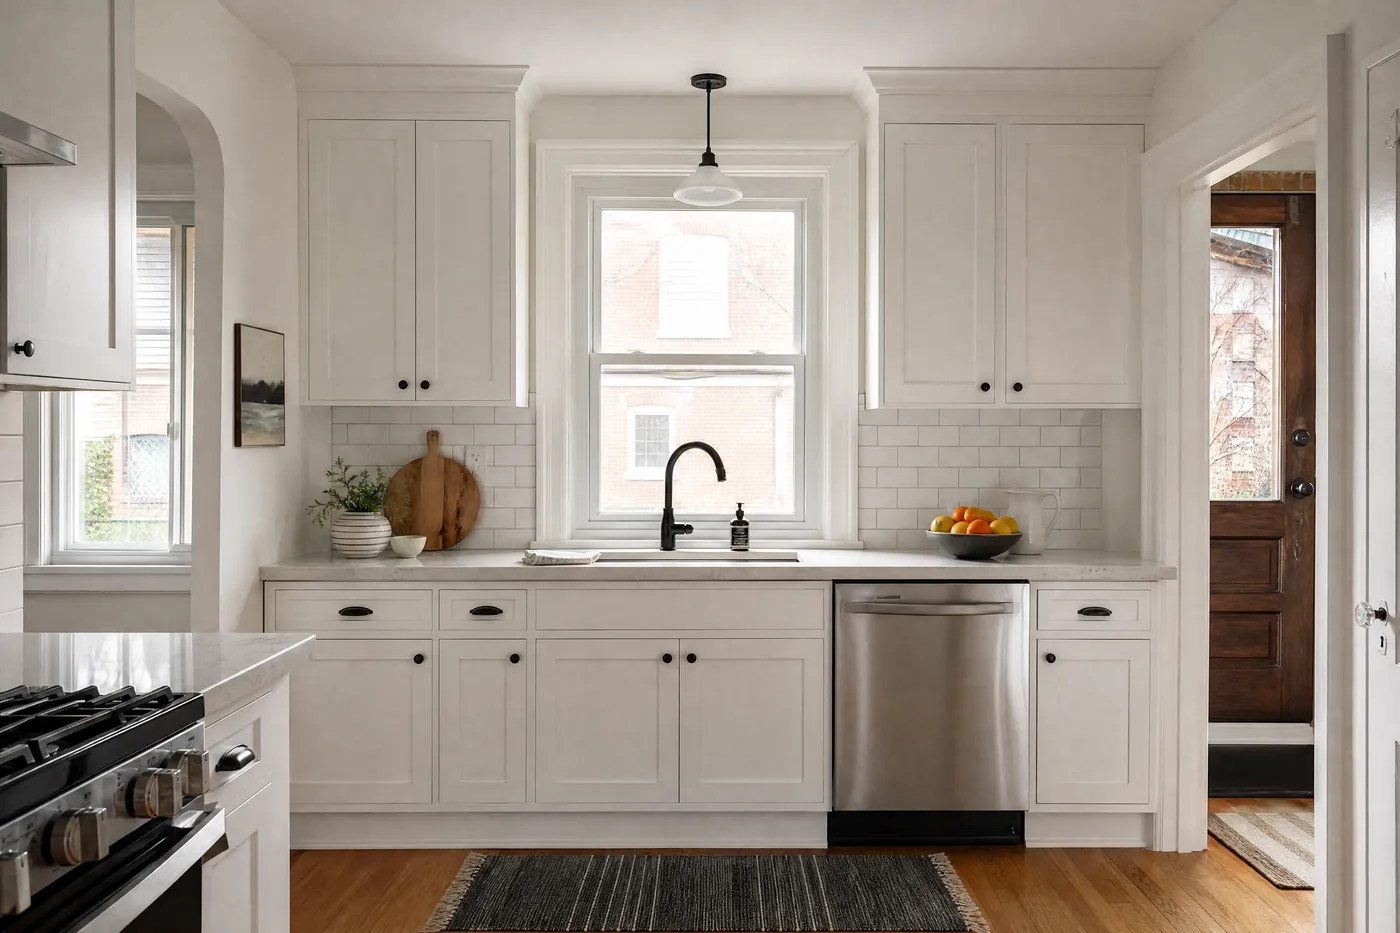
How we paint cabinets, surface by surface
Doors and drawer fronts are the part everyone touches, so they get the most attention. After removal they are washed with a degreaser, rinsed and dried, then scuff-sanded so the primer has something to grip. Dents and open grain are filled and sanded flush. A bonding primer goes on next, and once it is dry it is sanded lightly to knock down any raised grain. The finish is sprayed in thin, even passes, at least two coats, with a light sanding between them. Spraying is the method most of our clients choose, because it leaves a hard, smooth surface with no brush texture.
Face frames, end panels and box sides stay fixed to the wall, so they are painted where they hang. Everything nearby is masked with paper and plastic, and the counters get a firm cover that will not slide. The frames are degreased, sanded and primed the same way as the doors. Because spraying inside a lived-in kitchen sends overspray everywhere, frames are usually finished with fine brushes and high-density rollers, using an enamel that levels as it dries so the texture stays close to the sprayed doors. Edges, corners and the strip under the upper cabinets are checked with a work light.
Islands, vanities and built-ins follow the frame method or the door method, depending on what can be removed. Shelves, drawer boxes and interiors are left alone unless you ask for them, in which case they appear on the quote. When the last coat has hardened enough to handle, doors are rehung on their own hinges, drawer fronts are reattached and adjusted so the gaps line up, and handles go back on or new ones are fitted. Old handle holes can be filled before painting if your new hardware has a different spacing. Masking comes off and the kitchen is cleaned.
Reviews
What clients say
Why hire professionals
Why cabinet painting is worth hiring out
Cabinets look simple, yet they are the hardest painted surface in a home to get right. Grease, gloss and constant handling all work against a new coat, and a kitchen cannot sit idle for long. A lasting job comes down to preparation, equipment and patience with drying.
Grease you cannot see
Even clean-looking doors carry a film of cooking oil, and paint laid over it lets go in sheets. We degrease every face and edge before sanding, so the primer bonds to the wood rather than the grime.
Spray equipment and space
A sprayed finish needs the right sprayer, clean air and somewhere doors can lie flat while they dry. Most households have none of the three, and brushing doors leaves visible texture.
Primer matched to the surface
Factory lacquer, old oil paint, raw maple and laminate each need a different approach. Picking the wrong primer is a frequent cause of chipped edges on cabinets painted at home.
A kitchen you can still use
We plan the work so the sink, fridge and stove stay reachable for most of the job, and each evening the kitchen is swept and put back in order instead of left as a workshop.
Doors that go back right
Labelling, bagged hinges and careful rehanging mean each door returns to its own opening, closes square and lines up with its neighbours, which is easy to get wrong when the doors all look alike.
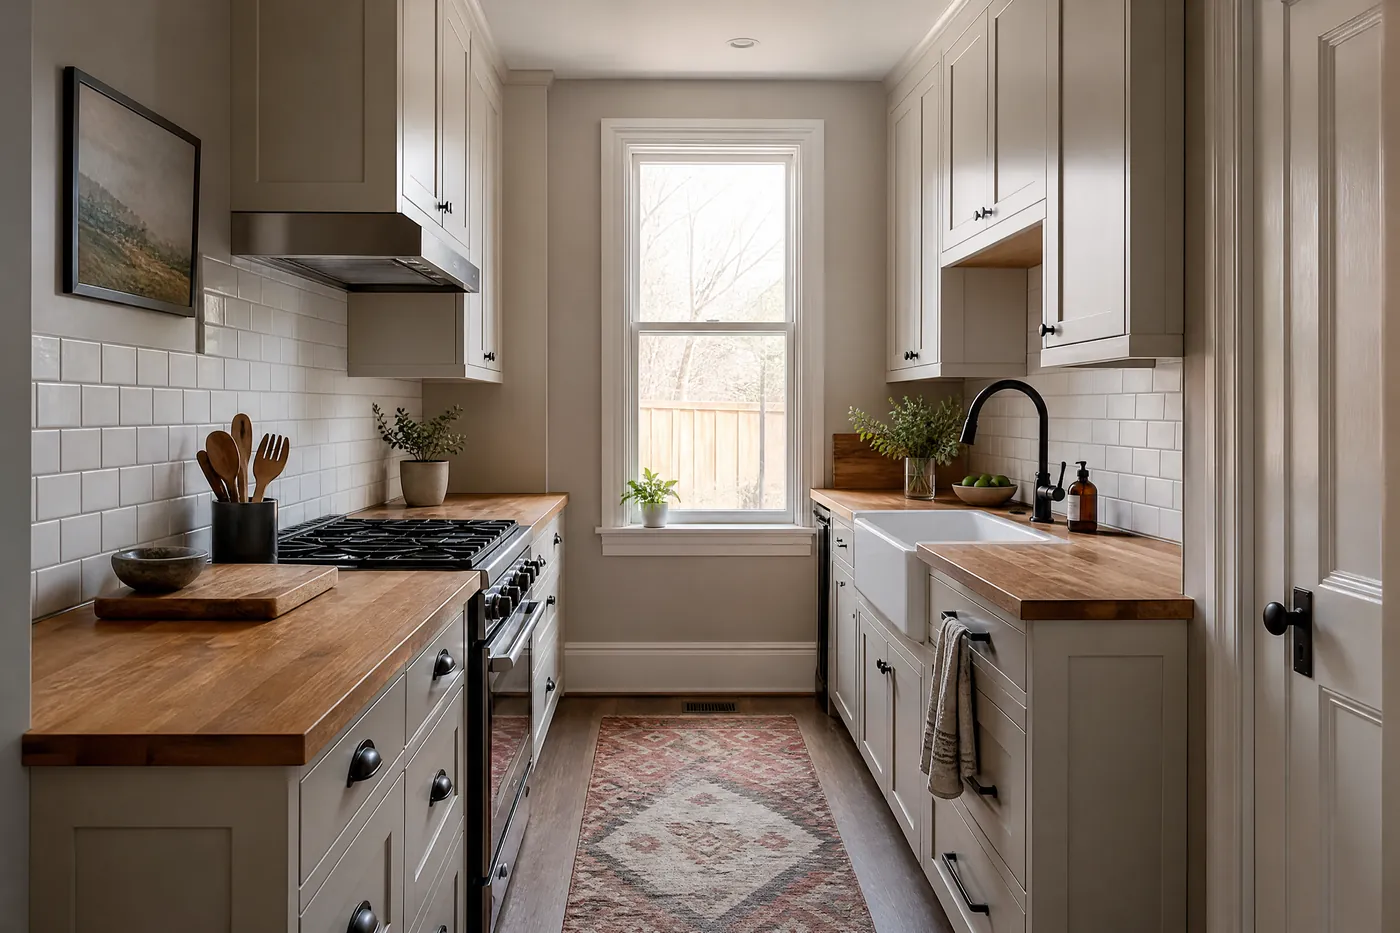
Our process
Our cabinet painting process, start to finish
Five stages take a kitchen from the first call to rehung doors. Before the kitchen is taken apart, you know who is coming, and the schedule in your written quote shows which parts of the kitchen are out of use and when.
Quote and colour
We look at the cabinets in person or from photos, count doors and drawers, and test the old finish. Your free quote is written and itemized, and a free colour consultation brings sample pots to try against your counters.
Protect and remove
Floors, counters, the backsplash and appliances are covered. Doors and drawer fronts come off, each one numbered, with its hinges and screws bagged alongside. Handles are removed and set aside if you plan to reuse them.
Clean, sand and prime
Every surface is degreased, rinsed and dried, then sanded to dull the old finish. Chips and dents are filled. A bonding primer goes on the doors, drawer fronts and frames, and it is sanded smooth once dry.
Finish coats
Doors are sprayed in a protected area and frames are finished in place. At least two finish coats go on, each applied after the manufacturer's recoat time, with light sanding between coats for a smooth feel.
Rehang and walk through
When the last coat has hardened enough to handle, doors and drawer fronts go back on and are adjusted. We pull the masking, clean up and walk through the kitchen with you, door by door, before we leave.
Ready to start?
Call (416) 710-4224 or send a few details and photos for a free, itemized quote.
Preparation
What happens before the first coat of paint
Clearing the kitchen
We ask you to empty the cabinets being painted, or at least the shelves near the doors, and to put small appliances away. That keeps dishes free of dust and lets us reach every edge. Anything heavy or awkward you want moved, we move with you.
Covering what stays
Counters get a rigid cover, the backsplash and walls are masked at the cabinet line, and the floor is protected with drop sheets taped at the edges. Appliances are wrapped in plastic, and nearby vents are covered to keep sanding dust out of the rest of the house.
Degreasing
Kitchen cabinets collect oil from cooking, especially beside the stove and around the range hood. A dedicated degreaser lifts it from faces, edges and the areas around handles, and the surface is rinsed so no cleaner residue is left behind to interfere with the primer.
Sanding and filling
Sanding takes the shine off the old finish so primer can grip. Dings, worn corners and the open grain of oak can be filled at this stage if you want a smoother look. Dust is vacuumed up and every face is wiped down with a tack cloth before priming.
Testing the old finish
Before priming, we test how the existing coating reacts to solvent and to tape. That tells us whether it is lacquer, oil paint, latex or a plastic laminate, and which bonding primer will hold. Thermofoil and some laminates cannot be painted reliably, and we tell you if yours are among them.
Products and finishes
Bonding primer
A bonding primer is made to stick to slick surfaces such as factory lacquer, old oil paint and some laminates. On oak, a high-build primer or grain filler can be used when you want the grain hidden. A stain-blocking primer handles knots and tannin bleed in older wood.
Cabinet enamel
The finish coats are a hard, washable enamel made for cabinets and trim. Waterborne alkyd and urethane-modified acrylic types level out as they dry, which hides application marks, and they cure harder than wall paint. If you are living at home during the work, ask for the Zero‑VOC or low-odour versions.
Satin, semi-gloss or matte
Satin is a popular sheen for cabinets: it wipes clean and is forgiving of small dents. Semi-gloss is harder and easier to wipe but shows every flaw in the wood. Matte cabinet enamels look modern and calm, though they mark more easily around handles and pulls.
Colour choices
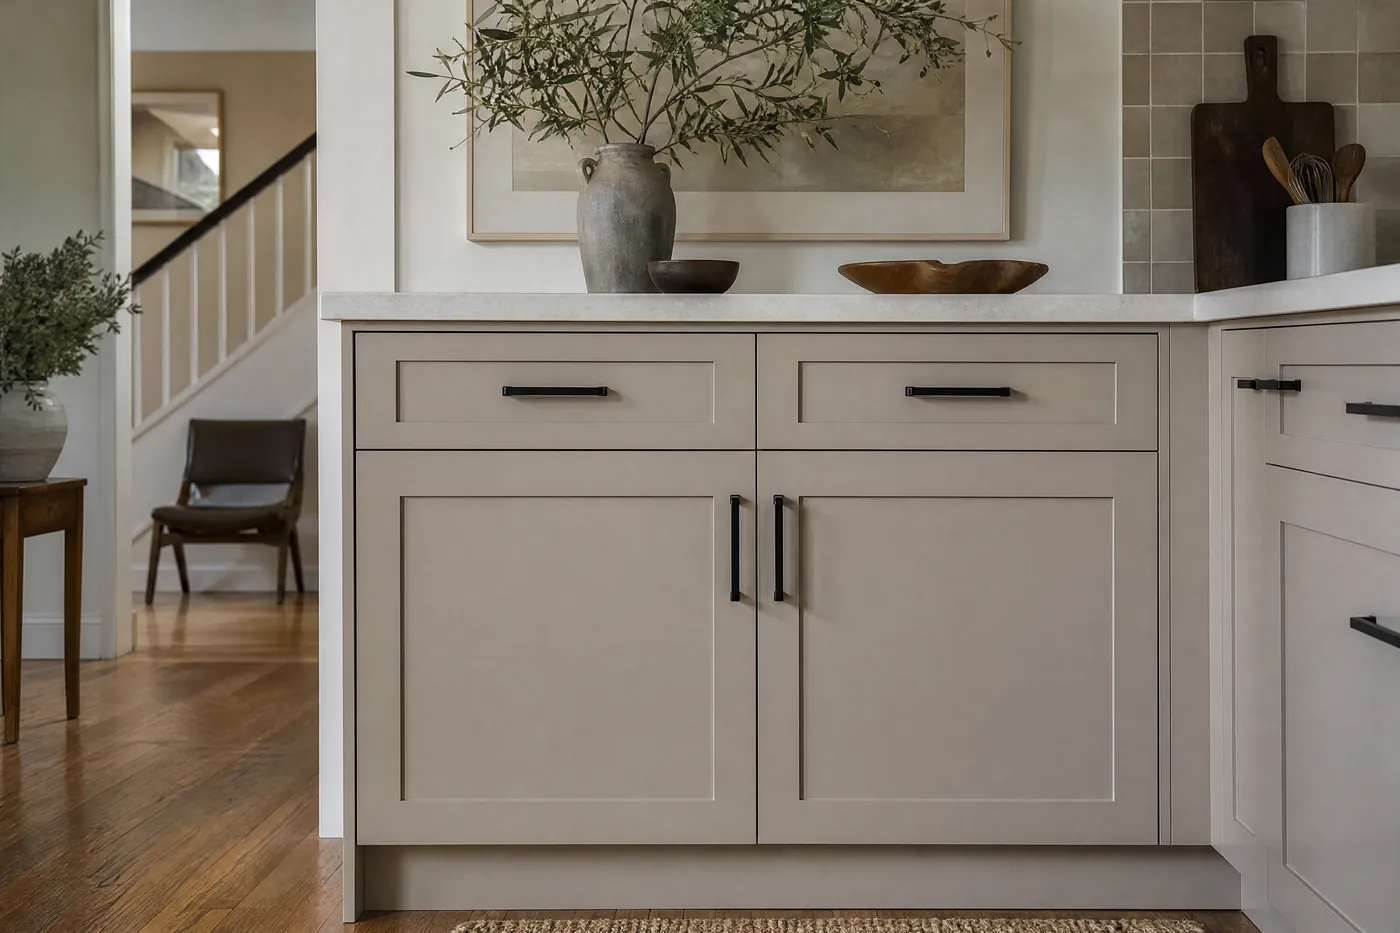
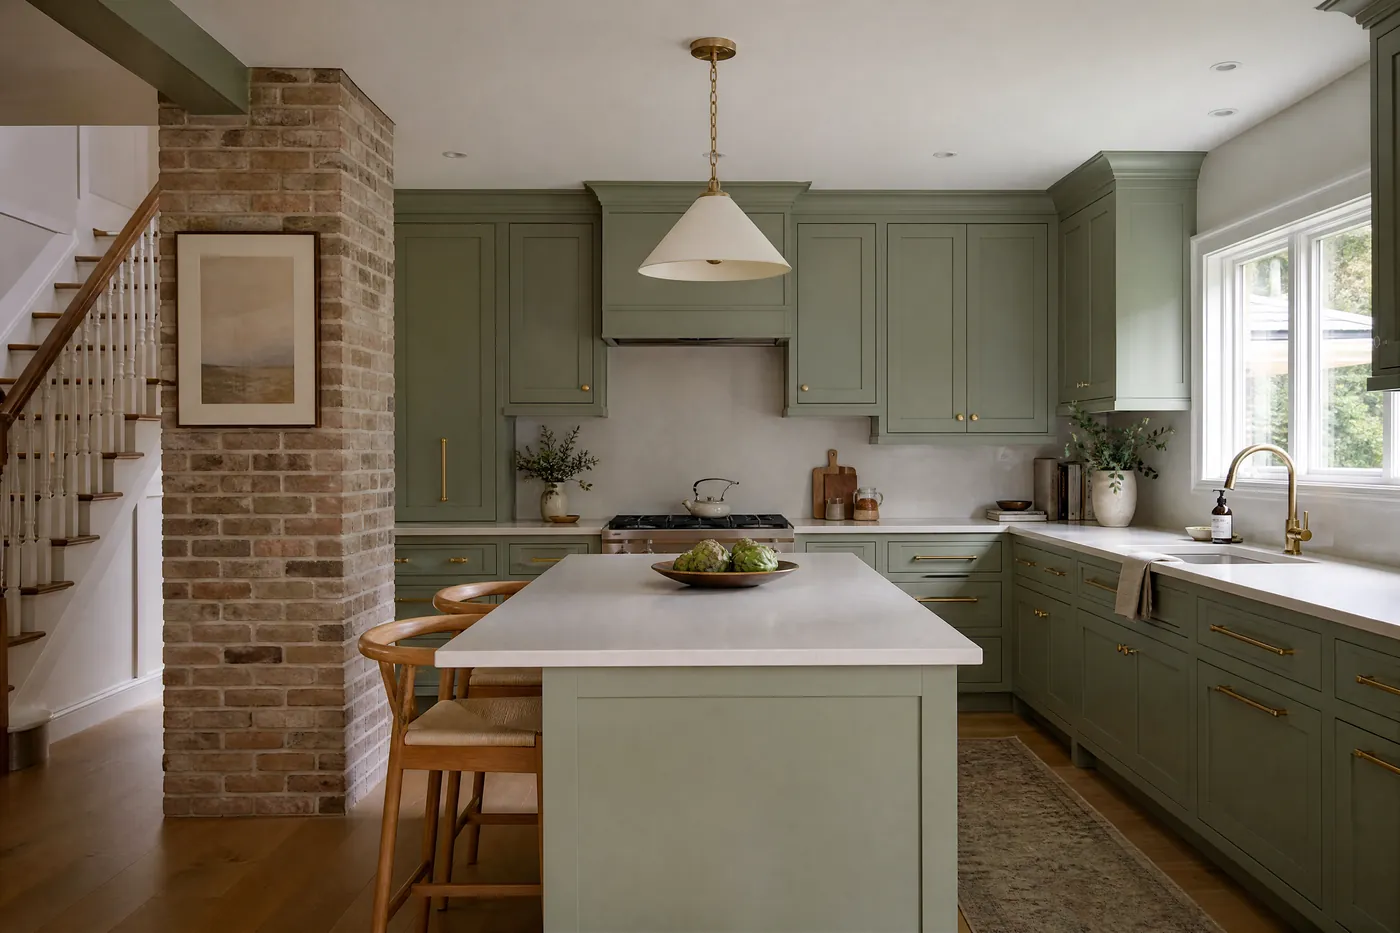
Soft whites and warm greys suit most kitchens, while deep green, navy or charcoal works well on an island or the lower cabinets of a two-tone kitchen. Cabinet colours shift under kitchen lighting, so we bring real sample pots and paint test boards you can judge beside your counters.
Service areas
Where we paint kitchen cabinets
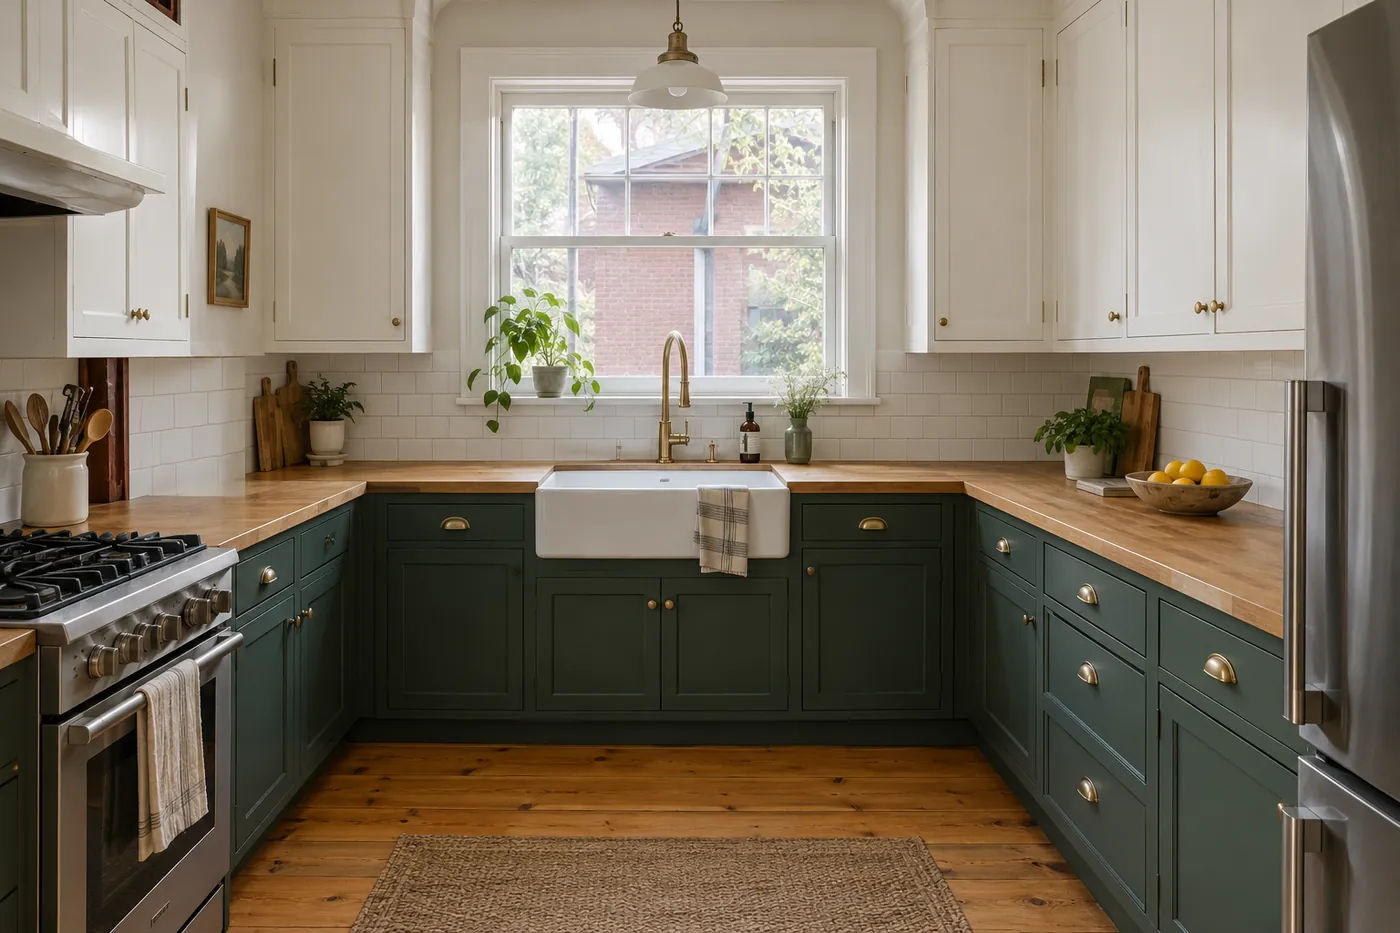
Across Toronto, cabinet work ranges from narrow galley kitchens in downtown condos to solid-wood cabinets in pre-war semis in the east and west ends. Condo kitchens are compact, so we plan the job around a working sink and keep spraying out of shared corridors. In older houses, original or seventies cabinets are often real wood under several layers of paint, which may need stripping in spots before primer. Midtown and North York homes frequently have oak or cherry from a renovation a generation ago, and it paints well once the grain and gloss are dealt with.
Beyond the city, we paint cabinets in Peel Region towns such as Mississauga and Brampton, where builder kitchens from the nineties and early two thousands are common, and in York Region communities including Markham, Vaughan and Richmond Hill. Newer homes in Halton Region, such as Oakville, often have thermofoil or painted MDF doors, which call for a careful finish test first. In Durham Region, from Pickering to Whitby and Oshawa, many kitchens are maple or oak in good structural shape. The method stays the same everywhere; the prep changes with the cabinets.
Planning ahead
Weather, older kitchens and condo rules
The weather plays a bigger part in cabinet painting than most people expect. Paint needs moderate temperature and humidity to level and harden properly. Our humid summers slow drying, while dry winter air, with the furnace running hard, can make some enamels skin over at the surface before they flow out. We control the spray area and adjust recoat timing to the conditions on the day. In summer, air conditioning or a dehumidifier in the house helps. In winter, we ask you to keep the heat steady and avoid opening windows near freshly coated doors.
The city's housing stock shapes the prep. Victorian and Edwardian houses in neighbourhoods like the Annex, Leslieville and Roncesvalles may have older kitchens built from solid pine or fir, sometimes under old paint that may hold lead, which we talk over with you before anyone sands it. Postwar bungalows in Scarborough and Etobicoke often carry original or once-renovated cabinets with sturdy boxes. Newer townhouses and condos lean toward MDF, thermofoil and laminate. Each material changes the primer, the sanding and the number of coats needed for even coverage, which is why we look at the doors before we quote.
Condo cabinet painting comes with building rules. Many corporations require an elevator booking, limit work to set weekday hours and ask for notice to the management office. Some restrict spraying inside the suite, in which case doors go to a separate spray area and come back for rehanging, while the frames are brushed and rolled in place. We read your building's renovation rules before we schedule, and we carry doors through the hallway wrapped so nothing gets marked. Odour matters in shared buildings too, so low-odour primers and finishes are the default choice there.
- Count your doors, drawer fronts and panels before asking for a quote
- Decide whether the cabinet interiors should be painted or left alone
- Choose new handles now if their spacing differs from the old ones
- Check your condo's renovation rules on spraying, hours and elevator bookings
- Plan simple meals for the days the kitchen is partly closed
What changes the price of cabinet painting
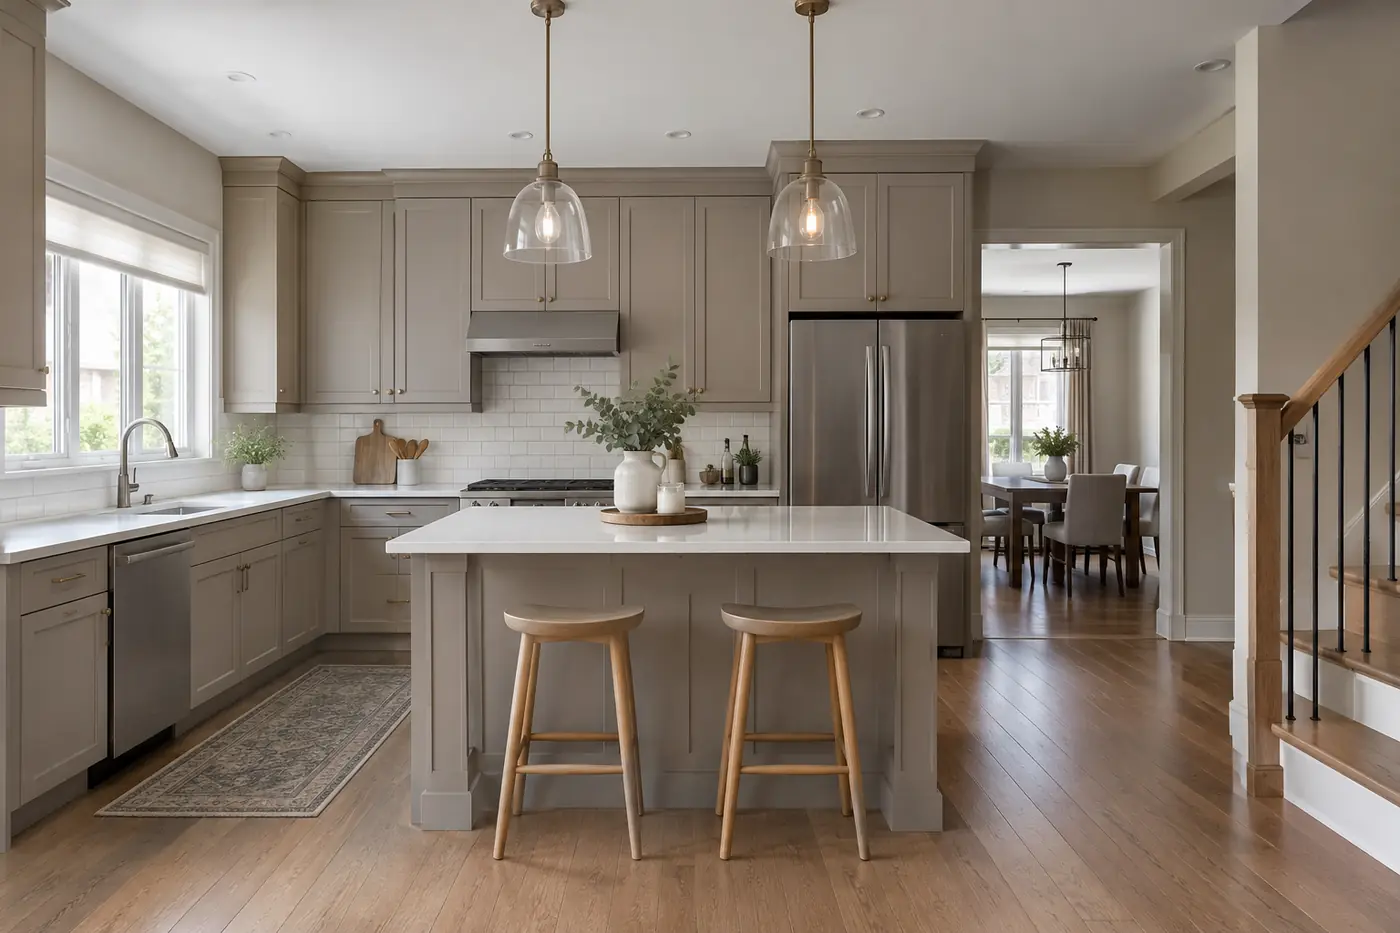
The number of doors, drawer fronts and panels has the largest effect, since each one is handled, prepared and finished on both sides. The current finish matters next: glossy lacquer, peeling paint or thermofoil take more preparation than sound wood. Filling oak grain for a smooth look, painting cabinet interiors, adding an island in a second colour and filling old hardware holes all add work. Tall cabinets that reach the ceiling, crown moulding and raised or decorative door profiles add more edges to prime and paint.
Access and building rules also play a part. A condo that requires a separate spray area, elevator bookings or restricted hours is planned differently from a detached house with room to set up on site. Your itemized written quote lists each item separately, so you can drop extras or add a vanity and see the change line by line. For an early sense of the budget, the painting cost calculator gives a planning range before you book a free quote.
Price it before anyone visits
Pick the rooms and the work in our cost calculator for a ballpark range in about a minute.
Then ask for a free quote: written, itemized and free to change before work starts.
What a repaint changes
Drag the handle, see the difference
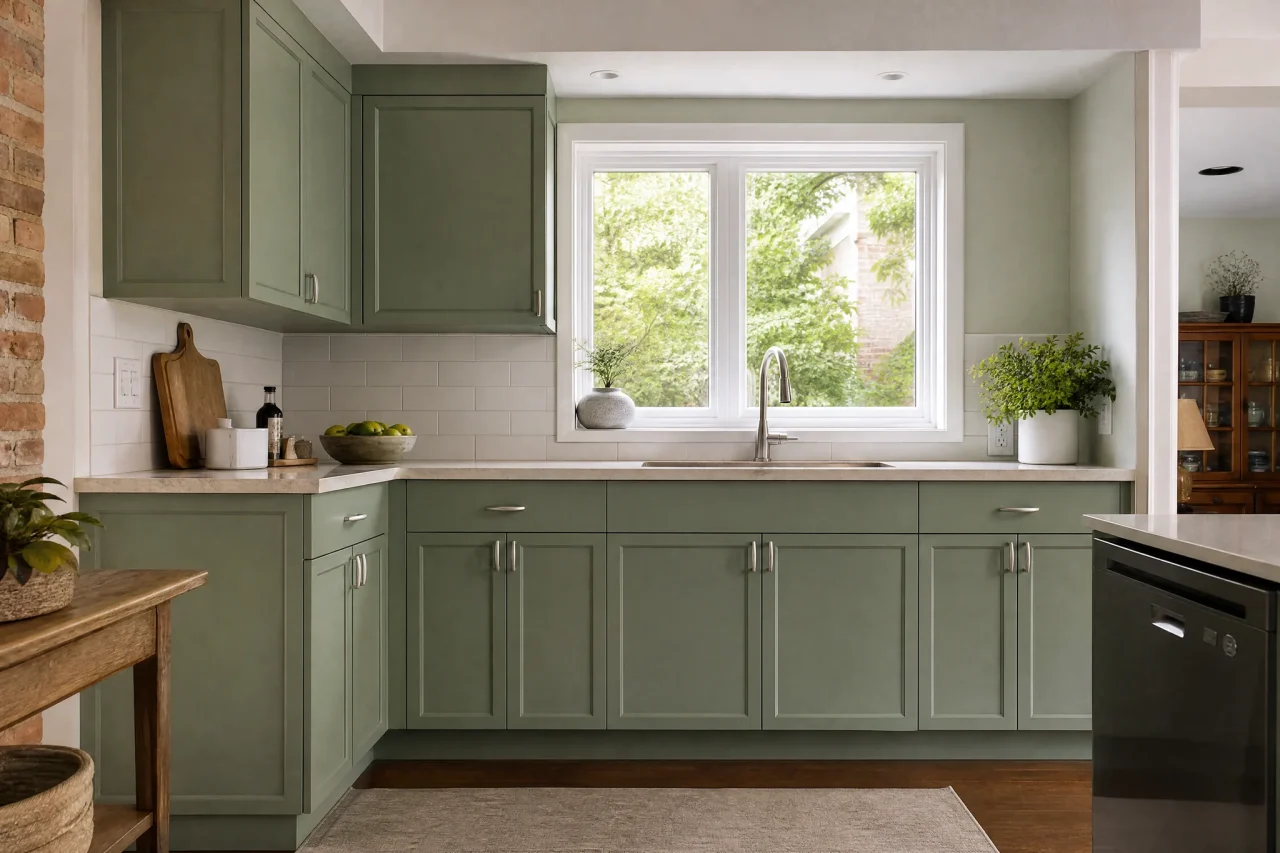
Honey-oak cabinet doors before and after: degreased, sanded, primed and sprayed a soft sage green. Slide to compare.
 Kitchen cabinet painting
Projects
Recent kitchen cabinet projects
- Cabinets
- North York
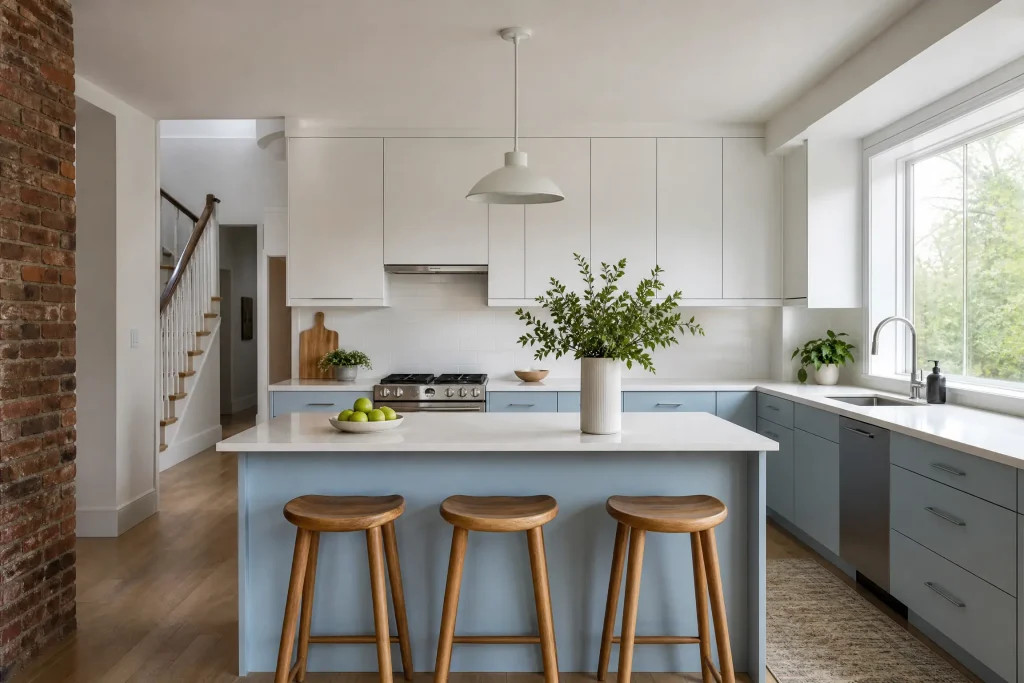
Condo veneer cabinets rolled pale blue and white at North York Centre
A condo kitchen in North York Centre: lifting veneer re-glued and lightly sanded, then rolled pale blue on the lowers and white on the uppers.
- Cabinets
- Markham
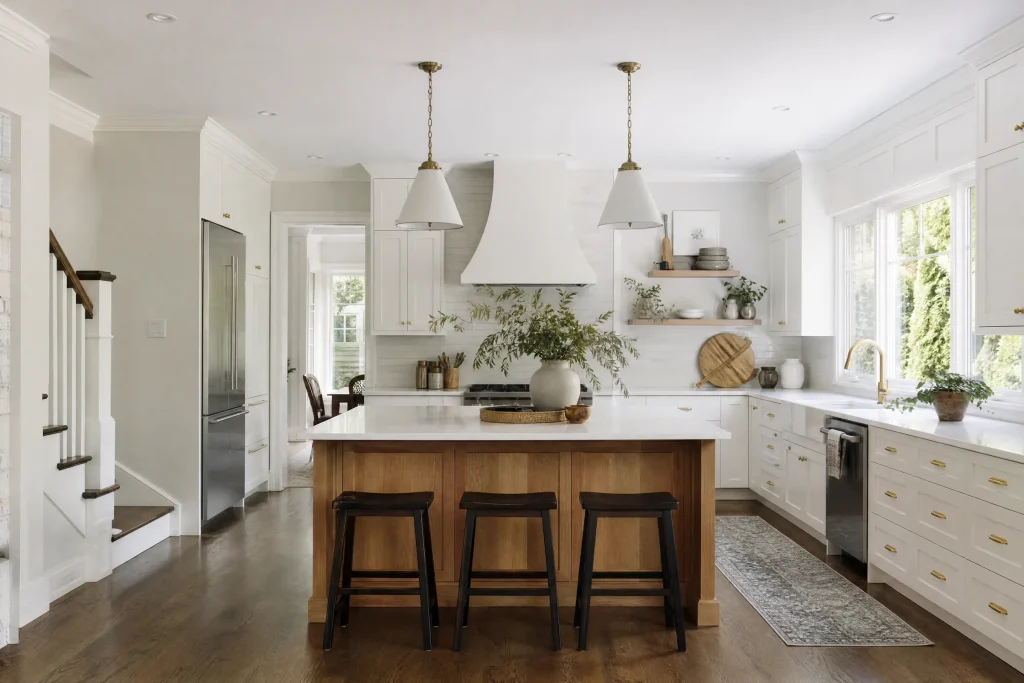
Maple shaker cabinets painted sage and warm white in Berczy Village
Maple shaker cabinets in Berczy Village: slick factory lacquer degreased, scuff-sanded and bond-primed, then sprayed muted sage below and warm white above in satin.
- Cabinets
- Newmarket
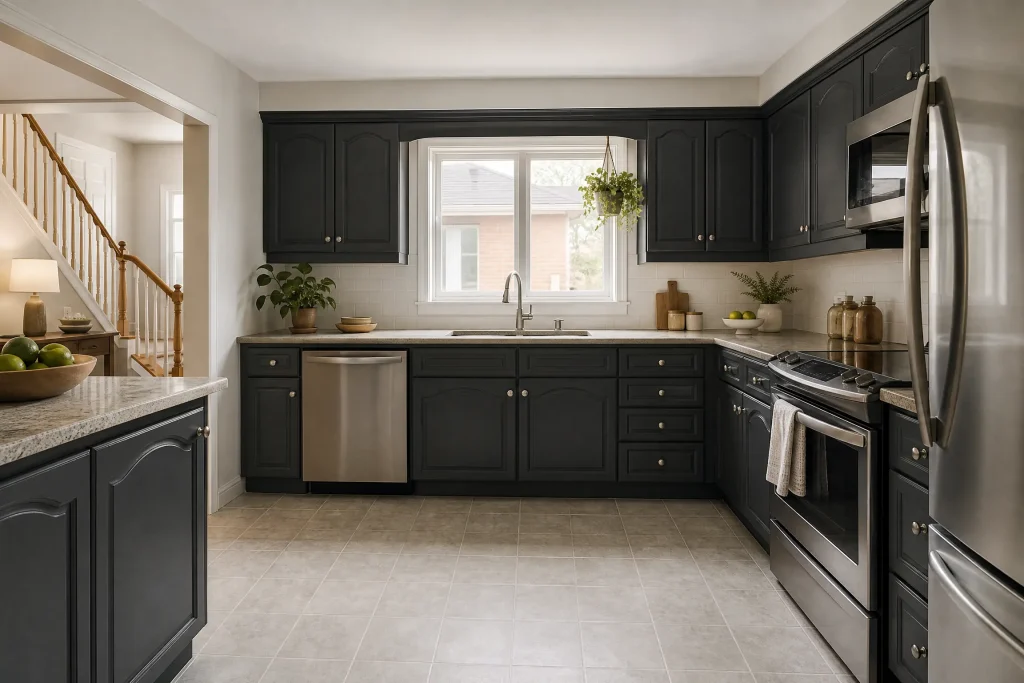
Arched oak kitchen cabinets refinished in charcoal in Newmarket
Arched oak cabinets in Newmarket: furniture polish washed off, open grain softened with filler and tannins sealed, then sprayed soft charcoal in a low sheen.
Resources
Painting Guides and Resources
- Guide
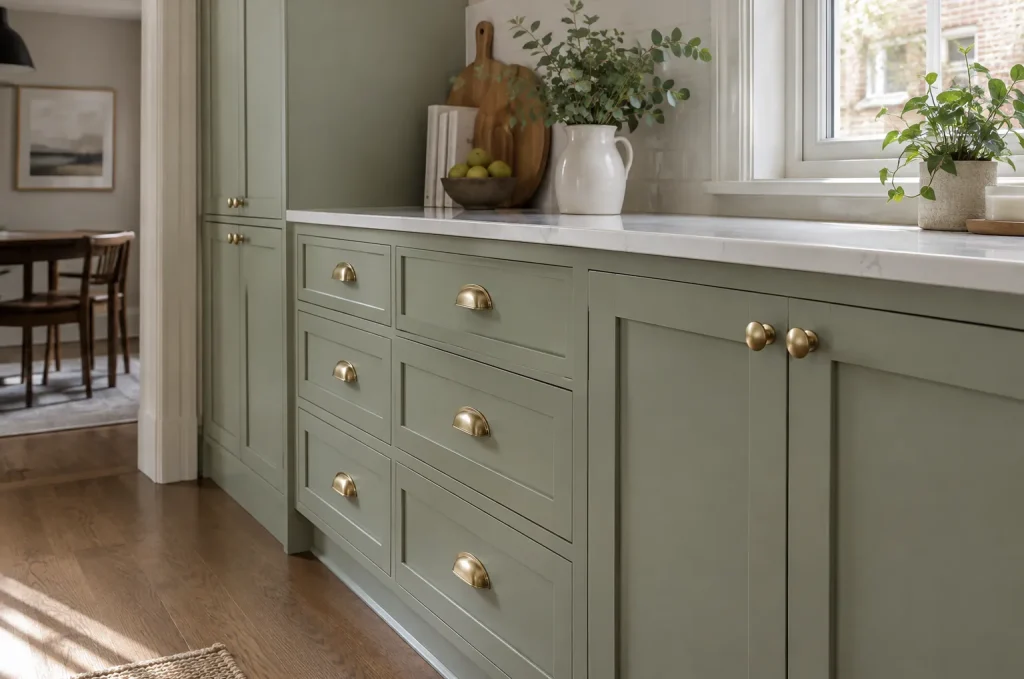
Painting vs replacing kitchen cabinets: what the process involves
When painting your existing cabinets makes sense, when replacing them is the better call, and what a proper cabinet painting job involves from degreasing to rehanging.
- Guide
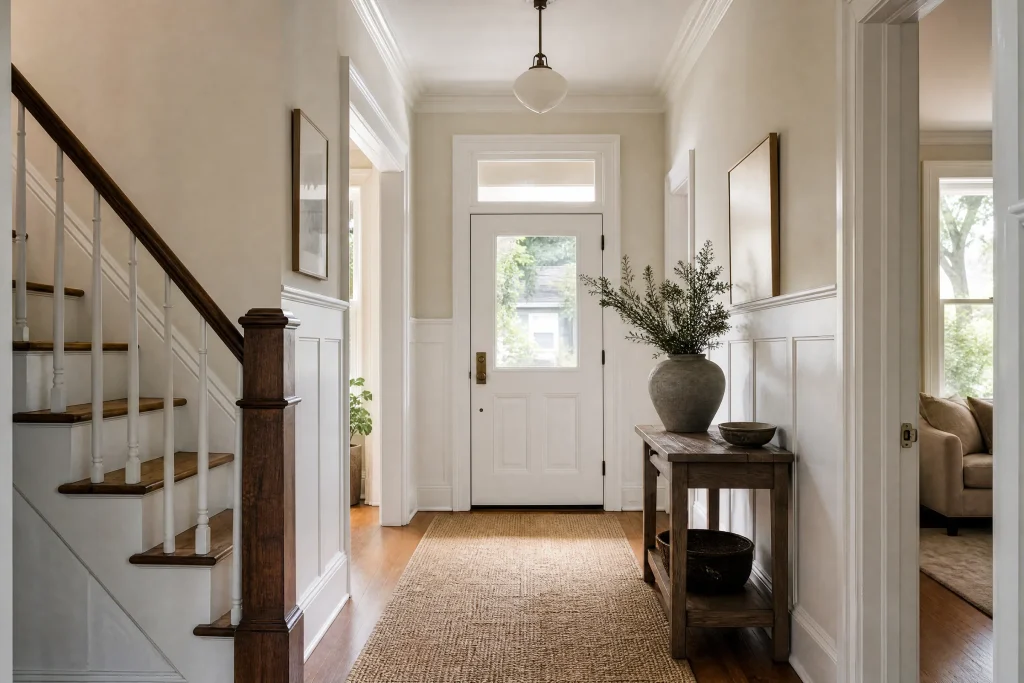
Choosing paint sheen room by room
Matte, eggshell, satin or semi-gloss? How sheen changes the way a wall looks, cleans and wears, and which finish suits each room in the house.
Is cabinet painting a messy process?
It can be if the prep is rushed. We cover floors, counters, appliances and the backsplash before any sanding starts, use sanders with dust extraction where we can, and spray doors in a separate protected area so overspray stays out of the kitchen. Dust is vacuumed as we go and the kitchen is left tidy at the end of each day, so you are not living in a construction zone while the paint dries.
How long does kitchen cabinet painting take?
It depends on the number of doors and drawers, the condition of the current finish, and whether the work is sprayed or brushed. Spraying is usually quicker than brushing and rolling, even with several coats, but each coat still needs its recoat time and the doors need to harden before they go back up. We give you a clear schedule at the quote visit, and the written quote shows which days the kitchen is partly out of use.
What is the difference between refinishing and repainting cabinets?
Repainting puts new paint over the existing finish after cleaning and a light sanding, and it suits cabinets in good shape that only need a new colour. Refinishing is more involved: the old finish is stripped or sanded back, damage is repaired, and the cabinets are then painted or restained. If you want to keep a wood look but change its tone, refinishing with stain is the route. We look at your cabinets and tell you which one they need.
Why paint cabinets instead of replacing them?
Painting keeps the boxes, the layout, the counters and the backsplash, so there is no demolition, no new plumbing connections and no wait for custom cabinetry. It costs less than new cabinets, and it keeps solid wood out of landfill. If the boxes are swollen from water, the layout no longer works or you want different storage, replacement may suit you better, and we will tell you that plainly.
Will the painted finish chip?
Chipping usually comes from poor adhesion: grease left on the surface, no sanding or the wrong primer. Our process degreases, sands, uses a bonding primer and applies two or more coats of a hard enamel made for cabinets. Paint goes on hardening well after it is dry to the touch, so at first we suggest gentle cleaning and no abrasive scrubbers. After that, normal kitchen use and a damp cloth are fine.
Can thermofoil or laminate cabinets be painted?
Some can and some cannot. Laminate in good condition can take a bonding primer and enamel, though it needs careful sanding and an adhesion test. Thermofoil is a vinyl skin over MDF, and if it is peeling or bubbling near the stove or kettle, paint will not hold it down. We test the doors at the quote visit and tell you plainly which group yours are in before you commit.
Do you remove the doors and hardware?
Yes. Doors and drawer fronts come off, are numbered and finished away from the boxes, and each set of hinges and screws stays bagged with its door. Handles are removed so paint does not build up around them. If you are fitting new hardware with a different spacing, we fill the old holes before priming and drill new ones when the doors go back, using a jig so every handle lines up.
Can I stay at home while my cabinets are painted?
Yes, there is no need to move out. We keep a route to the sink and fridge open, use low-odour or Zero‑VOC products on request, and tidy the kitchen at the end of each day. Plan on simpler meals while the boxes are being painted, and keep pets away from wet doors. If you work from home, tell us which hours you need quiet and we will arrange the sanding around them.
Free quotes across the GTA
Ready to repaint your kitchen cabinets?
Send us a few photos and a rough count of doors and drawers. We will book a free quote and talk through colours with real sample pots.