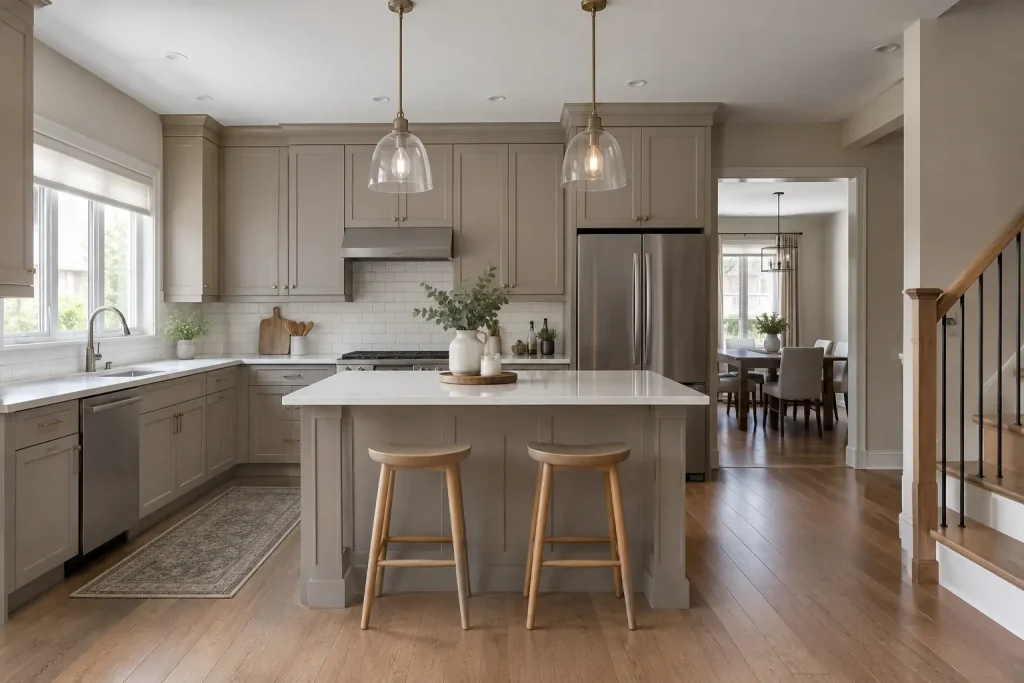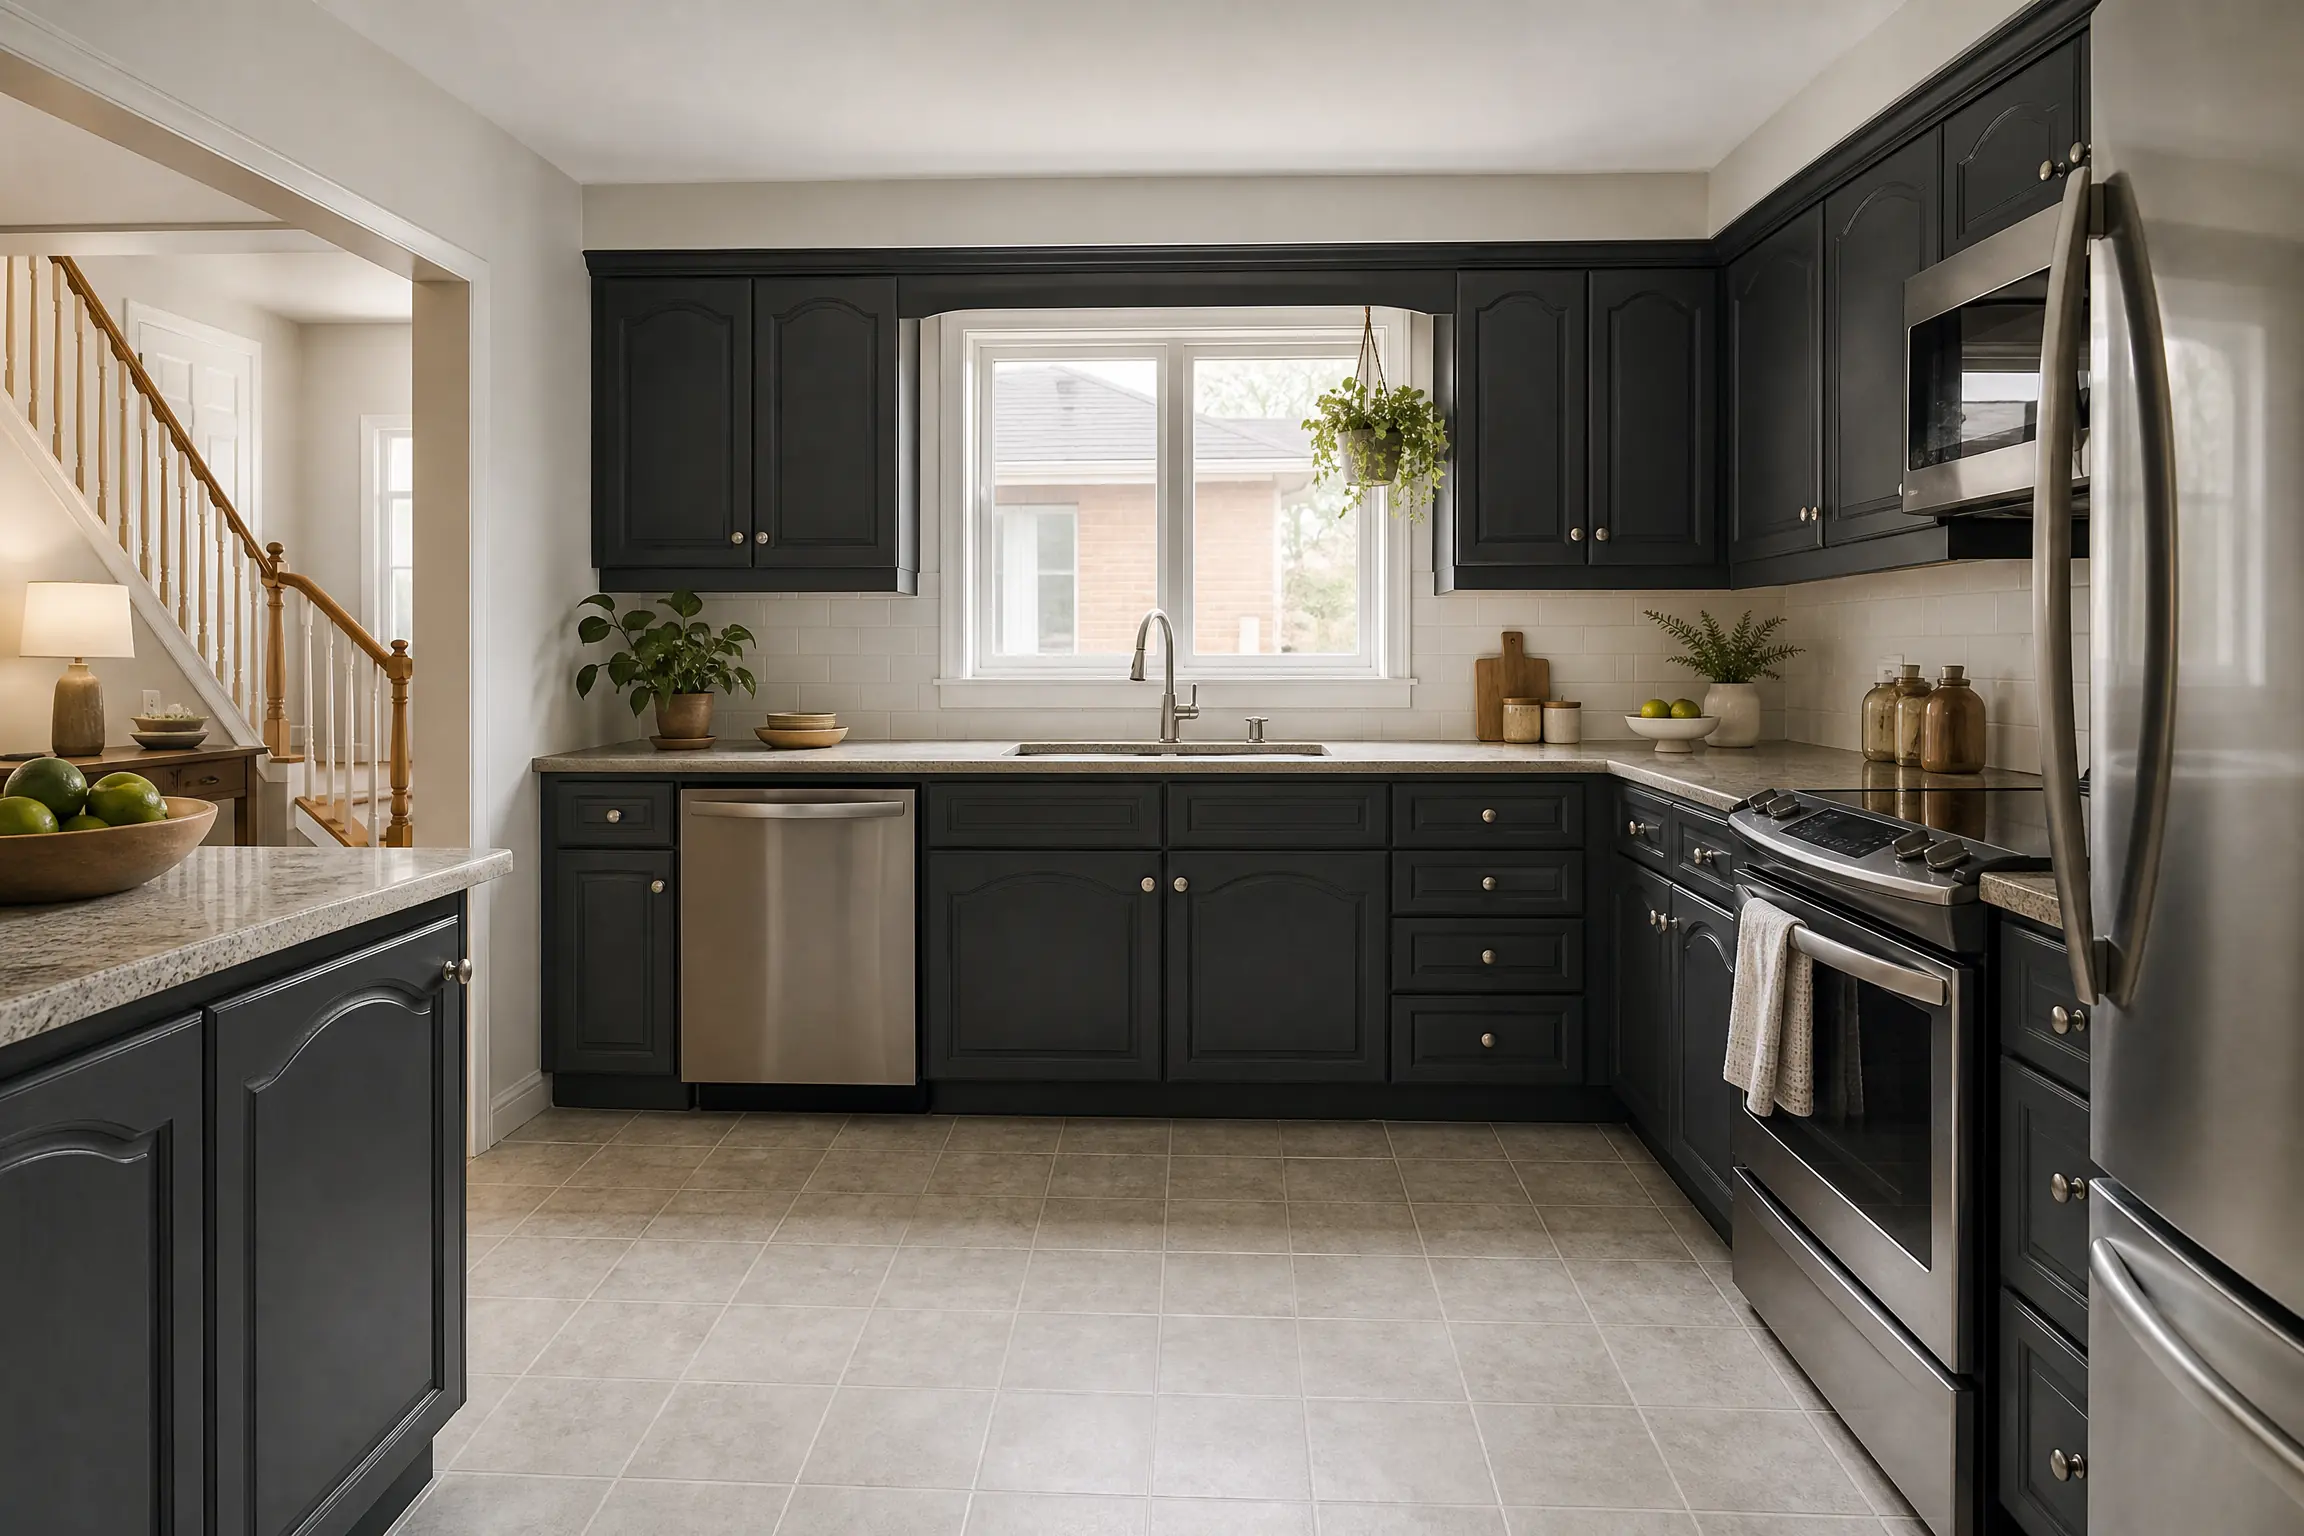

The house and its oak kitchen
The neighbourhoods beyond the historic Main Street area were largely built out as subdivisions from the 1970s through the 1990s, and this two-storey home belongs to that wave: brick front, a family room off the kitchen, and a kitchen that had never been redone. The cabinets were solid red oak with cathedral-arch raised panels on the uppers, square raised panels on the lowers, an arched valance over the sink window and a peninsula that divided the kitchen from the eating area. Exposed brass hinges sat on the face of every door.
The family had redone the floors and the family room in deep greys and black, with black-framed glass doors between the rooms, and the honey-coloured oak no longer belonged. They wanted the cabinets in a dark colour that would tie the kitchen to the room next to it, without replacing solid wood boxes that still worked.
In scope: all of the doors and drawer fronts, plus the face frames, the back and ends of the peninsula, the valance and the oak crown above the uppers. The insides of the boxes and the drawer boxes stayed in their original oak.
Grain, polish and old varnish
A few things made this harder than a quick repaint.
Open grain
Red oak has deep, open pores. Paint does not fill them, it follows them, so under a coat of charcoal the grain would still read as a pattern of fine lines. Some people like that texture. These owners liked a little of that texture, just not the deep, coarse lines running over the arches, so the aim was to soften the grain on the fronts rather than erase it.
Years of furniture polish
The cabinets had clearly been wiped with spray polish for a long time. It left a soft sheen that felt slightly slick, and polishes of that kind often contain silicone or wax. Paint applied over that residue pulls away from it and forms small craters, which painters call fisheyes. A quick test with water beaded on the doors near the stove, a sign the residue was there.
Tannin bleed
Oak is rich in tannins, and water-based coatings can draw them up through the finish as yellow or brown blotches. On a light colour that is obvious. On charcoal it is less visible but can still show as uneven patches in the sheen, so the oak needed a primer that would lock the tannins down.
The varnish itself had yellowed but was sound. Only a few spots near the dishwasher had gone cloudy and soft from steam, and those were sanded back further than the rest.
Preparation, step by step
- Protection. Rosin paper went down across the new floor, taped at every seam, and a plastic wall on poles closed off the family room so dust stayed in the kitchen. Counters were covered with masking film and cardboard, and the appliances were wrapped.
- Removal in two batches. We took the upper doors first. Each one was numbered on the hinge edge, and the brass hinges were bagged and set aside because new black hinges with the same screw pattern were going on.
- Solvent wash. Before any degreaser, the doors and frames were wiped with a solvent wash meant to lift wax and silicone, using clean cloths often so the residue was taken away rather than spread around.
- Degreasing. A cabinet degreaser followed, then a rinse with clean water and a full dry. We repeated the water test until it sheeted off evenly instead of beading.
- Scuff sanding. The varnish was scuffed with fine sanding pads, including the curves of the arches and the bevels of the raised panels, which take patience by hand.
- Grain filling. On the door and drawer fronts, a water-based grain filler was pressed into the pores with a plastic spreader, worked across the grain, and the excess scraped off. After drying it was sanded back. We deliberately stopped at that one thin pass: it knocked down the coarsest pores and left a fine grain that still reads through the colour, which is the look the owners picked from a test door. The backs of the doors were left with their natural texture.
- Priming. The doors went to the spray area in the garage and received a shellac-based stain-blocking primer, which seals tannins very well and sands to a fine powder. Inside the house we used a waterborne stain-blocking primer on the frames instead, in two coats, because shellac primers carry a strong alcohol smell and the family, including a toddler, was living at home. We checked the frames after each coat for any yellow showing through.
- Caulk and final sanding. The seam where the crown meets the uppers was caulked, and the primer was sanded lightly with a fine sponge before colour.
Applying the charcoal
For the colour coats we chose a urethane-modified acrylic cabinet enamel. It cures harder than wall paint, resists blocking when doors close against the frames, and has a low odour, which mattered for this household.
Each door and drawer front was sprayed with an HVLP gun in a light first pass to wet the arched edges and inside profiles, followed by a full coat on the flat face. After the manufacturer’s recoat time the second full coat went on. Backs were done first and fronts after, two coats each side.
Frames, the peninsula and the valance were painted in place. We cut the inside corners and joints with a fine synthetic brush, then laid off the flat surfaces with a dense foam roller in one direction. The peninsula back, which faces the eating area and catches light from the patio door, got the closest attention, with a light sand between its two coats.
One honest limit with raised-panel doors: the centre panel floats in its frame so the wood can move with the seasons. As humidity changes, a hairline can open where the panel meets the frame. We explained that before starting, and noted that a dab of touch-up paint closes it if it appears.
Choosing the right dark colour
Dark cabinet colours look very different on a chip than on a whole kitchen. During the colour consultation we painted a few charcoal samples from our sample pots onto primed boards, among them one with a blue cast, one nearly black, and a softer charcoal with a warm, slightly brown undertone. The near-black looked heavy against the floor, and the blue one turned cold in the evening. The warm charcoal matched the grey of the family room and stayed soft in both the morning light from the patio door and the warmer light at night, so that is what went on.
For sheen, the owners picked a low sheen, closer to eggshell than satin. On dark paint, a low sheen hides small ripples and shows fewer fingerprints in glare, while still wiping clean. The new black hinges sit in the old hinge positions, and the cabinets now look like one dark mass across the back wall, with the arched uppers reading as a soft outline rather than orange wood and a fine oak grain still showing faintly through the charcoal.
Working around a busy family
Doing the uppers first and the lowers second meant there was never a point where every cabinet stood open at once. Plates and glasses moved to a folding table in the eating area during the first batch, then went back up before the lowers came off. The plastic dust wall stayed up the whole time, and every evening we vacuumed, folded the drop cloths off the walking route and left the sink clear so dinner could happen as normal.
Care after the paint goes on
A urethane-modified enamel is firm enough to rehang soon after it dries, but it keeps curing for some weeks, and the first stretch is when it is softest. We asked the family to clean with a damp microfibre cloth and mild soap only, to keep cutting boards and wet tea towels off the door fronts, and to watch the doors on either side of the dishwasher, where steam hits the finish each cycle. Labelled touch-up paint was left in a small jar under the sink, sealed and marked with the colour and sheen. Dark paint shows scuffs as pale marks, and most of those come off with a soft cloth before they need paint at all.
Why this suits Newmarket’s family kitchens
Oak kitchens are common in homes from Newmarket’s subdivision years, and many are solid wood in good repair under a dated finish. Painting them in stages lets a family stay at home through the work, which is how most kitchens here get done. Our cabinet painting process adapts to the house: grain filler when you want a smooth door, a stain blocker matched to the room, and a sheen chosen for the colour. We work all across Newmarket and the surrounding York Region communities, and you can send us a few photos of your kitchen to start an itemized written quote.