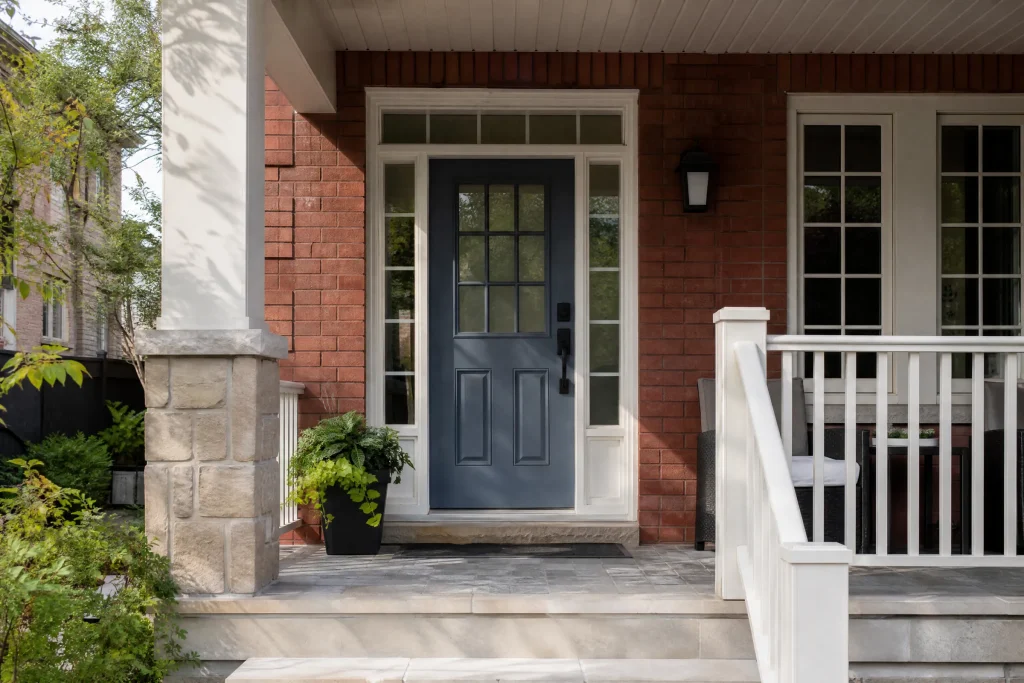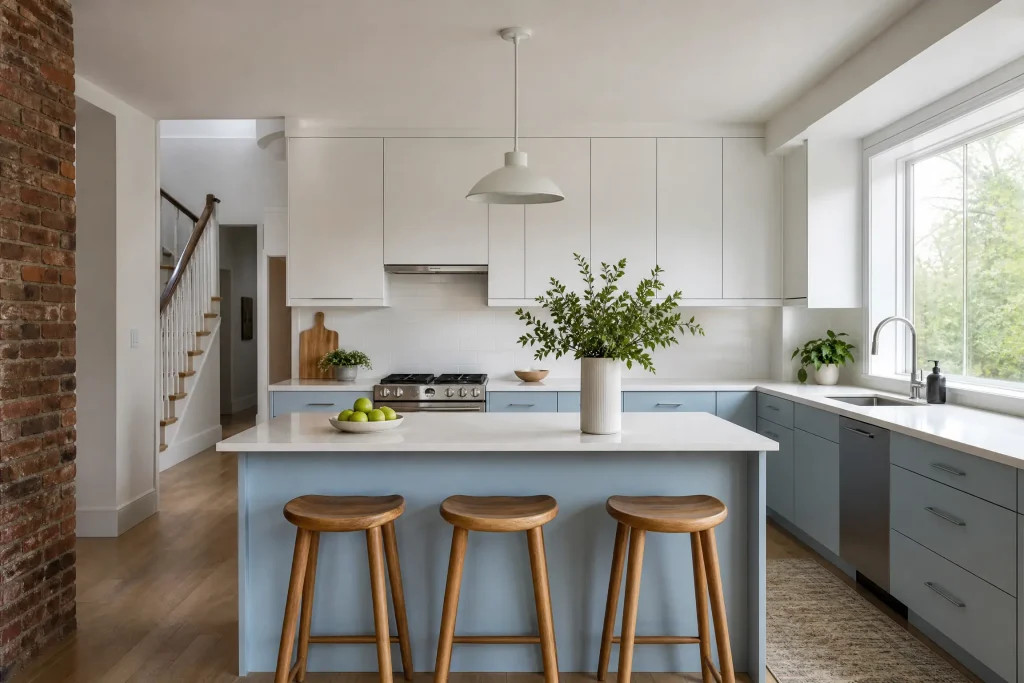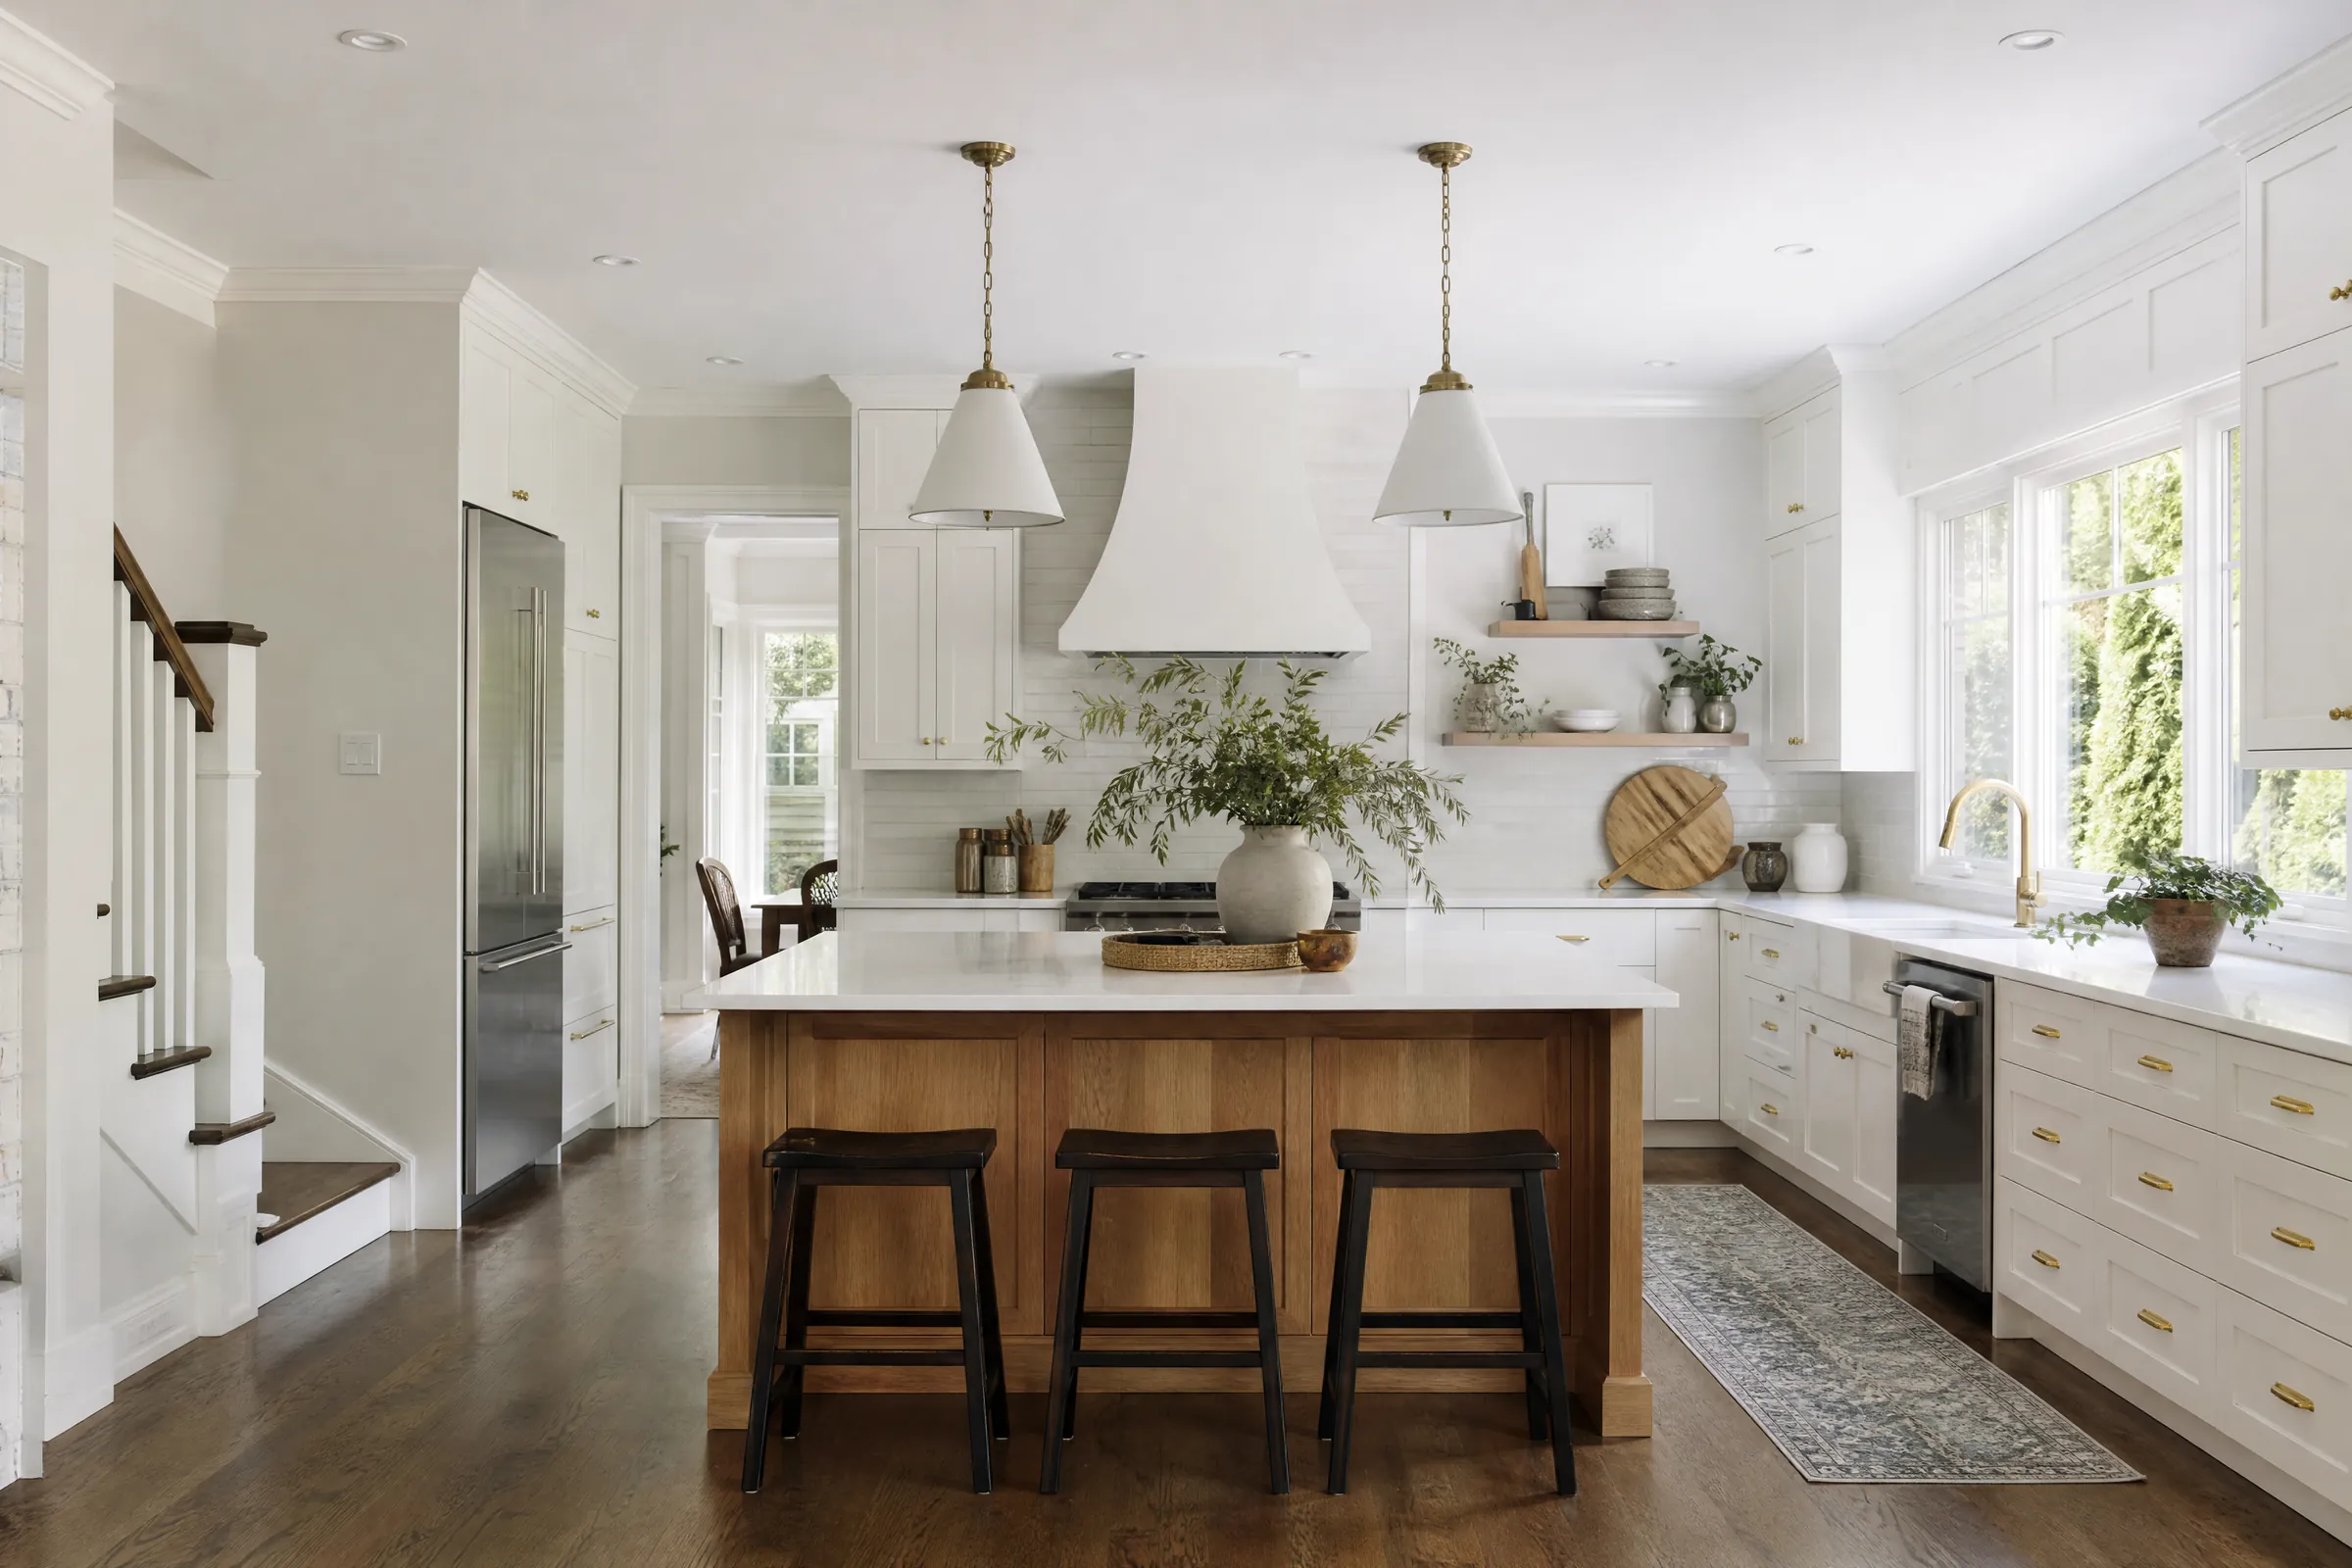

A Berczy Village kitchen with its original maple
The house is a detached two-storey on a quiet street in Berczy Village, the part of north Markham where most homes and townhomes went up within a few years of each other. Like many houses there, the kitchen was still the one the builder installed: solid maple shaker doors and drawer fronts on maple face frames, a run of tall uppers that reached the ceiling under a crown moulding, tall pantry cabinets on both sides of the fridge and an island with stools along one side. The boxes themselves were particleboard with white melamine interiors, which is how most production cabinets of that kind are made.
The owners had already replaced the counters with a pale grey quartz and the backsplash with plain white tile. Against those, the maple looked orange. Clear finishes on maple tend to deepen toward amber as they age, and this one had moved well past the pale blond it probably started as. The layout worked, the boxes were square and the drawers ran smoothly, so painting the wood made more sense than tearing anything out.
The scope covered every door and drawer front, the face frames, the island panels, the pantry, the crown moulding along the tops of the uppers and the narrow filler strips beside the fridge. The melamine interiors, shelves and drawer boxes stayed as they were.
What the factory lacquer was hiding
Factory cabinets of this type are usually finished with a catalyzed lacquer: hard, smooth and very resistant to chemicals. That is good for the cabinets and bad for paint, because almost nothing sticks to it unless the surface is cut back and given a primer made to bond. Wiping a finger across the doors left no mark at all, which told us the sheen was still intact over most of the kitchen.
The trouble spots were where hands and cooking had worked on the finish:
- The drawer bank to the left of the range had a faint tacky film from cooking grease, thickest along the top edges.
- The pantry door and the trash pull-out had darker patches around the knobs where hand oils had soaked into the lacquer.
- The sink base doors had worn through to bare maple on the bottom edge, and the wood there had gone slightly grey from water.
- One drawer front near the dishwasher had a shallow dent, about the size of a thumbnail.
The owners were also changing from round knobs to longer bar pulls, so every old knob hole had to be filled and new holes drilled in a different spot. Filled holes are one of the places a cabinet job can show its seams later, so we treated them as a repair in their own right rather than a quick dab of putty.
Before committing the whole kitchen, we primed a small patch on the back of a pantry door, let it cure, then scored a crosshatch through it and pulled tape across the cuts. The primer stayed down, which confirmed the sanding and primer combination we planned would hold on this particular lacquer.
How the kitchen was taken apart and prepared
Protecting a room the family still used
The floors got rosin paper taped at the seams, with drop cloths on top along the walking paths. The quartz was covered with corrugated board so a dropped tool would not chip it, the range and fridge were wrapped in plastic, and the stools moved to the dining room. We masked the inside edge of every face frame so that no primer or paint crept onto the melamine. The fridge stayed plugged in and reachable the whole time.
Labelling and removal
- Each door and drawer front got a numbered tag, and a matching number went on painter’s tape inside the box it came from.
- Hinges and screws went into bags marked with the same numbers, so every door went back on its own hinges.
- Doors and fronts were carried to a spray area we set up in the garage, walled in with plastic and vented to the outside.
Cleaning before any sanding
Sanding a greasy surface just drives the grease into the scratches, so cleaning came first. Every door, front and frame was washed with an alkaline degreaser and rinsed with clean water. The range-side drawers and the pantry door got a second pass, and we checked them with a dry white cloth until it came away clean.
Repairs and sanding
Old knob holes were filled from both sides with a two-part wood filler, which sets hard and does not shrink the way lightweight spackle does. Once cured, the patches were sanded flush and checked under a raking light. The dent near the dishwasher was filled the same way. The greyed edges on the sink base doors were sanded back to clean wood. All the lacquer was scuffed with fine sanding sponges until the gloss was gone evenly, paying attention to the inside corners of the shaker panels where a sponge tends to skip. Dust came off with a vacuum and tack cloths.
Bonding primer
A waterborne bonding primer went on everything: sprayed on the doors and fronts, brushed and rolled on the frames and island. The bare maple on the sink base edges got an extra coat. Once dry, the primer was knocked down with an ultra-fine sponge, filler spots were checked again and touched up, and new pull holes were drilled with a jig so each one lined up from door to door.
Spraying the doors, brushing the boxes
For the finish we used a waterborne alkyd cabinet enamel. It levels out more like an oil paint, so brush and spray marks flatten as it dries, yet brushes rinse out in water and the smell is mild next to a solvent product. It is usually dry to the touch within a few hours, though it keeps hardening for weeks afterwards.
Doors and drawer fronts were sprayed with an HVLP gun, backs first. Once the manufacturer’s recoat time had passed, each back got its second coat, and only then were the pieces turned to spray the fronts, again in two coats. Between coats we de-nibbed lightly with a fine pad to take off any dust that had settled. The edges of each door were sprayed with the gun turned sideways so the profile was fully covered rather than catching only overspray.
The face frames, pantry sides and island panels stayed in place and were finished by hand: a fine synthetic brush into the corners and joints, then a foam mini roller along the flat stiles to match the smooth sprayed look of the doors as closely as possible. They also received two finish coats over the primer.
Picking a warm white and a quiet sage
For the free colour consultation, the sample pots we carried in were brushed onto primed boards that could be held up against the quartz and the tile. The first white the owners liked on a paint chip looked faintly blue once it sat next to the grey stone, so they moved to a warmer white with a little yellow in it, which read as clean without turning cold. For the lower cabinets and the island they wanted something with colour but not loud, and a soft sage green won out over a navy and a darker green. We moved the sample boards around the room and looked at them in the bright morning light from the back window and again in the evening under the pot lights, which made the darker green look almost black.
Both colours went on in satin. It is easier to wipe than a flatter finish, and it does not show every small ripple the way semi-gloss can on a shaker panel. Today the warm white uppers run all the way to the ceiling, the tall pantries beside the fridge match them, the lower cabinets and the island sit below them in sage, and matte black bar pulls line up across the doors and drawers.
Keeping the house livable during the work
With the doors off, the kitchen still worked as a kitchen. The sink was cleared and usable at the end of each day, the fridge stayed reachable, and the drop cloths came up off the walking paths at night so no one tripped on them. We vacuumed, bagged waste and took the masking off any area that was finished, leaving the site tidy before we went home every evening. The garage spray area was closed up and swept at the end of each day as well.
Looking after painted maple
The finish is dry long before it is fully hard, so for the first few weeks it pays to be gentle. A few notes we left with the owners:
- Wipe with a soft damp cloth and a little dish soap. Skip abrasive pads, magic erasers and strong kitchen sprays.
- Dry water spills around the sink and dishwasher instead of letting them sit on the door edges.
- Small clear bumpers on each door stop paint-to-paint contact, which can stick while the enamel is still curing.
- We left a labelled jar of touch-up paint for each colour, every lid marked with the sheen and where it was used. A tiny artist brush is the right tool for nicks on the edges.
- The pull-out trash door and the sink base take the most wear, so check their bottom edges once in a while.
Why this approach fits newer Markham kitchens
Homes in Berczy Village and Cornell were mostly fitted with the same style of factory cabinets, so many of them are reaching the point where the wood tone looks dated but the boxes are perfectly sound. Our kitchen cabinet painting service is built around that situation: test the old finish, clean it properly, bond to it, and spray the doors for a smooth result. We do the same kind of work across Markham, from Unionville to Milliken, and in towns throughout York Region. If your kitchen has solid maple or oak under an old clear coat and you would like an itemized written quote, you can reach us here to book a visit.