
A dated kitchen is one of the most common reasons homeowners call a painter. Oak cabinets from the nineties, cream doors that have yellowed, or a colour that no longer suits the rest of the house can make a whole kitchen feel tired, even when the layout works and the cabinets are solid.
Painting the cabinets you already have is often a sensible alternative to a new kitchen, but it is not the right answer for every kitchen. This article explains how to tell the difference and what a proper cabinet painting job involves, so you know what you are comparing.
When painting makes sense
Painting changes the colour and finish of your cabinets. It does not change their shape, their layout or how they are built. It tends to be a good fit when:
- The cabinet boxes are sound. The sides, shelves and bottoms are dry, flat and firmly attached, with no swelling or delamination.
- The doors are in good shape. Solid wood, MDF and many painted or stained finishes take paint well once they are prepared properly.
- You like the layout. If the kitchen works the way you cook and store things, there is no need to rip out cabinets that are doing their job.
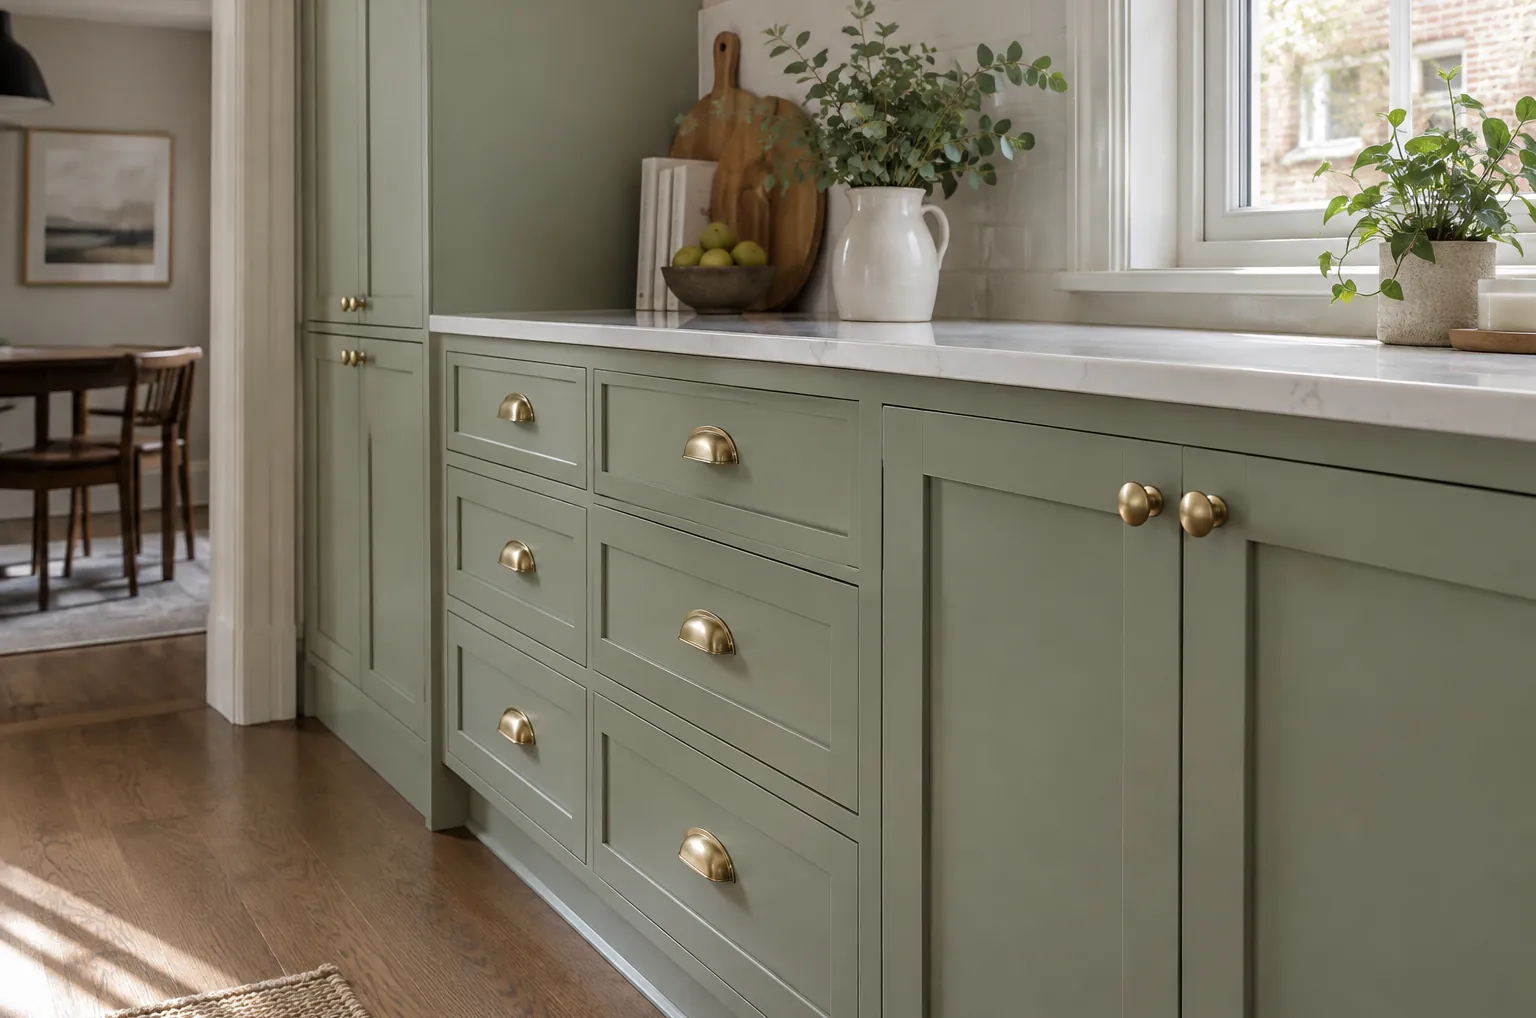
- You want a change of colour or style. Painting can take oak to white, cream to sage, or a single colour to a two-tone kitchen with darker lowers and lighter uppers.
- You want less disruption. Painting keeps your counters, backsplash, plumbing and appliances where they are.
When replacing is the better call
Painting is not a repair. Replacement, or at least partial replacement, is usually the better choice when:
- There is water damage. Particleboard under a sink that has swollen or crumbled will not be fixed by paint.
- The doors are peeling thermofoil. Thermofoil is a vinyl film over a core. When it starts lifting at the edges, painting over it does not hold well. Laminate and thermofoil that are still well bonded can sometimes be painted with a bonding primer, but peeling film has to go.
- The layout does not work. If you want an island, more drawers, a taller pantry or a different appliance arrangement, paint will not get you there.
- The cabinets are loose or broken. Sagging shelves, split face frames and failing joints are carpentry problems first.
Sometimes the answer is a mix: keep and paint the boxes, replace a few damaged doors, and change the hardware. A painter can tell you during the quote visit which parts are good candidates for paint.
What a proper cabinet painting job involves
Cabinets are handled more than any other painted surface in a home. Doors are opened dozens of times a day, and the areas around the handles collect oil from hands and cooking. That is why cabinet painting is a preparation job as much as a painting job. Skipping steps is the main reason painted cabinets chip or peel.
1. Protecting the kitchen
Counters, floors, the backsplash and appliances are covered before any sanding or spraying starts. The work area is masked off so dust and overspray stay where they belong.
2. Removing doors, drawer fronts and hardware
Doors and drawer fronts are taken off and labelled so each one goes back in exactly the same spot. Hinges, knobs and pulls are removed and kept together. Painting doors flat, off the cabinet, gives a far better finish than painting them in place.
3. Degreasing
Every surface is cleaned with a degreaser to remove cooking residue and hand oils. Paint does not stick to grease, and kitchen cabinets carry more of it than they appear to, especially near the stove and around the handles.
4. Sanding and filling
The existing finish is scuff-sanded so the primer has something to grip. Dents and chips are filled and sanded smooth. If you are changing hardware and the new pulls have a different spacing, the old holes can be filled at this stage. Oak has an open grain that shows through paint; if you want a smooth, grain-free look, the grain can be filled before priming, which adds time.
5. Priming
A bonding primer goes on next. It is what makes the new colour stick to an old, slick finish, and on stained wood it helps stop tannins from bleeding through a light colour.
6. Finish coats
The finish is applied in at least two coats, using a paint made for cabinets or furniture rather than ordinary wall paint. Spraying gives the smoothest result; brushing and rolling is also possible and leaves a slightly different texture. Either way, each coat needs to dry properly before the next.
7. Curing and rehanging
Cabinet paint can feel dry to the touch long before it is fully hard. Doors are handled gently while the finish cures. Once they are ready, everything is rehung, the hinges are adjusted so the doors line up, and the hardware goes back on.
Living with the work
Because the doors are off for part of the job, plan for a few days when your shelves are open. It helps to clear out the cabinets before the work starts, or at least empty the ones nearest the stove and sink. Your kitchen can usually stay in use with some care, but expect to cook simply for a while.
If smell is a concern, ask about low-odour and Zero‑VOC options. Cabinet products vary, and your painter can explain which ones suit your doors.
How to decide
A few questions can settle it:
- Are the boxes solid and dry? If yes, painting is on the table.
- Do you like the layout? If yes, painting keeps what works.
- Is the issue only colour and style? If yes, painting is likely the more practical route.
- Is anything swollen, peeling or broken? If yes, those parts need repair or replacement first.
You can see an example of the work on our kitchen cabinet painting page, which walks through the steps and shows a before and after. If you are also refreshing the walls and trim around the kitchen, our interior painting service can be quoted at the same time.
Talk to us about your cabinets
If you are weighing up paint against replacement, get in touch with All Painting. We will look at your cabinets, tell you honestly whether they are good candidates for paint, and give you a free, itemized written quote that lists the prep, the products and the colours.