
The suite and the job
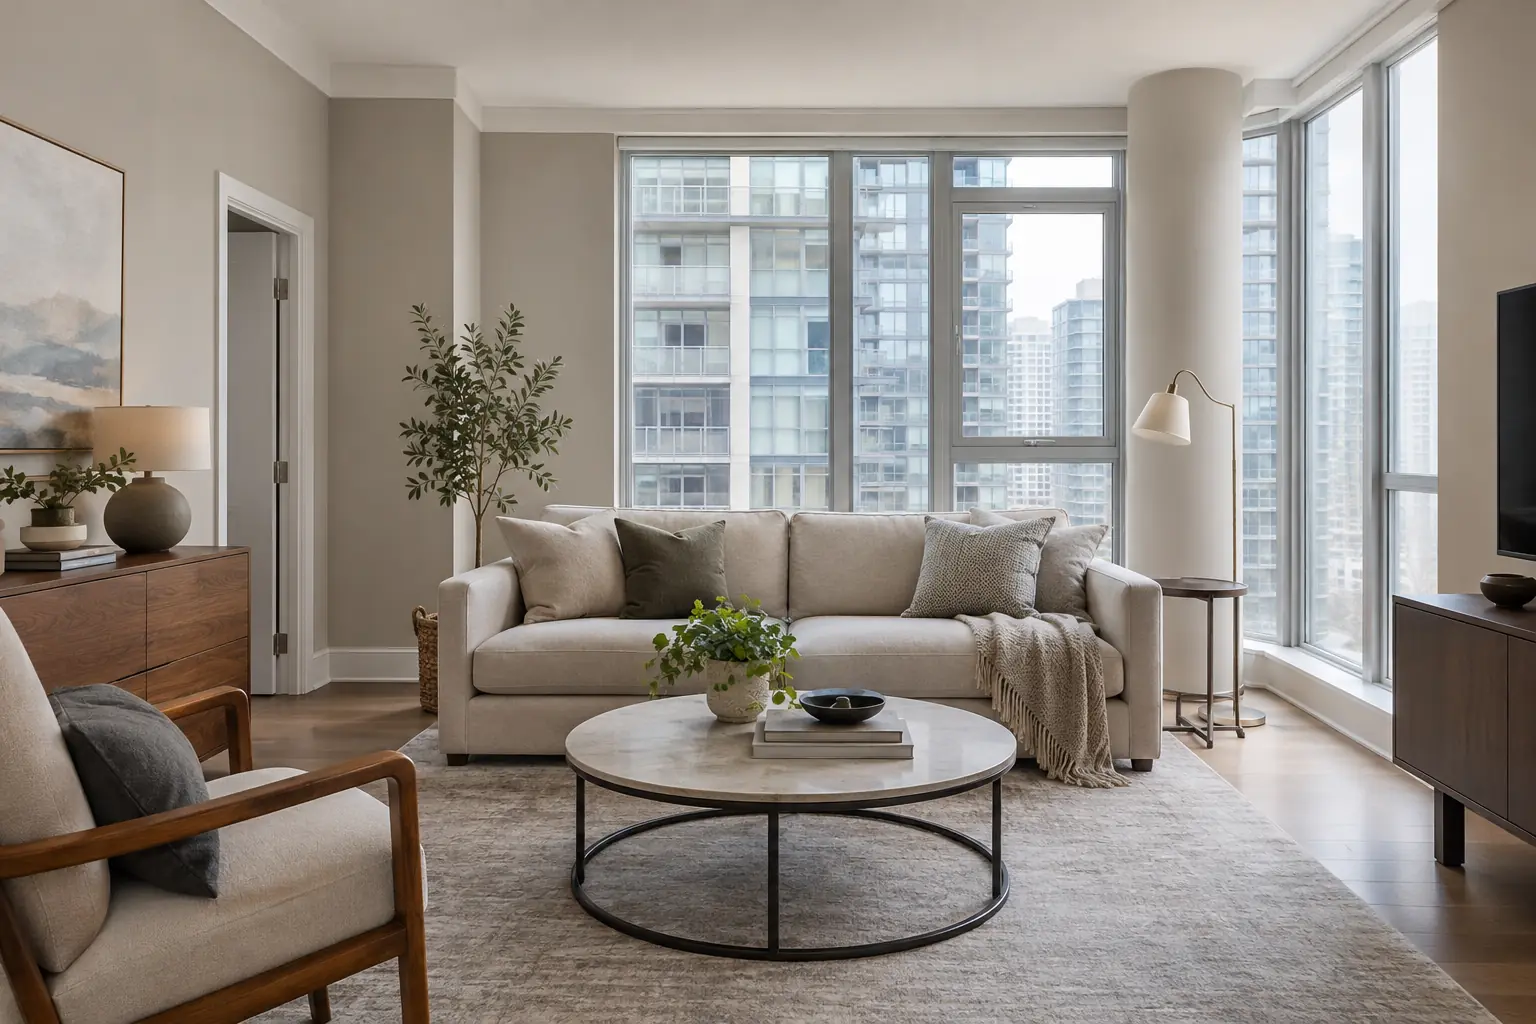
Markham’s housing runs from heritage homes in Unionville and Markham Village to newer townhomes in Cornell, and in between are the condo buildings that house many people who want less to maintain. This suite is a one-bedroom-plus-den on a middle floor of one of those buildings, with an open plan that puts the kitchen, dining area and living room in one long space. The kitchen sits at the back, the living area faces the windows, and almost every free wall in between was hung with framed art.
The owner wanted the builder white replaced with a pale warm grey throughout: open living area, den, bedroom and hall, with ceilings, bulkheads and trim refreshed in white. The art was going back up afterwards, in the same arrangement.
What years of framed art leave behind
When the frames came down, the walls told the story. There were small nail holes, plastic anchors, several self-drilling anchors and, behind the heaviest pieces, toggle bolts that had left holes larger than a thumb. Some hangers had been moved over the years, so clusters of old holes sat just beside the current ones. Elsewhere the walls were in fair shape: some scuffs at the den door, a dent behind the sofa, and hairline cracks at the bulkhead corners where the drywall meets at an inside angle above the kitchen.
The windows added their own test. The living area faces a wall of glass, and light coming in low across the walls shows every ridge of a patch and every change in sheen, so repairs had to be sanded truly flat rather than just filled. Each patch got a raking-light check with a lamp angled along the surface before primer went on.
Two other things shaped the work. The kitchen’s upper cabinets and tile backsplash meant long cut lines at eye level, the first thing anyone sees from the living room. And condo buildings typically have firm rules for trades, so we planned around the usual ones: work on weekdays within set hours, the service elevator booked through the concierge, no storage in the hallway, and nothing paint-related down the garbage chute.
Protection and preparation
Recording the art before it came down
Before touching a frame, we drew a simple sketch of each wall and measured where every hanger sat, from the floor and from the nearest corner. The frames were then wrapped in moving blankets and stood together, glass facing in, against a wall we were not working on, and the sketch was taped to a cabinet door where everyone could see it. After painting, the sketch gave exact positions for rehanging without guesswork or new holes.
Common areas and the suite
- Each morning the elevator pads went up and a runner went down along the hallway carpet from the elevator to the door. Both came out again at the end of the day.
- The floors inside were covered fully, with extra protection under the work area at the kitchen.
- Furniture moved to the middle of each space and was covered. Countertops were covered with paper, and the tile backsplash was masked along its top edge.
Repairing the anchor holes
Plastic and self-drilling anchors were pulled or pushed through, and the toggles were removed. Small holes were filled flush with spackle. The larger toggle holes needed a backing so the filler would not sink, so each took a self-adhesive mesh patch and two thin coats of setting compound, feathered out wide and sanded smooth with fine sponges attached to a vacuum. Clusters of old holes were treated as one patch so they would not show as a group of tiny dimples.
Bulkhead corners
The cracks at the bulkhead corners came back because they had only been caulked before. We cut them open, bedded paper tape into compound across the joint, and finished with two thin coats, which holds better on an inside corner that moves slightly with the building.
Sealing the repairs
Every patch was primed with a drywall primer-sealer. Compound absorbs paint differently from the painted wall around it, and without a sealer the patches would show as dull spots in an eggshell finish, especially in the light from the windows.
Painting each surface
Ceilings and bulkheads
The drywall ceilings and the faces of the bulkheads went first, two coats of flat white, rolled from the window wall back toward the kitchen. Flat hides small seams on a ceiling and gives a soft, even surface overhead.
Walls
The walls were cut in by hand along the ceiling, corners, window returns and trim, then rolled with microfibre rollers in sections. Along the kitchen we brushed a slow, careful line where the wall meets the upper cabinets and the top of the backsplash, without relying on tape against the cabinet finish. Two coats of eggshell went on, the second after the first had reached the recoat time on the label. The pale grey covered the white evenly in two coats without a tinted primer, since the jump in colour was small.
Trim and doors
Baseboards and door casings were cleaned, scuff-sanded and given two coats of white satin enamel. Satin was chosen over semi-gloss to keep the trim quiet against a soft wall colour and the many picture frames.
Why a pale warm grey
The owner was after a background that would let the art stand forward without the starkness of builder white. At the colour consultation we brought pale grey sample pots, warm ones alongside a neutral and a grey leaning cool, and brushed large swatches beside where the main pieces would hang and on the wall facing the kitchen. Seen against the kitchen counters, the cool grey looked faintly blue and the neutral one went flat in the evening. The warm grey chosen keeps a slight beige undertone that looks soft in morning light and holds its warmth under lamps at night, and the framed art reads clearly against it. The ceilings stayed white to keep the space feeling tall.
Because the suite has sealed windows and shares air with the building, the owner asked for Zero‑VOC paint on the walls and low-odour paint for the ceilings, which also kept neighbours in the hallway from noticing much.
A tidy suite at the close of every day
The owner worked from home in the den for part of the job, so the den was painted early and handed back while the rest carried on. Each afternoon, before the end of the usual condo working hours, sanding dust was vacuumed, tools were cleaned in a lidded bucket system, empty cans went down to our vehicle rather than any building bin, and the hallway protection came up. The art was rehung from the sketch once the walls had dried, using the marked positions.
Today the open plan reads as one soft, warm space from the kitchen to the windows, with crisp white trim and ceilings, and no trace of the old anchor clusters behind the frames.
Upkeep for the owner
- Leave fresh eggshell to cure for a few weeks before washing. After that, a soft cloth dampened with a drop of dish soap lifts most marks.
- When moving art later, use the smallest hanger that holds the piece. Any old holes can be filled with spackle and painted over using the room-labelled cans in the hall closet.
- Hairline lines at bulkhead corners can reappear in any building as it moves. Small ones touch up easily; a recurring crack is worth retaping.
- Keep the touch-up cans out of direct sun and away from freezing in a storage locker.
Condo work in Markham
Condo buildings in Markham ask for the same things the larger towers in Toronto do: a booked elevator, work within set hours, and protection for common areas. Our condo suite painting is planned around those rules first. We have worked in homes across the GTA since 2010, and our Markham painting page covers older homes and new subdivisions as well as suites, with more jobs listed for York Region. If your building has a rulebook, send it with your quote request and we will work to it.