
The house and its door
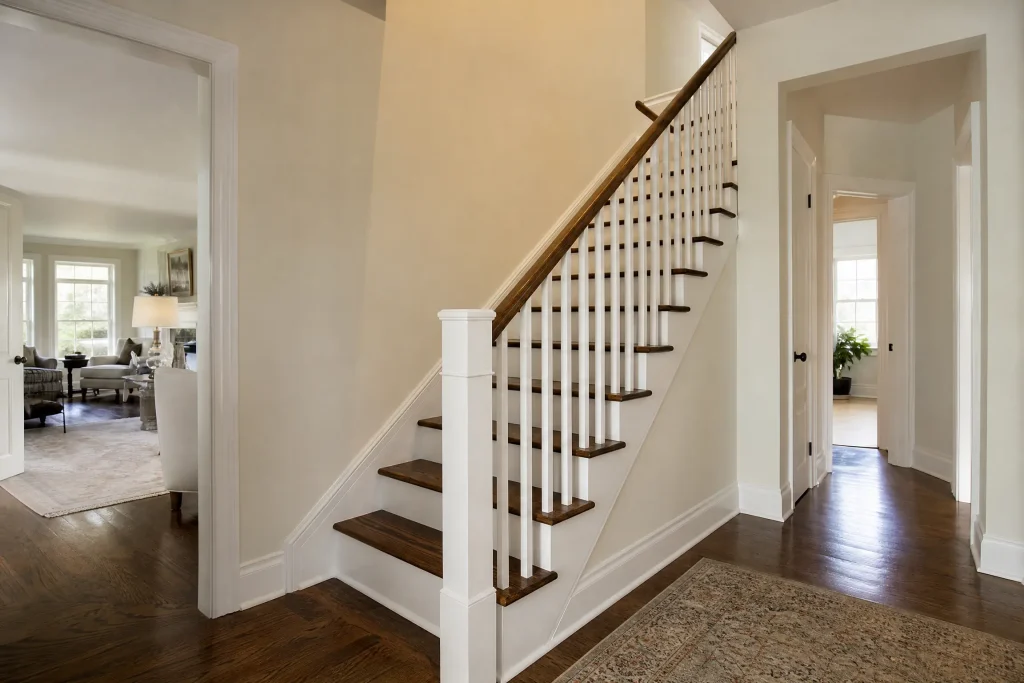
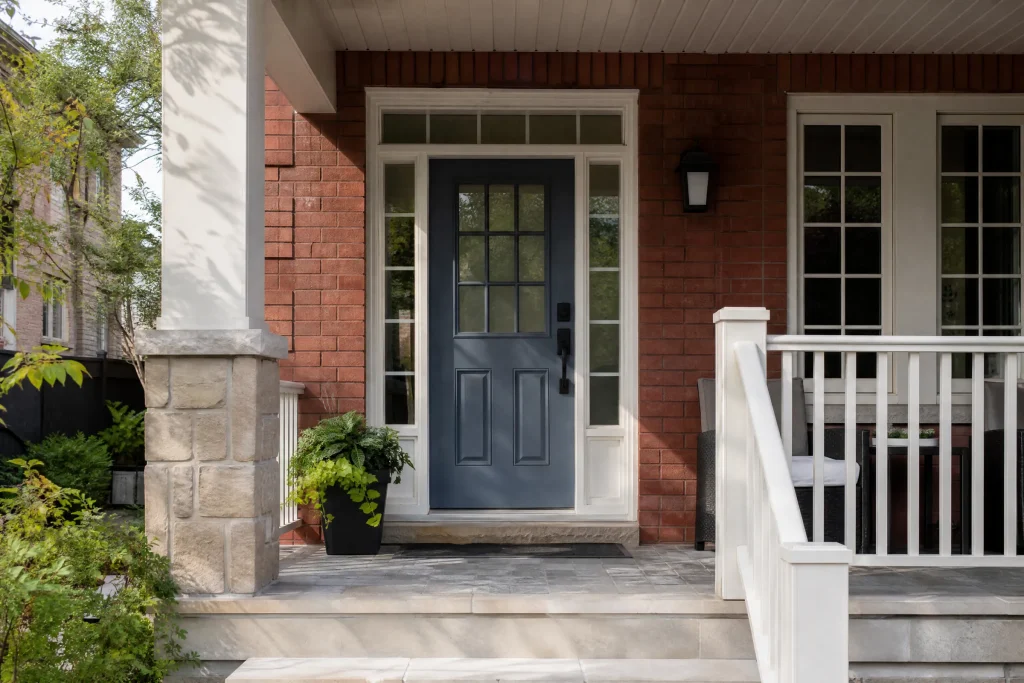
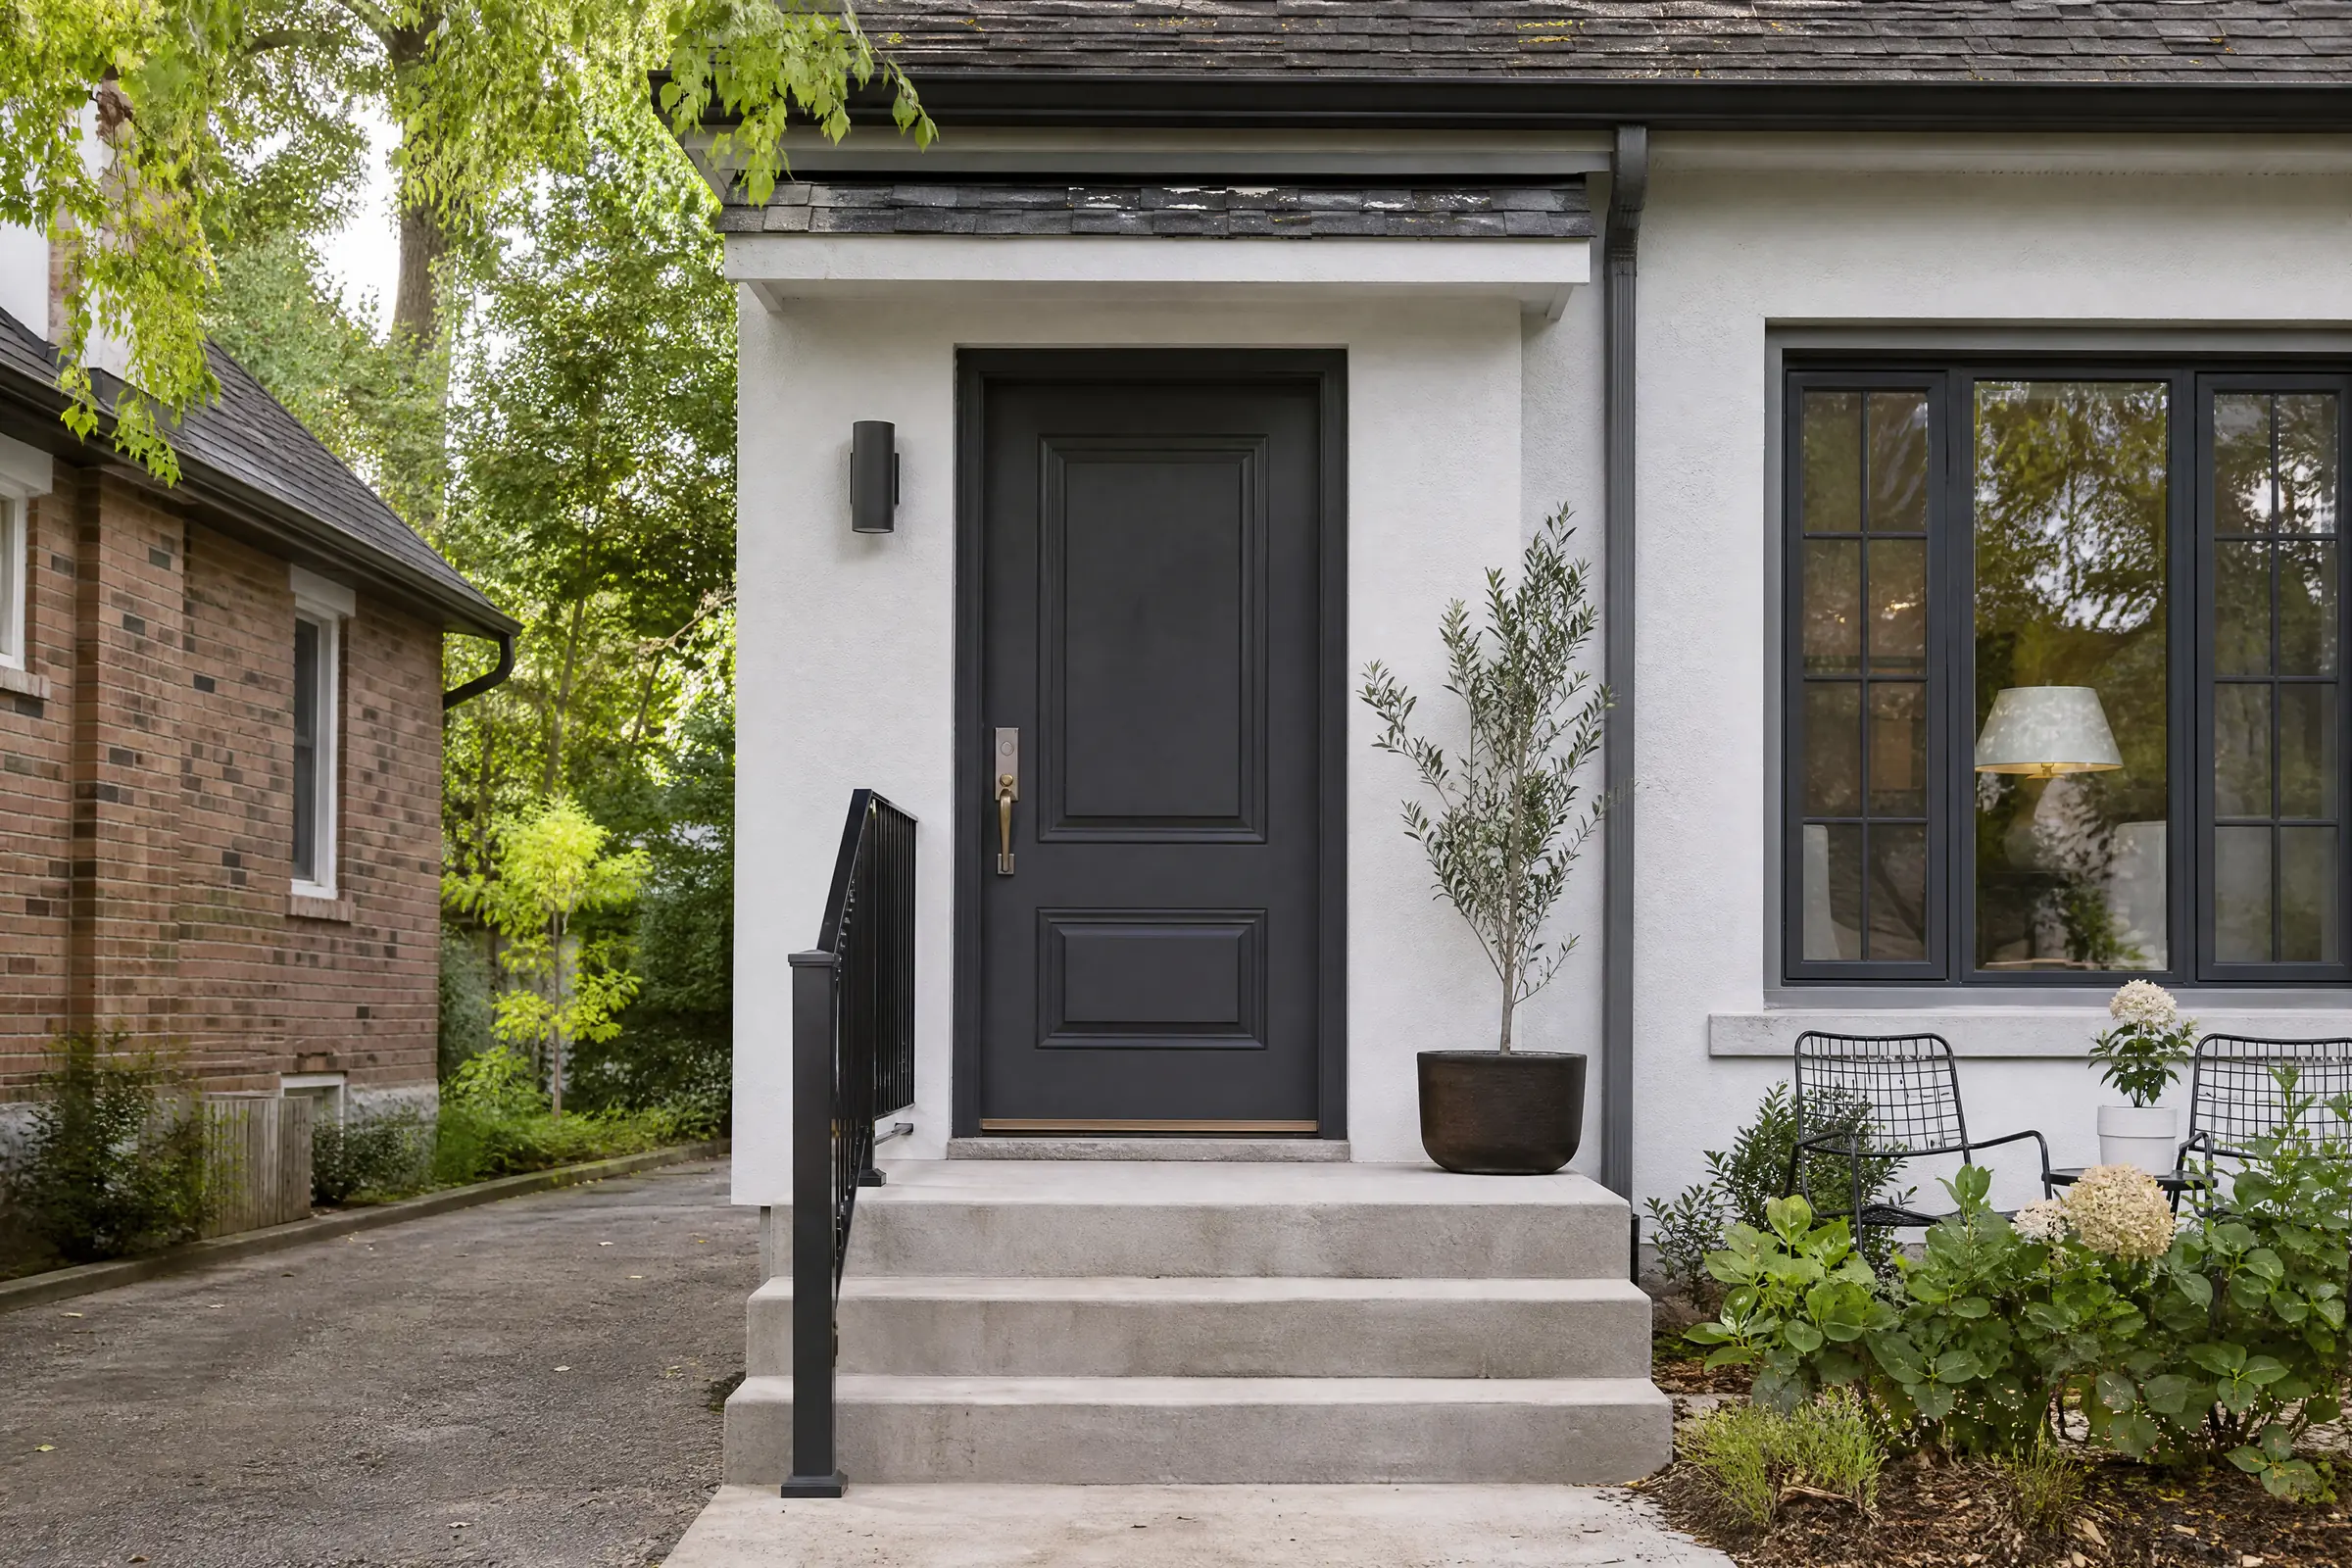
Bayview Hill sits on the east side of Yonge Street. Its streets are mostly detached houses, a good share of them with two-storey entry halls and open stairs just inside the front door, and this home fits the type: a front door with a single glass sidelight, a stucco surround in light grey with ornamental grasses along the path, and inside, a two-storey foyer with a curved staircase.
The door is solid wood and had always been painted. Over the years it had been repainted several times in a deep red, the last coat clearly brushed over the earlier ones without much prep. The owners wanted a modern charcoal with a high-gloss finish, and they wanted the door to stop sticking every July.
Too many coats and the wrong order
Two problems had grown out of the same history. On the panels, the newest red coat was peeling off in flat sheets, exposing an older red underneath that was glossy and hard. On the edges, layer after layer of paint had built up until the latch side rubbed against the jamb whenever summer humidity swelled the wood. Someone had tried to fix that by planing a little off the top corner, which left raw wood that had greyed.
Finding out what was underneath
Peeling in sheets often means latex paint was put straight over oil-based paint. We confirmed it with a simple test on the hinge edge: a cotton swab dampened with denatured alcohol softens latex and leaves colour on the swab, while oil paint does not react. The top coat came off on the swab; the layer beneath stayed hard and clean. That told us any new finish had to start with a primer that bonds to old oil paint.
Why gloss raised the bar
A gloss finish reflects light like a mirror, so it shows every ding, every patch edge and every brush mark that a satin finish would hide. The prep on this door had to be closer to furniture work than to a typical exterior repaint, and the coats had to be laid on with the door flat so they would level out rather than sag.
Taking the door down and protecting the foyer
The two-storey foyer gave us a dry, bright place to work, out of the road dust and sun. The plan was agreed with the owners first, since it meant the front hall would be a workspace.
- The hardwood floor of the foyer was covered with floor protection board, taped at the seams, with drop sheets on top. The bottom stair treads and the newel post were wrapped, and plastic was hung over the closet doors nearby.
- The hardware came off and was bagged and labelled, and the slab was lifted off its hinges and laid on padded trestles.
- The opening was closed with a fitted temporary panel at the end of every working day, and the owners used the door from the garage into the house.
Prep, surface by surface
The panels
The peeling latex was lifted with a carbide scraper, which removes loose paint cleanly without digging into wood. What remained was the hard oil layer, which was sound. It was sanded with 120 grit to remove the ridges left by the peeled coat, then 180 grit to smooth the transitions so no outline of the old peeling would show through gloss.
The edges
Every edge was taken back to bare wood. That removed the built-up layers that had caused the binding and the greyed spot where the corner had been planed. We checked the gap at the jamb with the slab hung briefly before priming, and it was even all round once the paint thickness was gone. Bare edges were sealed with primer immediately, since unsealed edge grain absorbs moisture and swells.
Fairing for a gloss finish
Every ding and open joint between the panels and the rails was filled with a fine exterior filler, and small scratches were skimmed with glazing putty. Each fill was sanded flush and checked with a work light held low across the surface, which shows hollows the way sunlight on gloss would. Some spots needed more than one round of filling before they disappeared. The whole slab was then sanded with 220 grit and wiped with a tack cloth.
Primer
An alkyd bonding primer went over the entire slab, panels and edges. It grips the old oil layer and seals the bare wood and the fills. Once dry, the primer was sanded lightly with 320 grit, which is where any last flaws become visible. A few last pinholes were filled and spot-primed.
Applying the gloss charcoal
The finish is a waterborne alkyd enamel in gloss. It behaves much like an oil enamel, levelling out to a smooth surface and drying hard, but it cleans up with water and has much less odour, which mattered with the door inside the house. Low-odour options were part of the reason the owners were comfortable with the foyer being used as the workspace.
With the slab lying flat, each coat was brushed on in a set order: the panel mouldings, the panels, the middle rail and lock rail, the top and bottom rails, then the stiles, each finished with one light stroke along the length. Laid flat, the enamel levels out by itself and brush marks melt away instead of running toward the floor. The second coat went on once the first had passed its recoat time and been sanded lightly with 320 grit. The second face was done after the first was hard enough to turn over on padded supports. Both faces and every edge received two full coats.
Sidelight frame and brickmould
The sidelight is a separate fixed unit and stayed in place. Its frame and the wood brickmould were cleaned, scuffed, primed and brushed with two coats of the same gloss charcoal, with tape along the glass and the stucco edge masked with plastic. Cracked sealant between the brickmould and the stucco surround was replaced before the paint went on.
How the colour and sheen were settled
During our free colour consultation we painted sample boards in a range of charcoals: a warm charcoal with a brown cast, a neutral one and a cooler one with a hint of blue. The owners looked at them propped in the doorway in the morning, when the entry is in shade, and in the evening, when the setting sun lights up the stucco.
The warm charcoal looked muddy next to the cool grey stucco. The neutral charcoal held its colour in both lights and is what is on the door now. They also compared satin and gloss samples side by side; the gloss gave the modern entry they were after, and they accepted the careful prep that came with it.
Each day’s cleanup
Sanding dust was vacuumed from the protection board, trestles and stair wrapping every evening, and the plastic sheeting was checked and re-taped. Brushes were washed out and empty cans removed. The temporary panel was fitted and secured before we left. On the last visit the door was rehung, the gaps checked again with the new paint on, the hardware refitted, and the foyer floor uncovered and swept.
What the owners have now
The entry is a deep, neutral charcoal, so dark it reads almost black, with a glassy shine and a long brass pull, the slab and the sidelight frame matching exactly. The panel mouldings read crisply, and in raking light the surface is smooth, with no outline of the old peeling. The door now closes with an even gap all round.
Caring for a gloss door
- Wipe off road grit with a soft damp cloth rather than dry dusting, which can leave fine scratches in gloss.
- Give the finish a few weeks to cure fully before using adhesive hooks or wreath hangers.
- If a chip appears, sand the edges lightly and touch it up with the labelled charcoal; small gloss touch-ups blend in far more easily than large ones.
- Keep an eye on the bottom edge and the sealant around the sidelight.
Why it makes sense in Richmond Hill
A street-facing door in Richmond Hill takes sun and the grit thrown up by traffic, and the large homes on both sides of Yonge tend to have big, prominent entries that sit right on the front elevation. Many of those doors have been repainted more than once without the old layers being dealt with, and binding, peeling and visible brush marks follow. We handle that kind of front door refinishing as a stand-alone job, and our Richmond Hill page covers the wider housing picture, from Richvale up to Oak Ridges. We work across York Region on doors, trim and interiors alike. For a door that binds or peels, contact us with a few photos; the stripping, filling, primer and gloss coats will each appear as their own line in a written quote.