
A small house near the lake
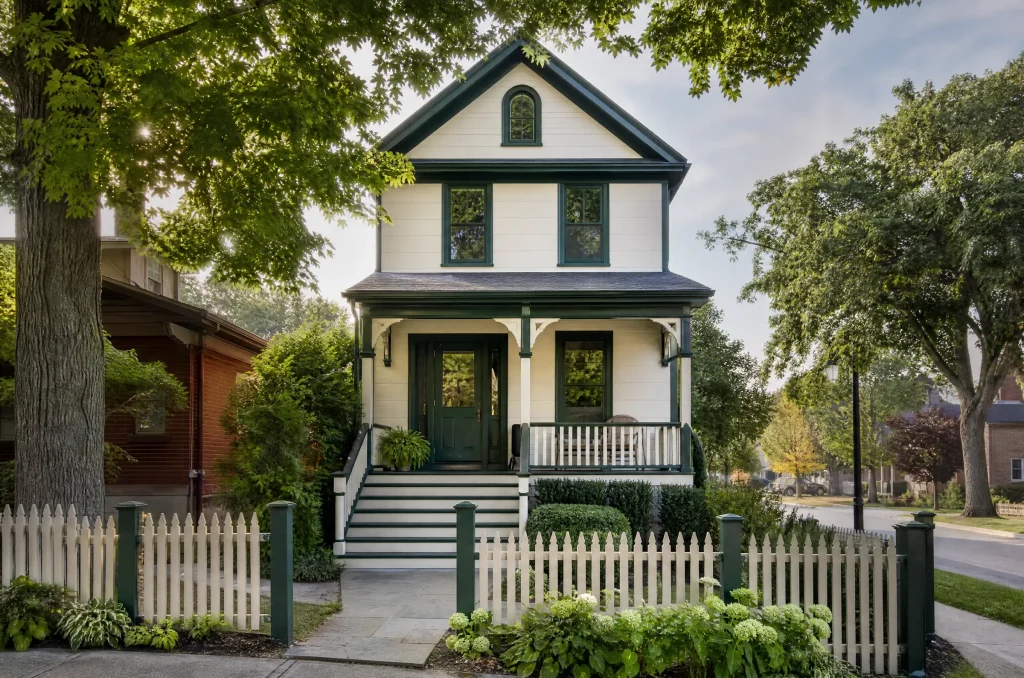
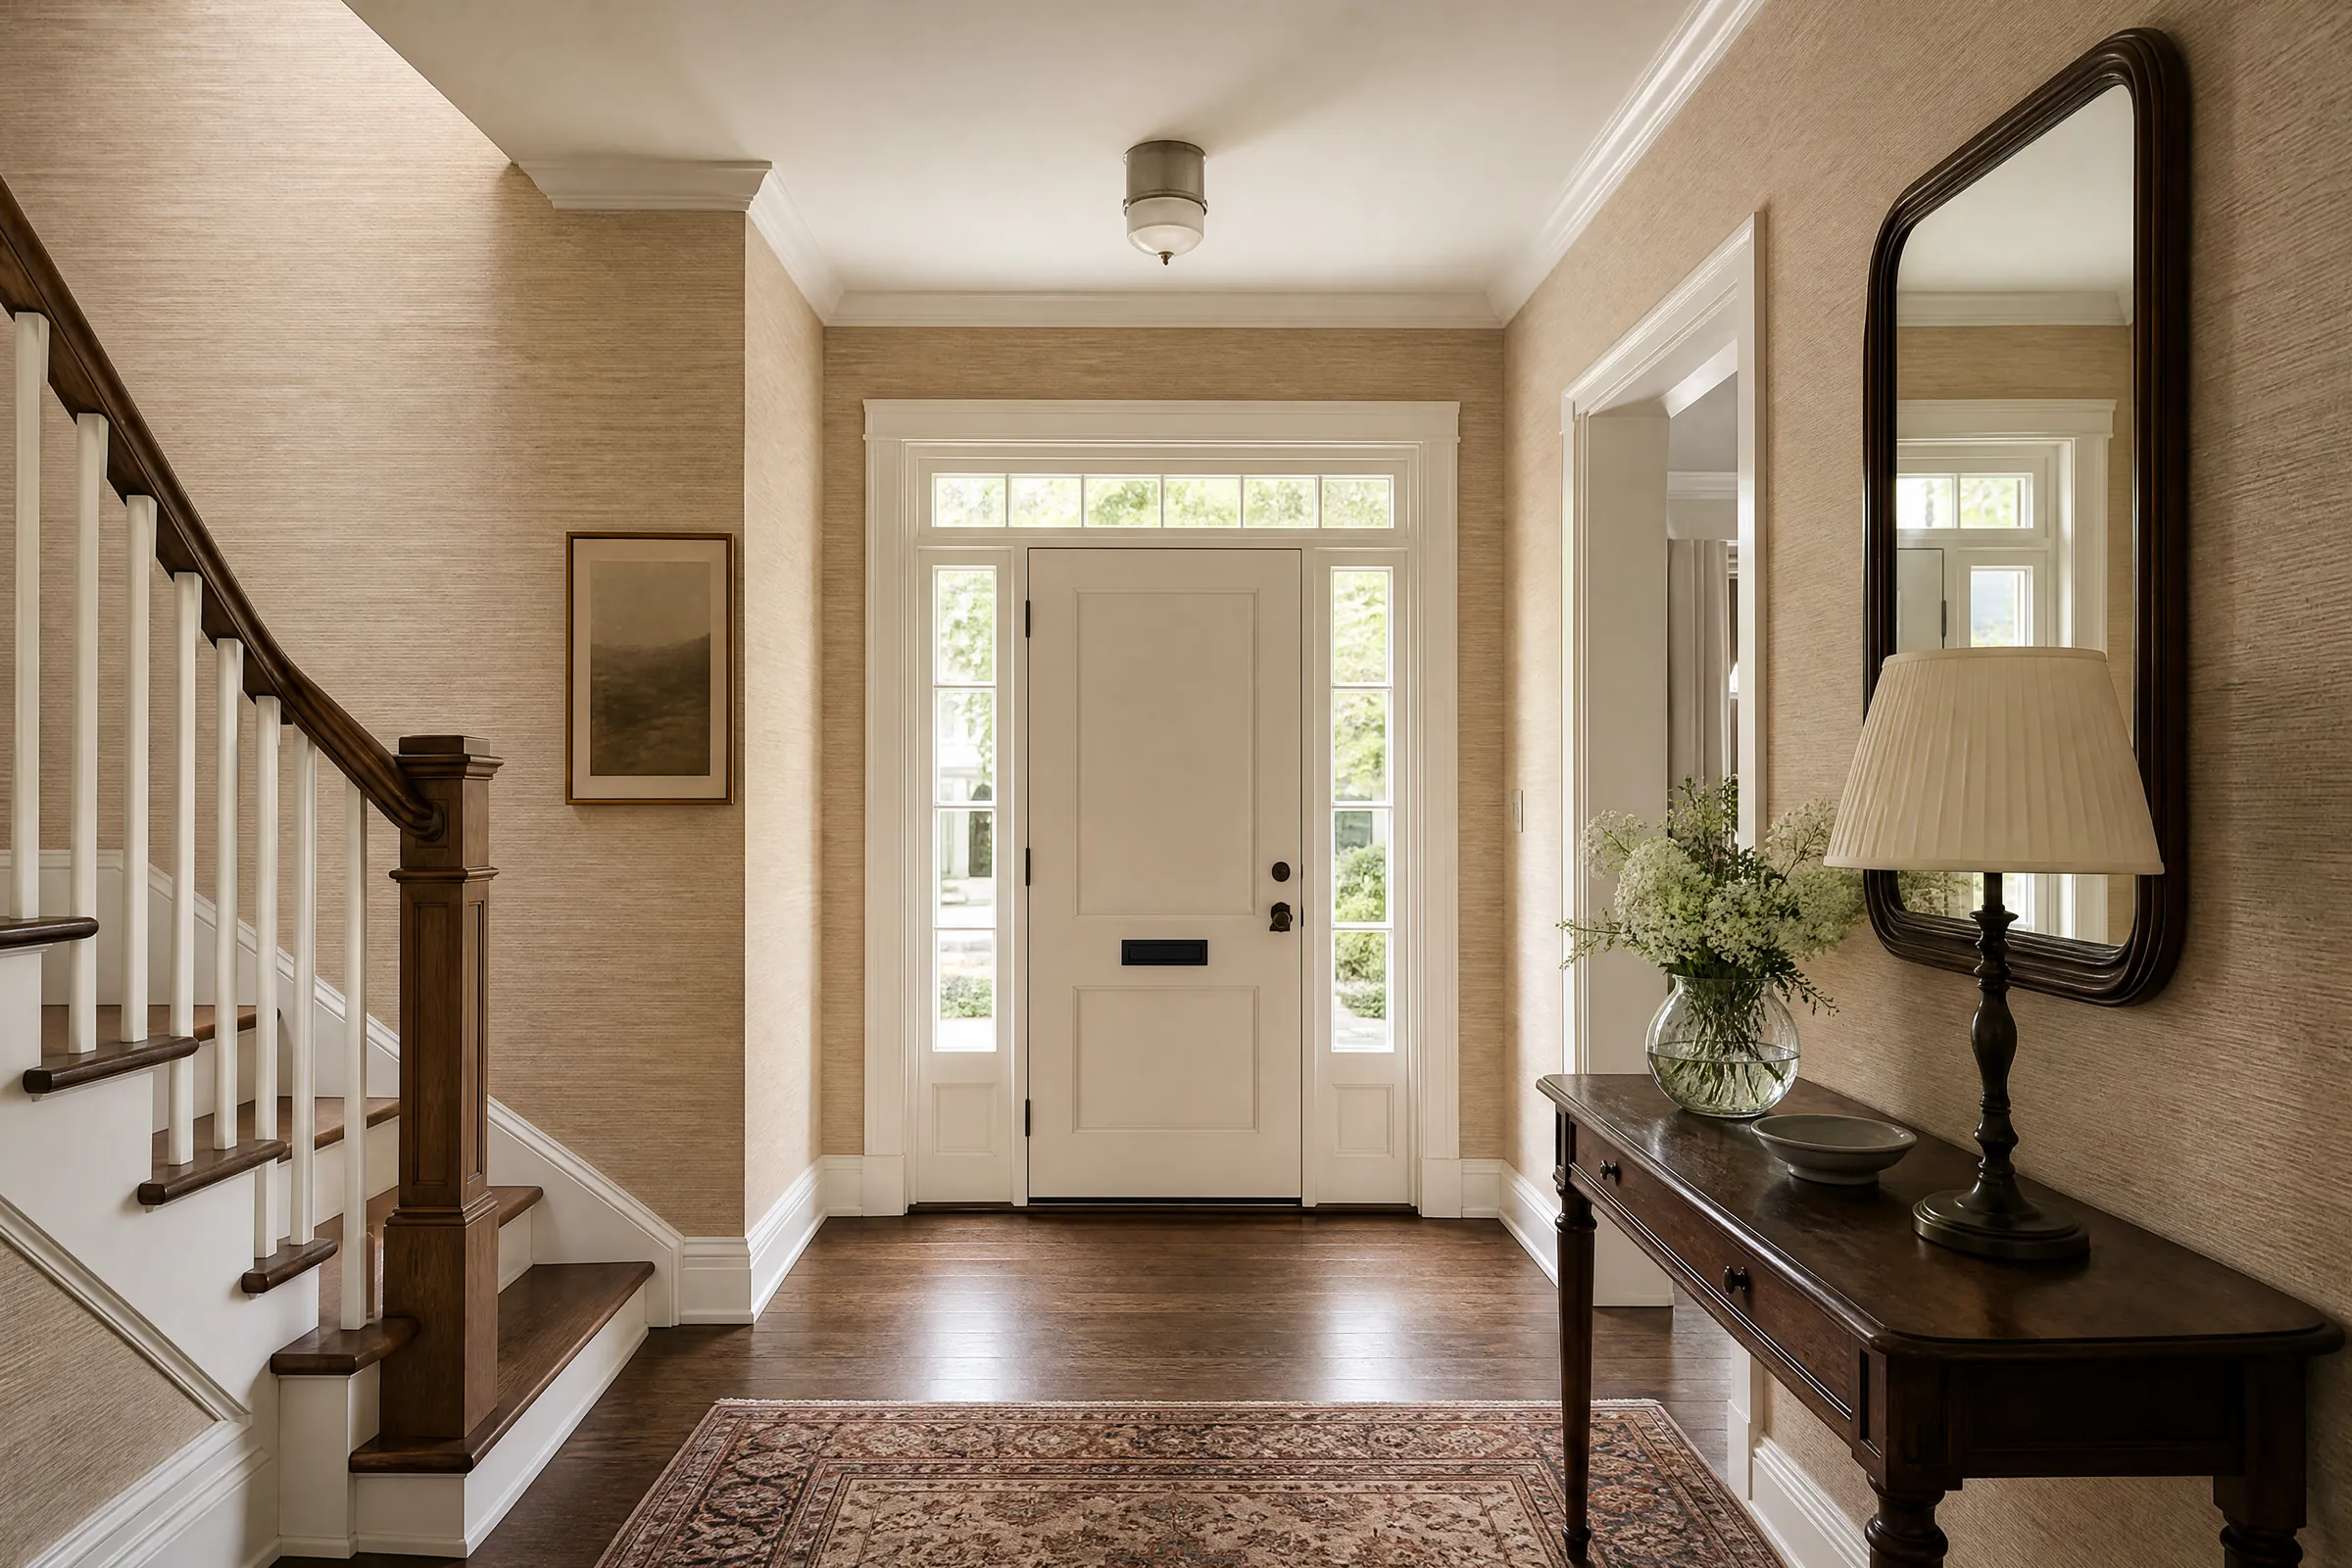
Close to downtown Oshawa and down toward Lakeview, the streets are full of postwar houses with modest footprints, and many still have their original plaster walls and trim that has been painted several times. This was one of them: a storey-and-a-half on a quiet street, with a narrow front hall, a living room facing the street and a kitchen across the back.
Over its life, the house had been wallpapered by several owners, each one papering over the last. The current owners wanted all of it gone from the main floor. They wanted the hall and kitchen painted, and on the long living room wall, where they keep a wood sideboard, they had chosen a deep navy paper with a fine gold geometric line.
Layer upon layer, and a hidden problem
Peeling back an edge by the front door showed us the history. The top layer was a printed paper from more recent decades. Under it was a heavier textured paper, and under that, a thin floral paper pasted straight onto the plaster. In places, the middle layer had been painted over too, which seals the paper and keeps water out.
The kitchen was different. It had a single layer of washable vinyl. When we lifted a corner on the back wall, the outside wall of the house, the plaster behind the vinyl was spotted with grey-black mildew. Vinyl does not breathe, and on a cold exterior wall in a house that gets damp air off the lake, moisture that condensed on the plaster had been trapped behind it.
What made this job slower
- Painted-over paper repels water, so soaking alone would not reach the layers below.
- Old plaster can be soft in places, especially near windows and corners, and has to be steamed and scraped carefully.
- The kitchen wall needed cleaning and drying before any primer, which could not be rushed.
Setting up for wet, steamy work
Steam and paste make a mess, so protection went down first. The sofa, sideboard and kitchen table were huddled away from the walls under plastic. Floors were covered with plastic along the walls and canvas drop cloths over it. The hot water radiators were wrapped, the front door was covered inside, and switch plates came off with the circuits turned off at the panel. In the kitchen, counters and the stove were covered and the fridge was pulled out from the wall.
Removing the paper, room by room
Hall and living room
Plaster tolerates steam far better than drywall, which makes a steamer the right tool here. We held the plate against the wall for a slow count, long enough for the heat and moisture to soften every layer and its paste, then lifted them together with a broad scraper. Where the painted-over layer resisted, we scuffed it lightly with coarse sandpaper to open the paint so steam could get through. Each section came away in thick, soggy sheets that went straight into bags.
Around the window casings and outside corners, the plaster was softer, so steam time was kept shorter and the scraper was held flatter to avoid gouging.
Kitchen
The vinyl face was peeled off dry. The paper backing underneath was perforated lightly with a scoring tool and soaked, then scraped. With the bare plaster exposed, we could see the full extent of the mildew: concentrated along the bottom half of the exterior wall and in the corner behind the fridge.
Cleaning, drying and repairing
- Paste removal. Every wall was washed with hot water to remove the old paste, rinsed, and checked by running a palm across it. Paste left behind can make paint crack and stop new wallpaper from bonding evenly.
- Mildew treatment. The kitchen wall was scrubbed with a mildew cleaning solution and a nylon brush, rinsed, and left with a fan and the windows cracked open until a moisture reading showed it was dry. We suggested to the owners that the kitchen range hood be vented outdoors and used whenever they cook, since that is the main source of moisture in the room.
- Plaster cracks. Stripping the paper exposed hairline cracks, especially above doorways. We widened each one a touch with a knife, bridged it with mesh, packed it with setting compound and topped it with a lighter mud.
- Loose spots. Some areas in the hall had come loose from the lath under the paper. They were cut back to firm plaster and rebuilt with setting compound in layers.
- Smoothing the feature wall. The living room wall that would take the new paper was skimmed and sanded to an even finish, because a dark paper with fine lines shows every ridge underneath it.
Primers chosen for each wall
The cleaned kitchen exterior wall was sealed with a stain-blocking primer, which locks down any staining the mildew left and gives the paint a sound base. The hall and the remaining living room walls, which carried old paint in places, got a bonding primer. The feature wall was primed with the same bonding primer, sanded lightly once dry, so the paste would have a uniform, sealed surface rather than raw, thirsty plaster.
Hanging the navy and gold paper
The paper the owners had chosen was a non-woven, paste-the-wall type. Rather than pasting each strip on a table, the paste is rolled straight onto the wall, one drop width at a time, and the dry paper is pressed into it. Non-woven paper does not expand when wet, so it can be hung immediately and its seams stay tight.
- We found the centre of the wall, where the sideboard sits, and centred a drop on it so the geometric pattern would be symmetrical behind the furniture.
- A plumb line was set with a laser, since old plaster walls are rarely true. The first drop went up to it and was smoothed out from the centre.
- Each following drop was butted to the last with the gold lines matched exactly, which on a fine geometric pattern means checking the match at eye level and again near the floor.
- At the ceiling and baseboard, the paper was trimmed with a fresh blade against a wide knife. Paste on the face was wiped off immediately with a damp sponge, since gold inks can dull if paste dries on them.
Paint for the hall, living room and kitchen
For the hall and the unpapered living room walls we chose eggshell, two coats, with brushwork along every edge before the roller. The kitchen got two coats of satin, which stands up better to steam and grease and is easier to wipe. Baseboards and door casings were cleaned, sanded to dull the old gloss and given two coats of semi-gloss. No second coat went on anywhere until the first had sat for its full recoat time. We used zero‑VOC paint, at the owners’ request, because they were living in the house and the rooms are small.
Colours around a dark paper
Navy paper with gold lines is strong, so the paint in the rest of the main floor had to sit quietly beside it. We brought sample pots to the colour consultation and painted large swatches on the hall wall, which can be seen from the living room, and on the kitchen wall. The owners chose a creamy, warm off-white that picks up the warmth of the gold lines for the hall and remaining living room walls, a slightly brighter white in the kitchen, and white trim throughout.
Clean-up each day
Wet paper is heavy and messy, so bags were taken out as they filled. Before leaving each evening we mopped up any drips, swapped out damp drop cloths for dry ones, and the kitchen was left usable for the evening.
The living room now has a long wall of deep navy with fine gold lines running behind the sideboard, framed by warm off-white walls and crisp white trim, and the kitchen is a clean, bright white with no trace of the old vinyl.
Upkeep for this house
- Run the kitchen range hood and the bathroom fan when cooking or showering; this matters most on exterior walls in winter.
- Check the corner behind the fridge occasionally. If spots appear, clean them early and let us know.
- The non-woven paper can be dusted and gently wiped. Avoid cleaning sprays on the gold lines.
- Offcuts of the paper and labelled cans of each paint colour are in the basement for repairs.
Why this approach fits Oshawa’s older houses
Postwar houses near downtown and Lakeview in Oshawa often carry several layers of old wallpaper over plaster, and the lake brings damp air that can collect behind vinyl on outside walls. Steam suits plaster, washing off paste matters, and any mildew has to be cleaned and dried before it is sealed. That is how our wallpaper removal and installation work runs in these homes, and in older houses across Durham Region. We have used that sequence on GTA homes since 2010.
Living with several eras of paper on your walls? Book a free visit and we will check the walls and write up an itemized quote.