
A north-end house with a rental past
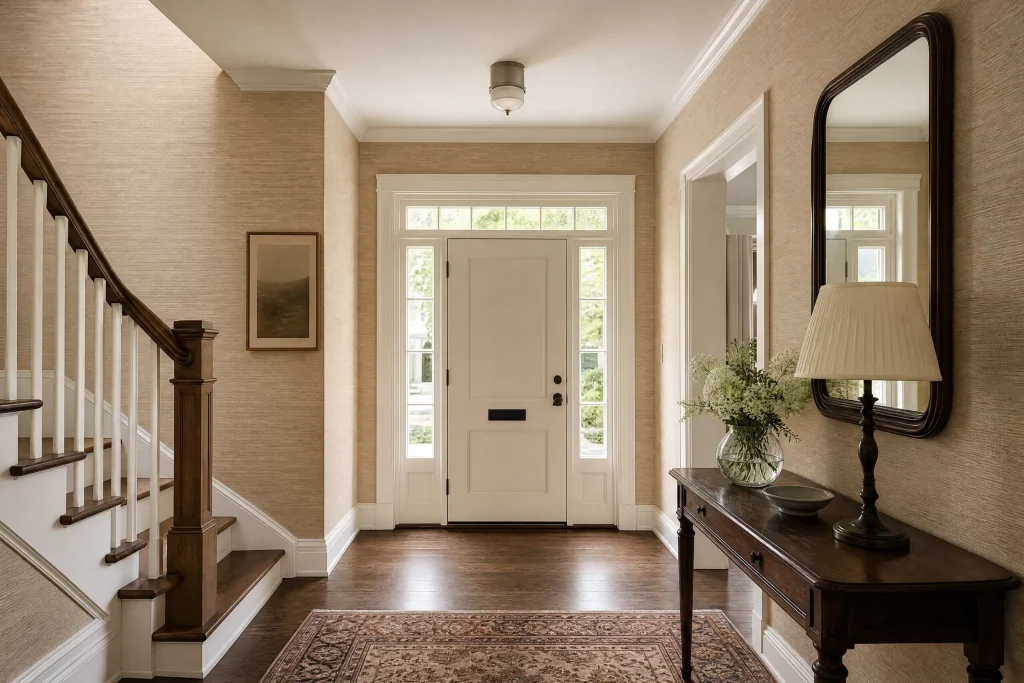
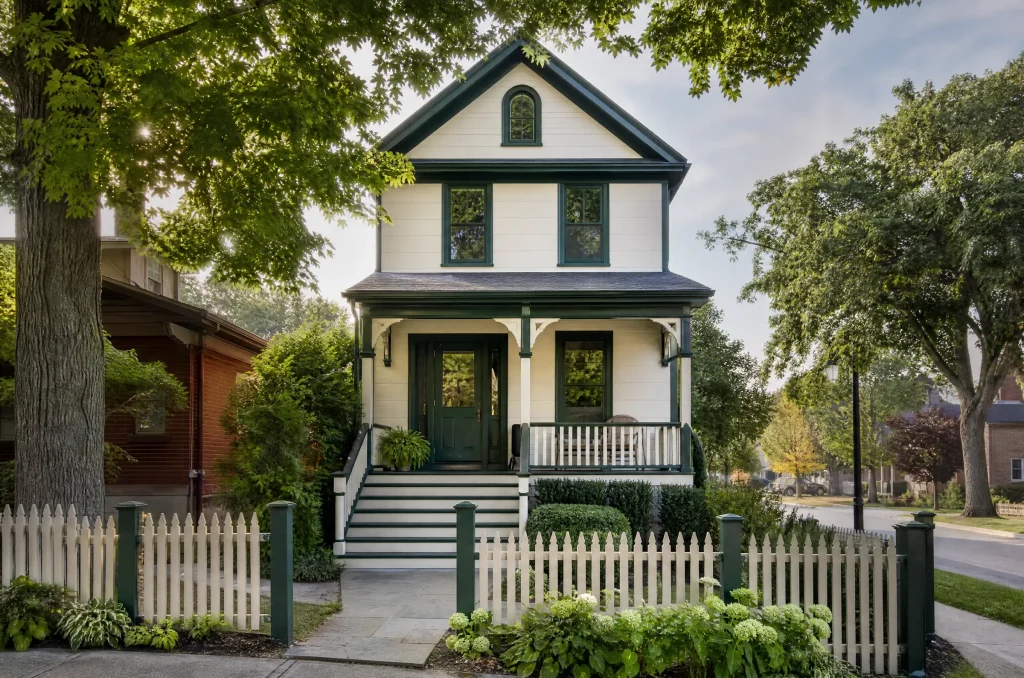
Oshawa’s north end is where the newer subdivisions are, around Samac and Windfields, and it is also where Ontario Tech University and Durham College sit. Many houses near the campuses are rented to students for years at a stretch. This house had been one of those rentals: a two-storey detached home with drywall walls, an open living and dining area, and a front hall leading to the stairs. After a long run as a rental, it was sold to a young family who wanted it to feel like a home before they moved in.
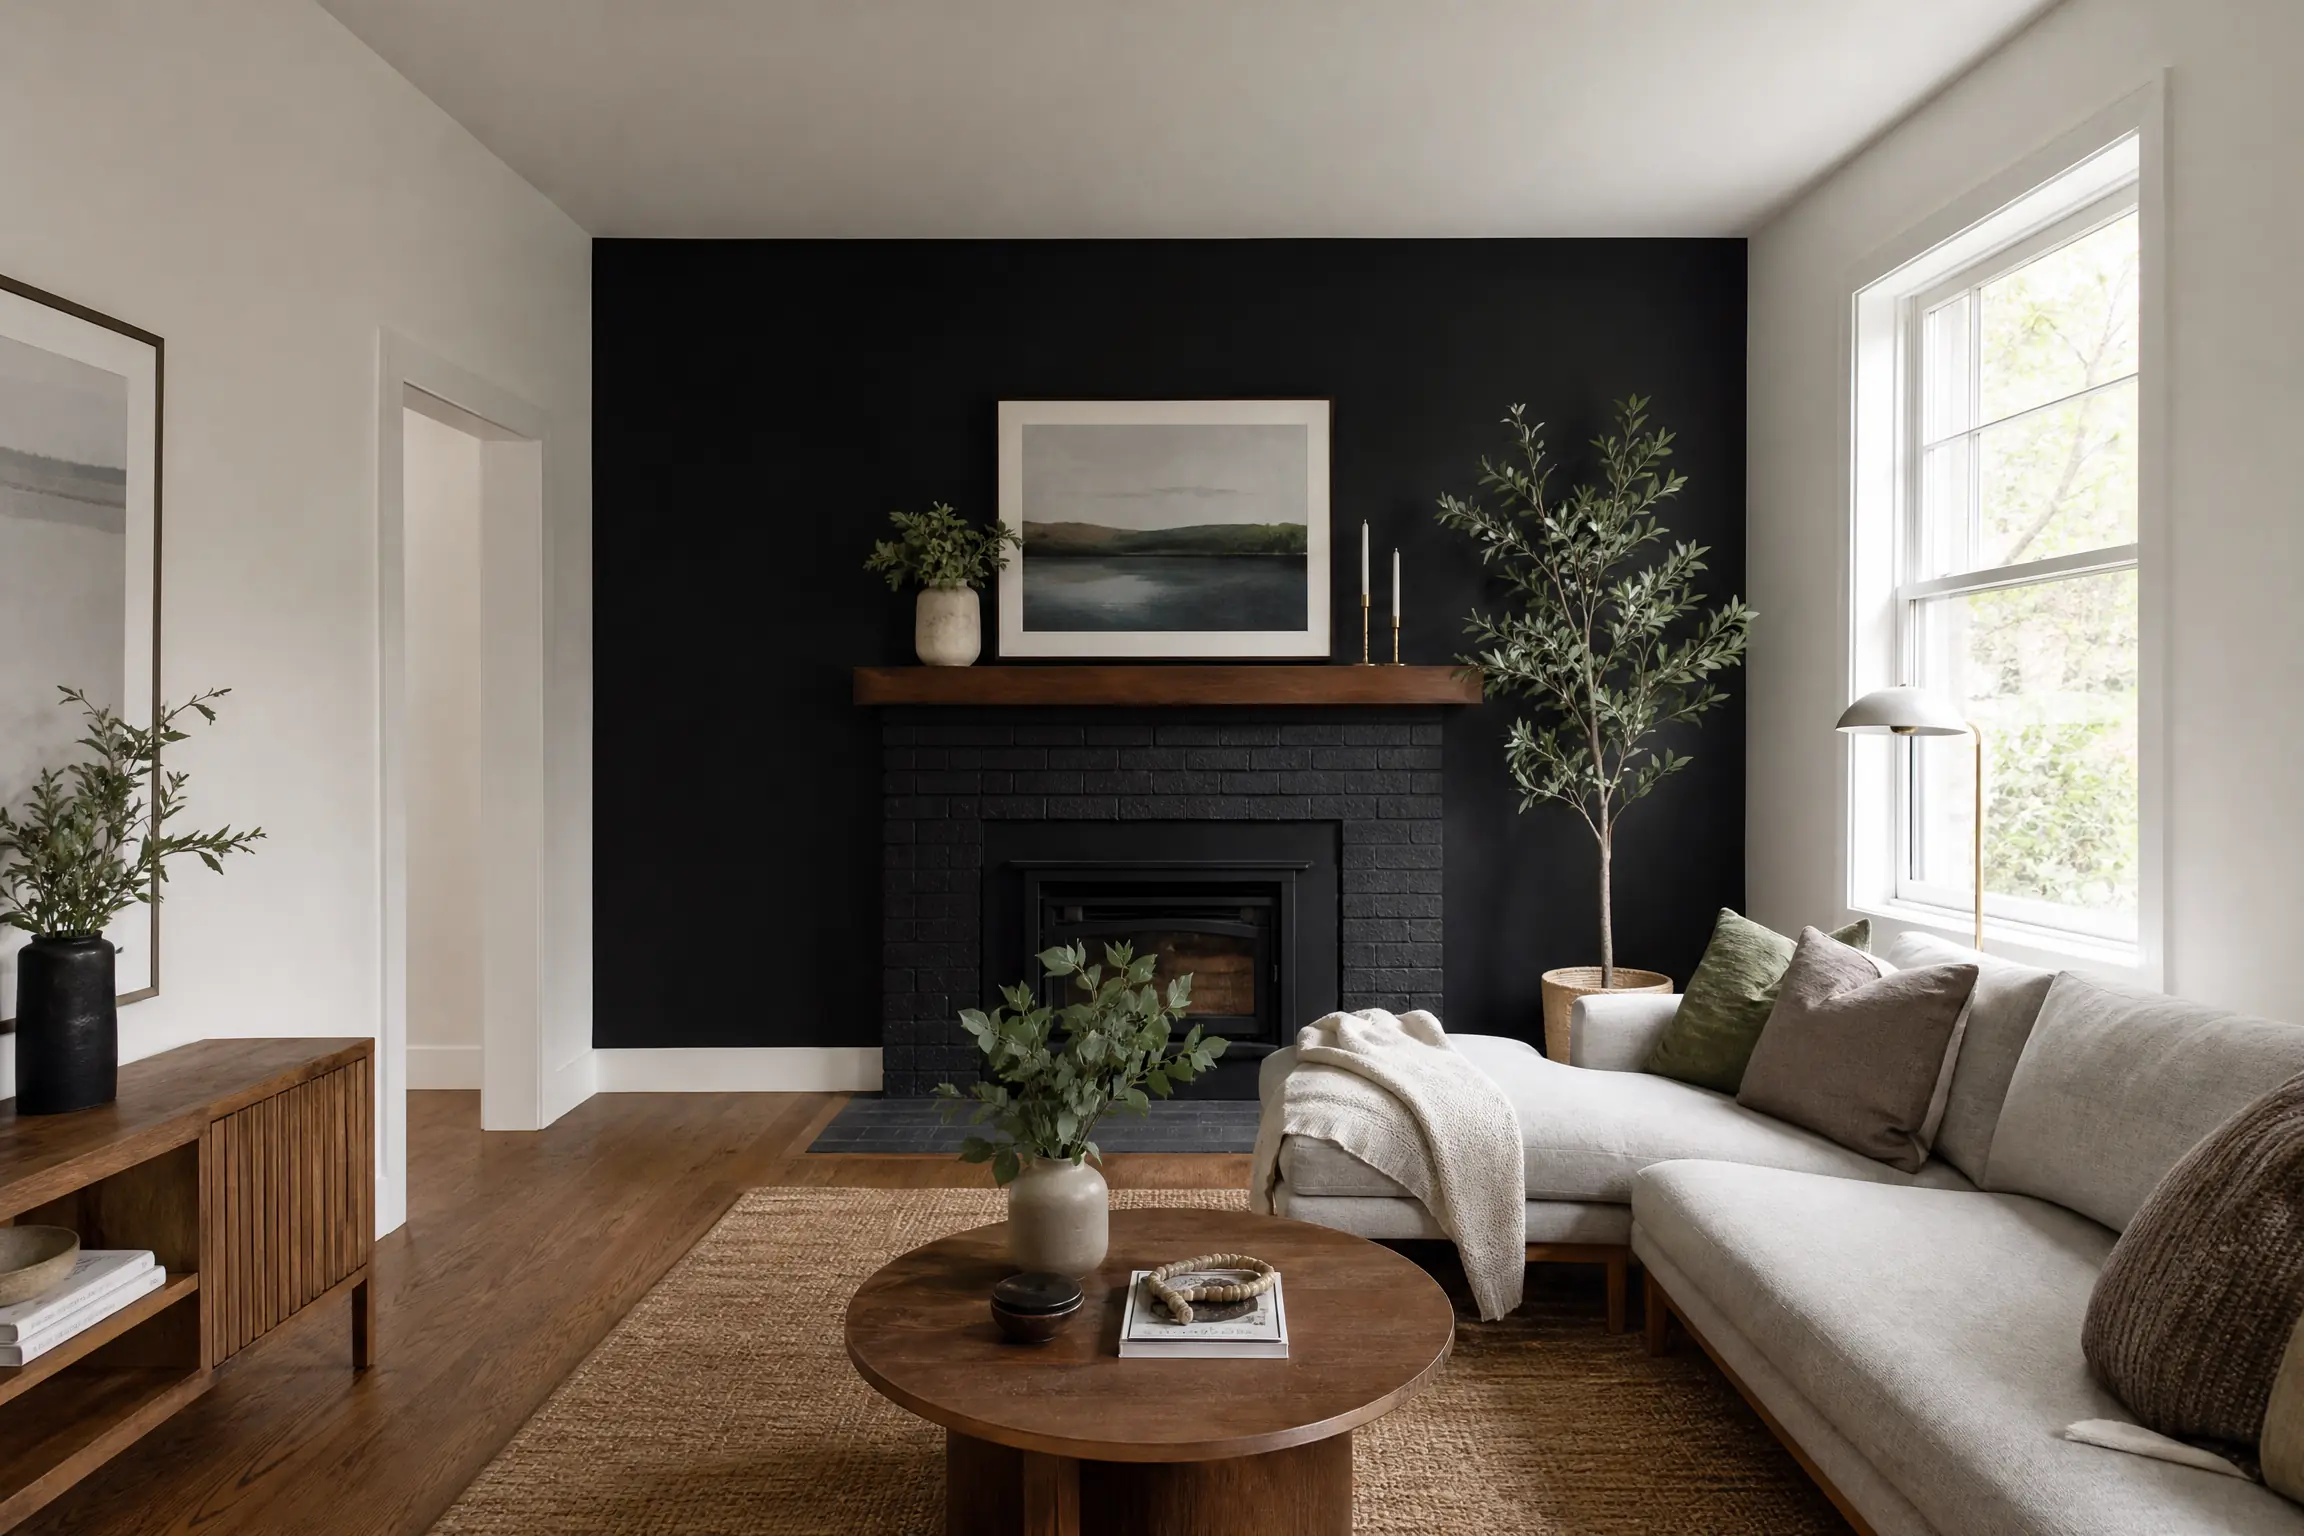
They asked us to paint the main floor living room, the dining area, the front hall, the stairwell and the upstairs hallway, plus all the trim and doors on those floors. Their one strong idea was for the long living room wall behind the sofa: matte black, as a backdrop for a large framed abstract print. Everything else was to be a soft off-white.
What years of tenants had left on the walls
None of the damage was serious on its own, but there was a great deal of it, and much of it would have shown straight through new paint.
- Doorknob holes. Several doors had no stops, and their knobs had gone right through the drywall behind them.
- Poster putty and tape. Greasy spots all over the walls marked where posters had hung, and tape pulled off the wall had torn the drywall’s face paper in places, exposing the brown layer under it.
- Earlier touch-ups. Between tenancies, scuffs and holes had been dabbed over with whatever white was at hand. The walls were a patchwork of slightly different whites and sheens.
- Sloppy edges. Wall colour had been run onto the ceiling in wavy lines, and outlet covers, hinges and the edge of the thermostat had been painted over.
- Grime. Walls near the kitchen had a film of cooking grease, and the stairwell was grey with handprints.
Where the black wall came in
The wall chosen for the black had more than its share of damage, including a cluster of holes from a TV bracket and several putty stains. A matte black surface shows every patch, every difference in absorbency and every lap mark as a change in sheen. That wall had to be repaired and primed so that none of its history could be read through the finish.
Getting the house ready, step by step
Protection
The house was empty, which made protection simpler: the floors throughout were covered with paper and canvas drop sheets, the stair treads with non-slip runners, and the kitchen counters and appliances with plastic. Light fixtures were removed or bagged.
Cleaning
The walls near the kitchen and all the stairwell walls were washed with a degreasing wall cleaner, then rinsed and allowed to dry. Paint applied over grease and hand oils loses adhesion and dries patchy.
Hardware
The painted-over outlet and switch covers were thrown out and replaced with new ones. Hinges crusted with paint were taken off, cleaned and refitted. The paint on the thermostat edge was carefully scraped away.
Repairs
- Doorknob holes. Each was cut back to a neat square. A piece of drywall was fitted into the opening with wood backing behind it, then the seams were taped and filled with setting compound and sanded flush.
- Torn paper. Loose facing paper was cut away. A coat of shellac-based primer went over the exposed brown paper to keep it from swelling when compound goes on, and then skimmed smooth.
- TV bracket and shelf holes. Filled with setting compound in thin passes, sanded, and checked under a lamp held at a low angle.
- Poster-putty spots. Cleaned, then spot-primed with the shellac-based primer to lock in the oil.
Priming
Because of the patchwork of old touch-ups, every wall received a full coat of drywall primer-sealer rather than spot priming alone. That gives the finish coats one uniform surface to dry on, which is what stops old patches from flashing through. The feature wall got a different primer: a deep grey tint, so the black finish would build on a dark, even base.
Trim
Baseboards, casings and doors were cleaned, scuffed with a sanding sponge, and their gaps caulked. Dents in the doors were filled and sanded smooth.
The finish coats
Ceiling lines
To fix the wavy edges, we first painted a narrow strip of ceiling white along each wall, slightly down onto the wall. When the wall colour was then cut in, it was brought up to the corner in one straight line. The result is a clean horizontal edge where the ceiling meets the walls.
The black wall
With a dark colour, a brushed band along the edges can dry before the middle of the wall is rolled and end up looking like a frame around the wall. We avoided that by working in sections: cutting in a short stretch at the top and corner, then immediately rolling it while the brushed edge was wet, and moving down and across. The roller was kept loaded and moved in long vertical strokes with even pressure. Two coats of a durable matte made for deep colours went on, the second only once the can’s stated recoat interval had passed. We looked at the wall in daylight and with the overhead lights on before taking down the drop sheets.
Other walls and stairwell
The remaining walls were finished in two coats of washable eggshell in the off-white. The stairwell was reached with a ladder leveller on the steps, so every coat in that tall space was applied from a steady footing.
Trim and doors
Two coats of semi-gloss waterborne enamel were brushed on baseboards, casings and both sides of every door. Semi-gloss stands up to knocks and cleaning in a house with young children.
Black or navy, and which off-white
The owners had been going back and forth between black and a deep navy. At the free colour consultation, sample pots of a soft black, a charcoal and a navy were painted in large patches on the feature wall over the grey primer. In daylight from the front window, the navy was clearly blue. In the evening with the lamps on, it turned nearly black and looked flat, while the charcoal looked washed out. The soft black, with a slightly warm base, looked the same morning and night and sat well against their beige sofa, so it became the choice.
For the other walls, the test was the sheer white curtains. A bright white made them look dull. A soft off-white with a touch of grey let them read as the brightest white in the room. The trim is a clean white in semi-gloss, a little brighter than the walls. Every finish coat was a zero‑VOC product, so the house would be ready to move into soon after we left.
The living room now has a deep matte black wall from corner to corner, with soft off-white walls on either side, straight ceiling lines and crisp white trim around the windows and doors.
Tidy, even in an empty house
An empty house is easy to make a mess of. Each evening we swept up sanding dust and drywall offcuts, vacuumed the drop sheets, stored tools in the garage and left the doors and windows closed and locked. When the job was done, the protection came up, the new covers went on, and the floors were vacuumed and wiped.
For the new owners
- Door stops. Fit stops on every door that had damaged a wall, or the holes will come back.
- The black wall. Clean only with a soft cloth and water, using light pressure. For scuffs, dab with the labelled touch-up paint rather than brushing a long stroke.
- Hanging things. Use proper anchors or picture hooks, and skip putty or tape on the painted walls.
- Touch-up paint. Labelled cans of the black, the off-white, the trim enamel and the ceiling paint are stored downstairs by the furnace.
- Curing. Rehang the artwork and push the sofa against the black wall only after it has fully hardened.
Why this approach suits Oshawa homes
Oshawa covers a lot of ground: postwar houses near downtown and the lake, newer subdivisions in Samac and Windfields, and many houses near the campuses that are rented out. Rental homes come with their own pattern of wear, and a house that goes from rental to family home needs that wear taken care of properly, not just painted over. Our Oshawa page describes how each part of the city differs.
All Painting has been working in GTA homes since 2010, across Durham Region and beyond. Our interior painting service fixes the wall before painting it, primes for what is actually on the surface, and finishes with at least two coats, all set out in a written quote with each room listed. If you have just bought a house with a rental past, get in touch for a free quote.