
An older house a few blocks from Brock and Dundas
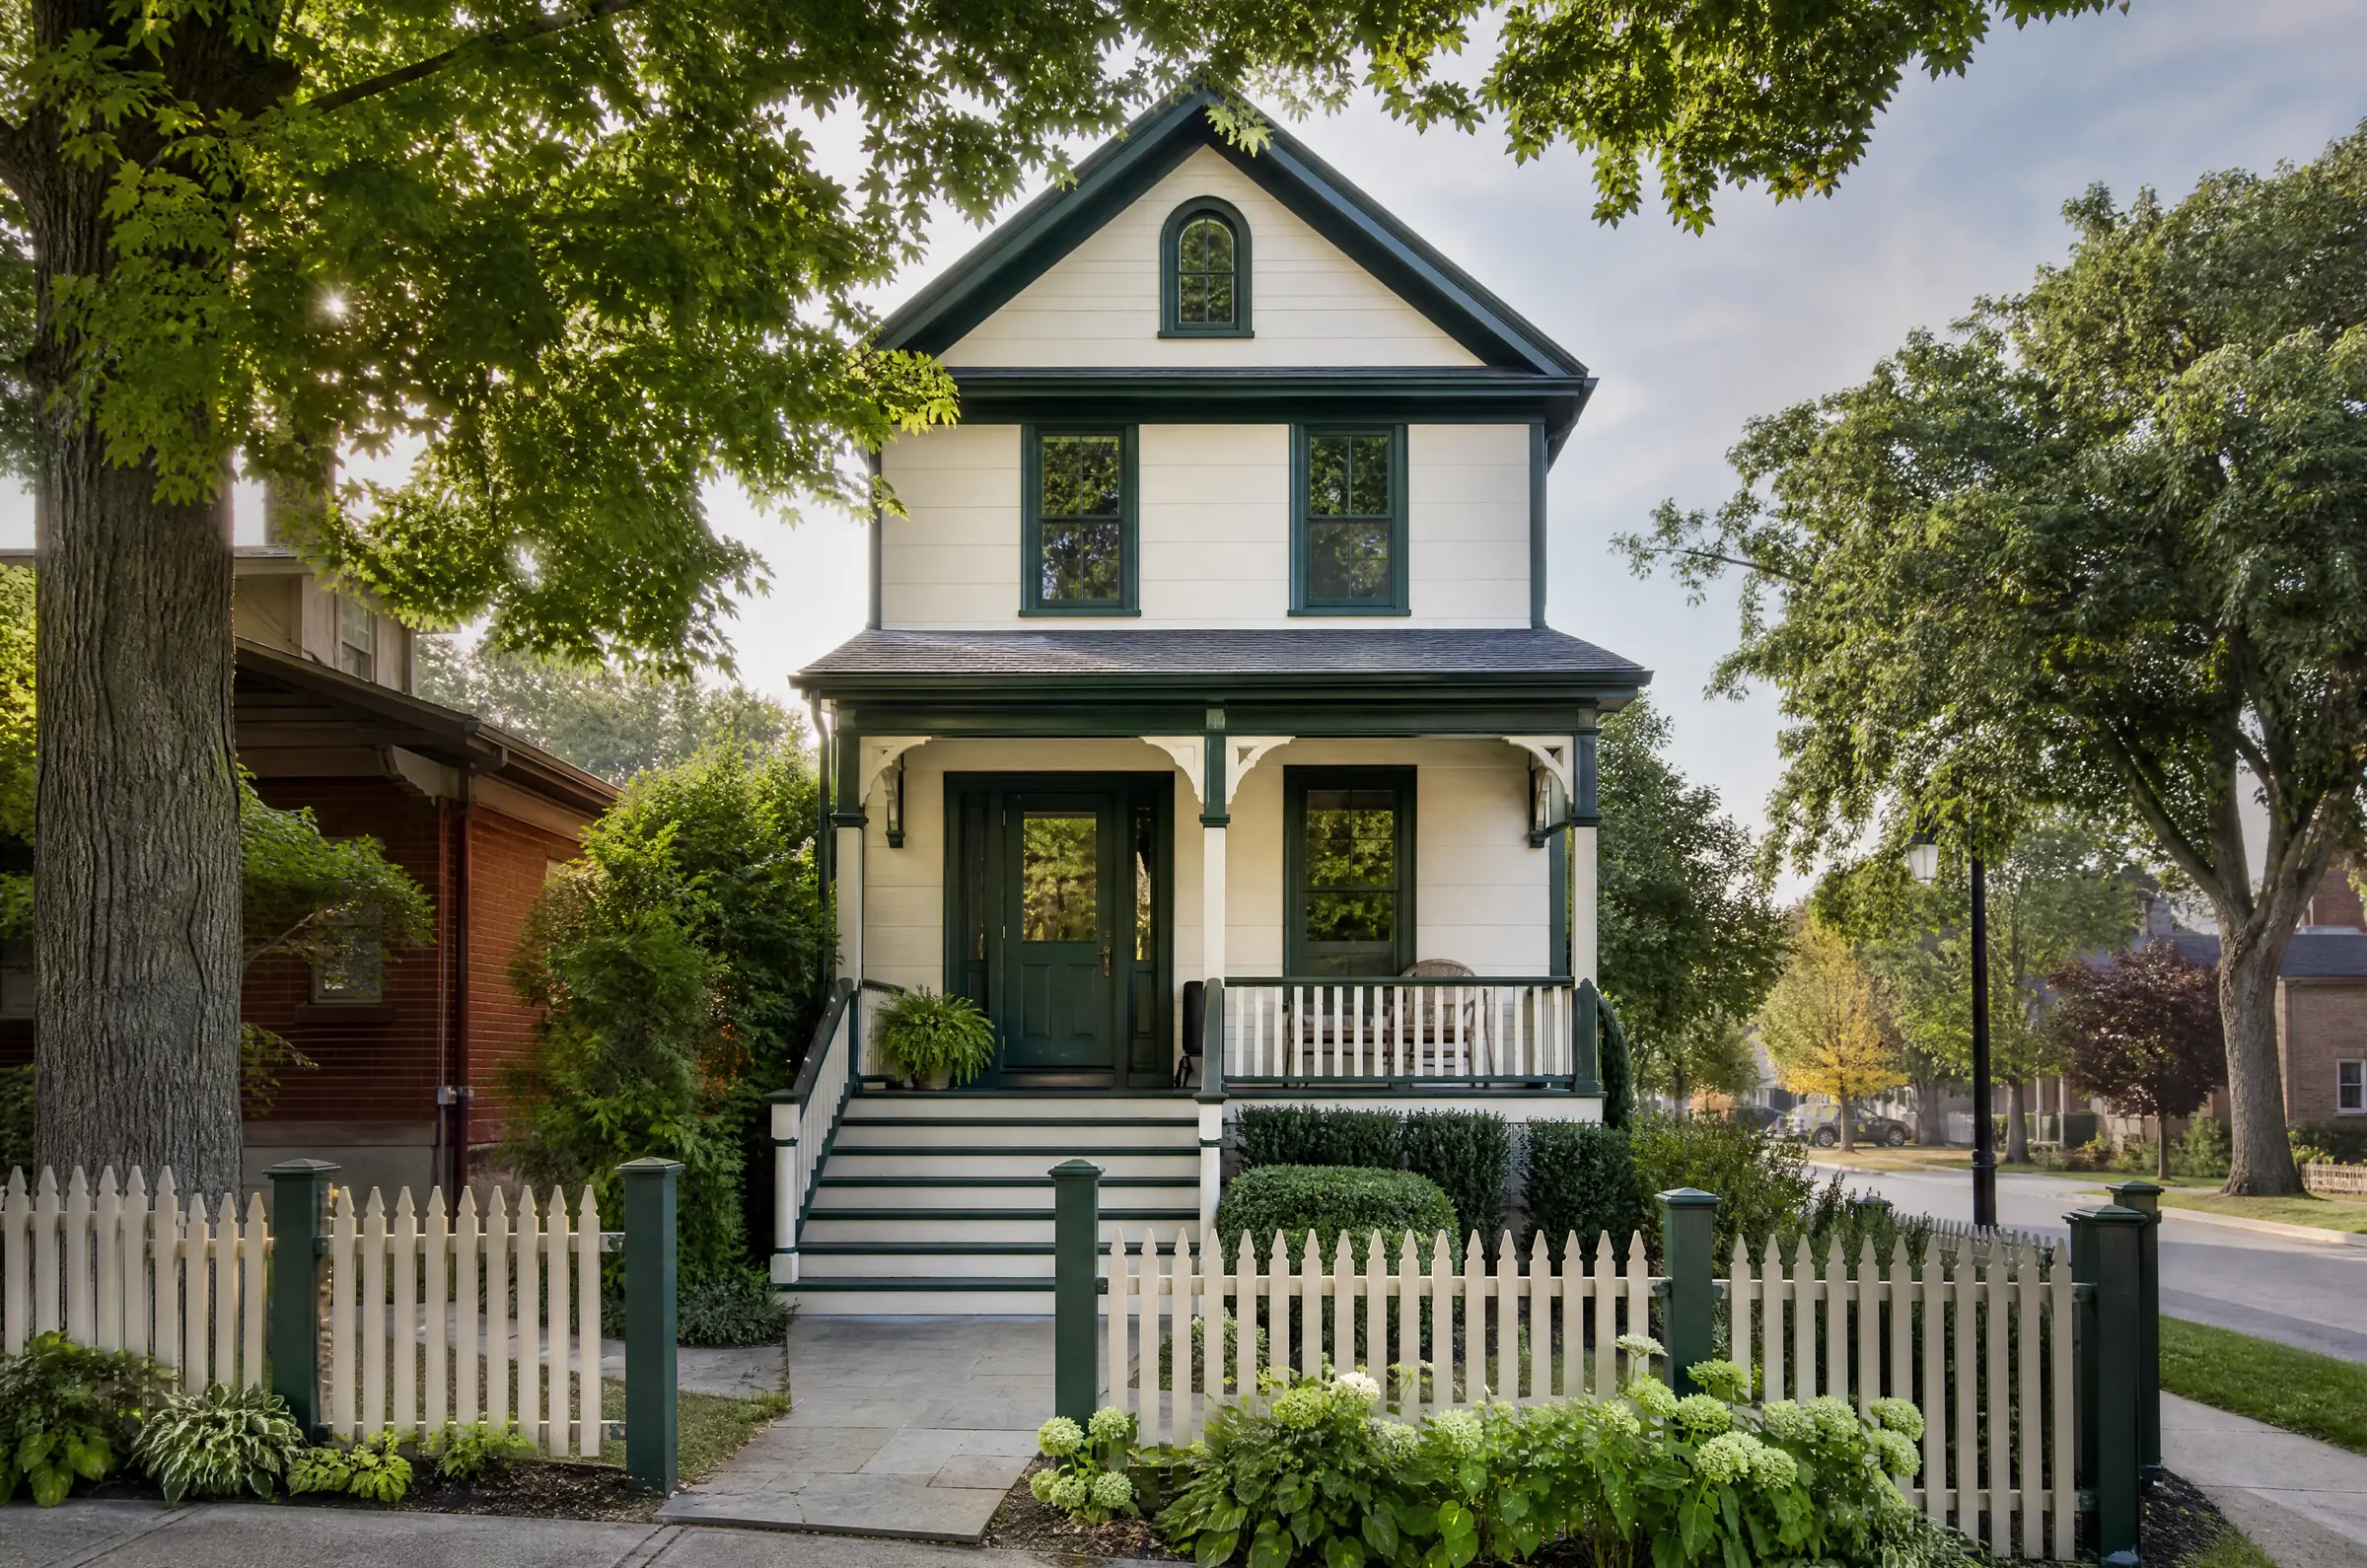
This storey-and-a-half house stands on a residential street a few blocks from the corner of Brock Street and Dundas Street, in the older part of downtown Whitby. The main floor is clad in wood lap siding, while the upper storey and both gables are covered in cedar shingles. Its windows are original wood sashes, held in with glazing putty, and the front lawn runs down to the sidewalk. The owners wanted to keep the house looking like itself, just properly cared for: sound windows, shingles that were no longer curling, and a colour scheme that suited a house of its age.
Before settling on colours they checked with the town whether the house had any heritage designation that would affect exterior changes, which is worth doing on any older property downtown.
The condition of the windows, shingles and siding
Glazing putty
The windows were the most urgent problem. On most sashes the putty had dried out, cracked into short sections and pulled away from the glass, and in a few places whole lengths had fallen out, leaving the glass held only by its glazing points. Rain was getting into the rabbets, the small ledges the glass sits in, and the wood there had turned grey. A sash in that state can still be saved, but painting over failed putty only hides the problem for a season.
Cedar shingles
Paint on the shingled gables was curling at the bottom edges of the shingles and flaking off in small cups. Where bare cedar showed, it had brown tannin streaks running down onto the shingle below, the sign of moisture drawing the natural extractives out of the wood. The texture of shingles, with countless edges and gaps, makes them slow to scrape and easy to miss when painting.
Lap siding
The lower siding was in better shape. It had peeling at the bottom course where snow sits in winter and some checking on the west wall, but most of the old paint was well bonded.
What made it slow work
None of these problems was unusual on its own. Together they meant the job was mostly handwork: many panes to reglaze, whole gables of shingles to scrape edge by edge, and a schedule that had to leave every window closed and weathertight at night. The painting itself was the shorter part of the work, and the order mattered, since putty must skin over before it can be painted and primer must cure before finish coats go on top.
Prep, surface by surface
Protection
Drop sheets went down along the foundation and over the perennial beds, which were first tied back from the wall. Because the windows would be open to the air during reglazing, the owners kept the interior blinds down and we worked on one elevation’s windows at a time, so no room was left with exposed sashes overnight.
Reglazing the sashes
- Cracked and loose putty was removed with putty knives, softening the stubborn sections with a putty softener rather than heat, which can crack old glass.
- Any missing glazing points were replaced so each pane was held firmly.
- The bare wood in each rabbet was primed. Glazing compound applied to raw wood loses its oils into the wood and dries out early, so priming first gives the new putty a longer life.
- New exterior glazing compound was pressed in and tooled to a clean bevel, then left to skin over as its maker specifies before any paint went on it.
Shingles
Curling paint was scraped from the shingle faces and butts with stiff scrapers, and the edges were sanded by hand so the new paint would lie flat. Bare shingles each got a spot coat of oil-based primer that blocks stains; it seals in the cedar tannins that would otherwise bleed through a light grey finish as brown streaks within weeks.
Siding and trim
The bottom course and the checked boards on the west wall were scraped, sanded and filled where needed, then primed. Vertical joints at the window casings and corner boards were caulked, while the horizontal laps were left open to let the siding breathe.
Painting each part of the house
- Cedar shingle gables and upper storey: two coats of a warm grey 100% acrylic in satin. Each coat was brushed into the butts and the gaps between shingles first, then the faces were rolled and brushed out, so no shingle edge was left bare.
- Lap siding: two coats of white in satin, brushed along each board with the underside of every lap coated.
- Window casings: two coats of black semi-gloss.
- Corner boards, fascia and porch posts: two coats of white semi-gloss.
- Sashes: two coats of a black exterior enamel. The paint was carried a hair’s width onto the glass along the new putty line, which seals the joint between glass and putty so water cannot creep behind it.
Between coats we waited for the manufacturer’s recoat time, and on cooler, damp days a little longer. Painting started each day only once the dew had dried off the shingles, which on the shaded north gable took until late morning.
Once the sashes were dry, each window was opened and closed to break any paint seal at the stops, and stray paint on the glass beyond the sealing line was cut back with a razor scraper.
A colour scheme that suits an older Whitby house
The owners wanted colours that looked at home on an older downtown street without copying anything exactly. At our free colour consultation they looked at sample pots of several warm greys for the shingles, painted on boards and held against the house in the morning and again in late-day light, alongside white options for the lap siding and a black and a deep green for the windows. The grey they chose stays warm in the morning and softens a little in evening light. Grey shingles over white siding make the upper storey read as its own band, as it often did on houses of this type, and black sashes and casings give every window a crisp outline against both colours.
From the street, the house now shows a white main floor and porch, a warm grey shingled storey and dormer above, and windows with tight, freshly glazed panes framed in black.
Daily tidy-up on a busy street
With a sidewalk in front and pedestrians passing all day, ladders were never left standing unattended, and the drop sheets were kept clear of the walkway. Old putty and paint scrapings were swept up from the sheets at the end of each day and bagged, paint was sealed and stored in the garage, and the front walk was swept before we left.
Keeping the windows and shingles in shape
- New glazing putty stays slightly soft for a while. Avoid washing the outside of the windows with pressure or harsh cleaners for the first season.
- Look at the putty lines each spring; a small crack sealed early prevents water from reaching the wood again.
- If a brown streak appears on the grey shingles, it usually means moisture is getting behind a shingle. Point it out early so the source can be found.
- Touch-up paint for the shingle grey, the whites and the window black was left labelled in the garage.
Why this approach suits downtown Whitby
Older houses near the downtown often keep original wood windows, shingles and siding under many coats of paint, and those are details worth keeping. Reglazing before painting, sealing cedar tannins with the right primer, and following the shingle texture with a brush are central to how we approach exterior painting on homes like this one, and on older properties in towns across Durham Region. That has been our habit on older houses from Toronto out through the GTA since 2010, and two or more finish coats go on every surface we paint.
If your windows are losing their putty or the paint on your shingles has started to curl, contact us and we will come and look at each window and wall, then provide a written, itemized quote.