
The house and the plan
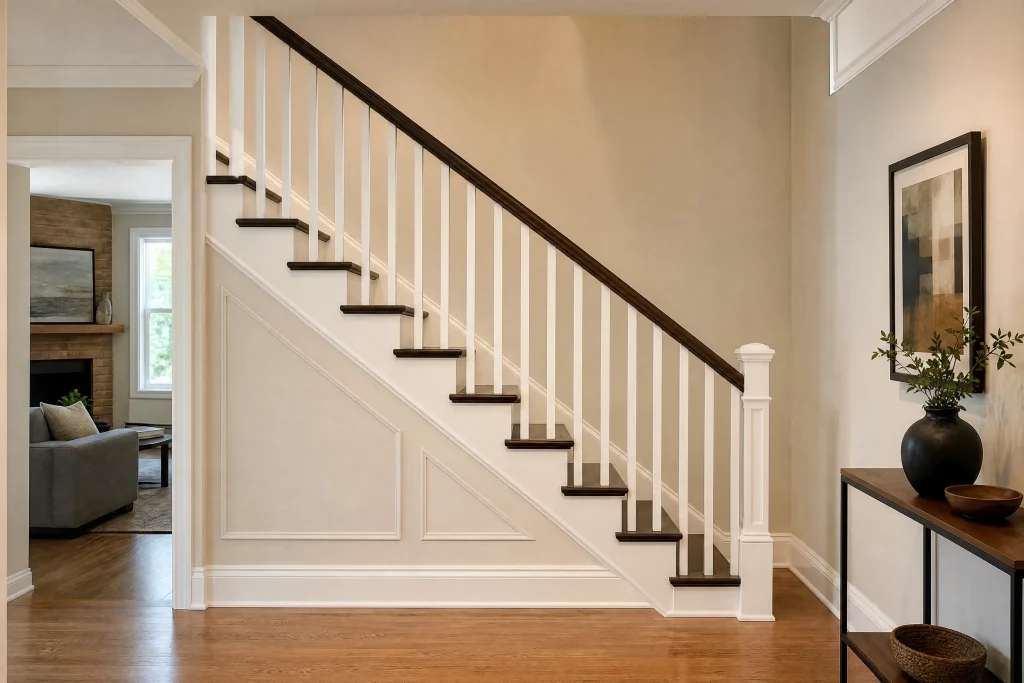
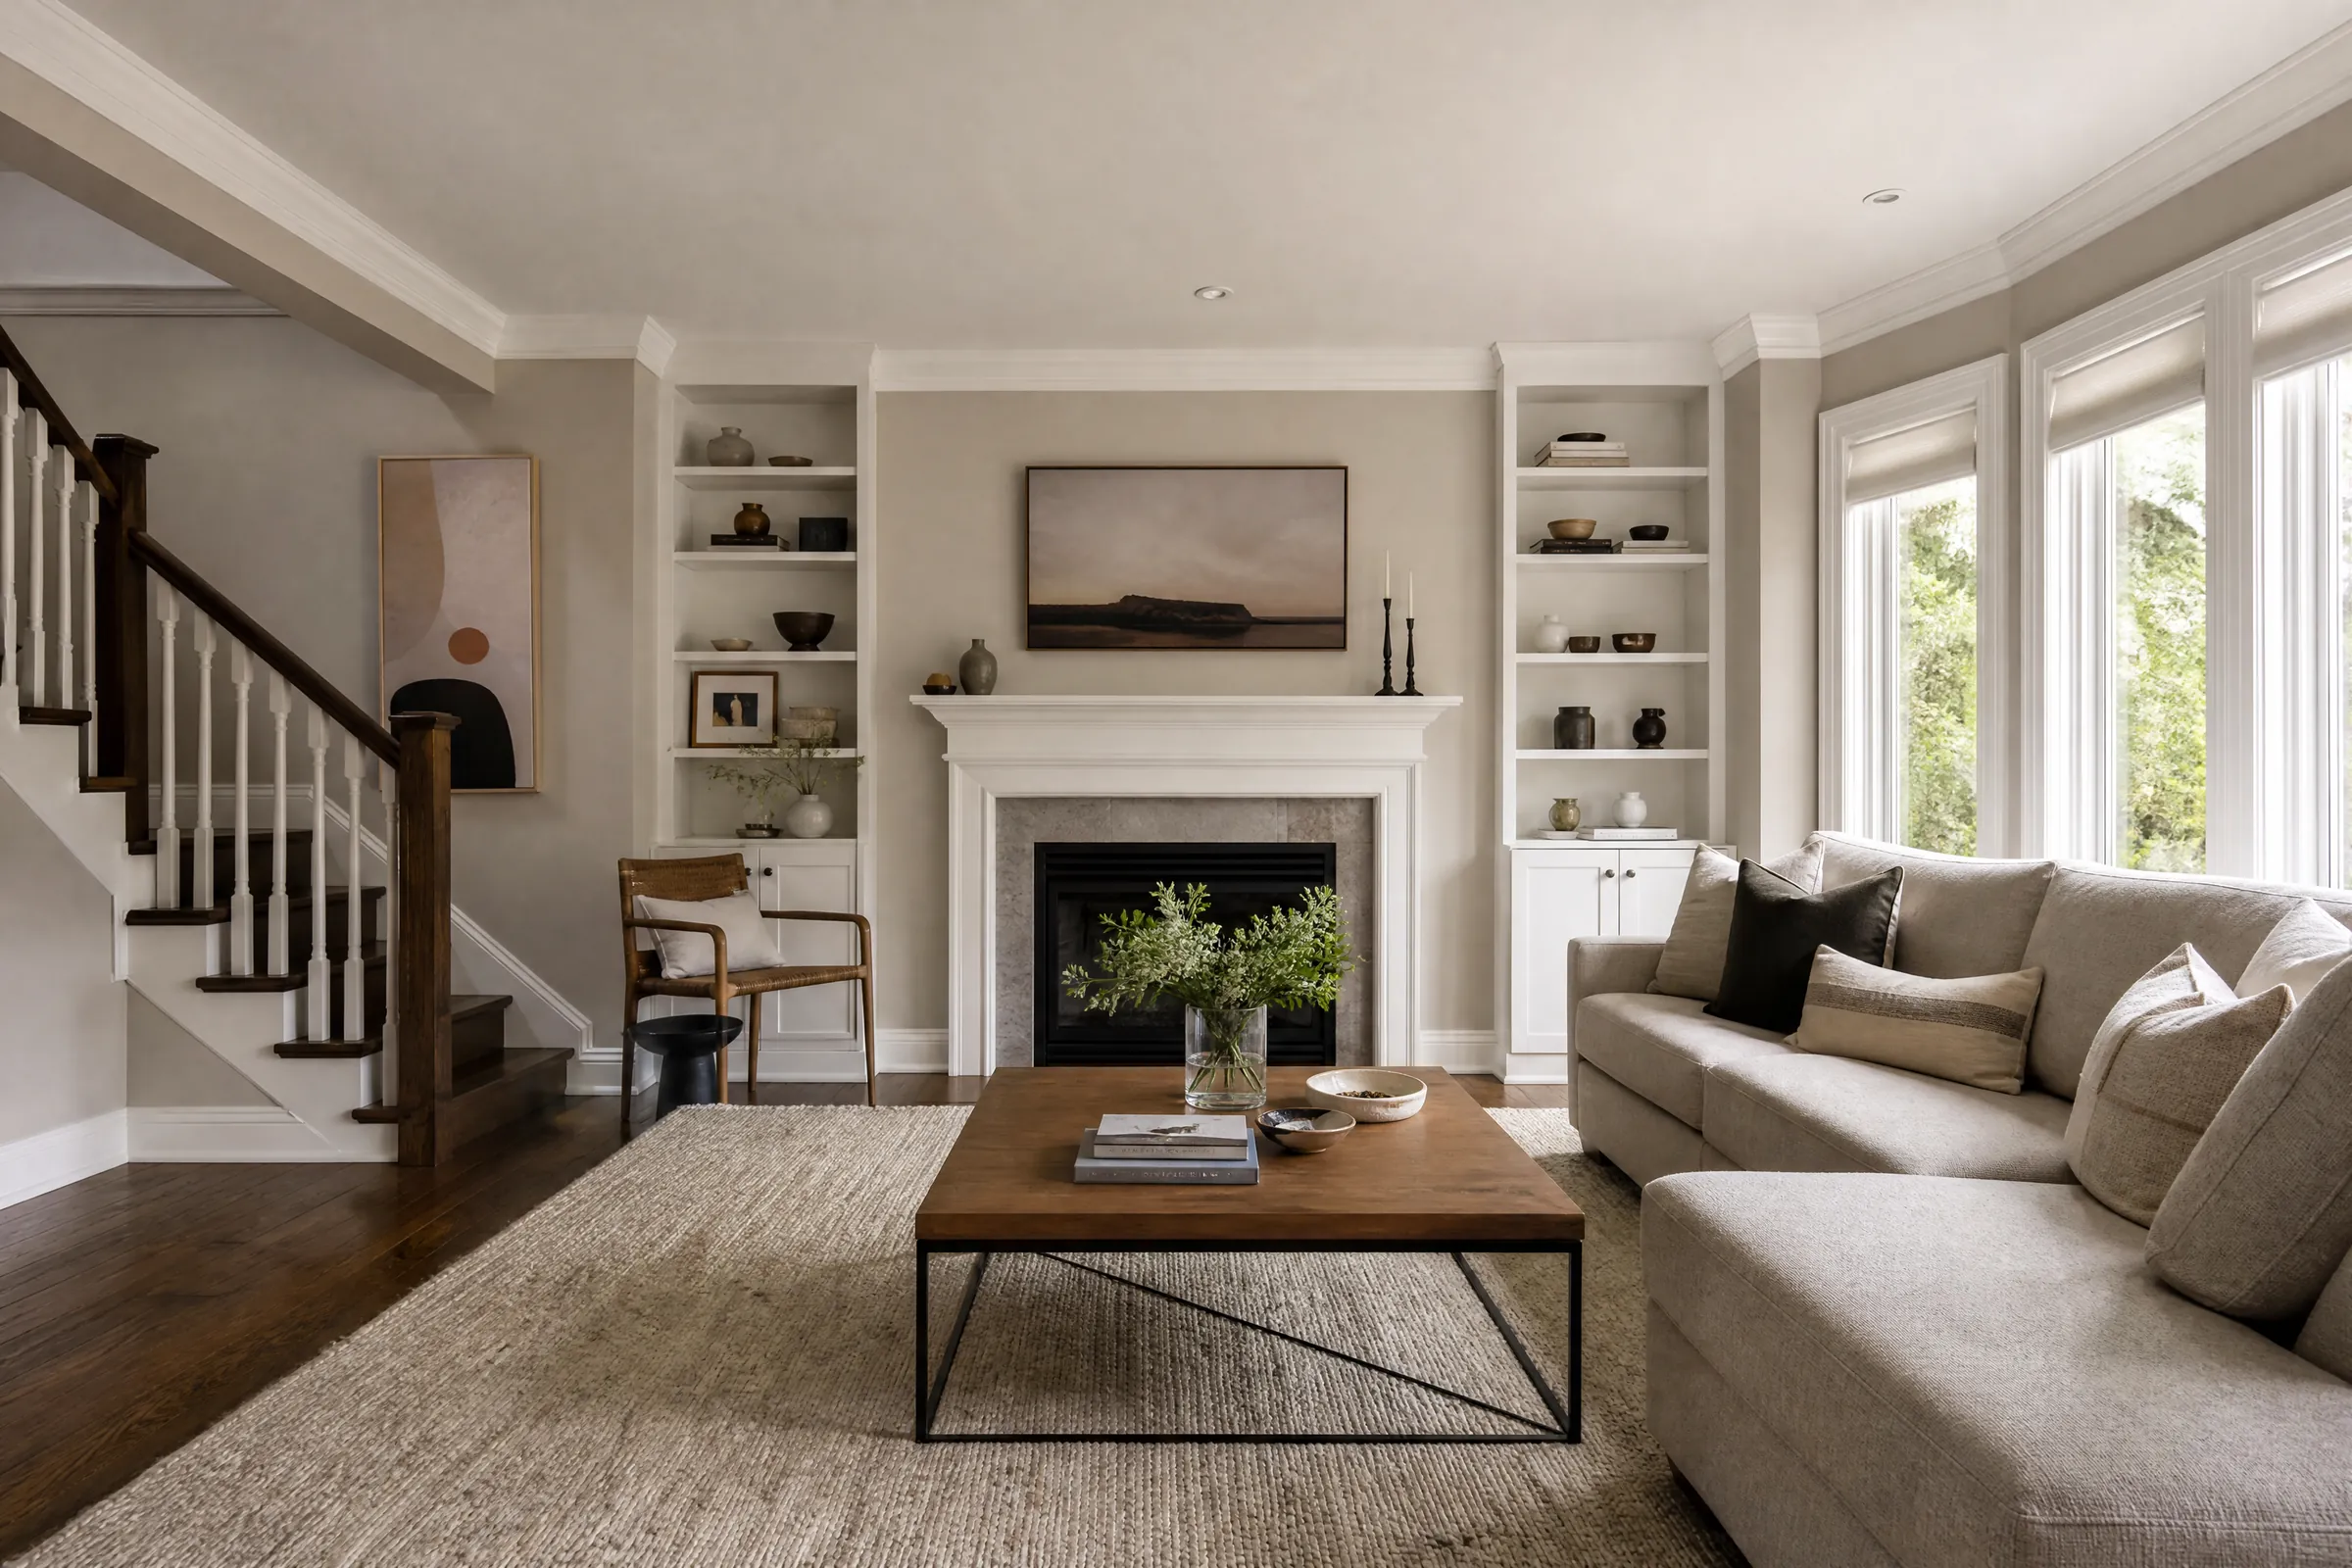
Much of Ajax is made up of subdivisions built between the 1970s and the 1990s, sitting behind the waterfront on the Lake Ontario shore. This is a 1990s two-storey of the familiar kind: a front hall with an oak staircase, a living room, a dining room with a fireplace and tall windows at the back, a kitchen and family room, bedrooms upstairs and a basement finished some years later as a rec room.
A few years before the current owners bought it, the whole house had been painted mid-grey in a satin finish, apparently by the previous owners themselves. The new owners wanted the house lighter and calmer, and asked us to repaint every level in white: walls, ceilings, trim and doors. They were living there with school-age children, so the plan was to work floor by floor, finishing one level before starting the next.
What an amateur grey job left behind
Satin on walls shows everything. Where the previous painter had rolled into drying paint, the walls had lap marks: bands of slightly different sheen that showed whenever light crossed them. There were drips and runs on baseboards and door casings, grey paint on outlet boxes and the edges of switch plates, and wavy grey lines where the walls had been cut in onto white ceilings. Several door hinges were painted over.
The real difficulty was the sheen itself. Satin is smoother and slicker than eggshell or matte, and fresh paint over it can scratch off easily if the surface is not dulled first. Going from mid-grey to white also needs enough coverage to avoid a grey cast, especially on the darker walls near the stair.
How we prepared each level
Protection
- Red rosin paper went down over the hardwood and the carpeted bedrooms got plastic film, with canvas laid over both wherever we were working.
- Tread covers went on the oak stairs, and the stained handrail was wrapped and taped.
- Furniture on each level was moved to the middle of the room and covered. On the main floor, the dining table and chairs were moved to the family room while the dining room was done.
- Switch plates and outlet covers came off. Painted-over covers were replaced with new ones, and the painted hinges were cleaned.
Deglossing the satin
Every grey wall was scuff-sanded with a pole sander and medium-grit sponges, enough to take the shine off, then wiped down to remove the dust. The lap marks were sanded smooth at the same time, because ridges of extra paint along the laps would otherwise telegraph through. Walls near the stair and in the hallway, where the satin was thickest and shiniest, were then given a coat of bonding primer.
Fixing drips and edges
Runs and drips on baseboards and casings were sanded flat, filled where the sanding left a dip, and spot-primed. Paint on outlet boxes and around switches was carefully scraped off so the new covers would sit flush.
Repairs and caulking
Dents and anchor holes were filled and sanded, small cracks over doorways were taped and filled, and gaps at baseboards were caulked. Each repair took a drywall primer-sealer before painting.
Cleaning before primer
Kitchen-side walls and the family room had a light film from cooking, and the hall walls carried hand marks around the light switches and the newel post. We scrubbed those spots with degreaser and followed with plain water, since primer and paint grip a clean surface far better than a greasy one. We let everything dry before any primer went on.
The basement
The finished basement had bulkheads boxing in ductwork and a lower ceiling. Joints on the bulkheads had cracked, so they were taped and filled, and the whole basement ceiling was primed because it had been left in unsealed builder primer when the basement was finished.
The painting process
Ceilings
Ceilings led the way on each level: a pair of flat white coats, all rolled the same direction. This covered the wavy grey cut lines and gave a new, straight line to cut the walls to.
Walls
Brushwork came first along the new ceiling line, corners and trim, then rolled with medium-nap rollers on extension poles, working each wall from top to bottom while the edge stayed wet so there would be no new lap marks. Two coats of soft white eggshell covered the grey cleanly over the deglossed and primed surfaces, with the second coat applied once the first had dried to the recoat time stated by the manufacturer.
Trim and doors
Baseboards, casings and all interior doors took two coats of white satin enamel by brush. Satin was chosen over semi-gloss for a softer look against the eggshell walls, and it still cleans easily on doors and baseboards.
Choosing the white
The owners wanted a white that would not look grey in the shadier hall and basement, or yellow next to the oak stair. The colour consultation tested a small set of whites, each brushed from its sample pot onto primed squares in the front hall, the dining room by the fireplace and the basement, and the owners looked at them in morning daylight and in the evening under lamps. A soft white with a very slight warm undertone stayed white in each of those spots. The trim and doors went to the same white in satin, giving the house a quiet, single-colour look where the stained oak stair is the only real contrast.
The dining room now looks bright and simple: white walls around the fireplace, clean white ceilings with straight cut lines, and the tall back windows framed in satin white trim.
The basement rec room
The basement was the last level. With a lower ceiling, small windows and bulkheads crossing the room, it is easy for a white to look dull down there, so the same soft white went on the walls and the ceiling was brought to a clean flat white to bounce as much light as possible. The bulkheads were painted to match the ceiling so they read as part of it rather than as boxes.
Living in the house while it was painted
Working one floor at a time meant the family always had a finished, usable level. While the main floor was being painted, the kitchen stayed in use and paths through the house were kept clear. Upstairs, the bedrooms were done in turn so the children could double up for a night. At the end of each day, rooms not being worked on were left clean, the stair tread covers were checked, and the paint and tools went back to their spot in the garage.
Care for the new paint
- The paint feels dry quickly but needs a few weeks to harden fully. Until then, avoid leaning furniture against walls and avoid scrubbing.
- From then on, eggshell handles gentle wiping with soapy water. Satin trim and doors can take a little more cleaning.
- Labelled cans of the white in eggshell, satin and flat were left on a shelf in the basement.
- Touch up by feathering a thin coat outward from the spot with a small roller or brush.
- If the oak stair is refinished later, staircase work can be done separately without disturbing the new walls.
Why this approach suits Ajax homes
Ajax’s 1990s two-storeys often have a mix of original builder finishes and later do-it-yourself paint, and both need different prep before a new colour. Dulling glossy finishes, correcting old cut lines and planning around family life floor by floor are what make a repaint in these houses look clean afterwards. Our house painting starts from that assessment and always ends with at least two finish coats. We have painted houses across the GTA since 2010, and you can read more about homes in Ajax on our local page, as well as work across Durham Region. If your house needs a full refresh, contact us for a free colour consultation and a written quote.