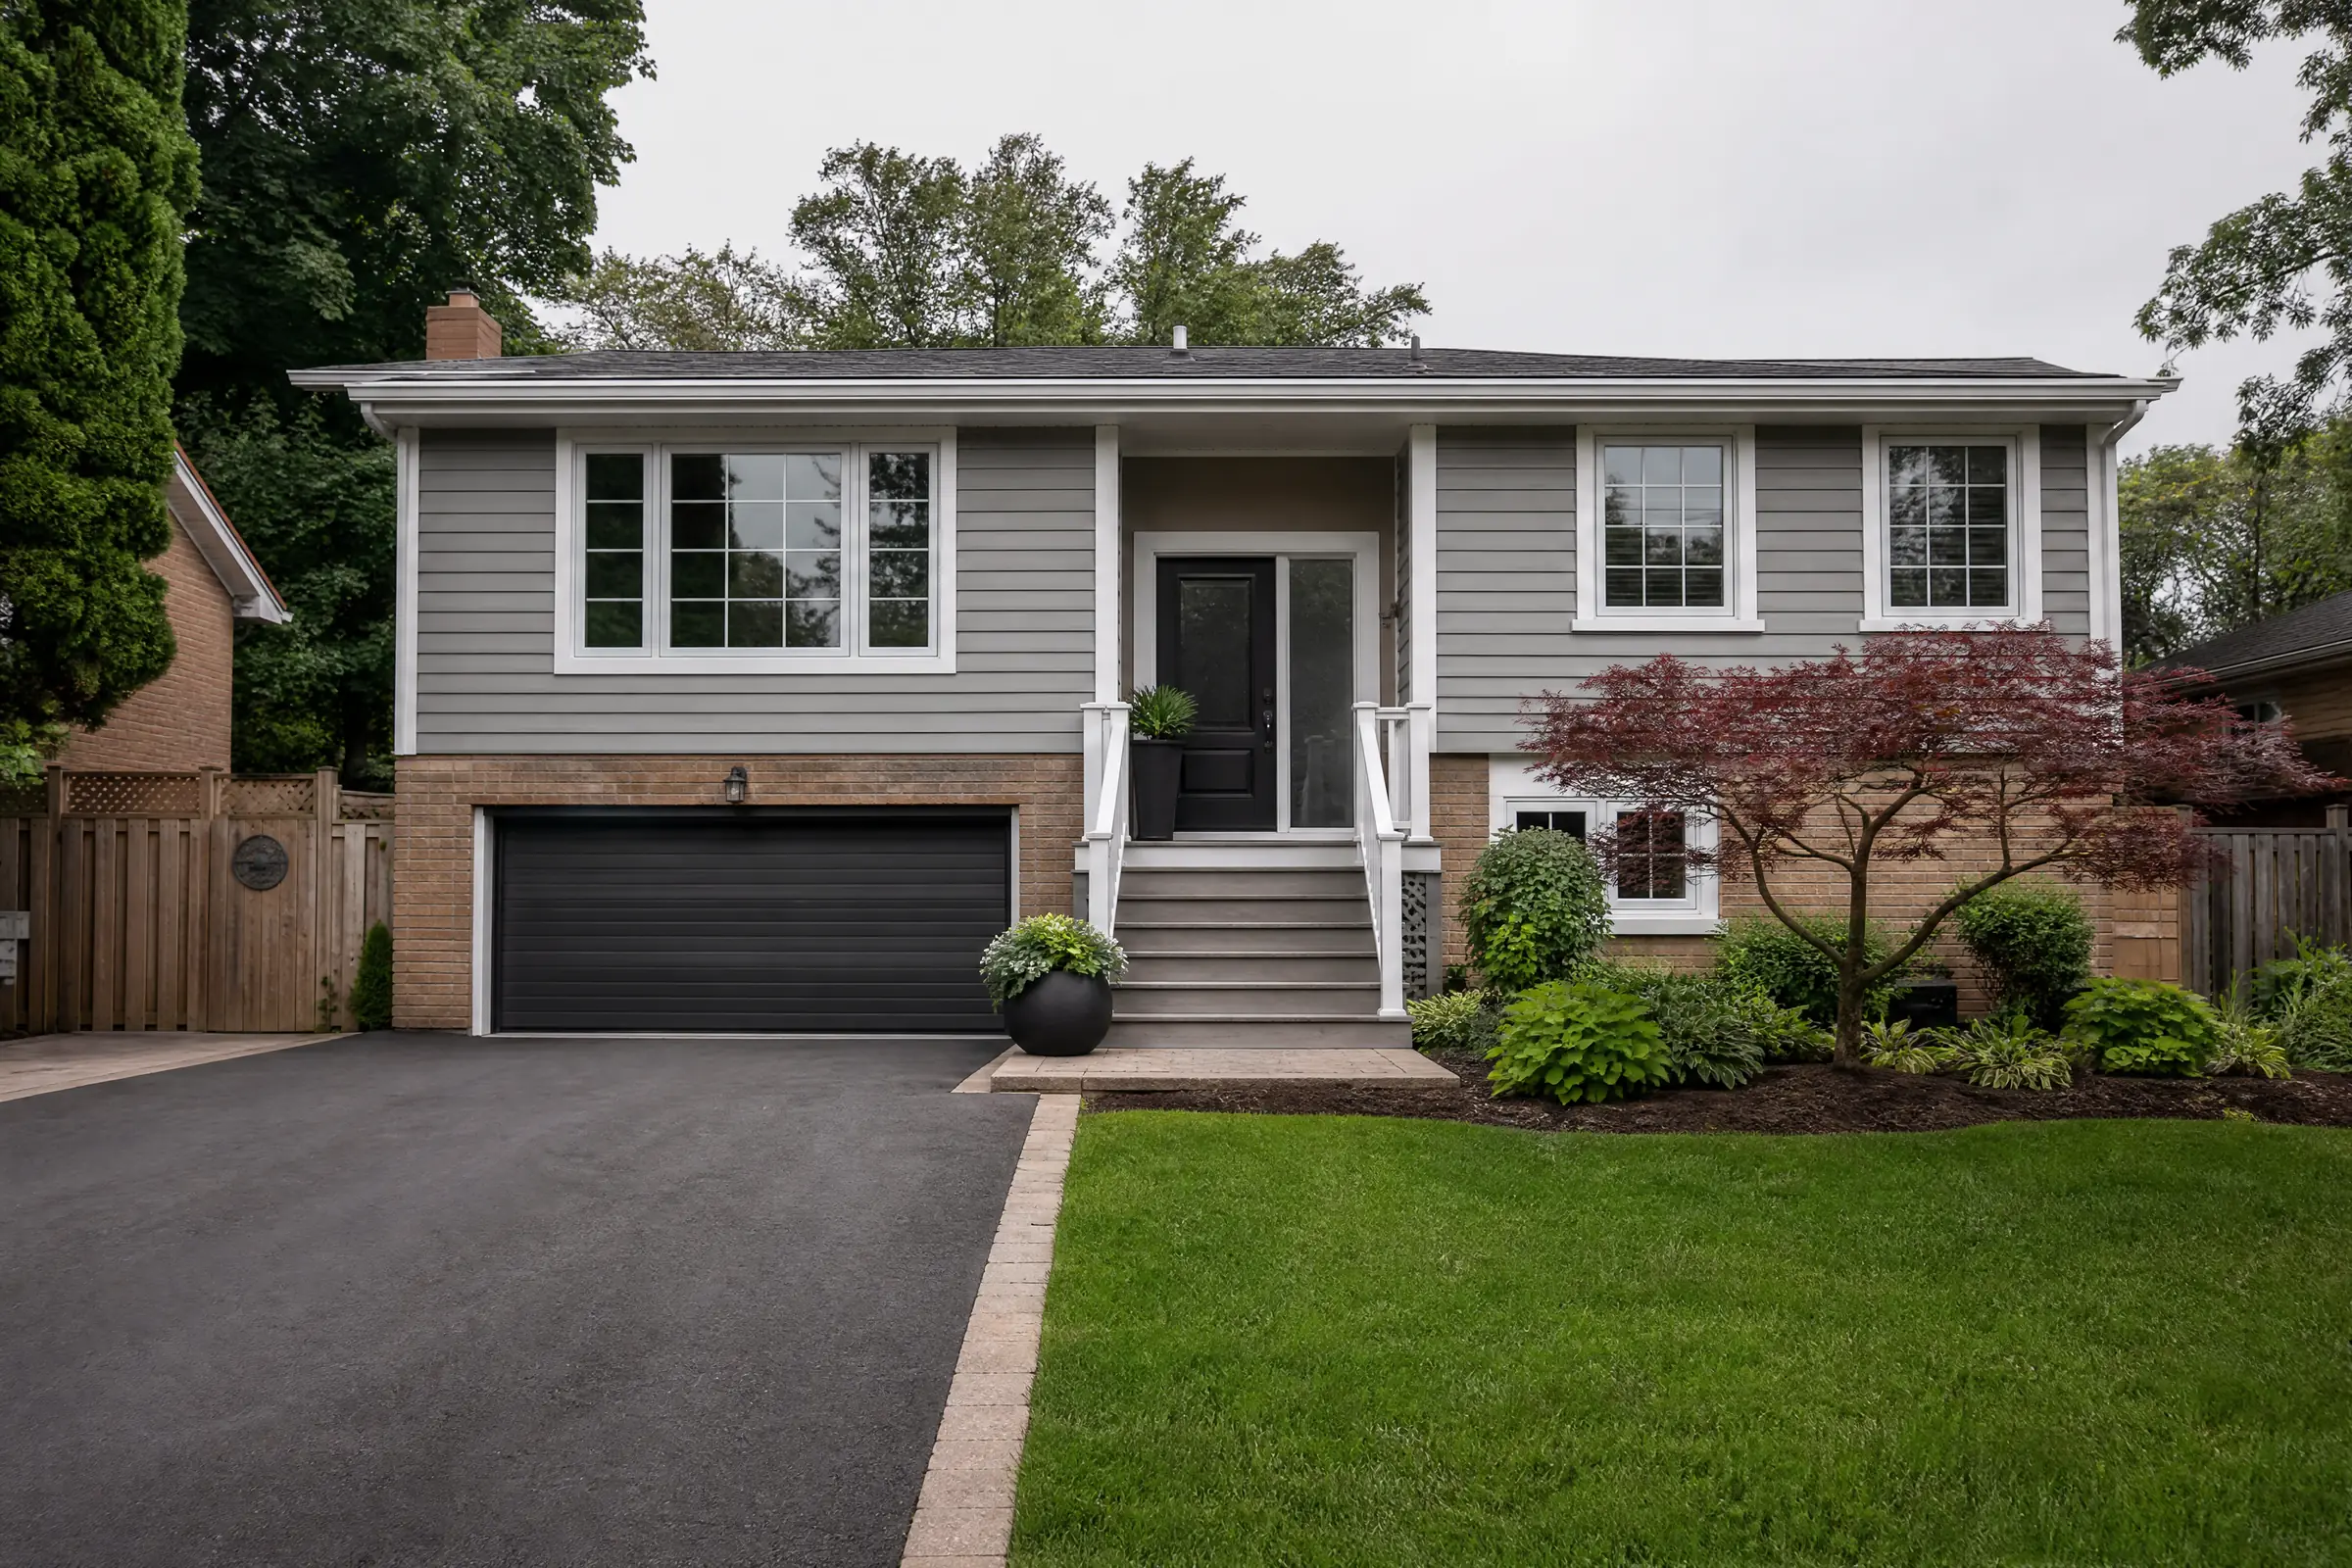

Half of a semi near Frenchman’s Bay
This is one half of a two-storey semi-detached house in Bay Ridges, in the south end of Pickering, a few streets up from Frenchman’s Bay. Like a lot of the semis and detached homes built here from the 1960s to the 1980s, it is clad in horizontal aluminum siding on both storeys and on every wall, front, back and side. The two halves of the building are mirror images, joined along a shared wall that runs from the front of the house to the back.
Our clients owned the left half. Its siding was the original factory white, now faded to a dull off-white with grey streaks. They wanted it repainted in a light grey with white trim. The neighbours, who own the other half, were not painting, so the job had to stop on a clean, straight line where the two homes meet.
The surfaces and what made the job tricky
Lake grime and mildew
Being close to the bay means damp air for much of the year. The siding had a film of grey grime that a hose alone would not shift, and the back wall, which faces north and gets little sun, had spots of black mildew along the lower panels and under the eaves. The factory finish was also chalky on the sunny end wall.
Loose fasteners
A few panels on the end wall had nails that had backed out slightly, so those panels rattled in the wind. They needed resetting before paint.
The faded factory finish
Under the grime, the original white coating was intact everywhere: no bare metal, no corrosion and no peeling. That made this a straightforward candidate for painting rather than replacement. The panels just needed to be truly clean and primed so the new grey had something firm to grip.
The dividing line
The main challenge was the shared wall. At the front, the siding runs straight across both halves on both storeys, with no trim strip between them. At the back, a vertical trim piece marks the property line, but it sits slightly off the centre of the downpipe. We had to agree exactly where the new paint would stop, cut a straight vertical line there, and keep paint and overspray completely off the neighbours’ half.
Preparation
- Agreeing the line. With the owners, we marked the dividing line at the front on the joint between two panel ends that lined up with the shared wall inside, and at the back along the edge of the existing trim piece. The owners let the neighbours know the plan.
- Masking the neighbouring half. Fine-line tape was run along each dividing line, then wide masking film was taped over the neighbours’ siding for several feet beyond it, top to bottom. Their windows, door and air-conditioning unit near the line were covered too, and on our clients’ side the bay window at the back was wrapped in paper and plastic edged with fine-line tape.
- Protecting the ground. Drop cloths went over the front garden bed and along both walls, and the patio at the back was covered.
- Washing. All siding was cleaned with a siding cleaner containing a mildew additive, scrubbed with soft wash brushes on poles, then rinsed at low pressure, with the water aimed downward. The mildewed lower panels on the north wall got extra scrubbing. A dark cloth wipe on each wall after drying showed no remaining chalk.
- Fasteners. The backed-out nails were reset with a nail set, and each head was touched with paintable sealant so water could not track in around it.
- Priming. Once everything was dry, the siding, soffits, fascia and eavestrough faces were primed with a bonding primer made for painted and factory-finished metal.
Painting near and away from the neighbours
The open end wall
The end wall faces a side yard with a wide gap to the next house, so it was sprayed, with hand-held spray shields along the edges and the windows. Each sprayed run was followed by a brush along the bottom lip of the panels. Spraying happened only on calm mornings; with the bay nearby, afternoon breezes often pick up, and that is not the time to have a spray gun running near someone else’s house.
Front and back walls
On the front and back walls, close to the neighbours’ half, everything was brushed and rolled. Along the dividing line itself, the paint was cut in by brush against the fine-line tape, then the rest of each panel was rolled away from the line. The tape came off as soon as the second coat had set enough to hold its shape, which leaves a crisp edge.
Coats and colours
- Siding: pewter grey, low-sheen acrylic, two finish coats.
- Soffits, fascia, eavestrough faces and downpipes: bright white semi-gloss, two coats, keeping the trim clean against the grey.
Between coats we waited out the manufacturer’s recoat time, a little longer on the north wall, where the damp air off the bay slowed drying.
A grey that works beside the neighbours’ white
On a semi, the new colour will always be seen next to the other half. The owners wanted a grey that looked deliberate beside the neighbours’ faded white, not like a mismatch. At the free colour consultation, a few light greys from our sample pots were painted on primed panels and held up on the front wall, right beside the dividing line, so the comparison was real. A cool grey looked blue against the off-white, and a darker grey made the line between the two halves very sharp. A warm, light pewter grey sat comfortably next to the neighbours’ siding and still looked clearly fresh. Keeping the soffits and eavestroughs white means the roof line reads as one across both halves.
The owners’ half now has smooth pewter grey siding with white soffits and eavestroughs, and the division between the two homes is a single straight vertical line.
Daily tidying on a shared property
With the neighbours living a wall away, tidiness mattered for two households. The masking on their side was checked every evening and re-taped if the wind had lifted it, and the shared front walk was kept clear of drop cloths and tools after work. Ladders were never left up overnight. On the last day the film came off the neighbours’ siding, we checked their side of the line for any marks, and the patio and garden bed were uncovered and swept.
Caring for the finish near the bay
- Rinse the north wall each spring and wipe any new mildew spots with a mild cleaner before they spread.
- Keep the eavestroughs clear so overflow does not stain the new white fascia.
- If the neighbours paint their half later, the line at the front can be repainted from either side; your touch-up can of pewter grey is labelled and stored in the basement with the white.
- Painted aluminum will chalk slowly over time. When a cloth wipe on the end wall shows colour, plan the next recoat.
Why this approach fits south Pickering homes
Many 1960s to 1980s homes around Bay Ridges, Amberlea and Liverpool still have their original aluminum siding, and many of them are semis. Painting lets one owner refresh their half without replacing anything, provided the dividing line is planned and the neighbours’ side is protected. Near Frenchman’s Bay, a thorough wash for grime and mildew is a bigger part of the prep than on inland streets. This is how we handle aluminum siding painting on semis and detached homes alike, here and throughout Durham Region. Painting has been our trade around the GTA since 2010, and every surface we finish, on a semi or a detached house, gets two or more finish coats.
If you own half of a semi and want your siding repainted, ask us for a quote; we will look at the dividing line and the surfaces with you and itemize everything in writing.