
A Brooklin townhouse with a dark kitchen
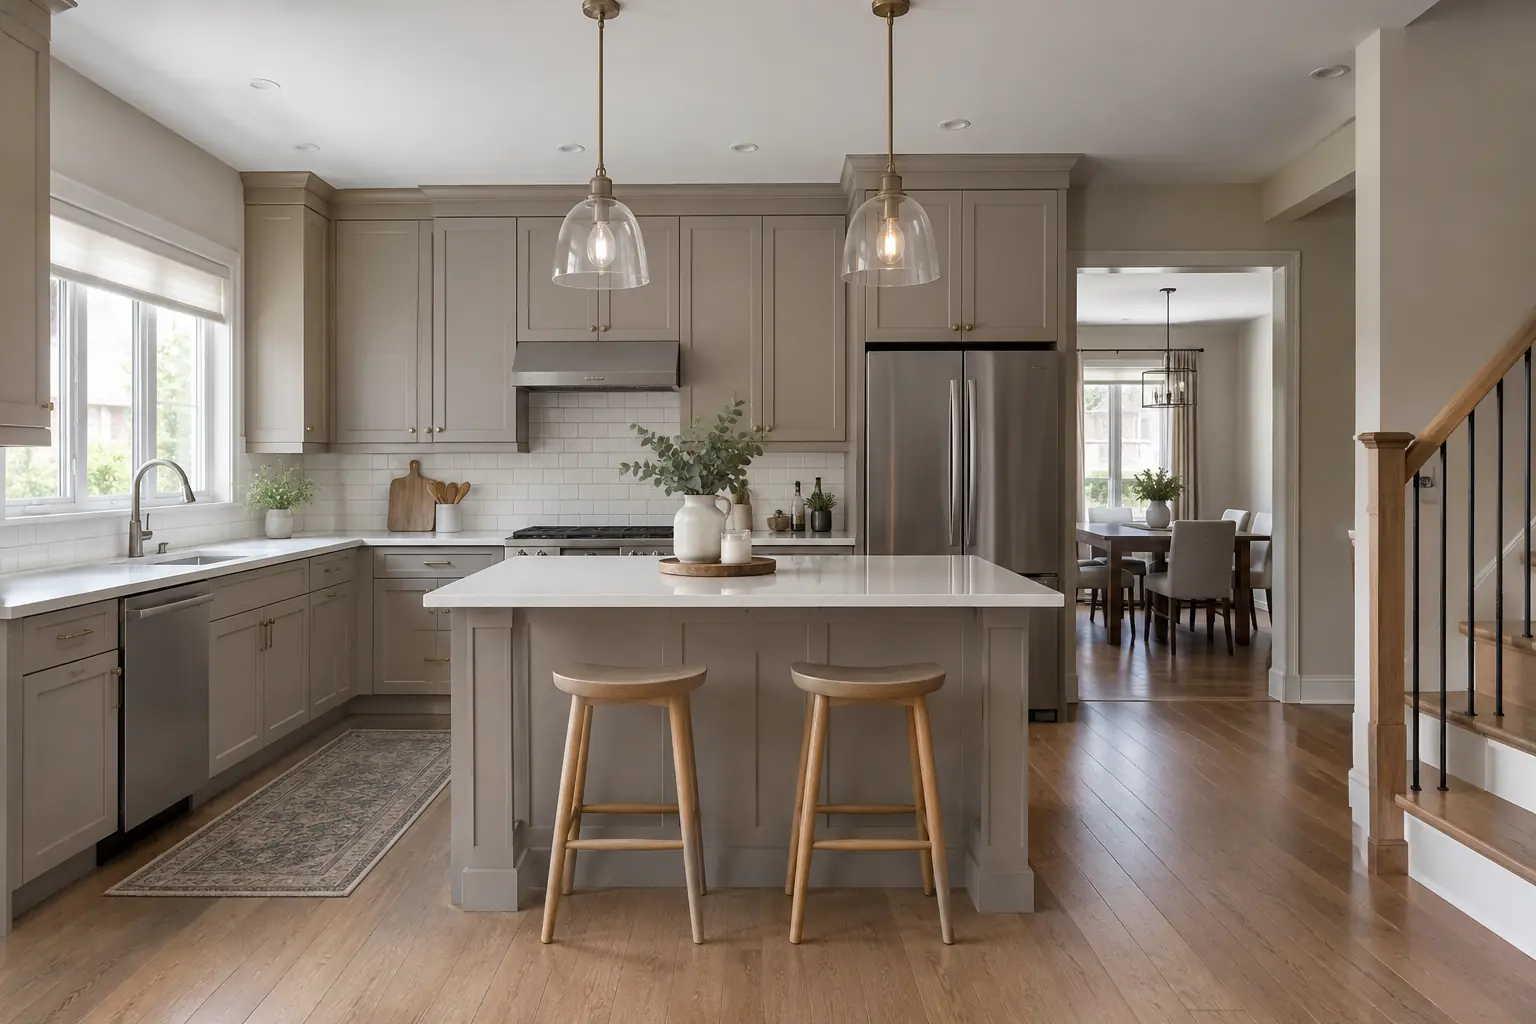
Brooklin, north of downtown Whitby, has grown around its original village with large new subdivisions and rows of townhouses. This job was in one of those townhouses, a freehold three-storey unit with an open main floor: living room at the front, kitchen in the middle and a dining area at the back by the patio door. The kitchen runs along one wall, with an island facing it and a small coffee station built into the dining area.
All of it was builder-installed birch with a dark espresso finish, which was very common in new homes of that kind. In a wide house, dark cabinets can work. In a townhouse where daylight only comes in from the front and back, they made the middle of the floor feel like a tunnel. The owners wanted the wall of cabinets to go light and the island to stay dark, so the kitchen still had some weight in the middle of the room.
Dark-to-light: why the prep mattered
The espresso colour on these cabinets was not a stain soaked into the wood. It was a toner, a tinted coat sprayed over the birch and sealed under a clear factory finish. That causes two problems when you paint a light colour over it.
Coverage
Very dark colours take several coats of a light paint to hide fully, and each extra coat adds thickness on doors that have to close against frames. Primer is a much better tool for that job than extra paint.
Bleed
Dark toners can bleed into a fresh coat of light water-based paint, leaving a faint brown haze. A primer made to block stains stops that before it starts.
Worn edges
The dark finish had worn off the edges of the busiest doors and drawers, especially the cutlery drawer and the cabinet under the sink. The pale birch showed through in streaks. Those spots were a different texture from the rest of the door and needed filling and sealing so they would stay invisible under the new colour.
Beyond that the cabinets were in good shape. The concealed hinges worked well, the doors were square, and the melamine interiors were clean.
Preparing a narrow kitchen
Space was tight, so we kept the work organized:
- Protection. Paper and canvas went down across the whole main level, film and board went over the counters and the island top, and plastic went around each appliance. The sofa and dining chairs were covered where they stood.
- Spray area. The attached garage became the spray area. We hung plastic walls along its sides, set up drying racks and sprayed with the overhead door raised, a fan pushing the air out toward the driveway.
- Removal. The concealed hinges were unclipped from their mounting plates, so the plates stayed on the boxes and the doors would go back in exactly the same position. Each door got a number on the hinge edge, and the plates were marked with the same number.
- Cleaning. Every door, drawer front, frame and panel was washed with a cabinet degreaser and rinsed. The area around the cooktop and the island side facing the stools took the most work.
- Sanding. The factory clear coat was scuffed until the gloss was gone everywhere, using fine sanding sponges on profiles and discs on the flat backs. We were careful not to sand through the toner on purpose, since every sand-through creates another worn spot to deal with.
- Edge repair. The worn birch edges were sanded smooth, wiped clean, and the rougher ones were filled with a fine filler and sanded flush.
- Primer, perimeter pieces. The doors, drawer fronts, frames and coffee station that were going light got two coats of a stain-blocking primer, tinted toward the putty colour. Between the coats we sanded lightly with a fine sponge. After the second coat, no trace of the espresso showed.
- Primer, island. The island was going near-black, so it only needed one coat of primer for adhesion. Hiding the toner was not a concern there.
Two colours, two sheens
For the perimeter we used a waterborne alkyd enamel in satin. For the island we used a cabinet-grade matte enamel. The two products are made to cure hard, but the matte has much less shine, which suits a dark island where glare would show every fingerprint.
Doors and drawer fronts
The doors were sprayed on racks in the garage, two coats on each side with the backs done first. We waited the manufacturer’s recoat time between coats and passed a fine pad lightly over each surface to remove dust nibs before the next coat. The recessed panel corners on these doors are sharp, so the gun was angled into each corner first, then the flat panel and the outer frame were sprayed.
Face frames, island and coffee station
All the fixed parts were painted in place. Corners and joints were cut in with a fine brush, then the flats were rolled with a fine foam roller and laid off in one direction. The light rail under the uppers and the crown on top were brushed, two coats each.
Rehanging
Once the doors had dried enough to handle, they clipped back onto their own plates. We checked the gaps between doors and adjusted the hinges where a door had shifted a little when it came off.
How the colours were chosen
The owners first thought of white for the perimeter. Our free colour consultation put sample pots side by side on primed birch scraps: a bright white, a soft white and a light putty, which is a pale grey with a warm beige base. In the middle of the townhouse, the bright white looked grey on its own in the evening, and the soft white looked flat. The putty kept a warm, clean look both in the morning light that comes through the patio door and at night under the pendants. For the island, a near-black with a slight brown base looked richer than a pure black against the putty.
Now the cabinet wall is a light, warm putty from the floor to the crown, the island is a dark block in the middle of the room, and the coffee station in the dining area matches the perimeter so the back of the house reads as one light space.
Keeping the house in order
Living in a townhouse during cabinet work means everything is close together. We kept the doors in the garage, kept the stairs clear of tools, and cleared the counters each evening so the kitchen could be used for dinner. The site was vacuumed and the drop cloths straightened at the end of every day, and the garage was closed up for the night with the racks covered.
Looking after the two finishes
- The satin perimeter wipes clean with a soft cloth and mild soap. Dry any splashes around the sink.
- The matte island shows marks from abrasive cleaners, so avoid scouring pads and stick to a soft microfibre cloth.
- Felt pads under the stool legs stop them knocking the island panel when people sit down.
- Both colours were left in labelled touch-up jars, each lid marked with the colour, sheen and where it went.
- Avoid hanging wet tea towels over the drawer fronts while the paint is still curing in the first few weeks.
Why it suits Whitby’s newer homes
Many Brooklin townhouses and detached homes have the same espresso builder cabinets, and lightening them is a request we hear often in that part of Whitby. The trick is to treat the toner properly with a stain-blocking primer rather than piling on paint. Our kitchen cabinet painting service is set up for that kind of change, and we work across Whitby and the rest of Durham Region. If you want to talk about lightening your own kitchen, send us a message for an itemized written quote.