
A custom country home above Claremont
Most of what people picture when they think of Pickering is in the south end, around Frenchman’s Bay and Bay Ridges, or in the new streets of Seaton. This house was neither. It sits on a large lot in the rural north of the city near the hamlet of Claremont, one of the country homes that make up that part of Pickering, and like many of them it was custom built rather than drawn from a builder’s catalogue. Its main living space is a great room that rises two storeys, with tall windows looking over the property, a stacked-stone fireplace reaching to the ceiling, and an open gallery hall upstairs.
The owners had bought the house with the previous owners’ decorating still on the walls. The great room was finished in an ochre sponge-painted glaze, the faux finish that was popular a generation ago, and the dining room beside it was a dark hunter green. They wanted the whole public side of the house, great room, dining room and front hall, in a single soft white that would let the stone, the floors and the view do the work.
Why the old faux finish was the real job
Painting over a plain wall is mostly about cutting in and rolling. Painting over a sponge finish is mostly about what happens before that. When we looked closely at the great room, the issues were clear:
- Raised texture. Every dab of glaze had left a faint ridge at its edge. Run a hand across the wall and you could feel the pattern; shine a light along it and you could see it.
- A slick, hard surface. Glazes contain more binder and less pigment than wall paint, and they dry harder and shinier. A rub test with alcohol on a pad in a closet corner left the pad clean, which told us this glaze was oil-based.
- Uneven layers. In some areas the sponge work had been done in more than one colour, building up thicker patches near the corners and around the windows.
- Dark green next door. The dining room’s hunter green would show through white paint for several coats unless it was primed out first.
Latex paint rolled directly over that glaze would have looked fine for a while, but it risked peeling in sheets where it never bonded, and the sponge pattern would have shown through the white in the slanting light from those tall windows.
Preparation, in the order it was done
Setting up the room
- Furniture was moved into the kitchen and the family room and covered, leaving the great room and dining room empty.
- Rosin paper was taped down over the hardwood, with canvas drop sheets on top. The canvas was laid double where the scaffold would roll, so its casters could not mark the hardwood.
- A rolling scaffold tower, its casters locked, was set up along the tall wall and levelled, giving a solid deck to work from at the top of the room.
- The stone fireplace was covered with plastic sheeting hung from above; tape was never pressed onto the stone itself.
- The varnished wood window stools were cleaned and masked so no primer or sanding dust would settle into their finish.
Knocking down the texture
The glazed walls were sanded with medium sanding screens on a pole sander, working until the ridges were flat to the hand and the shine was dulled across the whole surface. Where the glaze had built up thick enough that sanding alone would not level it, we skimmed those patches with a thin coat of joint compound, let it dry, and sanded again. The goal was a wall that felt like plain drywall under the palm.
Dust control
Sanding a room this size makes fine dust. The doorways to the kitchen and the upstairs hall were closed off with plastic, and all sanding dust was cleaned up with a vacuum fitted with a fine filter before any primer was opened. The walls were then wiped down with a damp microfibre cloth to lift the last film of dust.
Small repairs
Picture hooks, a curtain rod bracket and a few old anchors came out. The holes were filled, sanded and spot-primed. Gaps where the baseboard had separated from the wall got a bead of paintable acrylic caulk.
Priming
All of the formerly glazed area received a full coat of bonding primer, a product made to grip slick and oil-based surfaces that ordinary latex cannot hold onto. The dining room got a different primer: a latex primer tinted toward the new white, so that a single coat would block most of the hunter green. Both primers were left for their full recommended drying time before anything went over them.
Finish coats on each surface
Ceiling
From the scaffold deck we rolled the great room ceiling in two coats of flat ceiling white. The window returns at the top of the room, which catch light first thing in the morning, were cut in by brush with the same care as the walls below.
Great room and gallery walls
The walls went on in two finish coats of low-sheen eggshell, cut in by brush along the ceiling, stone and window frames, and rolled in full-height lanes so each lane joined the last while still wet. The second coat waited for the manufacturer’s recoat time to pass, which with latex in a heated house is usually a matter of hours rather than a full day.
Dining room and front hall
Over the tinted primer, the dining room took two finish coats of the same white and came out with no trace of green, even in the corners where dark colours often hang on. The front hall followed the same sequence.
Trim
Baseboards and door casings, already painted white, were cleaned, lightly scuffed and given two brushed coats of waterborne satin enamel.
Choosing one white for the whole floor
A single colour across connected rooms only works if it suits all of them, and these rooms faced different directions. During the free colour consultation we brushed sample pots of a few whites onto primed sample boards and moved them around the house: beside the fireplace, at the north-facing dining window, and in the front hall where there is little daylight at all. The owners looked at the boards in morning light and again after dark. A cool white went grey in the hall; a creamy white leaned yellow beside the buff and rust tones in the stone. The one they chose has a faint warm base that stays white in every room.
Low-sheen eggshell was a deliberate choice for walls this tall and this well lit. It has enough sheen to wipe a mark off the dining room walls but little enough that the large surfaces do not throw back glare from the windows. Zero‑VOC paint was used throughout so the owners could keep living in the rest of the house without a lingering paint smell.
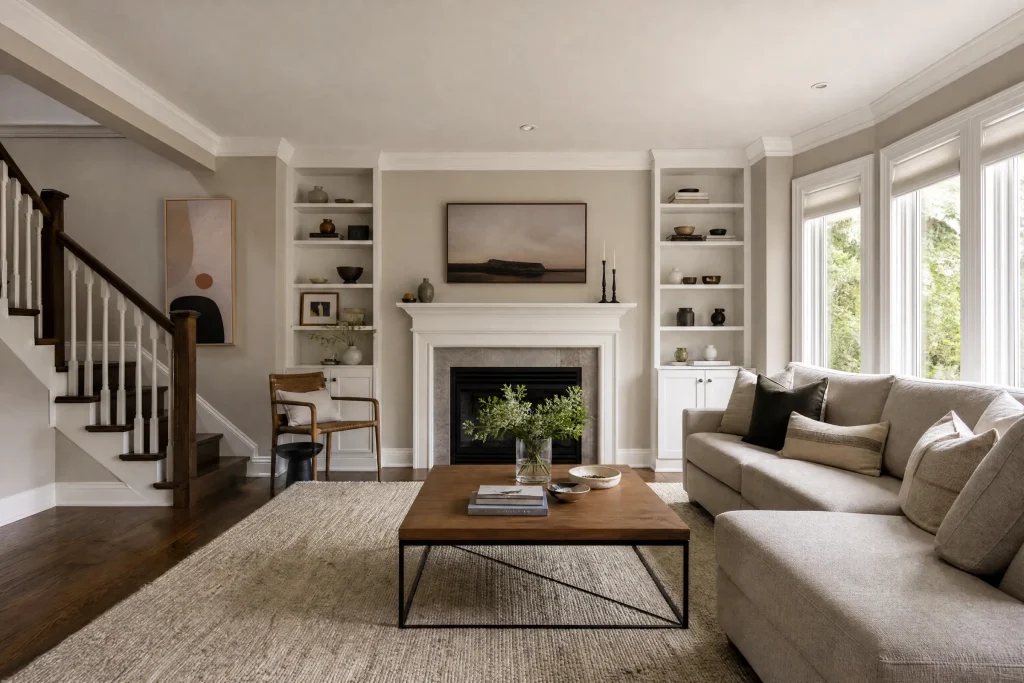
The great room now reads as a calm white box around the stone: the walls are flat and even from the floor to the top of the windows, with no sponge pattern visible at any angle, and the dining room matches it exactly through the wide opening between them.
A clean house at the end of every day
Because sanding was part of this job, the daily clean-up mattered more than usual. Each afternoon we vacuumed the drop sheets and floor paper, wiped the window stools, rolled up the plastic at the doorways so the family could pass through in the evening, and stored ladders and buckets in the garage. When the work was done, the scaffold came down, the paper and plastic were removed, the floors were vacuumed and the furniture returned.
Upkeep for the owners
- Wipe marks with a damp cloth and gentle pressure. Eggshell tolerates cleaning well, but scrubbing hard in one spot can raise a shiny patch.
- We left the white in labelled cans for walls, ceiling and trim. Stir well before touching up, and use a brush that is just barely loaded.
- If you hang art on the tall wall, use proper wall anchors; the skimmed areas are sound but the drywall behind them is the same as anywhere else.
- Let the walls cure for a few weeks before washing them or pushing furniture back tight against them.
Why this kind of prep suits homes in rural Pickering
Pickering is really three housing stocks under one name. The south end around Bay Ridges, Amberlea and Liverpool has detached homes and semis from the 1960s to the 1980s with layered paint and dated trim. Seaton has brand new subdivisions with builder paint. The rural north around Claremont has country homes on larger lots, many of them custom built and decorated by more than one set of owners. Interiors in that last group are where we most often meet faux finishes, glazes and strong period colours, and each needs testing and preparation before a plain modern finish will hold. You can read about the other parts of the city on our Pickering painting page.
We have painted homes across the GTA since 2010, from Toronto condos to farm properties in north Durham Region, and this job reflects how we approach any interior painting project: find out what is actually on the wall, prepare it so the new paint can bond, and put at least two finish coats over a sound primer. Our written quotes list each room and each step, including sanding and priming, so the work is clear before it begins. If your house has a faux finish or a dark room you want to lighten, get in touch for a free quote.