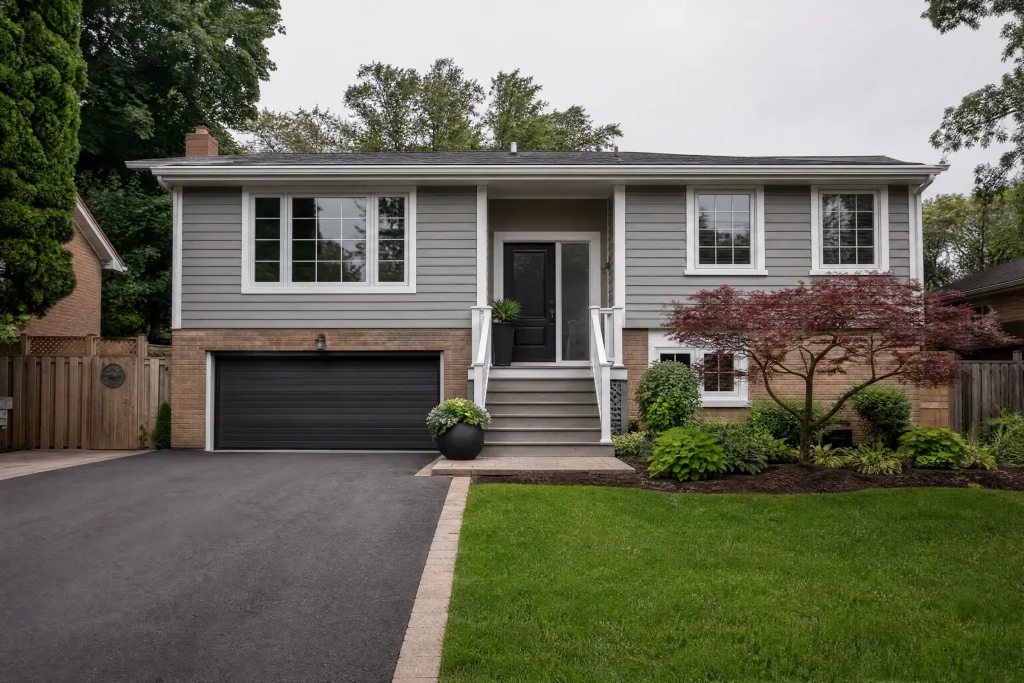

A side-split near Frenchman’s Bay
The south end of Pickering, around Bay Ridges and Frenchman’s Bay, filled in from the 1960s through the 1980s with detached homes and semis, and side-splits are a familiar shape on its streets. This one had the classic arrangement: an entry level, a short flight up to the bedrooms, a short flight down to a family room, and a living room with a tall front wall where the ceiling slopes up toward the peak.
At some point decades back, most of the living room and the stairwell down to the family room had been covered in dark, grooved wood panelling. The owners took it down themselves, hoping for clean walls underneath. What they found was drywall that had been glued and nailed to, and in places torn when the panels came away. They called us to make the walls smooth enough to paint and to finish the room.
What the panelling left behind
Panelling of that era was often fastened with both small nails and blobs of construction adhesive, and the adhesive grips the drywall’s paper face harder than the paper grips the gypsum. Pull the panel off and the glue comes with it, or the paper does. On these walls we found all three outcomes side by side.
- Hard lumps of old adhesive stuck to the wall in vertical rows, some the size of a thumb, some as long as a hand.
- Patches where the glue had peeled off the paper face, leaving the brown layer of the drywall exposed and fuzzy.
- A grid of small nail holes, plus nails that had snapped off flush.
- Plastic anchors and screw holes from shelves and a mirror that had been mounted through the panelling.
- A few deeper gouges where a pry bar had slipped.
The real challenge: torn paper
Exposed, torn drywall paper is the step most people get wrong. If compound or latex primer goes straight onto it, the water in them soaks into the loose fibres, which swell and lift into bubbles and ridges that show through every later coat. These walls had enough torn areas that skipping the sealing step would have ruined the finish. On top of that, the front living room wall was tall, and the light from the front window crossed it at a low angle, so any unevenness would show.
Setting up the room
Furniture went to the dining area and was covered. Floors were protected with paper and drop sheets, and the brick fireplace hearth was covered with a padded sheet. The open railing between the living room and the family room stair was wrapped. Scraping and sanding make a lot of dust, so we hung plastic across the opening to the kitchen and the stair up to the bedrooms, and turned off the furnace fan during the dusty stages. For the tall front wall, a rolling scaffold with locking wheels went up on boards over the floor protection.
Wall preparation, stage by stage
- Fasteners out. Every remaining panelling nail was pulled or, where it had snapped, punched below the surface. Wall anchors were pulled or pushed through and their holes cleaned out.
- Adhesive off. The old glue lumps were scraped down with a stiff blade and finished flush with an oscillating tool fitted with a scraping head. Where a lump would not come off without tearing the wall, we ground it level and left the base in place to be sealed and skimmed over.
- Loose paper trimmed. Around every tear, the loose flaps of face paper were cut away with a sharp knife back to paper that was firmly bonded.
- Sealing the brown paper. All exposed brown layer and any area where adhesive base remained was brushed and rolled with an oil-based primer-sealer. It soaks into the fibres and hardens them without swelling them, which gives the compound a stable surface. We let it dry fully before going further.
- Filling. Deep gouges and the larger anchor holes were filled with setting compound, which hardens in thicker layers without shrinking much.
Skimming the walls
With the surface sealed and the deep spots filled, every wall that had held panelling got two full skim coats. On the tall front wall, the work went from the scaffold: compound was spread with a wide trowel in long, even strokes, kept thin, then pulled tight. The first coat ran horizontally; once it had dried, the second ran vertically, which flattens the small ridges the first pass leaves behind. The stairwell walls were skimmed from ladders and a stair platform.
Sanding was done with a vacuum sander and finished by hand with fine sponges along the corners and around the window. A bright work light held flat against the wall picked out a few pinholes and edges, which got a quick third pass and a light sanding.
Primer and finish coats
Priming the skimmed walls
Fresh compound is thirsty and uneven in absorbency, so all of the skimmed walls were primed with a latex drywall primer before any colour. That gives the finish coats a uniform base, so the sheen is the same everywhere.
The skimmed walls in colour
The walls received two coats of a washable matte. Matte reflects very little light, which keeps a large skimmed wall looking calm under the low front-window light, and the washable formulas now available can be wiped clean in a living room. Cutting in was done by brush at the ceiling line, along the sloped edge and around the fireplace brick, and the field was rolled with a medium-nap roller. We held off on coat two until the label’s recoat interval was up.
Ceiling and trim
The sloped ceiling had a few small cracks along its peak and was repainted in two coats of flat white once those were taped and filled. Baseboards and window casings, which had been hidden behind or butted against the panelling, were caulked where gaps showed and painted in two coats of semi-gloss white.
From dark wood to soft blue
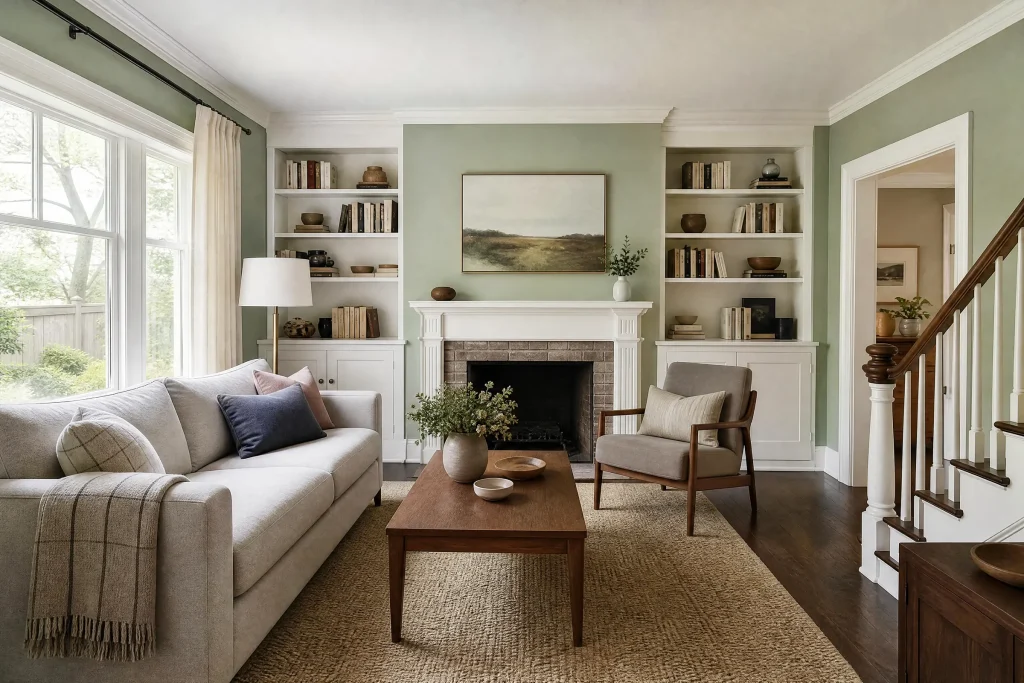
After years of panelling, the owners wanted the room light, but not stark. During the colour consultation, swatches from real sample pots went onto primed sections of the tall front wall and on the dimmer stair wall. They looked at them in the morning, when the front window brings in cool light, and again in the evening under lamps. The colour they chose is a soft, greyed blue that stays calm in daylight and turns gentle and warm at night, set off by white trim and ceiling. The red brick of the fireplace now stands out against it.
Daily clean-up
At the end of each day, adhesive scrapings and dust were vacuumed up, the plastic barriers were checked, and the scaffold was locked and moved clear of the walkway. The kitchen and bedroom levels stayed clean throughout.
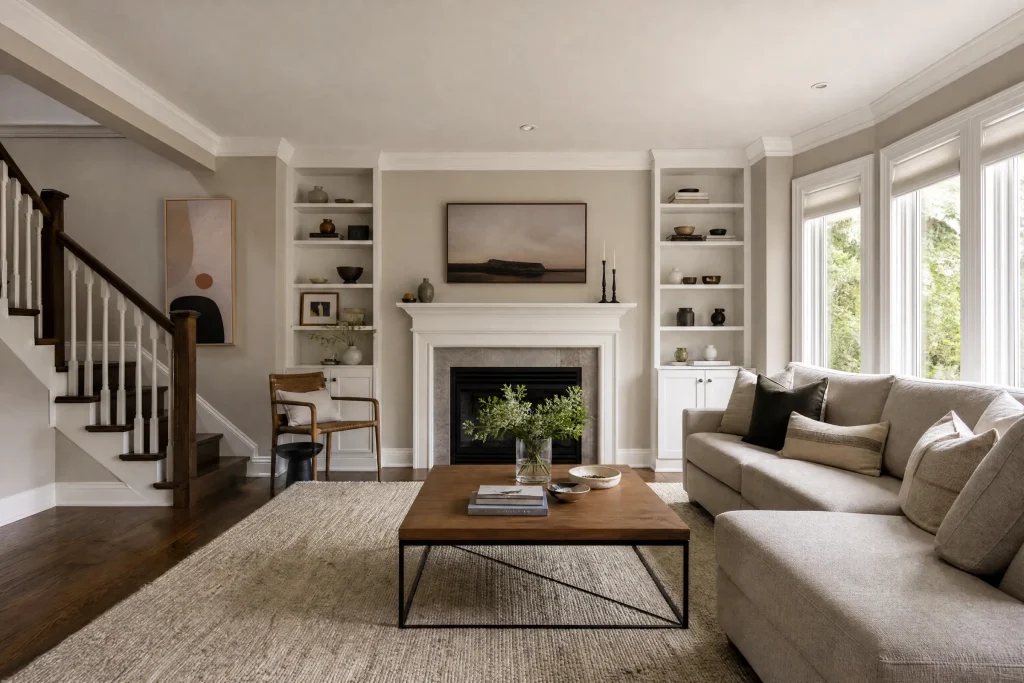
The living room now has smooth, flat walls in an even, soft blue that rise cleanly to the sloped ceiling, with no trace of the panelling grooves or glue rows.
Caring for the new walls
- Washable matte cleans with a damp cloth and gentle pressure. Rubbing hard in one spot can polish it slightly, so dab rather than scrub.
- Labelled cans of the wall blue, ceiling white and trim semi-gloss were left in the utility room. Matte touches up well with a small roller.
- For hanging pictures, use proper picture hooks or anchors rated for drywall. The skim coat is thin and sits on the same drywall as before.
Why this approach suits south Pickering homes
Houses in Bay Ridges, Amberlea and Liverpool often hide decades of earlier choices: panelling, wallpaper, glued-on mirror tiles and many layers of paint. When those come off, the drywall underneath is rarely ready to paint as it is. Sealing torn paper before any compound touches it, then skimming whole walls rather than chasing individual spots, is how our drywall repair work handles that kind of wall. We bring the same care to homes all over Pickering and the rest of Durham Region, as we have across the GTA since 2010.
If you have pulled panelling, tiles or paper off a wall and do not like what is underneath, reach out and we will look at the walls and send an itemized quote for the repair and painting.