
The farmhouse and its setting
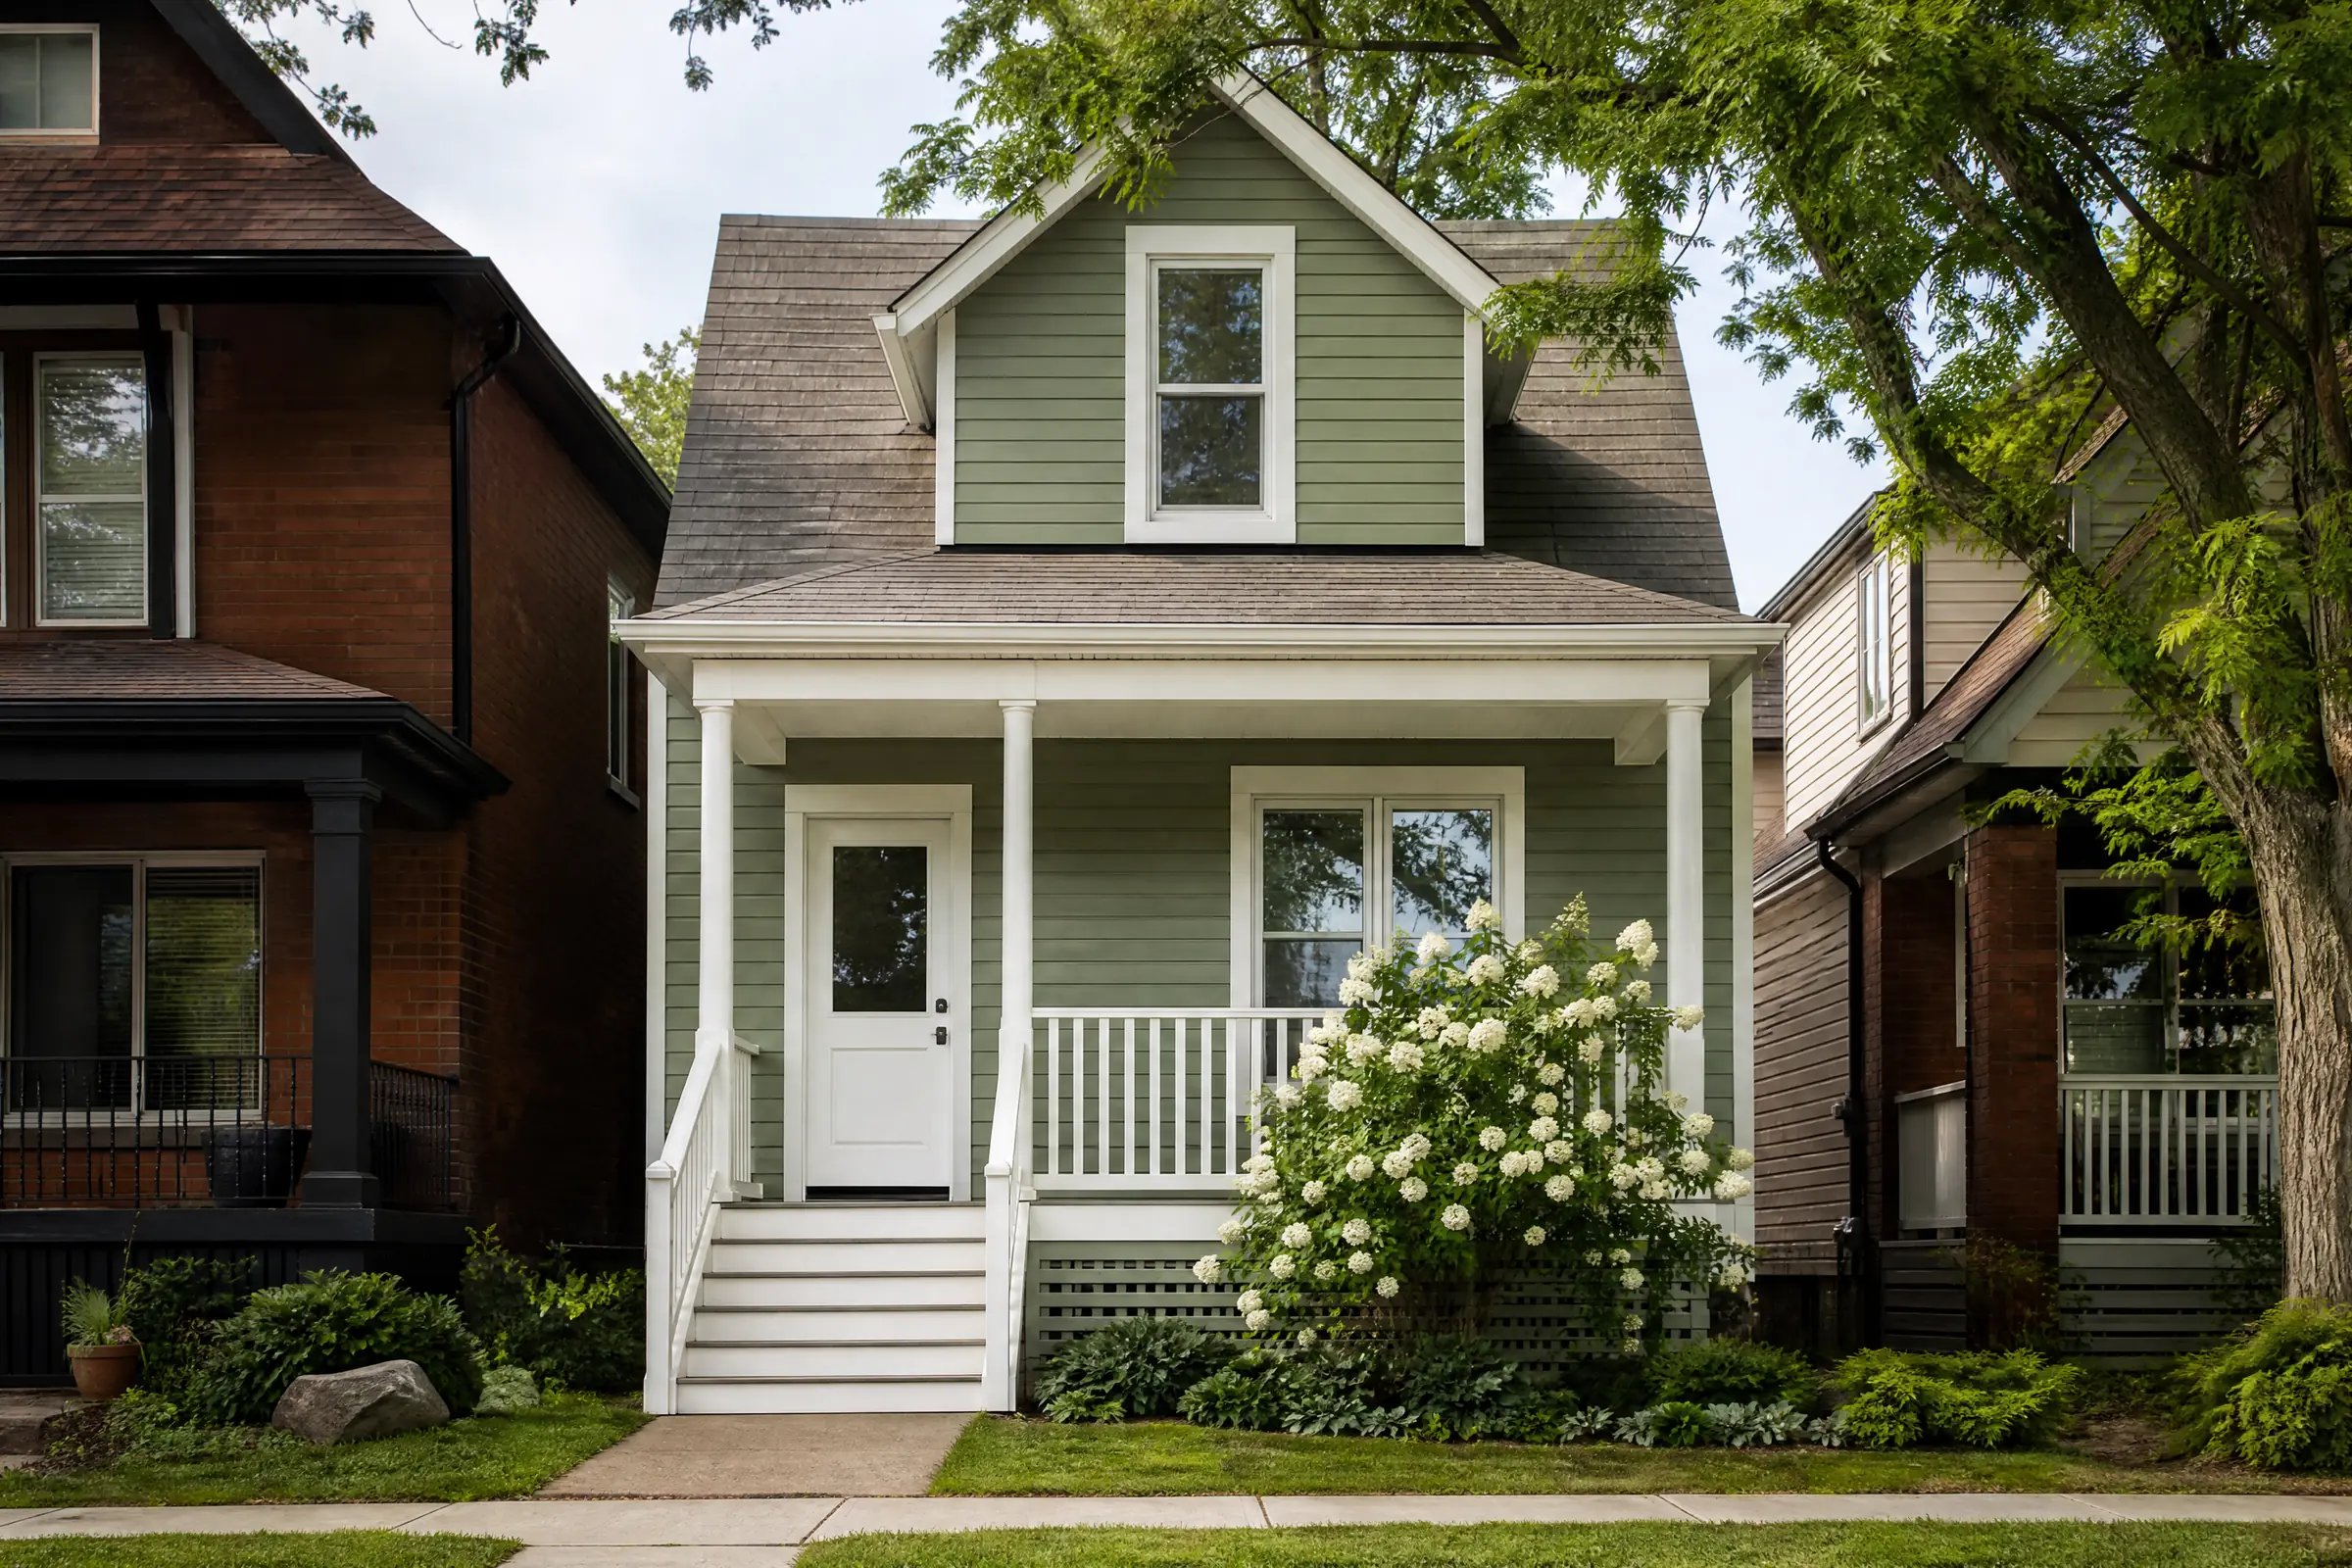
This storey-and-a-half farmhouse stands near the road on a property outside Schomberg, with hay fields on three sides and a long lawn sloping down to the front. Like many older farmhouses in King Township, it is clad in wood clapboard over a stone foundation, with a steep roof, dormers lighting the upper storey and a covered front porch. The owners asked us to repaint all of the clapboard, the soffits, fascia, corner boards, window casings and the porch posts and railing. Their brief was simple: a dark colour low on the house, a light one above, and paint that would stay on this time.
What open-field weather had done to the paint
Out on the moraine, nothing shelters a house like this from the wind. The west wall faces the prevailing weather across an open field, and it showed. Large areas there had lost their paint completely, and the exposed clapboard had turned silver-grey, with raised grain you could feel with a fingertip. On the south wall the paint was still attached but had cracked into the tight, scaly pattern painters call alligatoring, a sign of many layers of old oil paint that had become hard and brittle.
The north and east walls were in fair shape, with some peeling under the eaves and at the bottom courses where snow sits against the boards in winter.
Testing before quoting
On a house with this much paint history, prep is the job, so we tested before we wrote anything down. A strip of tape pressed onto a cross-hatched cut in the paint on each wall showed how well the existing coatings were holding: the west and south walls failed badly, the north and east walls held. Under the scraper the top coat was a chalky white, and beneath it we could count several older coats, the bottom ones hard enough to tell us they were oil.
Where the difficulty lay
- Brittle alligatored paint cannot be painted over; new paint bonds to the cracked layer and fails with it.
- Grey, sun-worn wood has a weak surface layer of loose fibres that primer will not hold onto until it is sanded away.
- Old paint chips scatter quickly in an open yard, so every chip had to be caught on sheets and collected.
- Wind across the fields ruled out spraying and limited which days were usable at all.
Preparing the clapboard, wall by wall
Containment and protection
Before any scraper touched the house, heavy drop sheets were laid along the stone foundation with poly under them, turned up at the edges so chips could not blow out across the lawn. Windows were closed and covered, and the vegetable bed along the south wall was sheeted over. Scraping was done by hand with carbide scrapers, and sanding used random-orbit sanders connected to dust collection, so the old paint dust went into the vacuum rather than into the air. At the end of every working day the chips were gathered from the sheets, bagged and sealed.
West wall: back to fresh wood
The bare boards were sanded until the grey layer was gone and clean, pale wood showed through. Grain that had lifted was knocked down, and the few boards with split ends had the splits glued and clamped or filled with exterior wood filler. Some clapboard near the back door had gone soft, and those lengths were replaced before any primer went on.
South wall: removing the alligatored layer
Alligatored paint has to come off down to a layer that is still bonded. On the south wall that meant scraping most of the surface and sanding the edges of the remaining sound paint so the transition from bare wood to old paint would not show as a ridge under the new coats.
North and east walls: spot repair
These walls needed scraping only where paint had lifted, then light sanding of the whole surface to dull the old gloss and give the primer a grip.
Caulking and priming
Vertical joints where the clapboard butts into corner boards and window casings were caulked with a paintable exterior sealant. The horizontal laps were deliberately left open, because they let moisture escape from behind the siding. Every bare or scraped area was then primed with an oil-based exterior wood primer. We chose it because it soaks into dry, weathered wood and grips old oil paint better than a water-based primer, and it gives the acrylic finish coats a stable base.
The finish coats
With the primer cured to the manufacturer’s recommendation, the finish went on by brush and short roller: each board face rolled, then brushed out along its length, with the lower edge of every lap brushed in so no unpainted strip was left to let water in. Two finish coats of 100% acrylic exterior paint went on every surface. We worked only on calm, dry days, started after the morning dew had burned off and stopped early enough that the last coat of the day could set before evening damp.
- Lower storey clapboard: a dark spruce green with a hint of blue, in satin.
- Upper storey and dormers: warm white in satin.
- Soffits, fascia, corner boards, casings, porch posts and railing: the same warm white in semi-gloss, for a slightly crisper edge and easier cleaning.
How the two colours were chosen
The owners had a dark green in mind but were unsure how deep to go, so several greens from our sample pots were brushed onto primed boards during the free colour consultation and propped against the west wall, then looked at them in the morning and again near sunset. The palest looked grey against the fields, the darkest looked black from the road. A spruce green from the middle of the range, with a little blue in it, held its colour in both lights. The white was picked to be warm rather than stark, so it would not glare against the green in full sun.
Today the farmhouse reads clearly from the road: a deep green base anchoring it to the lawn, a clean white upper storey and dormers above, and crisp white trim outlining every window.
Leaving the site clean each evening
On a property this open, a stray sheet of poly or a light ladder will travel in the wind, so ladders were laid flat and tied down at night, and paint and solvents were stored in the drive shed. The drop sheets were cleared of chips daily. When the last coat was done, the sheeting came off the garden, the windows were uncovered and cleaned of any tape residue, and the foundation line was swept and vacuumed.
What to watch for on the new finish
- Walk the west wall each spring. If any small spot lifts, scrape it, spot-prime and touch it up before water can get under the neighbouring paint.
- Keep the bottom courses clear of piled snow where you can; meltwater sitting on the boards is the main cause of peeling down low.
- Dark colours fade first on sunny walls. Expect the spruce green on the west and south sides to need a fresh coat before the north and east do.
- Touch-up cans of the green and both whites are in the drive shed, each lid marked with the colour name, sheen and the surfaces it was used on.
Why this approach fits King farmhouses
Farmhouses across King City, Nobleton and the countryside around Schomberg often carry many coats of old oil paint, and they take more wind and sun than a house on a sheltered street. Testing adhesion first, removing failed layers rather than painting over them, and using a primer suited to old oil paint and dry wood are the parts of exterior painting that matter most here. It is how we approach rural homes across York Region, and we have been doing this kind of work around Toronto and the GTA since 2010.
If the paint on your farmhouse is cracking or the wood is turning grey, book a visit with us and we will test the old coatings and write you an itemized quote for every wall and trim surface.