
A farmhouse on open land outside Schomberg
Schomberg is one of King Township’s smaller villages, with farmland on every side, and this house stood on a rural lot a short drive from it. It was an older frame farmhouse, the kind found across this part of the Oak Ridges Moraine, with plaster walls on wood lath, plaster ceilings, and wide wood baseboards and window casings that had been painted many times over the decades. A later renovation had enlarged the windows at the back, so the living and dining rooms were brighter than most farmhouse rooms, with the original wood floors running through both.
The job covered the living room, the dining room and a small den off the front hall: walls, ceilings, all the trim, the window stools, the glazed French door into the den, the four-panel doors and the den’s built-in bookshelves.
Cracked plaster and trim with a long history
The plaster
Old plaster moves with the seasons, and in a farmhouse that sits exposed to wind and cold, it moves a lot. Every room had cracks running out from the corners of the door and window openings. Over the dining room doorway a section of plaster had come loose from the lath behind it; pressing it gently made it flex. Along the ceiling of the living room, an earlier crack repair had been done with ordinary spackle and had split again on both sides.
The trim
The wide trim was the bigger question. A cotton swab with rubbing alcohol left no colour on it, which told us the top layer was oil-based. Latex paint applied straight over old oil enamel often fails to grip and peels off in strips, so this needed a different priming plan. The edges were also rounded over with so many coats that every flat surface had soft ridges and drips from earlier brushwork, which the new finish would show unless they were knocked down by hand.
Protecting the rooms and repairing the plaster
Keeping dust in one room at a time
Old plaster dust and sanded paint get everywhere in a farmhouse with floor registers and open doorways, so we set the dust rules before anything else: no dry power sanding on the trim, plastic sheeting taped over the floors and across each doorway, light hand scuffing with damp sanding sponges, and cleanup with a HEPA-filtered vacuum and damp wiping rather than sweeping. The owners kept out of each room while its prep was under way and used the kitchen and back hall as usual.
Floors and furniture
The original wood floors were covered with plastic sheeting under canvas drop cloths, so dust and drips could be lifted cleanly. Furniture was moved to the centre of each room and wrapped, and the den’s built-in shelving was masked.
Plaster repairs
- Over the dining room doorway, we drew the sagging plaster back against its lath using screws fitted with thin perforated washers, spaced so it tightened evenly without new cracks.
- We widened each crack into a shallow V, giving the compound a groove to key into, and laid self-adhesive mesh across it.
- Each repair was filled with a setting-type compound, which cures harder than ready-mixed filler and suits plaster. A second, thinner coat was feathered out wide.
- The washer heads were skimmed over twice so they would not show, then everything was sanded smooth by hand.
Priming the plaster
Patched plaster is a mix of hard old plaster, new compound and decades of paint. The walls and ceilings were primed with an alkyd-modified primer, which seals that mix evenly and keeps the lime in old plaster from interfering with the finish coat.
Preparing the oil-painted trim
The trim was cleaned with a liquid deglosser to cut the shine and remove grime, then scuffed lightly with damp sponges, which kept the dust down and left the old edges crisp. Gaps between the casings and the plaster were caulked. Every piece of trim and both faces of each door were then primed with a bonding primer made to grip glossy oil enamel.
The finish coats
Ceilings
The plaster ceilings were rolled in a flat white, two coats. Flat hides the gentle unevenness that old ceilings have, which a sheen would only highlight under the bigger back windows.
Living and dining walls
The walls took a low-VOC matte in soft white. Matte suited the hand-finished plaster, which is not perfectly flat, and kept the rooms looking calm. Two coats went on, cut in with a brush along the wide trim and rolled with a medium-nap cover to reach the slight hollows of the plaster.
The navy den
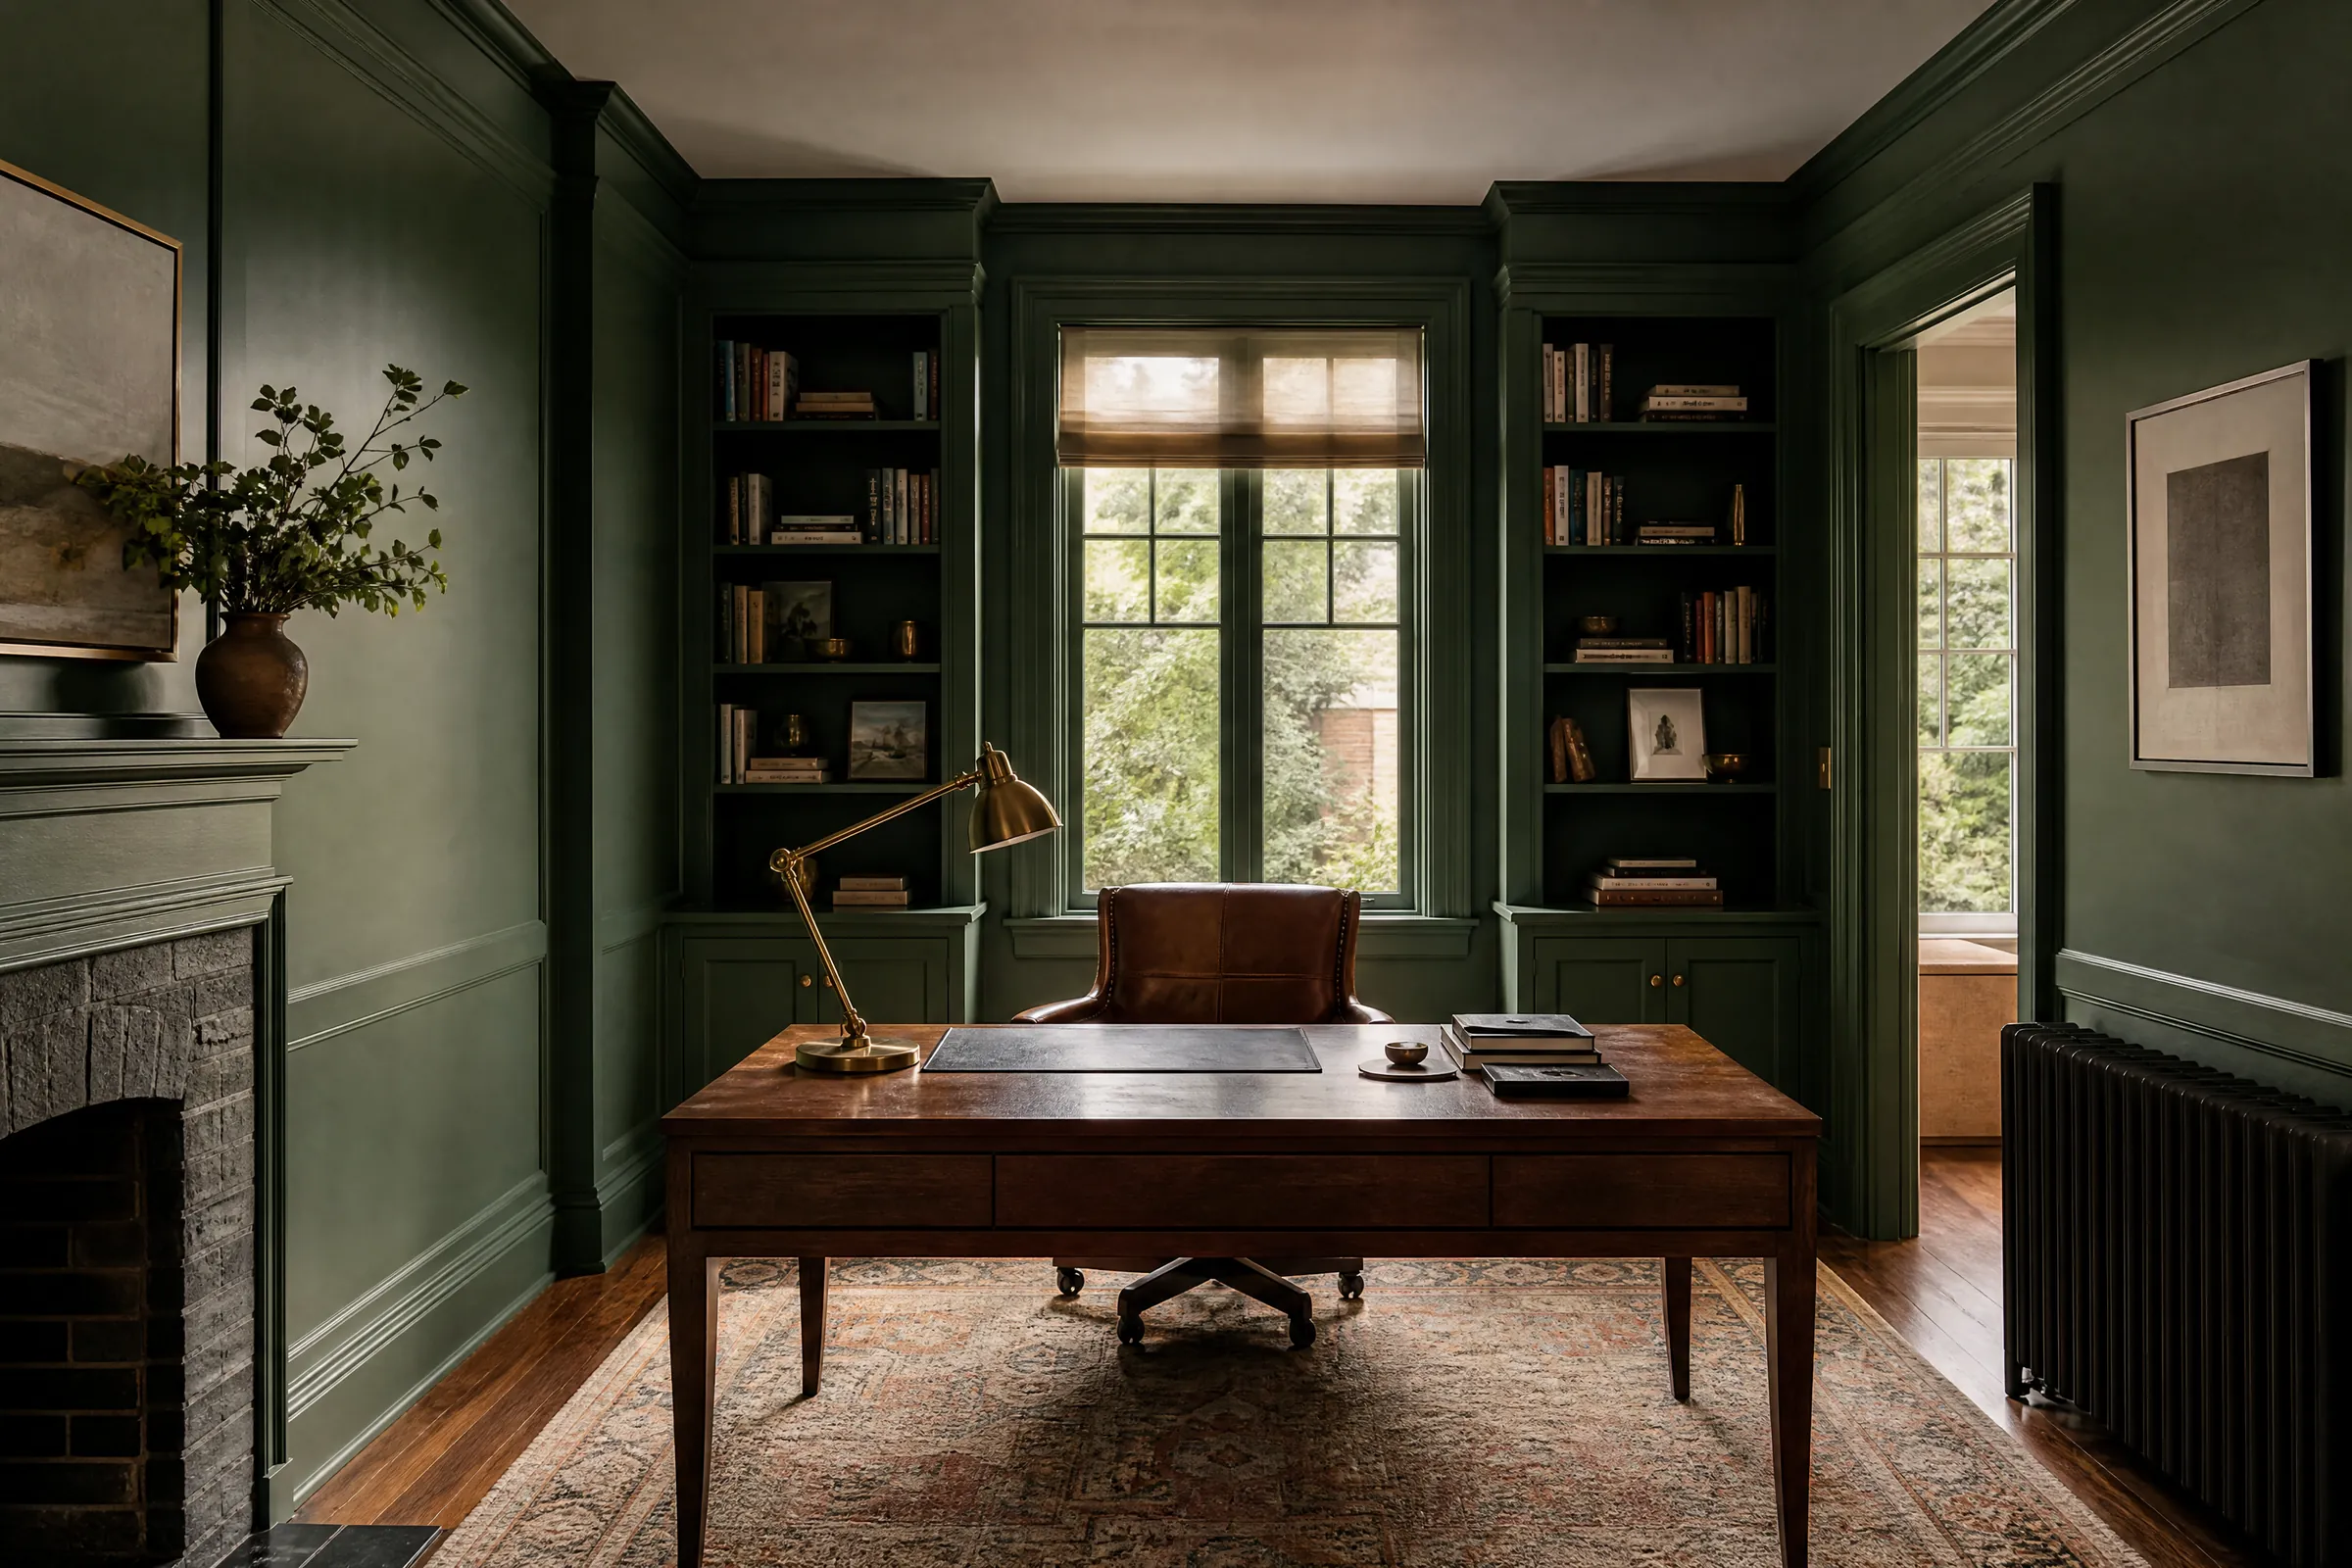
The den walls were painted a deep navy in eggshell, which wipes easily in a room used as a reading room and study. Over the primer it took two full coats to an even depth. The built-in bookshelves stayed masked while the walls were rolled, then were primed and brushed in the same navy, so the shelving and walls read as one deep colour.
Trim and doors
The trim and doors were finished in a creamy white waterborne alkyd semi-gloss, brushed in two coats. This type of paint flows out like an oil, so the brush marks level on wide flat boards, but it is water-based and much lower in odour. On the glazed den door the muntins were brushed first with the glass taped, and the four-panel doors were brushed in the traditional order, panels first, then the rails and stiles, so the grain-direction strokes stay neat.
Whites chosen for north and west light
The free colour consultation took place in the dining room, where the back windows face open fields. We brushed sample pots of several whites on the plaster beside the windows and on the darker wall opposite. A bright white looked grey and flat on the shaded wall. The creamier whites held their warmth there but looked yellow where the afternoon sun hit. The owners chose a soft white in between for the walls and a slightly creamier white for the trim, so the wide casings and baseboards read as a frame around each room rather than disappearing. The navy for the den came from the same session, tried against the green upholstery they planned to use in the living room so the two rooms would sit well together through the open doorway.
Order and cleanliness on a working property
Because plaster and paint dust travel through an old house so easily, cleanup was part of every step, not just the end. The rooms being worked on were sealed with plastic, tools were wiped down before leaving them, and the HEPA vacuum and damp cloths were used on floors, sills and sheeting at the end of every day. The rest of the house was left as usual for the family, and the long driveway was kept clear for farm vehicles.
What to watch for in an old farmhouse
- Fine hairline cracks may still appear at door corners after a cold winter. They are cosmetic; a dab of touch-up paint handles most of them.
- If a crack widens or plaster sounds hollow when tapped, call us before patching it, since the lath may need another washer.
- When the trim is next painted, scuff it by hand with a damp sponge rather than a power sander, so the old layers stay intact and the dust stays down.
- Labelled cans of the wall white, the trim white, the navy and the ceiling white were left in the pantry.
- The waterborne alkyd trim hardens over several weeks; wipe it gently until then.
Why King farmhouses need this kind of patience
Across King Township, newer homes in King City and Nobleton are drywall and builder paint, but the older farmhouses between the villages are another matter. Their plaster has moved through a great many winters on exposed lots, their trim carries layers of paint of uncertain age, and much of the work of interior painting them is careful assessment, repair and the right primer. The same thinking applies to older country homes we paint throughout York Region. Interior work in a farmhouse can be booked in any season, since it does not depend on the weather, and every room gets at least two finish coats. We provide an itemized written quote that lists the repairs room by room. If your farmhouse has cracked plaster or painted trim you are unsure about, contact us to arrange a visit.