
A bungalow near the Bluffs with a paint problem
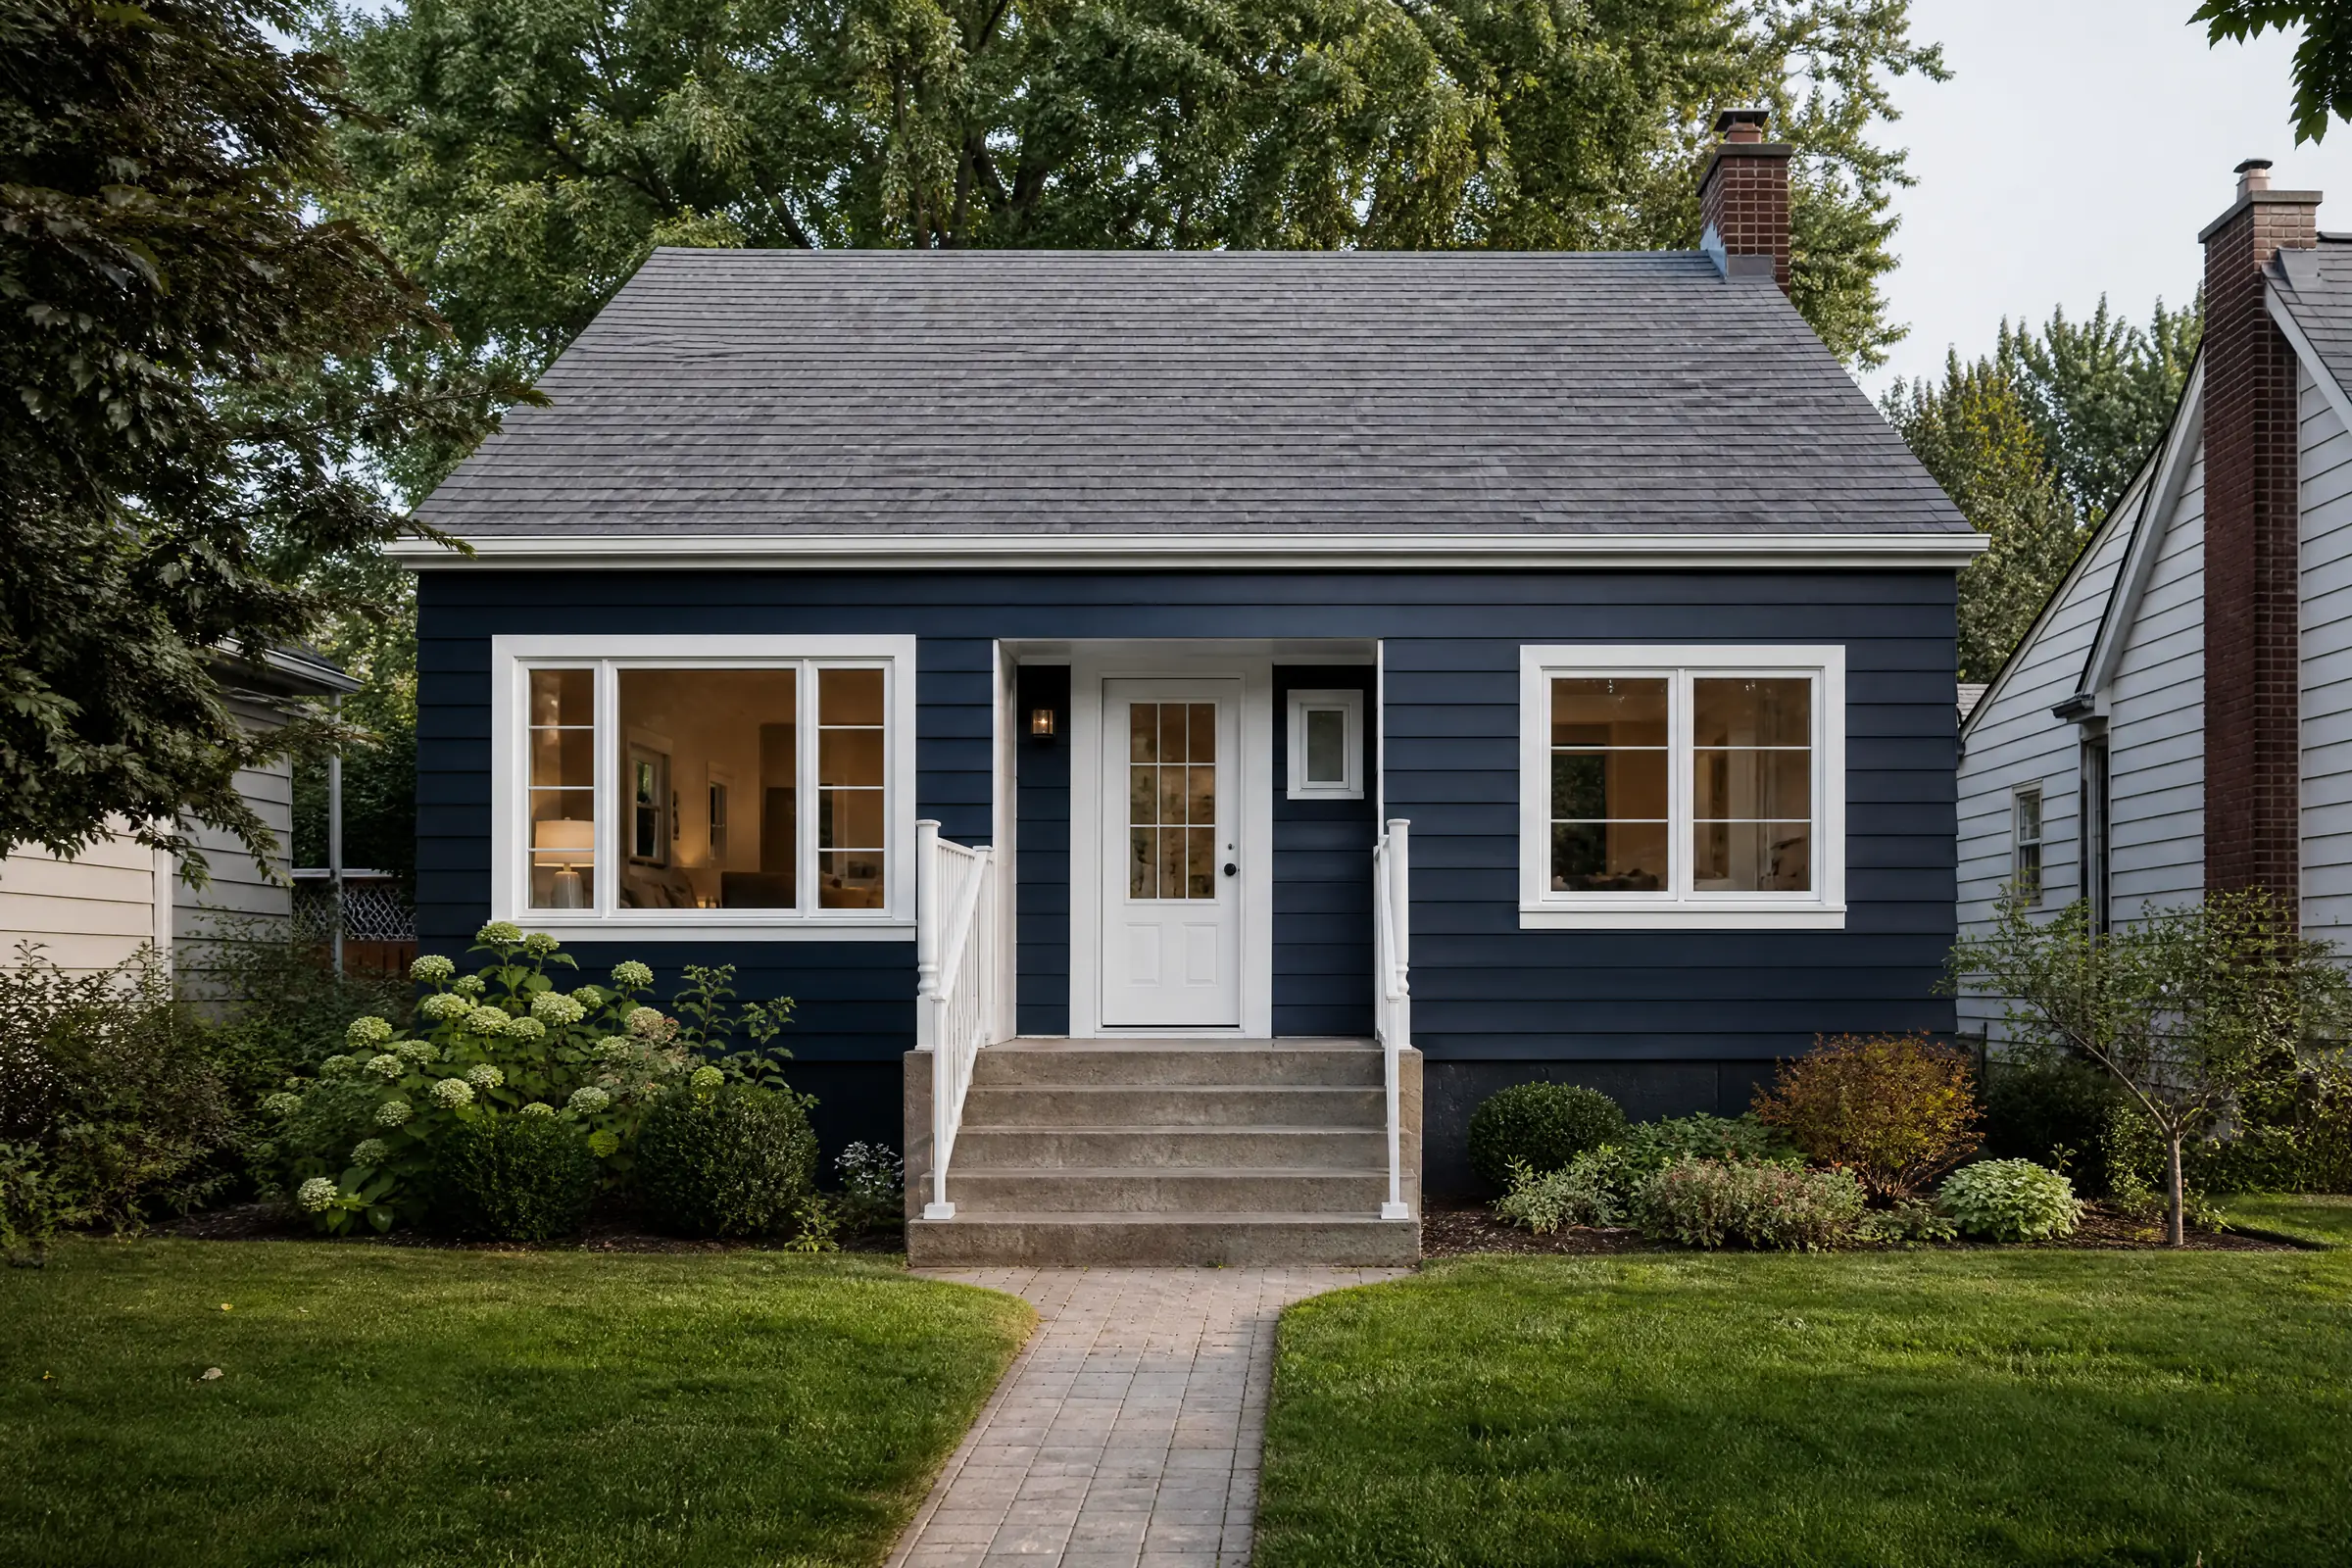
This one-storey bungalow stands in Guildwood, a short walk from the edge of the Scarborough Bluffs. It belongs to the generation of postwar houses that fill many of the older streets in Scarborough: a low brick foundation, a shallow roof, a picture window at the front and horizontal aluminum siding on every wall. Wind off Lake Ontario reaches the house on most days, and the siding has had to deal with damp air for a long time.
At some point before the current owners bought the house, the siding had been painted yellow. It had looked fine for a while. By the time we saw it, the paint was coming away in flakes and patches, especially on the south and east walls, leaving the chalky original factory white, and in spots bare metal, showing through. The owners wanted it fixed properly and kept yellow, but a little deeper and warmer than before.
What had gone wrong with the earlier paint job
A few minutes with a scraper and a roll of tape told the story. On the walls that were flaking, the old yellow lifted off cleanly, and the back of each flake was smooth and slightly chalky. That pattern means the paint had been applied over a chalky factory finish without the chalk being washed off or a bonding primer being used. The paint had stuck to the powder, and as the powder broke down, the paint went with it.
On the north wall the old paint was holding much better. Our tape test there, scoring a small grid into the paint and pulling tape off it, left the grid intact, so on that wall we could keep the existing coating and paint over it after cleaning.
Oxidation on the bare metal
Where the paint had been gone longest, the exposed aluminum carried a dull white crust. That is aluminum oxide, the metal’s own corrosion product, and it forms faster in damp, salty air. Around Guildwood, with lake air and road salt both in play, it was well developed. Primer will not hold on that crust, so it had to come off.
Why not just paint over it
The owners asked a fair question: could the flaking areas simply be scraped and the whole house given a fresh coat? On the south and east walls, no. The paint that looked sound between the flakes had the same weak bond as the paint that had already come off, and new coats would add weight and tension to it. Removing everything that failed the tape test was the only way to make the new finish last.
Working space
The east side yard is narrow, with the neighbour’s house and a wooden fence close by. Spraying there was out of the question, and on a lot this size, with neighbouring cars and windows near every wall, we chose to brush and roll the whole house.
Getting back to a sound surface
- Protection. Drop cloths covered the ground along each wall, the brick foundation was masked along its top edge, and the windows, front door, light fixtures and utility boxes were covered. On the narrow east side, the neighbour’s fence was draped with plastic sheeting after a word with the neighbours.
- Removing failed paint. All flaking and poorly bonded paint was scraped off. Areas where it was loose but stubborn were worked with fine non-woven abrasive pads, which take off paint and chalk without gouging the soft aluminum.
- Feathering. At the boundary between bare metal and old paint that was still holding, the edges were sanded down so they would not show as ridges under the new coats.
- Oxidation. The white crust on bare metal was scrubbed off with non-woven pads until the aluminum underneath was bright.
- Washing. Every wall was washed with a degreasing siding cleaner, scrubbed with soft brushes and rinsed with a gentle hose spray, aimed down so no water went up behind the panels. The north wall, where the old paint was staying, was washed with extra care to remove dirt and chalk from its surface.
- Priming. Once dry, the bare aluminum was spot-primed using a metal bonding primer suited to both bare and previously coated aluminum. A full coat of the same primer then went over all the siding, so the old paint, the bare spots and the feathered edges would all take the finish in the same way.
Brushing and rolling the colour
We used a 100% acrylic exterior paint in satin. On each panel, the lower lip was brushed first, since that edge is where rain clings and paint gets thin. The face of the panel was then rolled with a short-nap roller and lightly brushed out along its length, so there were no roller marks running across the profile. Working one panel course at a time from the top of each wall downward kept drips from landing on finished work.
- Siding: golden yellow, two coats, the second once the manufacturer’s recoat time had been reached.
- Corner trim, window capping and fascia: white semi-gloss, two coats by brush.
- Downpipes: the same white semi-gloss, two coats.
We painted on dry days and avoided starting while dew was still on the walls, which on this street, so close to the lake, could last well into the morning.
Choosing a warmer yellow
The previous yellow had been quite pale. The owners wanted something with more warmth that would still look cheerful against the red-brown brick. During the free colour consultation, a few yellows were painted from sample pots onto a primed panel on the north wall, beside a strip of the white trim. The lightest almost matched the old colour, and the deepest looked mustard in the evening shade. A golden yellow between those stayed warm and bright in morning sun and in the softer late-day light.
The bungalow now has evenly coated golden yellow siding all the way round, with every panel edge filled and crisp white trim at the corners and windows.
Keeping a small lot in order
On a tight city lot, tidiness affects the neighbours as much as the owners. Scraped flakes were swept off the drop cloths and bagged each evening rather than left to blow into the next yard, the narrow east side was cleared so the neighbours’ path along their fence was open, and ladders went down flat behind the house each night. On the last day we pulled all the masking, wiped tape marks from the glass and took the fence drapes down.
Upkeep near the lake
- Rinse the siding gently with plain water once or twice a year, especially on the side facing the lake, to remove salt and grime.
- If a scratch goes through to the metal, clean it, spot-prime it and touch it up promptly so oxidation does not start creeping under the paint.
- Check the lower lip of the panels on the south wall each spring; that is where wear will show first.
- Touch-up cans of the golden yellow and the white semi-gloss were left in the basement, each lid labelled.
Why the prep decides the result in Scarborough
Many postwar bungalows and back-splits in Scarborough still wear aluminum siding, and a good number have been painted at some point. When a previous job is failing, the real work is removing what did not bond and starting again from a clean, primed surface; painting over it only adds weight to a layer that is already letting go. Near the Bluffs, damp lake air adds oxidation to that list. That is how we approach aluminum siding painting in the east end and for our clients as painters across Toronto. All Painting has worked on homes in the city and the wider GTA since 2010, and two finish coats are the minimum on everything we paint.
If the paint on your siding is flaking or showing bare metal, get a free quote from us; we will check the old coating and list the prep for each wall in writing.