
A back-split that had been opened up
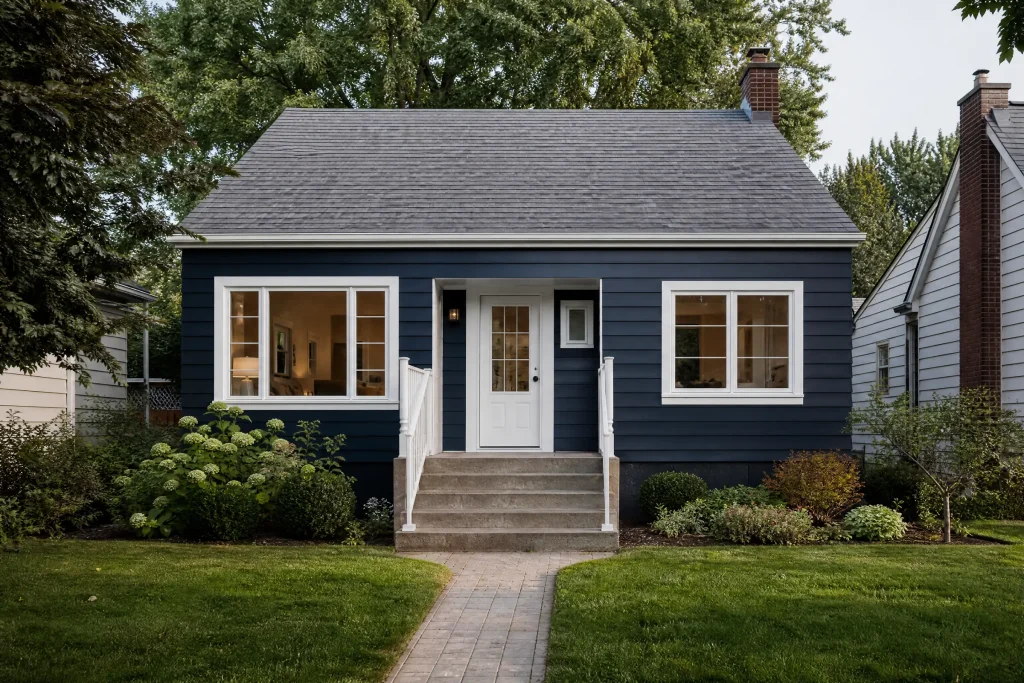
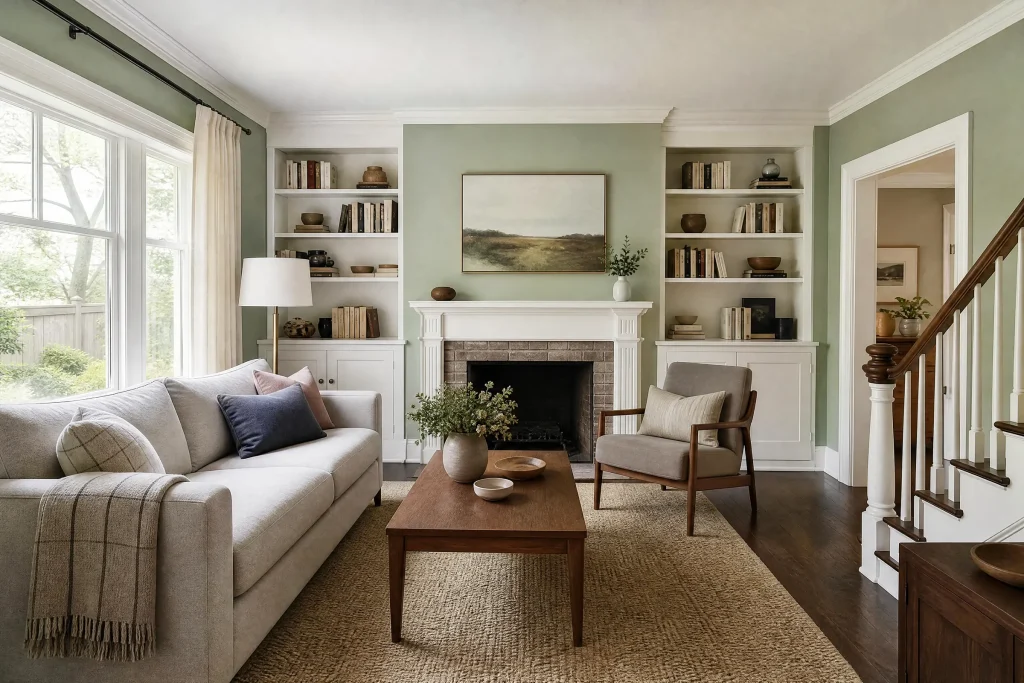
Back-splits are part of the postwar fabric of Scarborough: a house set over several half-levels, with the living room and kitchen on one level, bedrooms a half-flight up, and a family room and another floor a half-flight or two below. This one, in West Hill, had been renovated by an earlier owner who removed the ceiling over the living room to open it up to the roof. The result was a vaulted living room with a sloped ceiling, tall windows on the back wall and a stacked-stone fireplace that reached up into the peak.
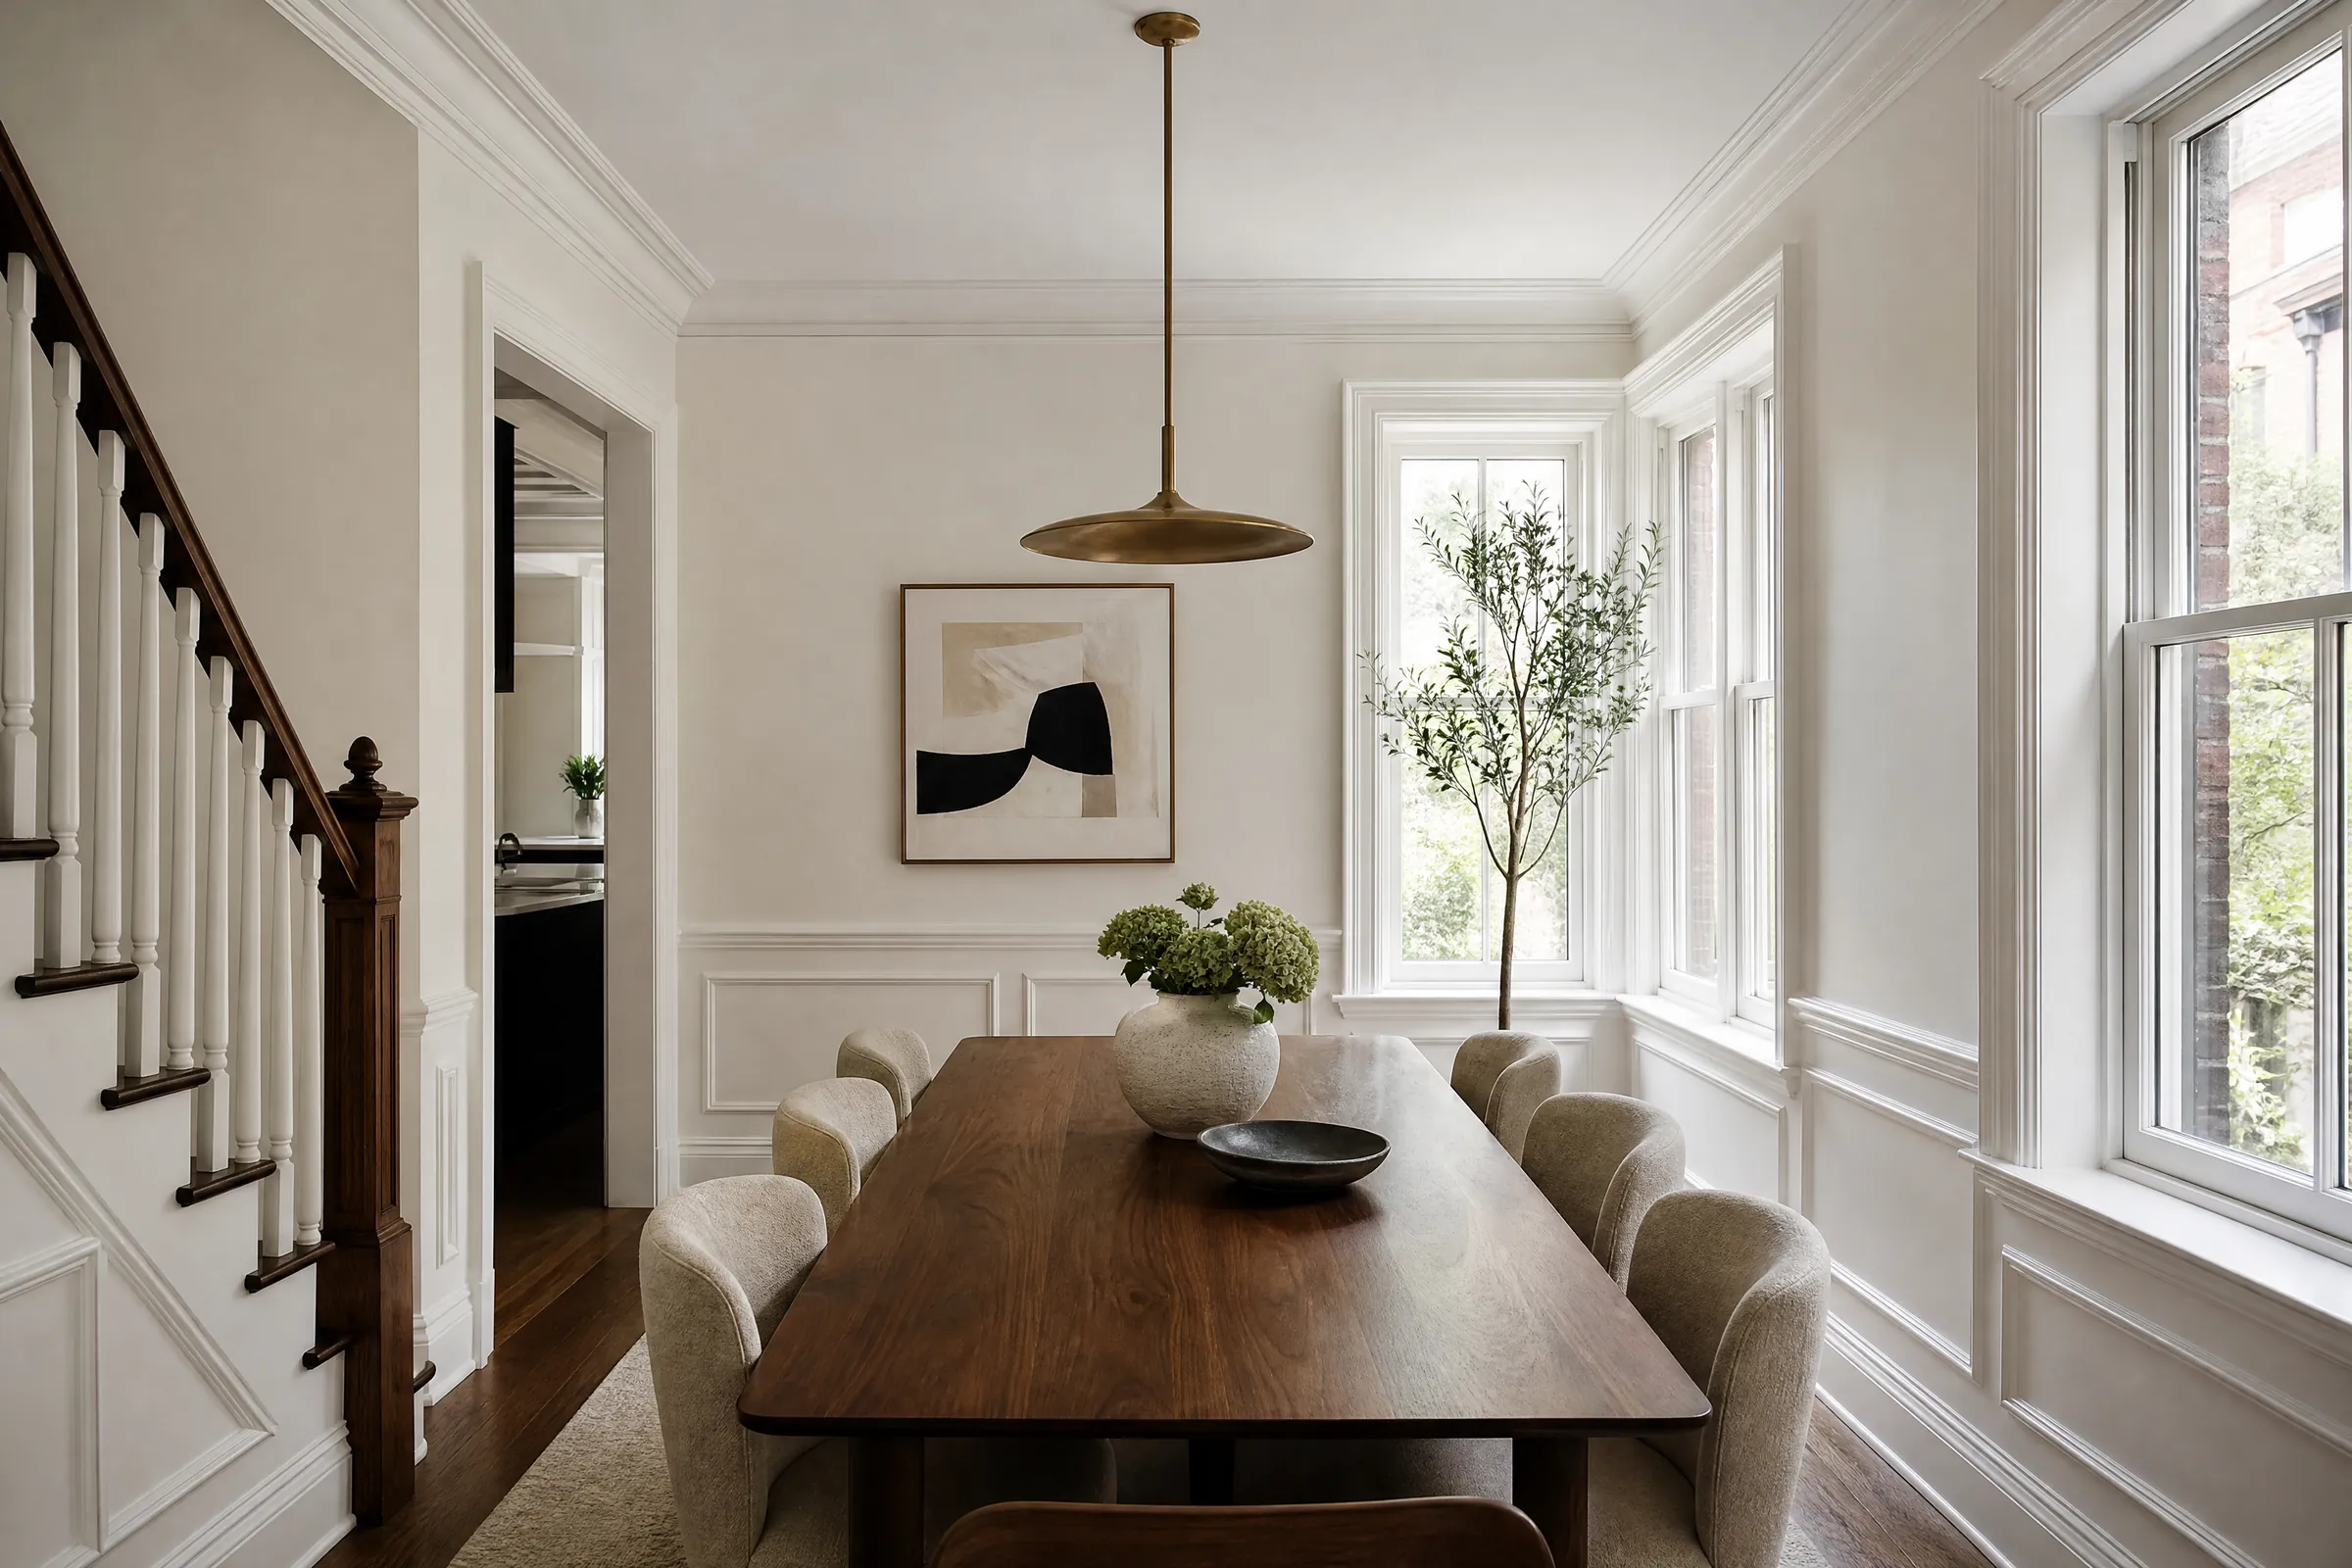
The family who live there now asked us to repaint the living room, the dining room beside it, and the walls along the short flights of stairs that connect the levels. The living room had been painted a deep red by the previous owners, and the family wanted it white, with the red moving to their dining chairs instead of the walls.
What made it more than a colour change
The vaulted ceiling
The sloped ceiling over the living room had been sprayed with a texture, a fine stipple finish, and it had never been painted. Unpainted texture can soften when wet, and rolling paint onto it can pull the texture off in patches. Before deciding how to paint it, we needed to know how firmly it was bonded and how it would react to moisture.
Covering deep red
Red is one of the hardest colours to paint over. Its pigment shows through white for coat after coat, often leaving a faint pink tone in corners and along edges. Getting to a clean white needed the right primer, not extra finish coats.
The half-flights
Each of the short flights had walls on both sides, wood stringers and skirt boards, and carpeted treads. These walls carried scuffs and smudges wherever shoulders and hands meet them, and some of them had crayon and felt marker marks from the children. Setting up safely on stairs and protecting the carpet on each tread added to the work.
Testing, protecting and preparing
Checking the ceiling texture
- The whole slope was dusted with a soft brush on an extension pole, since cobwebs and dust caught in a stipple keep paint from bonding and show up as grey streaks once it is sprayed.
- In a corner, we dampened a small patch with a sponge to see whether the texture softened. It did slightly, which ruled out rolling: the roller would drag on it.
- The plan was to spray the ceiling with an airless sprayer, which lays paint onto texture without rubbing it.
Protecting the house
Because the ceiling would be sprayed, protection in the living room went further than usual. Furniture was moved to the dining room. The floor was covered with paper and drop sheets, and the walls were covered from top to bottom with masking film, since they would be painted after the ceiling. The stone fireplace and every window were wrapped completely. The opening to the stair hall was closed with plastic. On the stairs, each carpeted tread was covered with self-adhesive carpet protection film, which stays in place underfoot and peels off cleanly.
Walls and trim
- Cleaning. The stair hall walls were washed to remove hand marks, and the trim was degreased where hands grip the stringers.
- Crayon and marker. These marks were cleaned as far as possible, then sealed with a stain-blocking primer. Wax crayon and marker ink will bleed through ordinary latex.
- Repairs. Dents and dings along the stair walls and nail holes in the living room were filled, sanded and spot-primed. Gaps between the skirt boards and the walls were caulked.
- Priming the red. The red walls received a full coat of a high-hide latex primer tinted to help cover the red, which blocked it in one pass.
- Trim. The stringers, skirt boards, baseboards and closet doors were scuffed and wiped clean. The window casings in the living room were still in their original stained oak, so they were deglossed and given a stain-blocking primer to keep the wood tannins from yellowing the white.
The paint, surface by surface
Spraying the vaulted ceiling
We sprayed the ceiling with flat ceiling paint suited to textured surfaces, using a fine-finish tip and keeping the gun moving in even passes with each pass overlapping the last by about half. Spraying from two directions on the second coat helped the paint reach into every side of the texture. With the walls and windows fully masked, the overspray landed on film, not on anything we would have to clean. Coat two went on only after the label’s recoat window. Painters wore respirators throughout and the room was ventilated with a fan in a masked window.
Living and dining room walls
Once the ceiling was dry, the wall masking came down. A brush took the edges along the ceiling, the stone and the window frames, and a roller then covered each wall in eggshell, twice. The dining room walls and ceiling followed, the ceiling rolled in flat white, since it is a plain flat drywall ceiling.
Stair halls
Ladders on stairs were set up with a ladder leveller and a plank where needed, so the painter had a level, safe place to stand. Along each flight, the walls had their edges brushed and their faces rolled, twice, in eggshell.
Stair trim and doors
Stringers, skirt boards, baseboards, the window casings and the closet doors took two brushed coats of a semi-gloss waterborne enamel. Semi-gloss stands up to the knocks and scuffs that stair trim takes in a busy house.
Picking the white
Red walls were replaced with white, but which white? We brought sample pots of several candidate whites to the free colour consultation, brushed each onto a primed board, and propped the boards against the stone fireplace, in the dining room and on the stair walls. The family looked at them in morning light and in the evening with the lamps on. A very crisp white made the stone look dull. A creamy white looked muddy in the stair halls, which get little daylight. They chose a balanced white with a very slight warm undertone that looked clean in every space.
Eggshell was picked for every wall in the house, including the living room, because it wipes clean and the family has young children. Zero‑VOC paint was used throughout, including on the sprayed ceiling, as the family lived at home throughout the work.
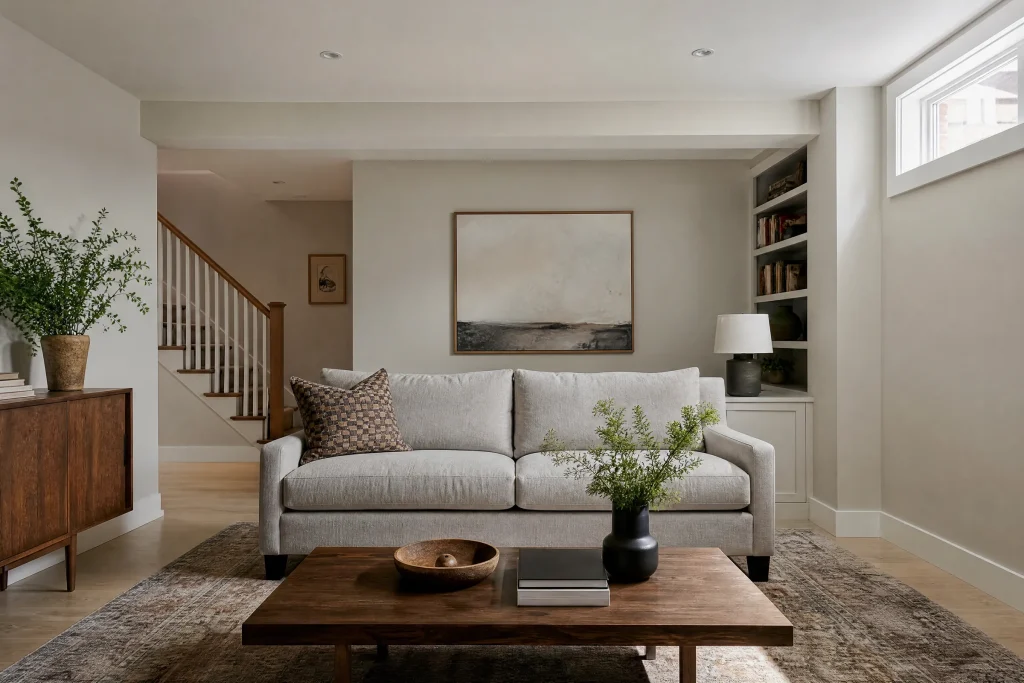
The vaulted living room now has a clean white sloped ceiling with even texture right up to the peak, white walls framing the stone and tall windows, and white stair halls leading from level to level with bright semi-gloss trim.
Keeping a split-level house tidy
In a back-split, there is no way to close off the stairs. The family went up and down them every day. At the end of every day we cleared tools from the stairs and landings, rolled up the plastic at the stair hall doorway, vacuumed and left the carpet film in place so it could be walked on. Brushes were washed outside. When the work was done, all masking film, plastic and carpet film was removed and the house was vacuumed on every level.
Looking after the finish
- The ceiling. Dust the textured ceiling occasionally with a soft brush on an extension pole. Do not wash it with water.
- Stair walls. Eggshell wipes clean with a damp cloth. If crayon or marker marks return, clean them and dab a little stain-blocking primer before touching up.
- Touch-up paint. The leftover wall white, ceiling flat and trim enamel are in marked cans beside the washer.
- Stair trim. Expect the occasional chip on stringers from vacuums and shoes. Sand lightly and touch up with the semi-gloss.
Why this approach fits homes in Scarborough
Scarborough’s older streets are full of postwar bungalows and back-splits, with townhouse complexes from the 1970s and 1980s and apartment towers spread among them. Back-splits in neighbourhoods like West Hill and Agincourt spread their living space over several levels, and many have been renovated over the years, so a single job can include a textured ceiling from one era and a newer opened-up room from another. Walls on each level need patching and the floors on every level need protecting. Our Scarborough painting page has more about the area’s homes.
Split-levels like this one turn up on job sheets from one end of the city to the other, and our home page covers the work we do as painters across Toronto, work we have carried out here and in the surrounding GTA since 2010. Our interior painting service always includes proper testing and preparation and never fewer than two finish coats, and the quote breaks the job down room by room. If you have a back-split, a textured ceiling or a bold colour you are ready to change, get in touch with us for a free quote.