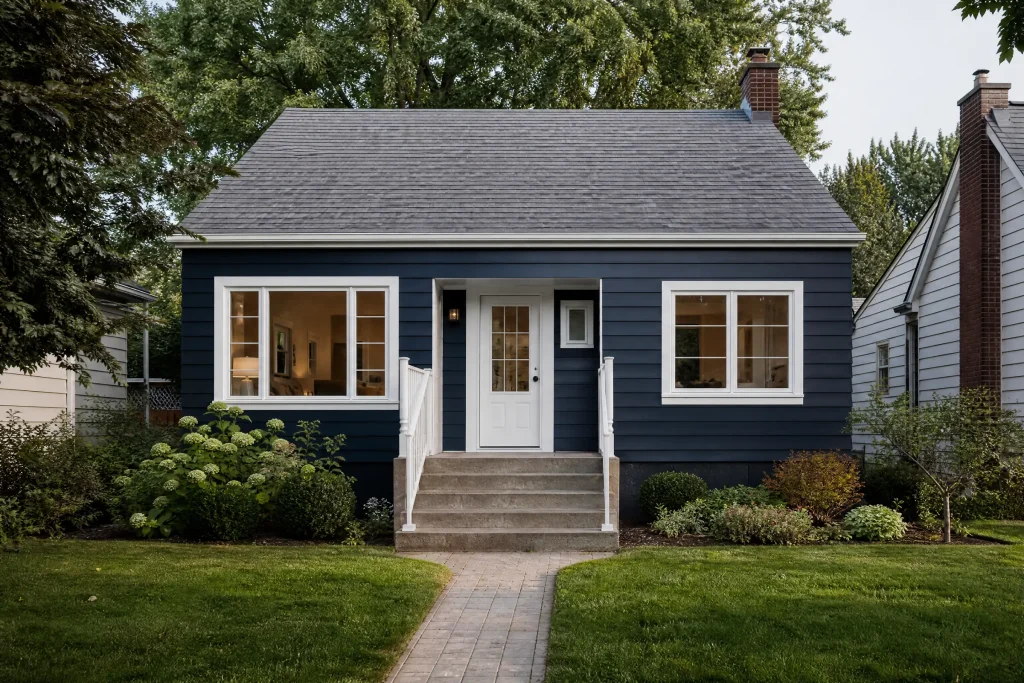

A West Hill bungalow with a finished basement
Many of Scarborough’s older streets, in West Hill, Agincourt and around the Bluffs, are lined with postwar bungalows, and over the years a lot of them have had their basements finished as rec rooms and guest space. This one, in West Hill, had a basement finished some time ago with drywall on wood stud walls set in front of the concrete foundation, a drywall ceiling below the main floor joists, and carpet over the slab.
Two things had gone wrong. Water had come through a crack along a foundation wall and soaked into the bottom of the finished wall, and that leak had since been sealed from outside. Separately, the basement ceiling had been opened in a series of long access cuts during earlier work on the old supply pipes. By the time we were called, the basement was dry but scarred, with stained walls, a ceiling full of holes, and the old carpet already pulled up off the slab.
Assessing what could stay
Before deciding anything, we took moisture readings with a pin-type metre at intervals along the exterior wall, starting at floor level and working upward, and in the corners where water tends to linger. The bottom of the drywall along the affected wall read wet, even weeks after the seepage stopped, because gypsum holds moisture for a long time once soaked. Higher up, above a visible tide line, the board read dry.
The lower section of that wall was soft to the touch, the paper face had dark speckling at the base, and the bottom edge crumbled when pressed. Behind it, once we opened a test hole, the insulation was damp. None of that could be painted over. The rest of the basement walls were sound, with only a few scuffs and old picture-hook holes.
The ceiling
The access cuts were clean edged, but there were many of them: long rectangular openings along the path of the pipes, plus a few smaller holes at fittings. Some of the ceiling sheets had also cracked along their edges when they were pried down. Above the openings, ducts and new piping hung low, which meant working with heads close to hard edges all day. Our crew wore hard hats for the ceiling work.
Protecting the rest of the house
With the carpet gone, the bare slab was swept and covered with heavy paper and plastic wherever we worked. The furniture had already been moved to the dry end of the room, where we wrapped it in plastic. We sealed the stair opening at the foot of the stairs with a zippered barrier so cutting dust stayed downstairs, covered the furnace return in the basement during cutting and sanding, and laid a covered path from the side door to the stairs for carrying out debris and bringing in board.
Rebuilding the wet wall
- Cutting out. We snapped a level line well above the tide line and the last wet reading, and cut the drywall out along it for the full length of the affected wall. Cutting high and straight leaves a clean horizontal seam that is easy to tape.
- Drying the cavity. Wet insulation was bagged and removed, and the stud bays were left open with a fan and the owners’ dehumidifier running until the bottom plates and studs read dry. Any surface speckling on the studs was cleaned. New insulation went in once everything was dry.
- New board. We used moisture-resistant drywall for the lower wall, cut so that it sat a small gap above the concrete slab. Board that touches concrete can wick moisture up from the floor; that gap is hidden behind the baseboard. It was screwed to the studs, with the screws set just below the surface.
- Taping the long seam. The horizontal joint between old and new board was bedded in paper tape with setting-type compound, then finished with two more coats, each feathered wider.
Closing the ceiling
For each access cut, we trimmed the edges square, added wood backing where an edge fell between joists, and fitted new drywall pieces screwed to joists and backing. The cracked sheet edges were cut back to solid board and refastened. Every seam was taped with paper tape, bedded in setting compound and finished in lightweight topping. Ceiling seams in a basement are lit from the side by pot lights or windows, so they were feathered wide and checked with a work light held flat against the ceiling.
Ceiling corners where the new pieces met the walls got paper tape folded into the inside corner. Near the pipes, we left a shut-off valve accessible behind a small access panel rather than sealing it in, which the owners agreed was worth having.
Priming, then paint
Primers
Some of the existing wall above the cut line still carried a faint brown edge from the water. That band was primed with a stain-blocking primer so it could not bleed through. All new drywall and compound, on the walls and the ceiling, got a coat of latex drywall primer so the finish would absorb evenly over old and new surfaces alike.
Ceiling
The whole ceiling was painted, not just the patches, since mismatched sections of white are easy to see on a basement ceiling. It received two coats of flat white, rolled with an extension pole, with brushed edges at the walls and around the pot lights.
Rec room walls
All rec room walls received two coats of eggshell. A basement rec room sees kids, bikes and boxes, and eggshell can be wiped clean. Brushwork came first along the top edge and into each corner, then the roller; coat two waited for the recoat interval printed on the can.
Trim and doors
The baseboards, which the owners had saved, were reinstalled over the new board, caulked along the top and painted semi-gloss. The furnace room door and the closet doors were sanded and repainted to match.
Light colours for a below-grade room
Basements get little daylight, so the owners wanted a light colour that would not feel cold under the room’s pot lights. For the colour consultation, we brushed out sample pots on the newly primed wall and the older wall opposite, and looked at them with only the basement lighting on. They chose a warm, creamy white for the walls, a plain white for the ceiling and a slightly brighter white for the trim, so the room reads as light and calm. A low-odour paint was used since the basement stairs open into the main floor kitchen.
Tidy at every quitting time
Wet debris and old insulation went out the same day it came down, so nothing damp sat in the house. Each evening we vacuumed the floor protection, cleaned the stairs and checked the barrier at the top.
The rec room is now finished again, with straight walls in a warm white, a flat ceiling with no visible joints and clean baseboards along the rebuilt wall, ready for the owners to lay new flooring.
Keeping the basement dry and the finish clean
- Run a dehumidifier in the basement through the humid summer months and empty it regularly. Lower humidity protects drywall, paint and stored items.
- After heavy rain or a spring thaw, run a hand along the bottom of the rebuilt wall. Any dampness is worth investigating right away.
- Keep stored boxes off the floor and a few centimetres away from exterior walls so air can move.
- Labelled cans of the wall, ceiling and trim paint were left on a shelf in the furnace room.
Why this suits Scarborough’s postwar bungalows
Bungalows of this generation in Scarborough have mostly had their basements finished at some point, often directly against older foundations. When water gets in, or when original plumbing and wiring are replaced, the basement drywall is what takes the damage. Cutting back to dry, sound board, using moisture-resistant board where it matters and closing service openings properly are central to our drywall repairs in these homes. It is the same careful order of work we have followed since 2010 as painters across Toronto and the GTA.
If your basement has been opened up for plumbing or has a water-marked wall, and the source has been fixed, contact us to arrange a visit and an itemized written quote.