
A farmhouse kitchen built in two stages
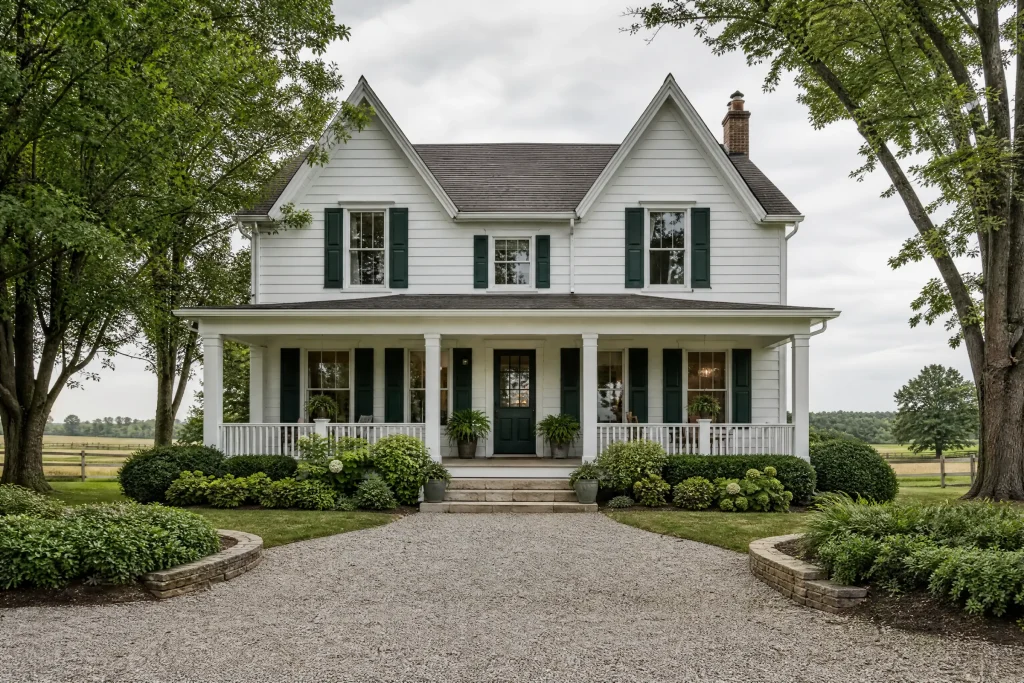
Blackstock is one of the farming communities of Scugog Township, a rural village surrounded by farmland. This farmhouse sits on a rural property outside the village, a brick house with a large kitchen at the back that the family uses for everything from daily meals to putting up preserves. The kitchen had been added to over time, which is common in older farmhouses, and it showed in the cabinets.
Along the main wall were the original cabinets: solid hickory raised-panel doors on hickory face frames, with a strong grain that swings from pale cream to dark brown within a single board. Later, a renovation had added a full-height pantry wall across the room, and those cabinets were particleboard with a melamine face made to look like wood. They were a different colour and had a flat, printed grain. Between the two sat a central island, also hickory.
The owners did not want to replace any of it. They wanted the kitchen to look like one room, and they wanted the work done in the colder months, when the farm is quieter.
Two materials, two problems
The hickory
Hickory is hard and dense, with an open grain similar to oak. The clear finish had held up well, but the wall behind the range and the counter where the family cans in late summer were heavy with grease and steam residue. The finish felt tacky to the touch near the stove, and the drawer fronts below were dull from years of hands.
The melamine pantry
Melamine is a thin, hard plastic face on a particleboard core. It is very slick, and paint simply sits on it unless the surface is roughened and primed with a bonding primer made for plastic and laminate. The pantry doors also had edge banding, a thin strip glued to the cut edges, and on several doors it had come loose at the corners and was catching on clothing.
Making them match
The two sets of cabinets would never be identical. The hickory doors have raised panels with bevelled edges, while the pantry doors are a shaker style with a flat, recessed centre. What paint could do was make them one colour and one sheen, so that the difference read as a design choice rather than an old patch job.
Preparing in the colder months
Protecting the kitchen
Heavy paper covered the kitchen floor from wall to wall, and canvas runners went over it where people walk most. The family moved the kitchen table into the front room, and we wrapped the range, fridge and the chest freezer by the back door in plastic. The counters were covered so they could still be used for a kettle and a cutting board at the end of each day.
A warm spray area
The owners have a heated workshop beside the house, and with their agreement it became the spray area for the doors. Paint has a minimum temperature for application and drying printed on the can, and cold air slows curing. We kept the workshop heated above that minimum the whole time, checked the temperature with a thermometer before each coat, and hung plastic sheeting to keep sawdust from the rest of the workshop away from wet paint.
Step by step, by material
- Removal and labelling. Each door and drawer front was numbered on the hinge edge, with its hardware bagged under the same number.
- Degreasing. Every piece was scrubbed with a heavy-duty degreaser and rinsed. The hickory near the range needed repeated rounds before the finish stopped feeling tacky. The rinse water was collected in buckets and disposed of away from the garden.
- Edge banding. Loose banding on the pantry doors was lifted carefully, cleaned, glued back with contact adhesive and clamped. Once set, the edges were sanded flush so the joint would not show through the paint.
- Sanding the hickory. The clear finish was scuffed with medium then fine sanding sponges until it was dull all over, getting into the raised panel bevels by hand.
- Sanding the melamine. The melamine was roughened with a medium sponge to give the primer something to grip, then wiped twice with a damp cloth to remove every trace of dust. Melamine dust is very fine and can leave a film.
- Priming the melamine. A waterborne bonding primer made for slick surfaces went on the pantry doors, gables and frames in one thin, even coat, then was left to dry for longer than the minimum on the can, as bonding primers on melamine grip harder the longer they cure.
- Priming the hickory. A stain-blocking primer went on the hickory, because the dark streaks in the wood can bleed into a light paint over time.
- Sanding the primer. Both primers were lightly sanded with a fine sponge before colour, wiping down after.
Spraying cream across both sets
The finish coats were a urethane-modified acrylic enamel in satin, used on both the hickory and the primed melamine so the sheen would match from the original wall to the pantry. In the workshop, each door was sprayed on a rack, two coats on the back first, then two on the front once the manufacturer’s recoat time had passed. On the hickory doors the gun followed the panel profile and bevel before moving to the flat field and finally the rails and stiles. The pantry doors were simpler: the gun took the inside edges of each frame, moved across the recessed centre, and finished on the frame faces in long, overlapping passes.
Face frames, the pantry gables and the island stayed in the kitchen and were brushed in the corners and rolled with a foam roller on the flat surfaces. Each surface got two finish coats. Because the kitchen was heated too, drying there was reliable, but we left the back door closed during each coat to keep cold drafts off the wet paint.
Choosing cream and red
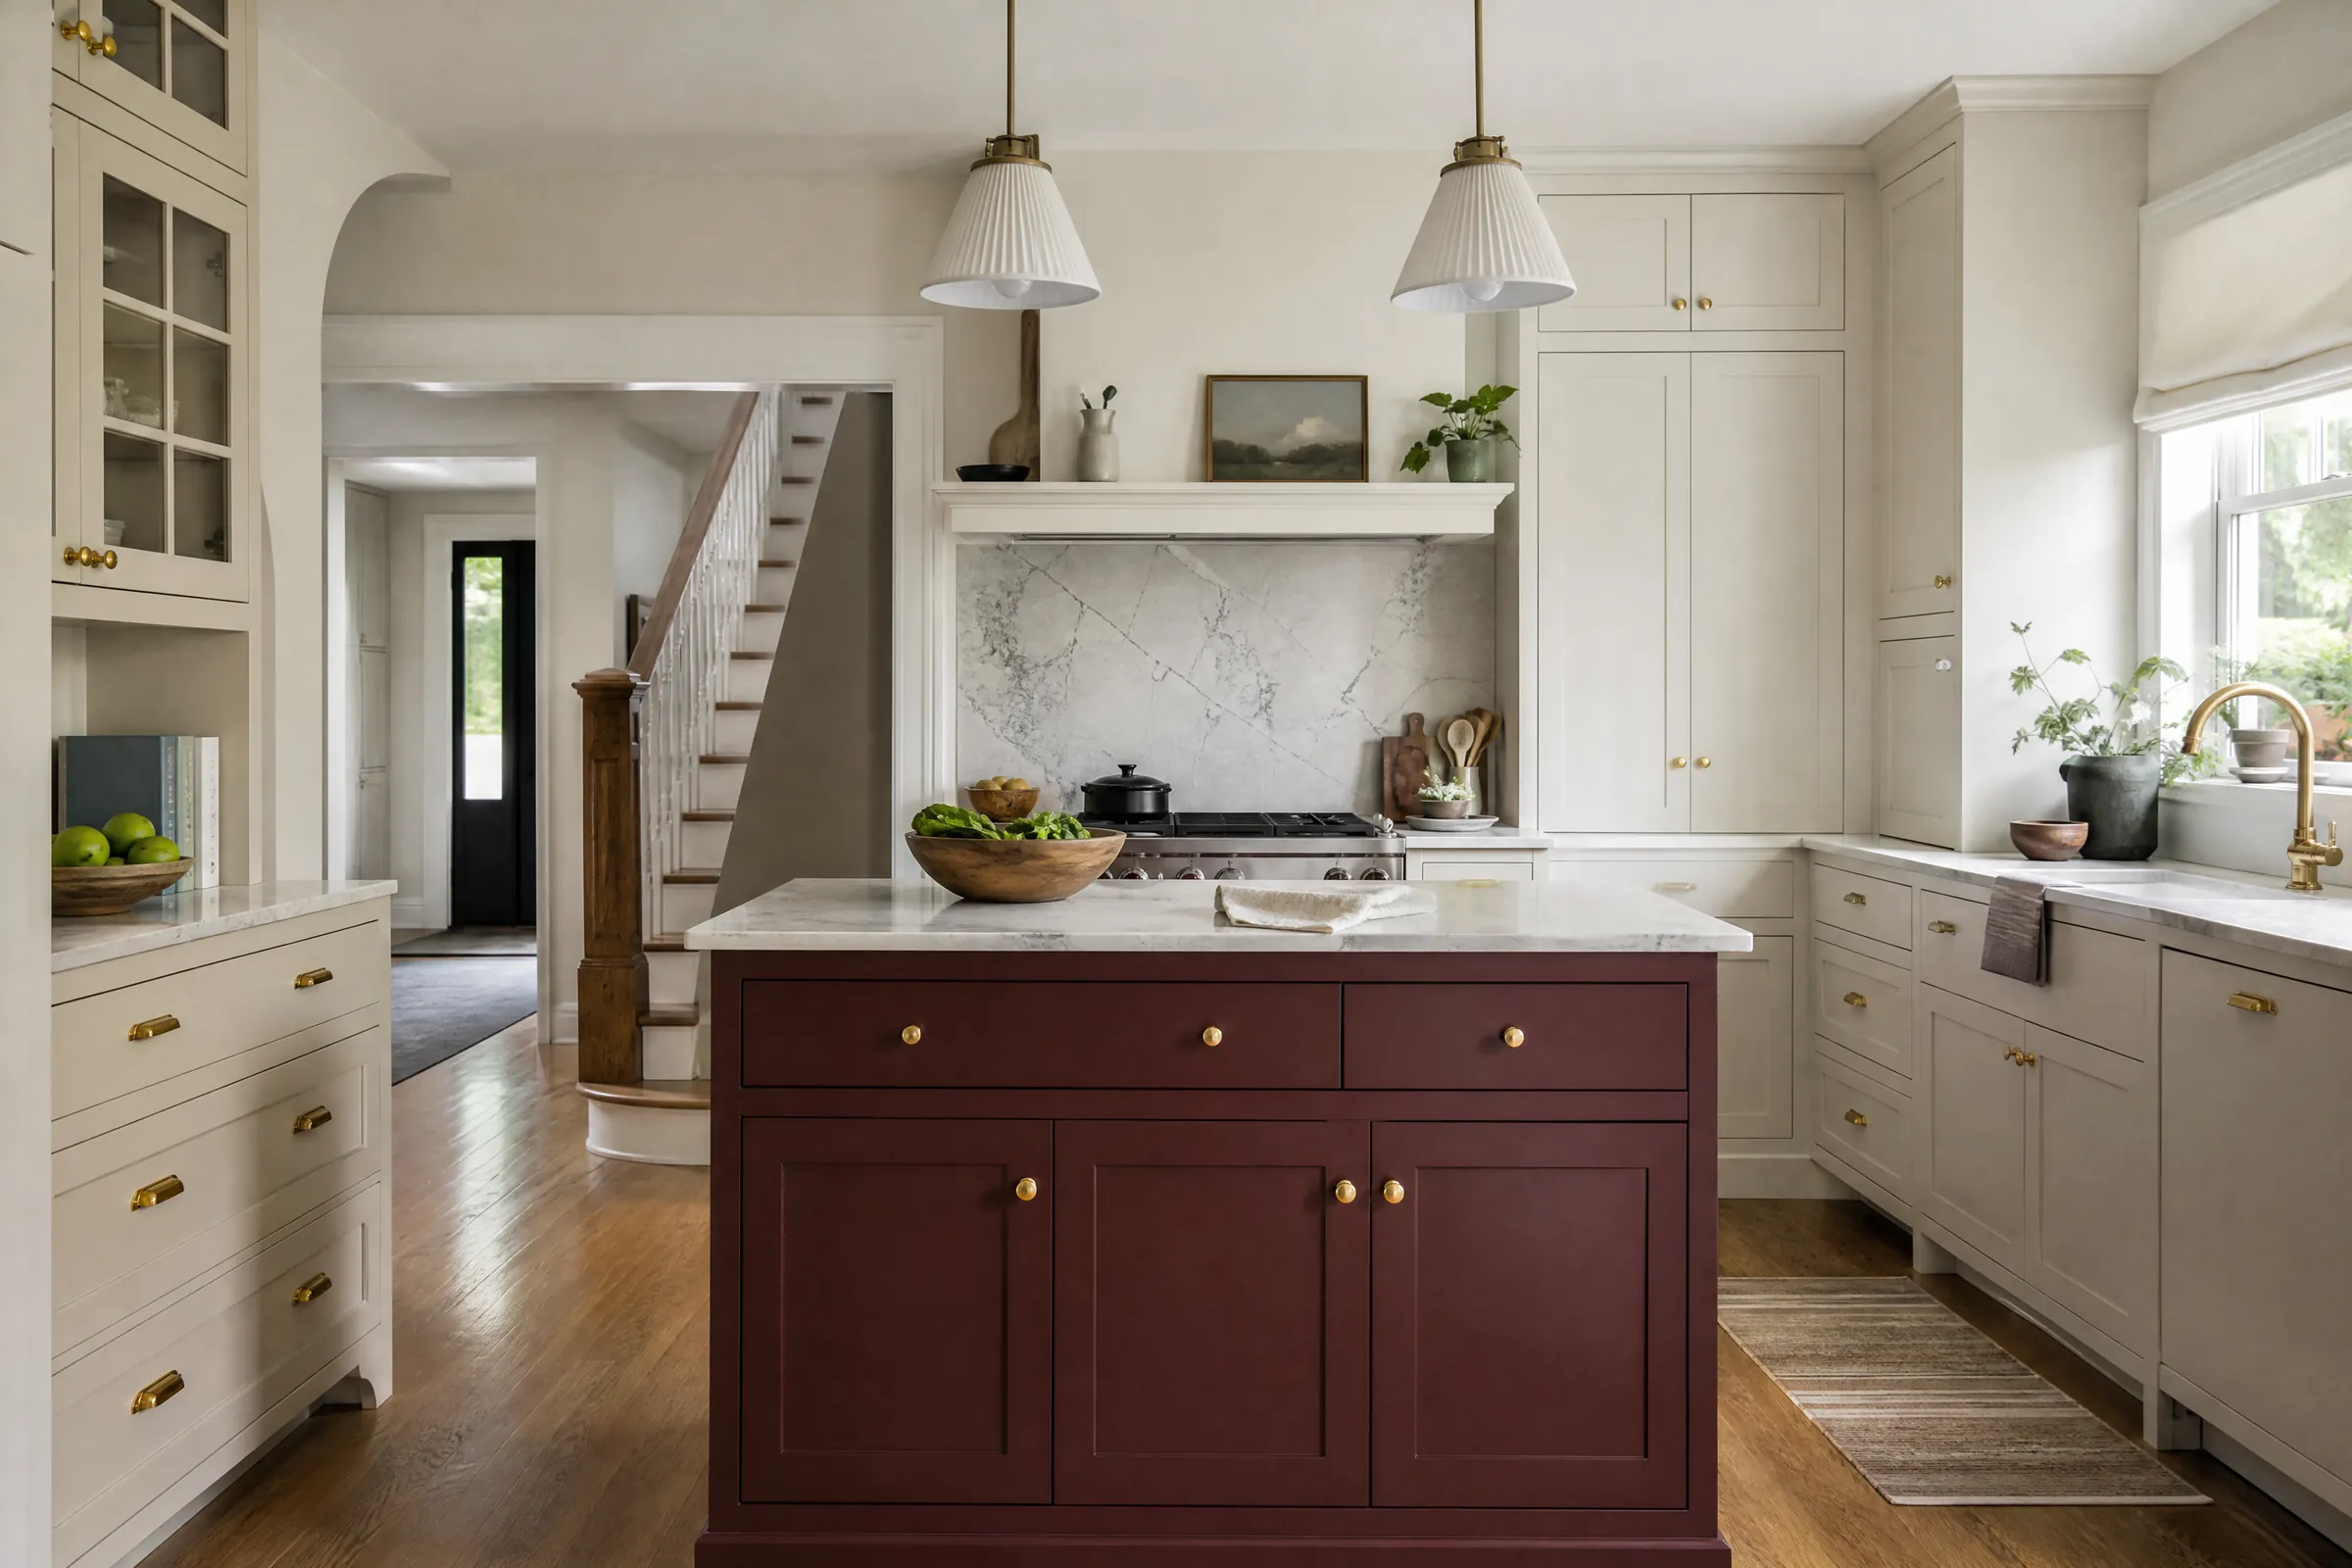
The owners wanted a warm, farmhouse feel rather than a modern white kitchen. During the free colour consultation, each sample pot was brushed onto a primed hickory offcut and on a primed scrap of melamine, so both materials could be compared side by side. A creamy off-white was the clear choice for the perimeter: it looked warm against the brick and the wide plank floor in the morning and stayed soft at night under the ceiling fixture. For the island, they wanted a colour, and we tried a deep green and a muted red. The red, closer to an old brick colour than a bright one, looked right with the red stools the family already had at the island.
Today the main wall and the pantry read as one long run of cream cabinets. The raised panels and the recessed shaker centres still differ in profile, but in the same colour and sheen they look intentional, and the red island anchors the centre of the room as its only strong colour.
Tidy each day in a working kitchen
A farmhouse kitchen does not stop because the doors are off. We left the counters clear enough for coffee and meals each evening, kept the back door path free of drop cloths so boots could come in and out, and swept and vacuumed the kitchen at the end of every day. The workshop spray area was tidied too, and doors stayed there until they were dry enough to carry back through the cold.
Keeping the finish looking right
- During canning season, run the range hood and wipe steam residue off the cabinets near the stove with mild soap and water.
- Check the pantry door edges once in a while. If a corner of edge banding lifts, it can be glued back before it chips the paint.
- Labelled touch-up jars of cream and red were left in the pantry, with the sheen and location written on each.
- The enamel keeps hardening for several weeks after it dries, so close the doors gently at first.
Why this suits farmhouses in Scugog
Rural homes around Blackstock, Greenbank and the rest of the township are often renovated in stages, and their kitchens end up with more than one kind of cabinet. Painting with the right primer for each material can bring them together without tearing anything out, and interior work like this can be planned for the winter, when outdoor jobs are on hold. Our cabinet painting service covers both wood and melamine, and we serve homes across Scugog and the rest of Durham Region. If your kitchen has a mix of cabinets you would like to bring together, contact us for an itemized written quote.