
A country home under the trees
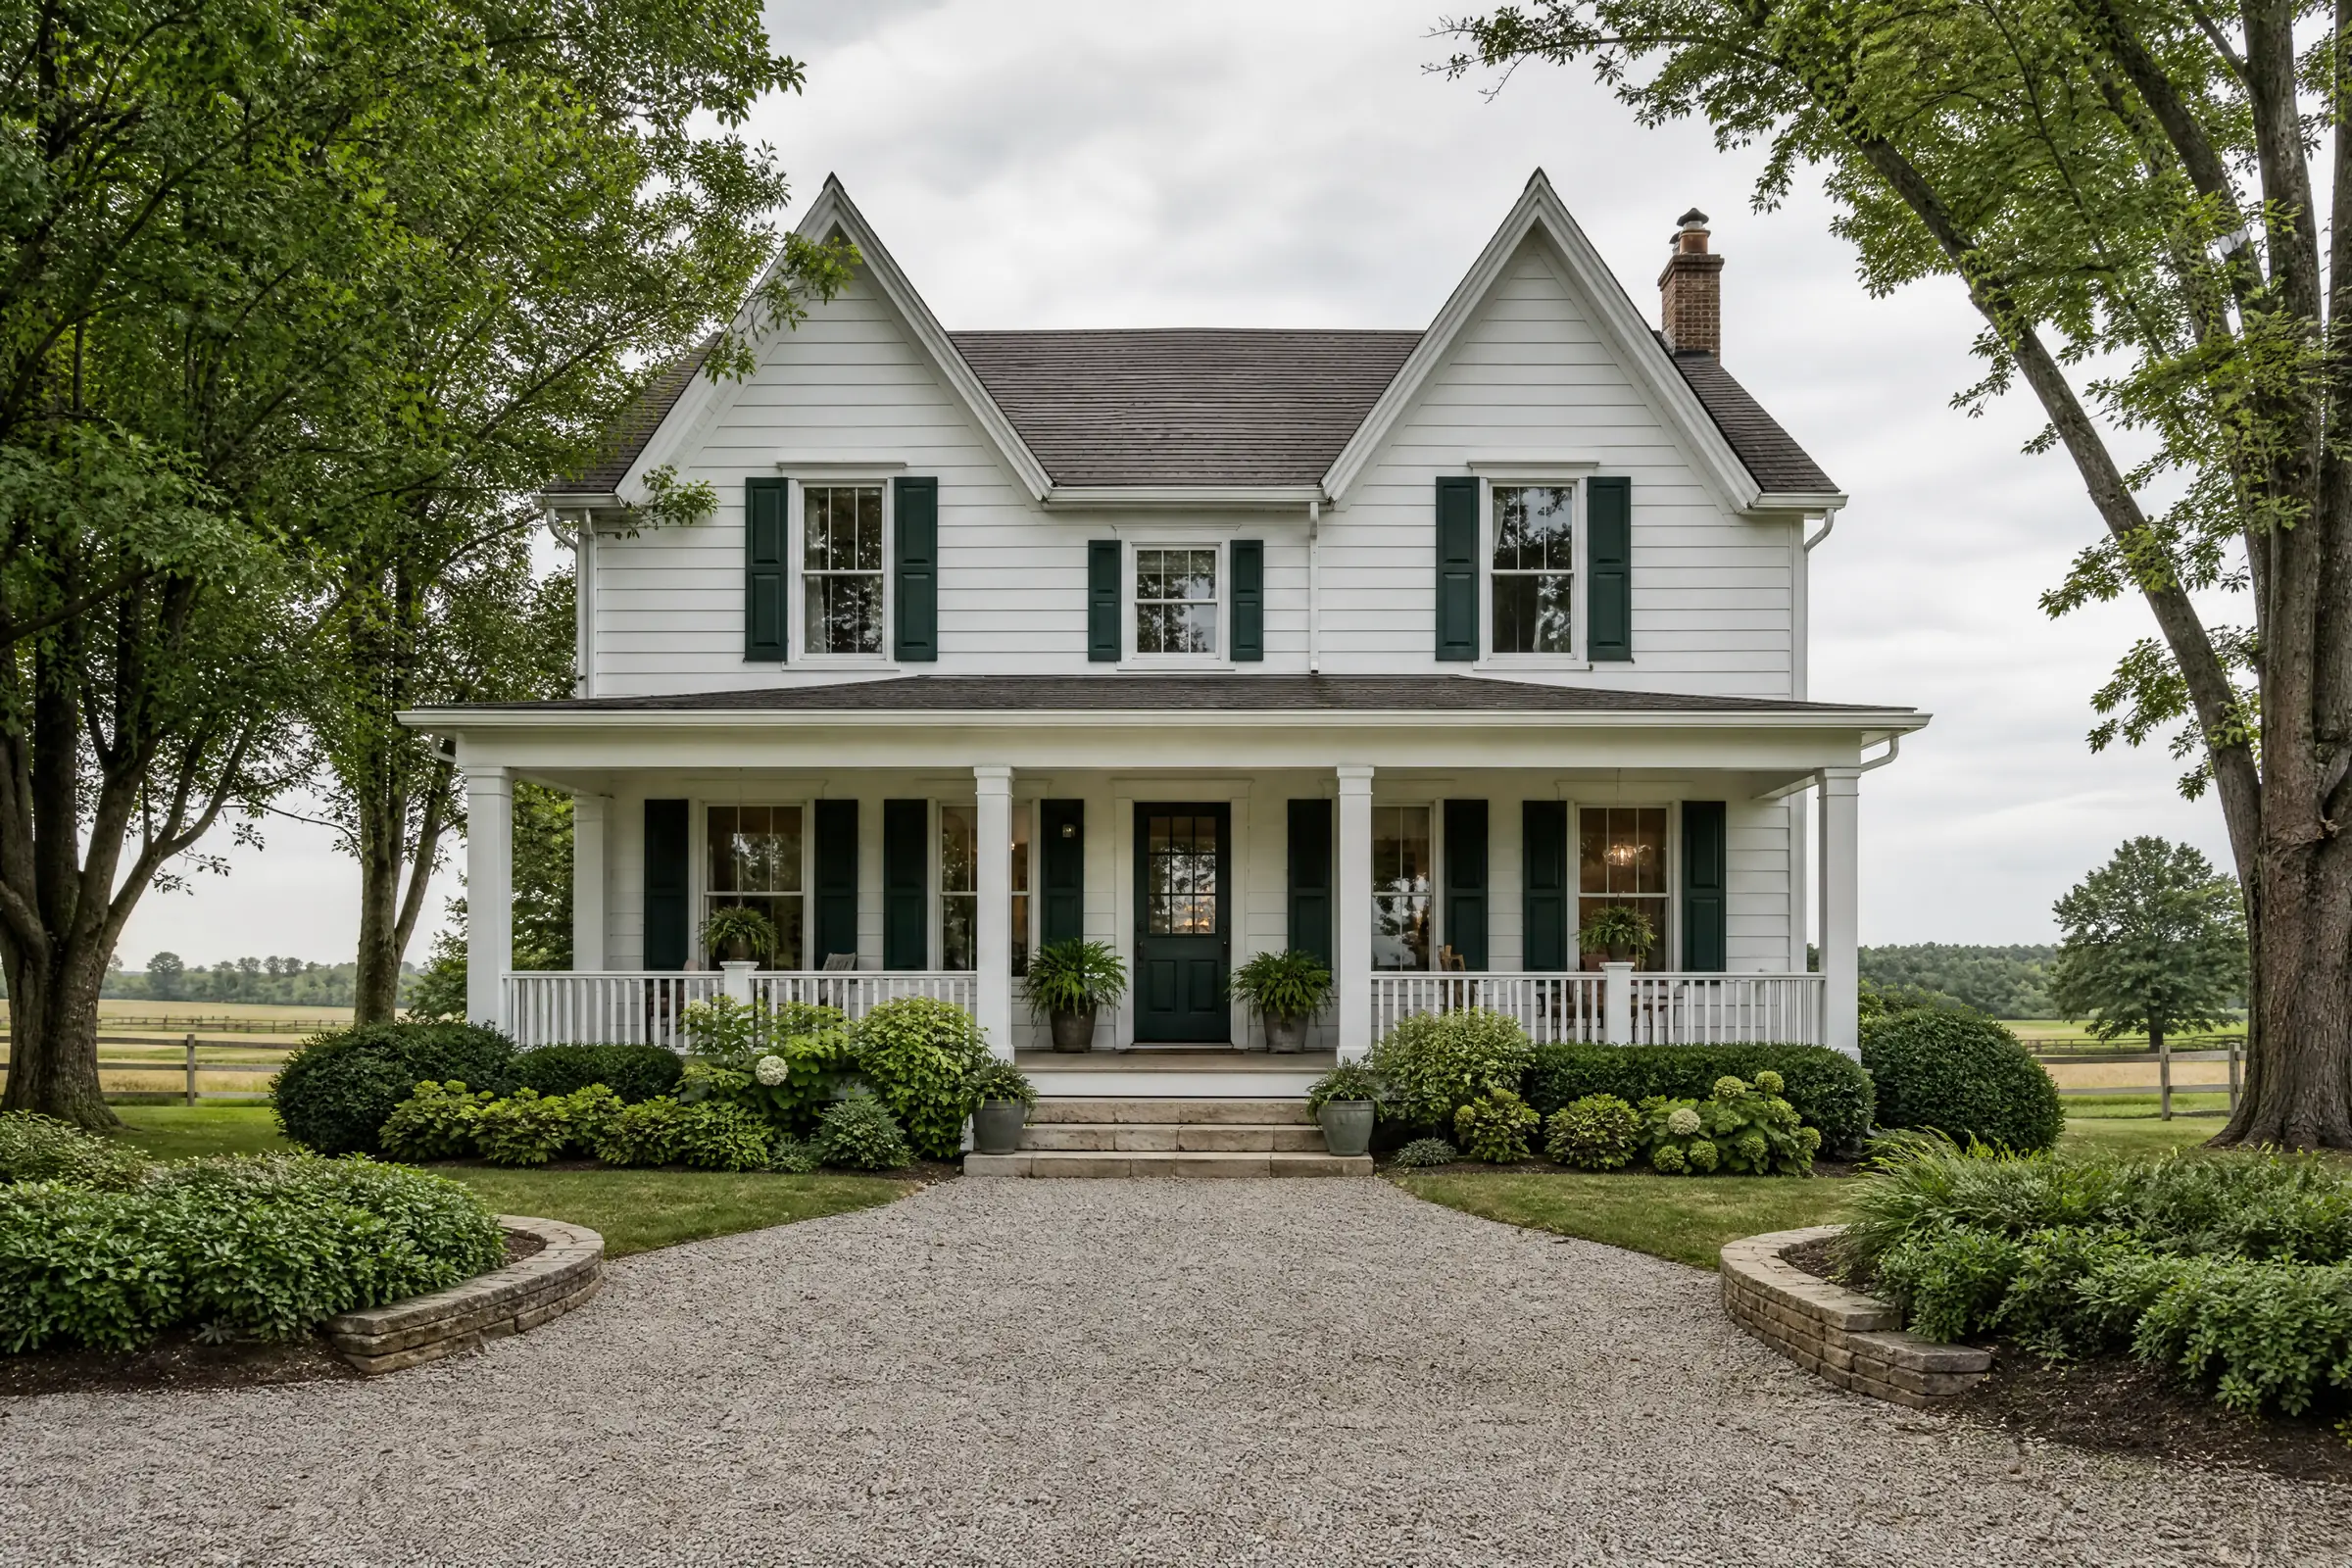
This storey-and-a-half house sits on a wooded lot on a country road outside Goodwood, in the rural part of Uxbridge Township. Tall maples and pines surround it on most sides, and a lawn opens out only toward the road. The main floor is clad in pressed hardboard lap siding, a manufactured wood product used on many country homes, and the upper storey gables in hardboard panels pressed with a shingle pattern, with wood fascia and aluminum gutters at the eaves. The owners wanted the whole exterior repainted and asked why the paint on the north side kept failing when the south side still looked fine.
Why the shaded walls were failing
The trees that make the property pleasant in summer were the root of the trouble. The north and east walls see almost no direct sun, so dew, rain and snowmelt sit on them long after the south wall has dried. On those two walls we found:
- Black and grey mildew spotting over most of the lower siding, with green algae close to the ground.
- Paint peeling in strips along the bottom edges of the boards, where water clings and drips.
- Swelling at the bottom edges of many boards. Hardboard is made of compressed wood fibre, and once water gets into an unsealed edge, the fibres swell and the board thickens and roughens.
- Gutters on the north side packed with pine needles and leaves, overflowing onto the fascia and the siding below.
The south and west walls had some fading and chalk but little peeling. A few boards beside the back door were swollen and soft enough that paint could not save them, and we marked them for replacement.
A note on the sunny walls
The contrast between the two halves of the house was useful. The south and west walls, painted at the same time as the others, still had sound paint and flat, tight board edges. Same siding, same paint, same age: the only difference was how long each wall stayed wet. That told us the shaded walls did not need a stronger paint so much as a drier surface, sealed edges and less water arriving from above.
What made this harder than a plain repaint
Hardboard does not forgive moisture. Painting over swollen, unsealed edges or over damp siding would have peeled again within a season on the shaded walls. The work depended on getting the walls truly dry, then sealing every edge the old paint had left open.
Preparation, step by step
- Gardens and grounds. Shade gardens along the north wall were covered with breathable plant covers, and tarps were laid under each work area to catch scrapings. Hoses and garden furniture were moved clear.
- Gutters first. The gutters were cleared of needles and leaves before any washing, so the overflow staining would not return as soon as it rained.
- Mildew wash. The north and east walls were sprayed with a mildew and algae wash, given time to work, scrubbed with soft brushes, and rinsed at low pressure. High pressure would have driven water into the hardboard edges, the very thing we were trying to stop.
- Drying time. This was the step that took patience. Each wall was checked with a moisture reader before scraping, and the shaded walls were left until the readings came down to a level suitable for paint. Work moved to the sunnier walls in the meantime.
- Scraping and sanding. Loose paint was scraped. The shingle panels up in the gables, sheltered by the eaves, were sound and needed only a light sanding along the shingle edges. The swollen bottom edges were sanded to knock down the raised fibres, and sound edges were sanded to blend them into the surrounding paint.
- Replacement boards. Once the soft boards by the back door had been swapped out, the new boards were primed on their faces and their cut ends.
- Caulking. Butt joints where board ends meet, and the gaps along window and door casings, were filled with flexible sealant that takes paint. The bottom lap edges were not caulked, so water behind the siding can still drain.
- Priming and sealing edges. All bare and sanded areas were primed with an exterior acrylic bonding primer. Every bottom edge of every board was brushed with primer as well, working it up into the underside of the lap. On hardboard, those edges are where water gets in, and sealing them is the most important step on the house.
Applying the finish
For a house this shaded, we chose a 100% acrylic exterior paint whose film resists mildew growth, in a satin sheen. Satin sheds water and dirt better than a flat finish, which matters on walls that stay damp. It went on with brush and roller: the bottom edges and laps were brushed first, then each board face was rolled and brushed out along its length.
- Main floor siding: two coats of a forest blue-green.
- Upper storey shingle panels: two coats of white, the brush worked into the shadow line under each row of shingles.
- Fascia, soffits and window and door casings: two coats of white, the trim in semi-gloss.
Each day’s painting started late enough for the dew to have dried off the shaded walls, and the second coat on any wall waited until the manufacturer’s recoat time had passed. Painting stopped early on cool days so the film had time to set before the evening damp settled under the trees.
Choosing colours among the trees
Colour reads differently under a canopy. A green that looks rich in an open yard can turn murky in shade, and white can look grey. During our free colour consultation, sample pots of a few greens and whites were painted on boards and propped against both the shaded north wall and the sunny south wall, then checked in the morning and late afternoon. The owners chose a forest blue-green with enough blue in it to stay clear in the shade, and a white with a touch of warmth so the upper storey did not look cold beside the pines.
The house now has a dark, settled base that sits comfortably among the trees, with a bright white upper storey and clean white trim around every window.
Leaving the property tidy
At the end of each day, tarps were shaken out and folded, scrapings were bagged, paint and tools were stored in the garage, and ladders were taken down. Rinse water was directed away from the shade gardens, and the plant covers were lifted each evening to give the plants air. A final walk around the house picked up stray scrapings and tape from the lawn and gardens.
Keeping a shaded house in good order
- Clean the gutters every fall and again in spring, after the pines shed. Overflow onto the siding was a major cause of the original damage.
- Rinse the north and east walls gently with a garden hose once a year, and wash any mildew spots before they spread.
- If the trees on the north side are ever pruned, more light and air on that wall will help the paint dry out after rain.
- Watch the bottom edges of the boards. If paint starts to lift there, spot-prime and touch up quickly so water does not reach the hardboard fibres.
- Labelled touch-up cans for the blue-green and the whites were left in the garage.
Why this approach fits Uxbridge properties
Much of Uxbridge is rural, and many homes sit among trees on rolling ground where some walls rarely see sun. On those walls, moisture decides how long paint lasts, so the order of work matters: gutters, washing, real drying time, sealed edges, then paint. That is the thinking behind our exterior painting on wooded country lots here and elsewhere in Durham Region. Since 2010 we have painted houses from Toronto across the GTA, putting on two finish coats at the very least.
If paint keeps peeling on the shaded side of your house, talk to us about a visit, and we will check each wall and give you a written quote that itemizes the prep and painting.