
A cottage that became a home on Lake Simcoe
Brock is the rural township at the northern tip of Durham Region, along the east shore of Lake Simcoe, and Beaverton is its lakeside community. Many of the homes near the shore began as summer cottages and have since been winterized and extended for living in all year. This was one of them. The original cottage forms the living room, panelled floor to ceiling in knotty pine tongue-and-groove that had been varnished long ago and had aged to a deep amber. A later addition, built with ordinary drywall, holds the dining area and the kitchen, open to the living room through a wide opening. A wood stove heats the living room in the coldest weeks.
The owners wanted the house to feel brighter in winter and more like one space. The plan: paint the pine white, paint the dining addition white to match, and give the panelled wall at the end of the living room a deep navy so the room would have one strong wall to anchor the seating. We booked it for the winter, when outdoor painting in the township stops and interior work fits naturally into the calendar.
What made the pine tricky
The knots
Knotty pine is full of resin, and the knots carry tannins that dissolve into water-based paint. Paint pine white with a normal primer and the knots return as yellow-brown circles, sometimes long after the painters have left. The varnish over the boards had slowed that down for decades, but it would not stop it once fresh paint went on.
The varnish itself
The old varnish was hard and glossy. Paint does not stick to gloss without help, so every board needed to be dulled and cleaned before any primer would hold.
The grooves
Tongue-and-groove boards move across their width as humidity changes. Paint only the faces and, the first humid summer, the boards swell and expose a thin line of amber varnish at every joint. Across a room panelled in boards, those stripes would be everywhere.
New boards beside old
When the addition went on, the opening between the living room and the dining area had been widened, and its edges were finished with new pine boards that had never been varnished. Raw pine soaks up primer and paint differently from varnished boards, and its knots are fresher and bleed more readily, so those boards needed their own treatment if the wall was to look even.
Our preparation, surface by surface
Protecting the house
- The wood stove was cold for the duration; the owners heated the house with the furnace. The stove itself was covered with plastic and its hearth with drop sheets.
- Floors were covered with canvas drop sheets over paper through the living room and dining area, with a covered path to the kitchen left open.
- The dining pendant lights were wrapped in plastic bags tied at the canopy, and the furniture was gathered into the kitchen and covered.
- Windows, door hardware and the switch and outlet covers were masked or removed.
Pine panelling
- Every board was scrubbed with a degreaser to lift years of household film and hand oils, then rinsed and left to dry.
- The varnish was scuffed by hand with fine abrasive sponges until it turned dull, then vacuumed and wiped with a damp cloth.
- Each knot received a spot coat of shellac-based primer.
- The whole panelled area then got a full coat of the same shellac-based primer. Shellac blocks resin and tannin bleed better than any latex primer and bonds well to scuffed varnish.
- After the primer, we checked each knot. A handful still showed a faint shadow, so those were spot-primed again.
Shellac primer has a strong smell while it is wet, even though it dries quickly. With the windows closed for winter, we set a fan in one window blowing out and opened a door at the far end for cross-flow, and the owners kept to the bedroom wing while the primer was going on.
Raw boards at the opening
The new, unvarnished boards around the widened opening were sanded smooth and their knots spot-primed. Bare wood drinks primer, so these boards took an extra coat of the shellac primer, which brought their surface level with the sealed, varnished boards beside them before any paint went on.
Drywall in the addition
The dining addition had small dents and nail holes, which were filled, sanded and spot-primed.
The board wall for the navy
The end wall behind the seating is pine boards like the rest of the room, so it had the same scrub, scuff and shellac primer. On top of that it took a coat of grey tinted primer, which gives a dark colour a neutral base and saves a coat of navy.
Paint on the pine, the ceiling and the navy wall
Painting the boards
The pine was finished in two coats of zero‑VOC satin latex in white. For each board, we first ran a narrow brush down the groove to push paint into the joint, then rolled the face of the board and laid it off with a brush along its full length, following the grain. Doing it in that order meant no groove was left bare. Painting in winter, when the boards are at their narrowest, is a useful advantage here: the joints are at their widest, so paint reaches further into them. The second coat followed once the manufacturer’s recoat time had passed.
Ceilings
The living room ceiling is pine boards as well, primed with shellac along with the walls and finished in two coats of the same white satin, grooves first. The dining ceiling, plain drywall, took a pair of flat white coats from the roller, so the two spaces now share one continuous ceiling colour through the opening.
Dining walls
In the addition, the drywall got the same white as the pine in eggshell, two coats, brushed at the edges and then rolled. The match is close, though the satin on the boards catches a little more light, which helps the panelling texture read.
The navy wall
The navy boards meet white boards at the inside corners, and a clean line at those inside corners was the detail that would make or break the wall. We let the white on the pine harden, then taped the pine edge of each corner and brushed a thin coat of the white over the tape edge first. That seals the tape so any paint that creeps under it is white on white and invisible. Once that dried, the navy went on: two coats of deep-base matte over the grey primer, each groove brushed full before the faces were rolled, with the tape pulled while the last coat was still slightly soft. The corners came out as straight, crisp lines.
Settling on white and navy
At the free colour consultation, the question was which white would feel warm in a room that looks out at a frozen lake for much of the winter. We painted a few whites from sample pots on primed pine offcuts and stood them against the panelling, then looked at them in flat winter morning light and again under the evening lamps. The coolest went bluish against the snow outside. The owners chose a soft white with a little warmth, which keeps the room from feeling stark.
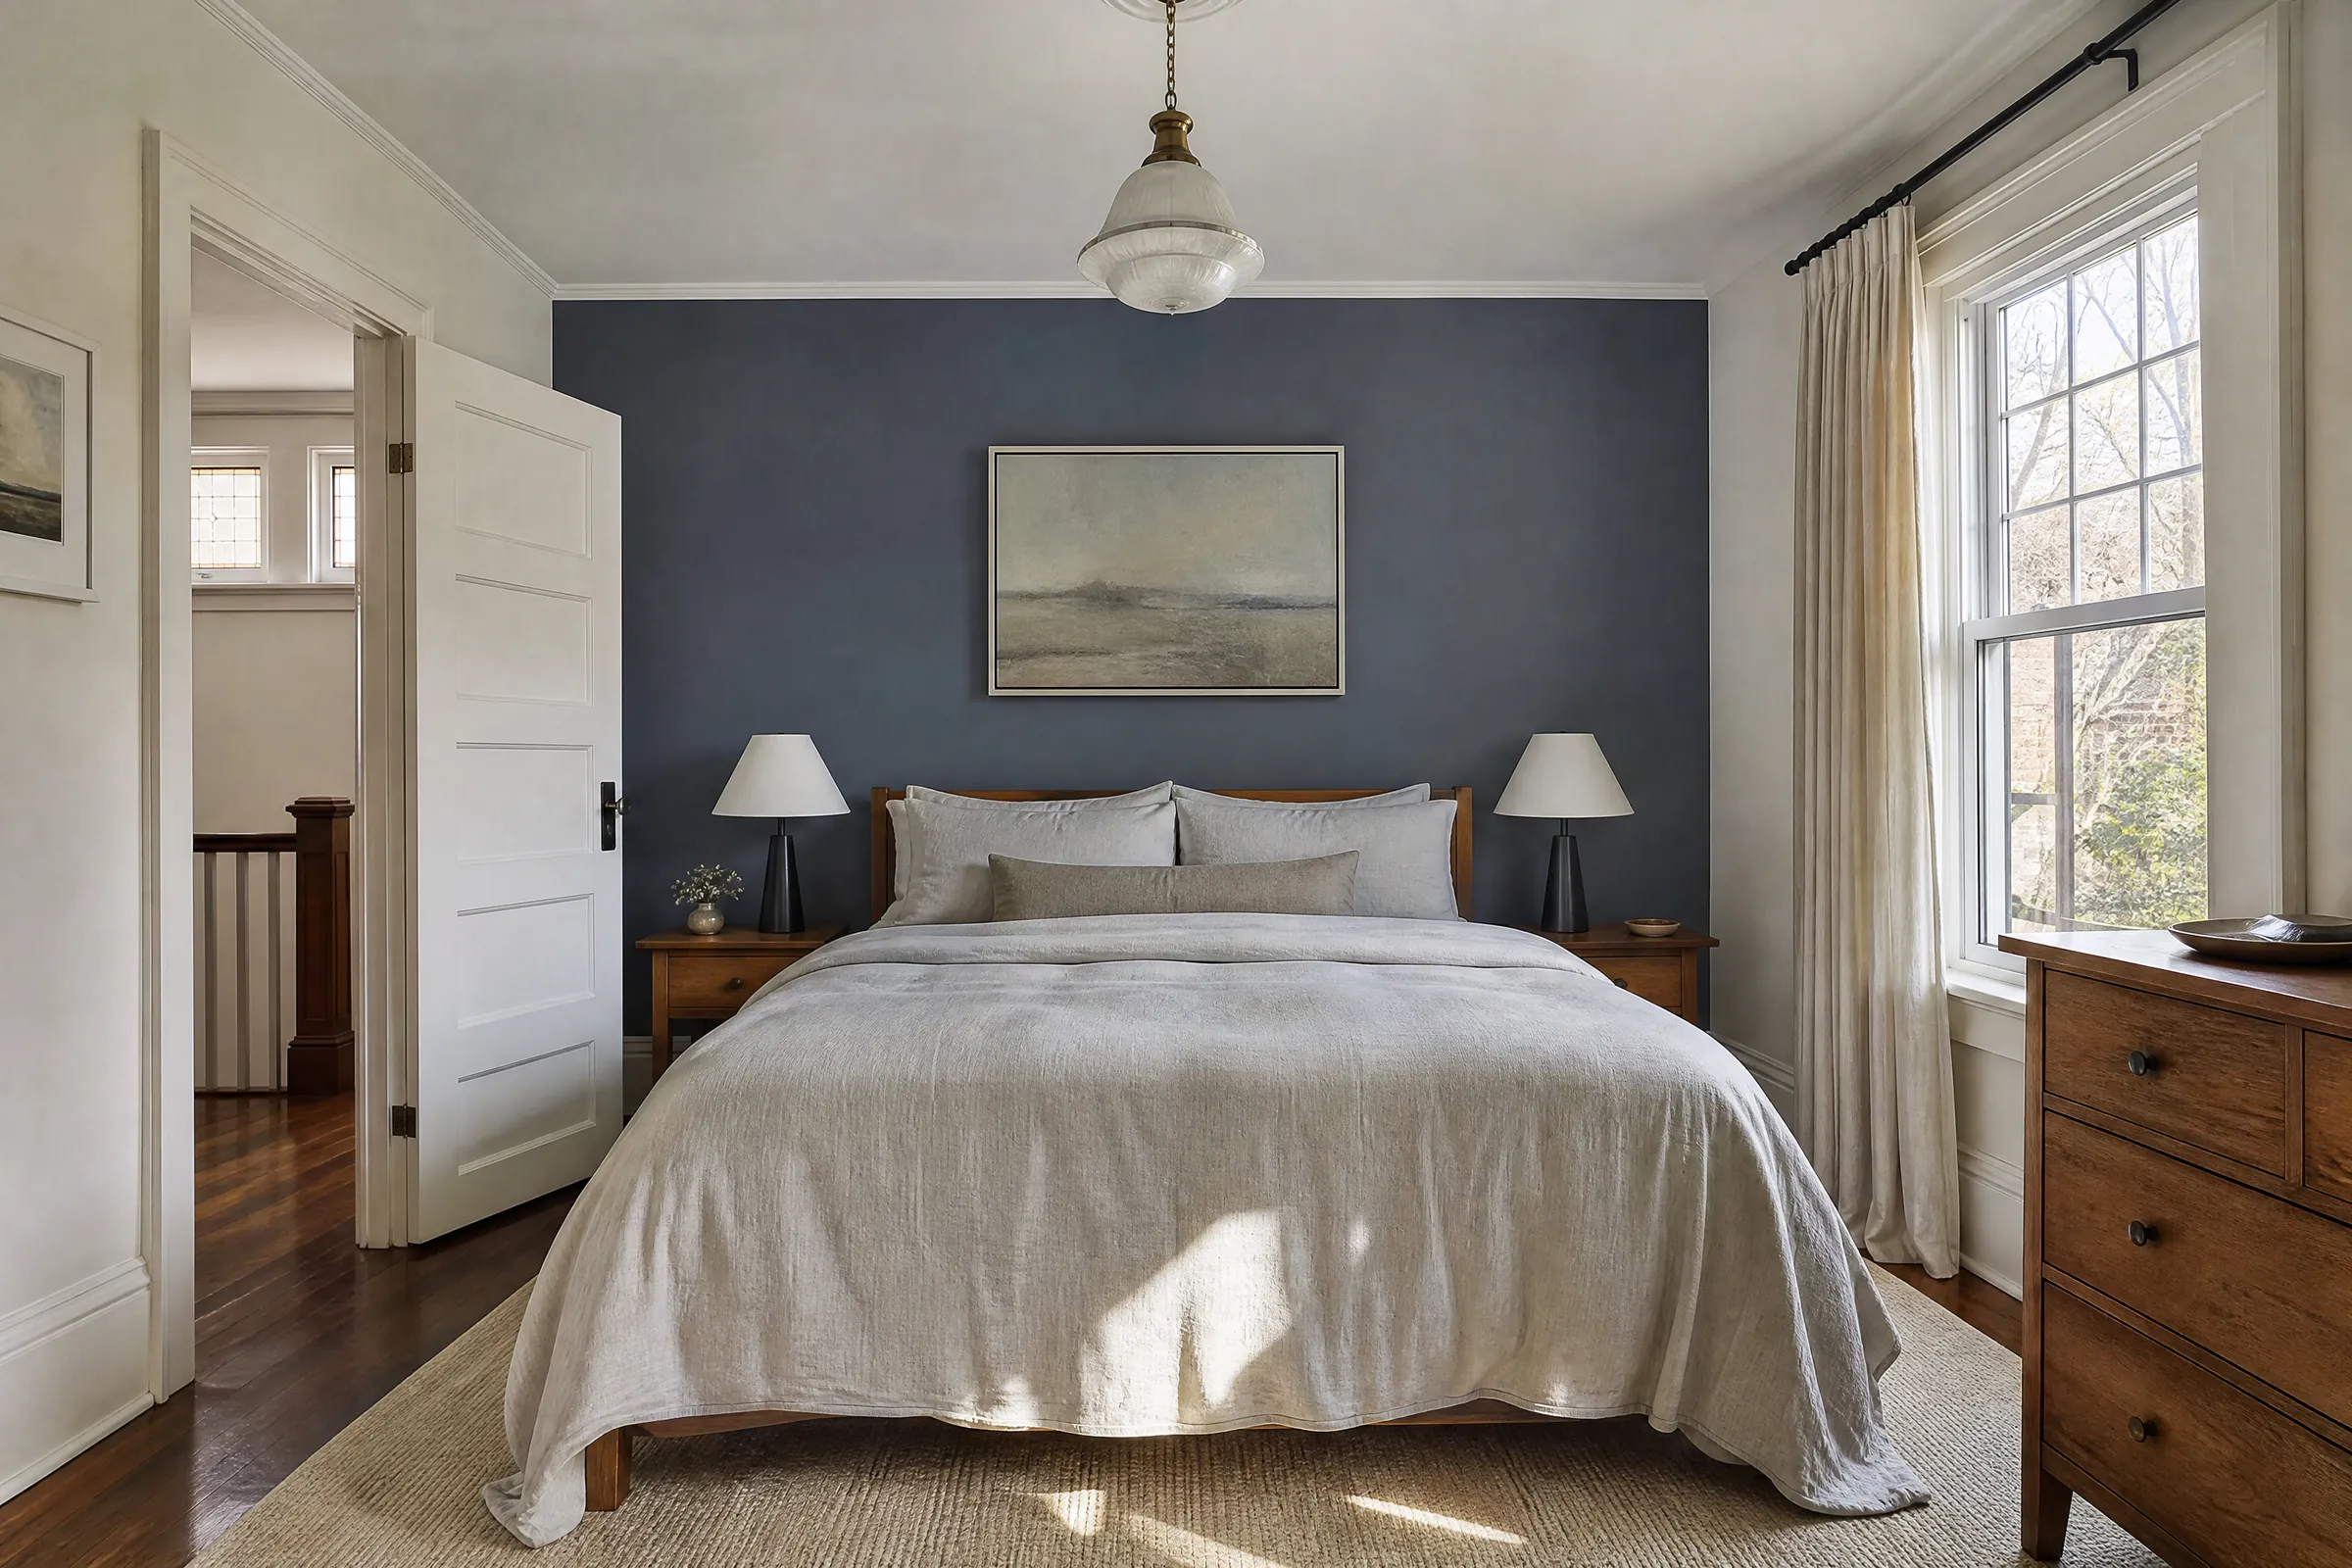
For the accent wall they compared a deep navy, a dark teal and a forest green. The green fought with the pine tones that still show through the window frames. The teal looked lively in daylight but murky at night. The navy stayed rich in both, and it pairs well with the grey sofa and the white dining area beyond.
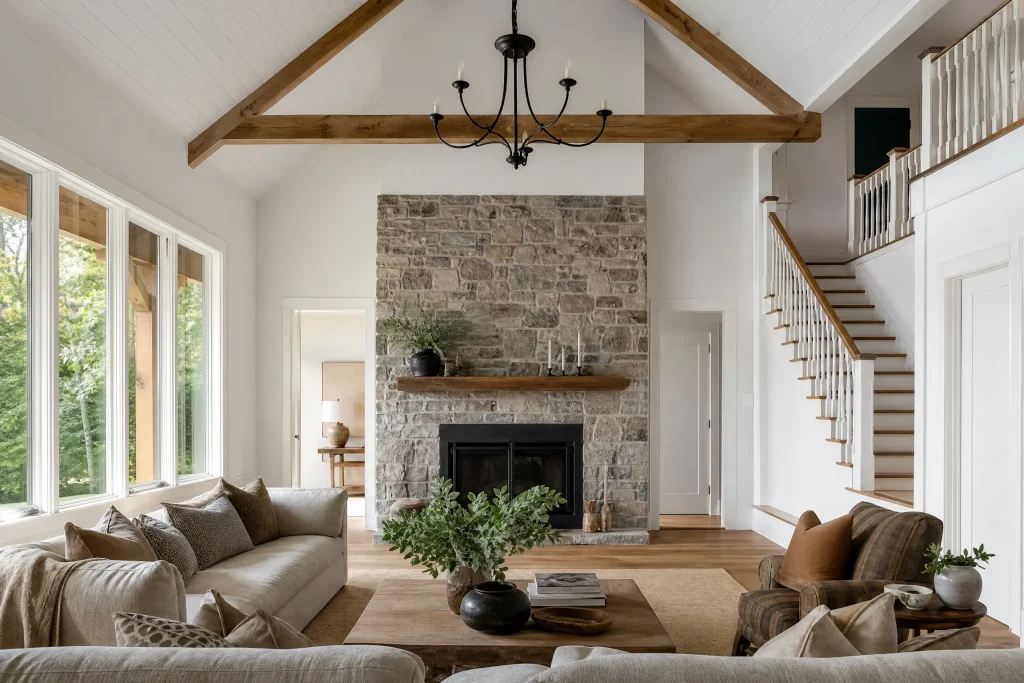
Zero‑VOC finish paints were used for everything after the primer, which mattered in a closed-up house in winter. Now the living room is bright white pine boards with clean shadow lines at each groove, a single navy wall behind the seating, and a white dining area under the pendants beyond the opening.
Keeping the house tidy and usable
The owners were living in the house throughout. Each evening we pulled the covering back from the kitchen route, folded the drop sheets in the living room, cleaned brushes outdoors in a bucket rather than in the cottage sink, and left the fan and ladders in the entry. The final day ended with the plastic and tape removed, the stove uncovered, the floors vacuumed and the furniture returned.
Caring for painted pine and a navy wall
- Seasonal lines. In the driest part of winter, you may see a fine line at some joints as the boards shrink. That is normal movement; do not caulk it.
- Knots. If a faint knot shadow appears later, spot-prime it with a shellac-based primer before touching up with the labelled white.
- Winter humidity. Running a humidifier in the heating season keeps the boards from shrinking as far, so the joint lines stay finer.
- Navy touch-ups. Dab rather than brush; deep colours show stroke marks more than light ones.
- Touch-up paint. Labelled cans of the white satin, white eggshell, navy and ceiling white were left in the utility room.
Why this approach suits Brock homes
Wood is the common thread in Brock, from cottage siding and decks along Lake Simcoe to the trim and panelling inside farmhouses and older homes in Beaverton, Cannington and Sunderland. Many former cottages near the lake still have their original pine inside, and painting it well is about chemistry and timing more than colour: block the knots, respect the joints, and do it in the season when the wood is dry and the painters are indoors anyway. Our Brock painting page covers the outside of these homes too.
All Painting has painted homes across the GTA since 2010 and works throughout Durham Region, from lakefront cottages to farmhouses. Whatever the surface, our interior painting work follows the same rules: prepare properly, prime for what is really there, and apply at least two finish coats, each one set out line by line in a written quote. Thinking about painting knotty pine, or saving an indoor project for winter? Ask us for a free quote.