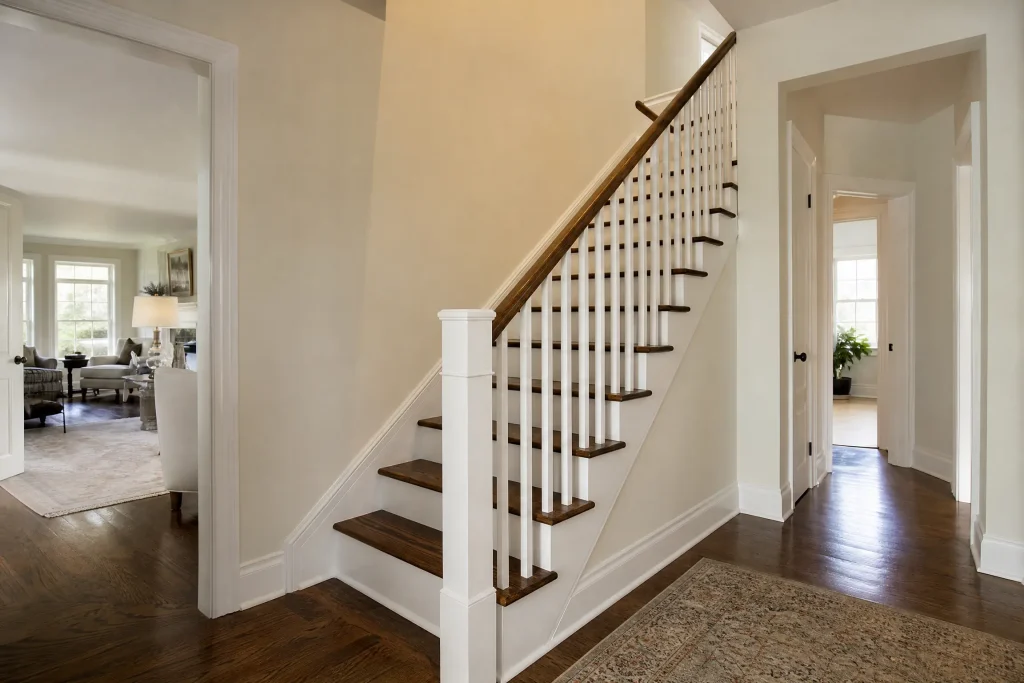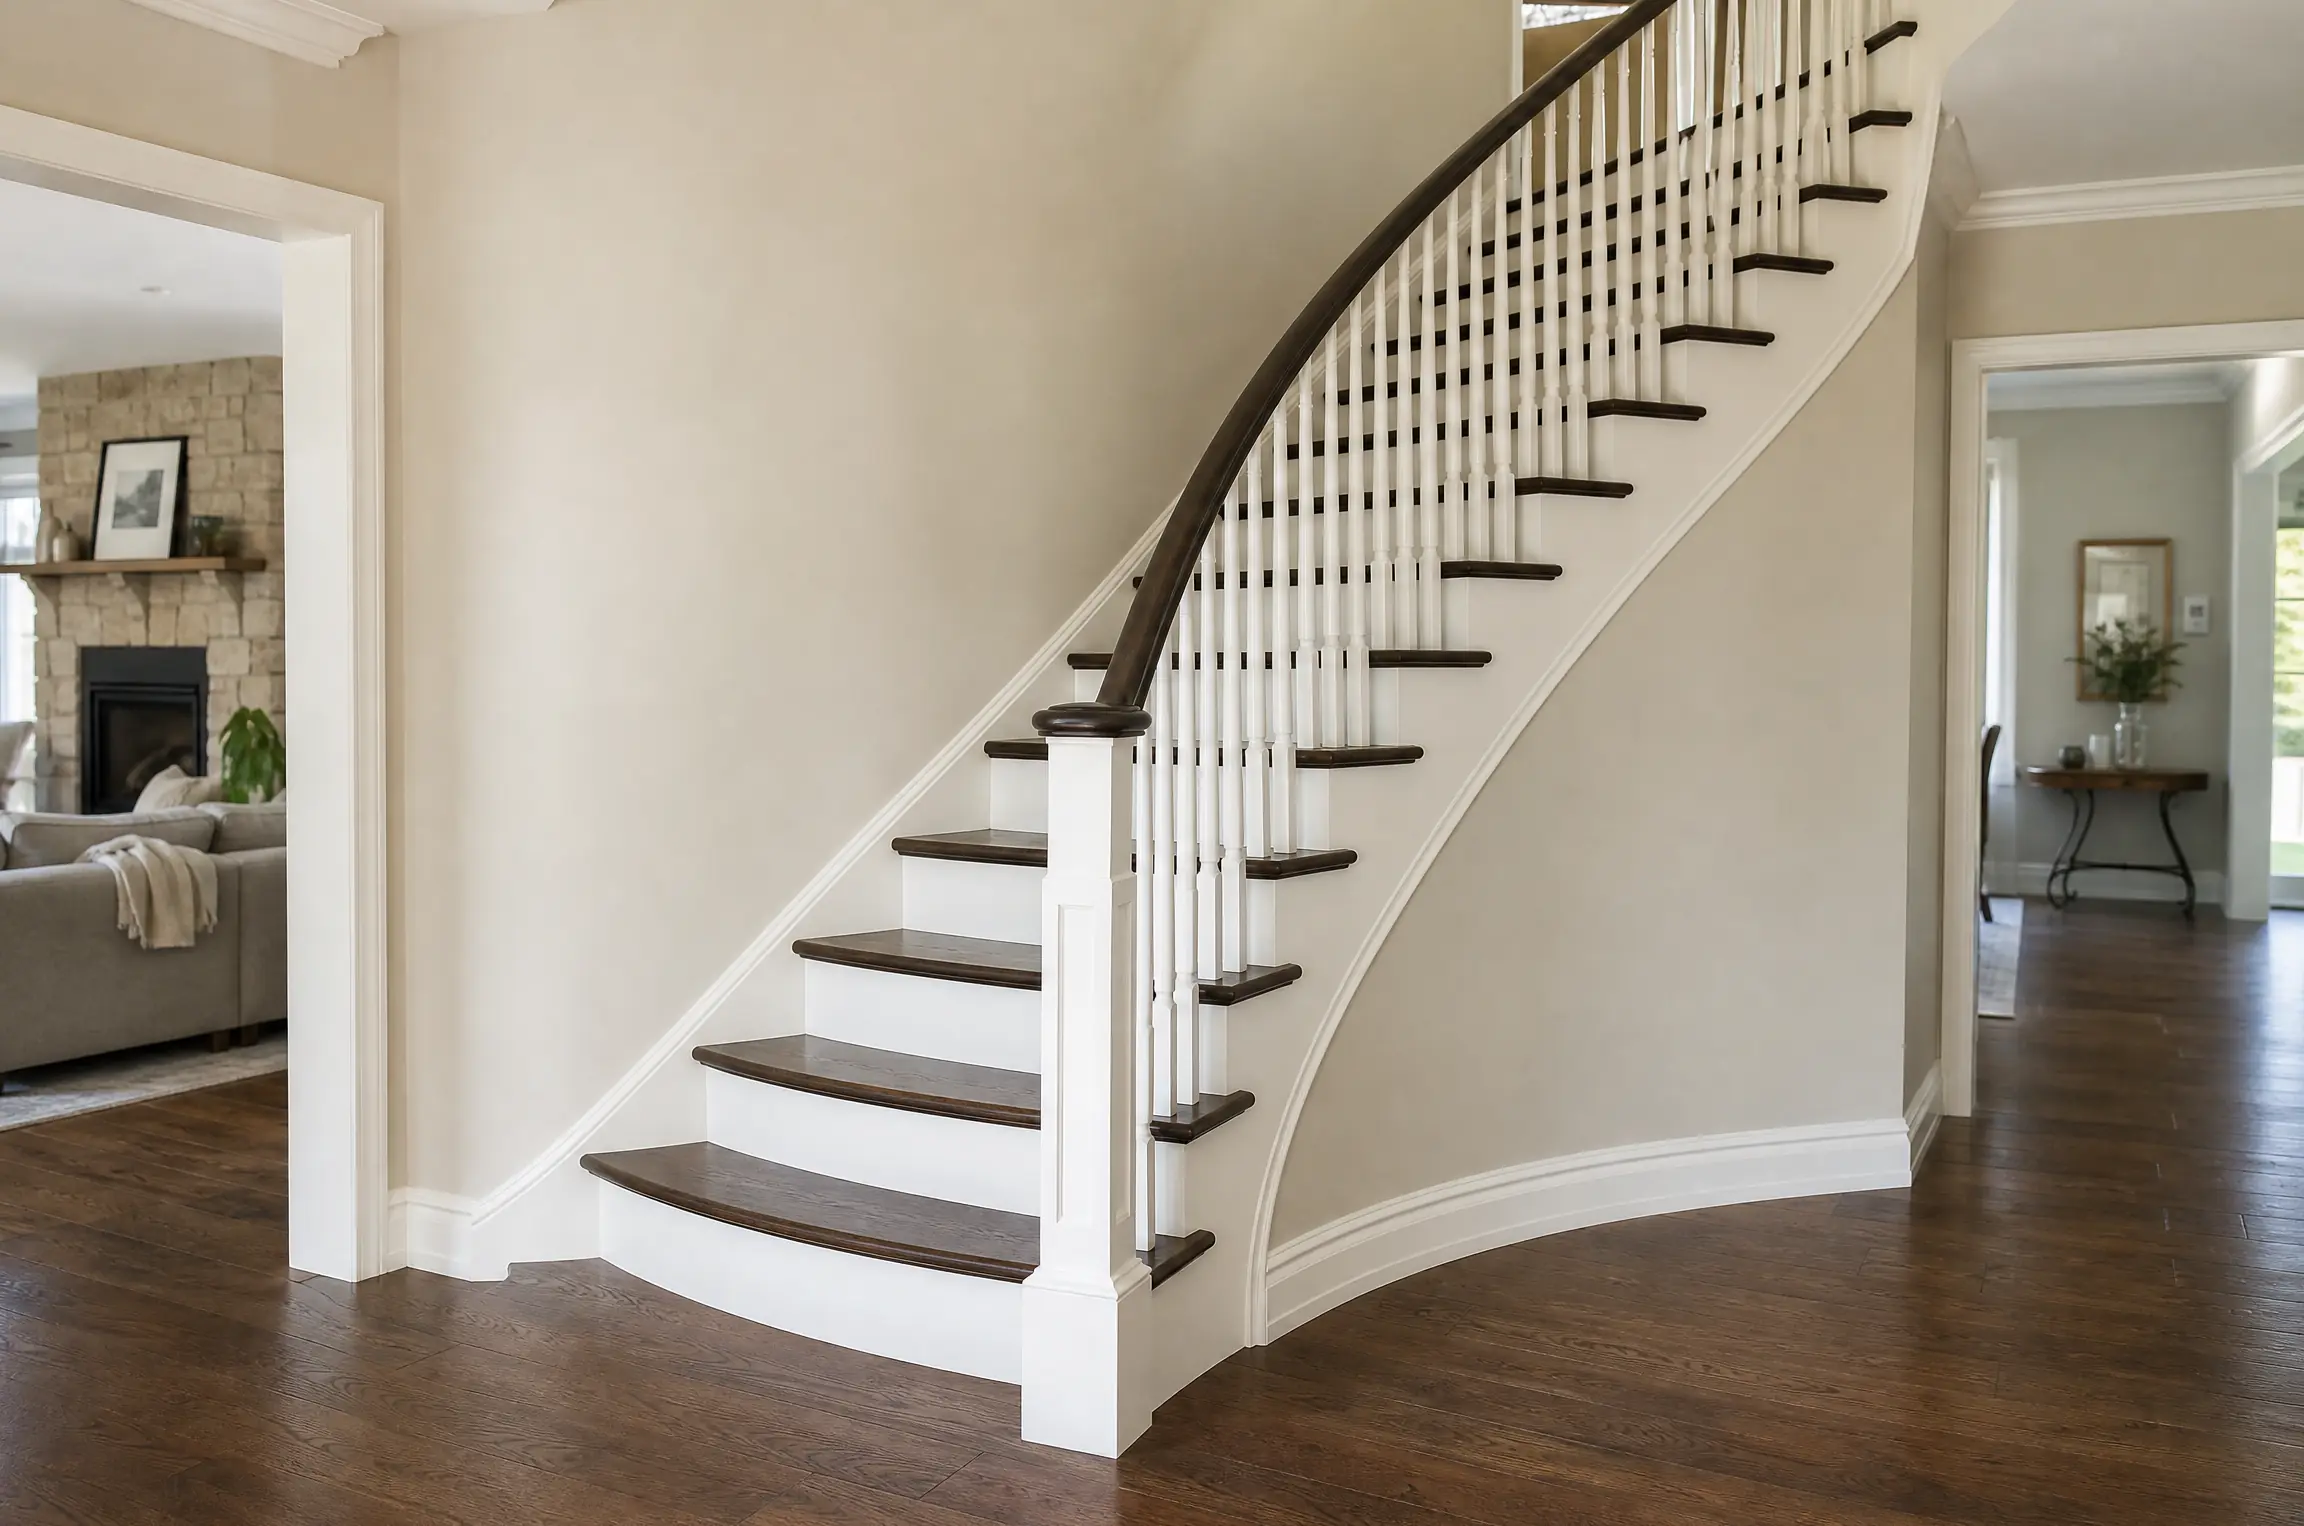

A sweeping stair in a country home
This staircase belongs to a custom home on a large lot just outside King City, the kind of country property found across King Township, where long private driveways run in from the road and open fields surround the house. Inside, the front door opens into a high great hall, and the staircase sweeps up one side in a long curve to a gallery landing. It is a wide stair, with winder treads where the curve tightens near the bottom, red oak treads and handrail, oak risers and turned oak spindles, and a curved stringer that follows the wall all the way up.
Everything on the stair had been finished in a golden oak tone with a glossy clear coat when the house was built. The owners had redone the floors around it in a dark wide-plank finish, and the golden stair now looked out of place. They wanted the treads and handrail stained a deep espresso brown, close to the new floors, and the spindles, risers and stringer painted white to give the staircase some contrast against the dark wood.
Where a dark stain on red oak gets difficult
The existing finish was worn but not damaged. There were dull lanes across the lower treads, small dents near the front door, and fine grit scratches that came from a household that goes between the house, the barn and a gravel lane every day. The spindles were tight, though several had small gaps where they entered the treads, and the risers had opened slightly at the stringer, which is common as wood moves between humid summers and dry, heated winters.
The real difficulty was the stain. Red oak has an open grain, and a dark stain on it can turn blotchy, catch in sanding marks and leave lap lines where one wiping pass overlaps the last. On a wide curved stair, the winder treads are wedge-shaped, so every one is a different size and grain pattern. A colour that looks even on a straight tread can look patchy on a winder. Painting stained oak white has its own trap: tannins in oak bleed through ordinary primers and leave tan shadows in the white.
Preparation from the great hall up
Protection
The new dark floors were the first concern. We laid rosin paper over the great-hall floor and the gallery, with hard protection board on top along the route the crew would use. The front door was left usable, with a runner from the door to a side hall. Walls along the curved stringer were masked with paper and tape, and the iron chandelier in the hall was wrapped in plastic.
Treads, nosings and handrail
- The glossy clear coat was sanded off the treads with a random orbital sander, starting coarse and finishing at 120-grit. A finer final grit would close the oak’s pores and keep a dark stain from taking evenly.
- The inside curve of each winder and the corners against the spindles were sanded with a detail sander and finished by hand.
- The handrail, including the long curved section, was sanded by hand with blocks shaped to its profile.
- Dents near the bottom of the stair were lifted with a damp cloth and an iron where possible, and the rest were sanded out.
- Every surface was vacuumed and wiped with a tack cloth. Then the treads were misted lightly with water to open the grain, a step known as water-popping, and left to dry before any stain went on.
Spindles, risers and stringer
The spindles, risers and curved stringer were scuff-sanded to dull the old clear coat, cleaned and dusted. Gaps at the risers and stringer were filled with a siliconized acrylic caulk, which stays flexible as the wood moves with the seasons. All of these parts then took a shellac-based stain-blocking primer, the most dependable way to lock oak tannins under white paint.
Staining and painting, coat by coat
The treads and handrail took an oil-based penetrating stain in espresso brown. We stained one tread at a time from the top down, working across the full width in a single pass and wiping off in long strokes with the grain, so no tread was left half done with a dry edge. Winders got extra attention at the narrow inside end, where the grain changes direction. After the first application had dried, a second application deepened the colour to match the floor sample. The handrail was stained in long sections to avoid lap marks along the curve.
Once the stain had dried fully, the treads took three coats of oil-based polyurethane in satin, brushed thin with a natural-bristle brush, with a light scuff between coats once each had dried hard. An oil-based clear adds a slight amber warmth, which was not an issue over a dark stain, and it cures to a tough film that stands up to grit carried in from outside. The handrail got the same clear in three thin coats.
The spindles, risers and stringer took two brushed coats of white acrylic-urethane trim enamel in satin, laid off with the grain. We applied the white after the polyurethane on the treads had hardened, protecting each tread with paper first. Staging was set beside the curve so the upper spindles and the top of the stringer could be reached without ladders resting on the newly finished treads.
Testing the brown against the new floors
During the free colour consultation, we stained sample boards of red oak in a range of dark tones and laid them on the new floor near the bottom of the stair. Viewed in morning light from the great-hall windows and again in the evening under the chandelier, one sample looked almost black and one too red. The espresso brown sat closest to the floor without trying to match it exactly, which the owners preferred, since a near-match can look like a mistake. For the white, we brought a warm white and a clean white; the clean white looked crisper against the dark wood and was chosen.
Running a tidy site in a busy house
The family lived in the house throughout, with dogs and boots coming and going. The bottom of the stair was roped off while stain and clear were drying, and the upper floor was reached by a back stair. Rags soaked with oil-based stain were spread to dry outdoors on a metal rack, away from the house, before disposal, since oily rags can heat up if left balled together. Each evening the paper and boards were swept, the staging was checked and tools were stored in the garage.
Looking after a dark stair
- Dark treads show dust more than light ones; a soft broom or a dry microfibre mop is the easiest daily fix.
- A mat at each door, inside and out, keeps lane grit from reaching the stair.
- Wait until the polyurethane has fully cured before placing a runner or rugs at the base of the stairs.
- When the walking path on the treads starts to dull, a scuff-sand and one fresh coat of the same clear is enough, long before the stain is reached.
- We left labelled cans of stain, polyurethane and white enamel for touch-ups to dents or scuffs.
Why this suits King Township properties
Estate homes in King often have long, wide staircases with plenty of spindles and trim, and the households that live in them carry a lot of outdoor grit indoors. A tough oil-based clear over the stain, flexible caulk at the joints and careful staging around a curved stair are what we plan for in country homes like this one. Newer homes in the village streets of King City and Nobleton have more in common with suburban builds and may suit a different approach.
We have been staining and painting stairs around the GTA since 2010, and work like this falls under our staircase staining and painting service, offered across York Region. Every painted surface gets at least two finish coats. If you have a curved or open staircase you would like to change, ask us for a site visit and an itemized written quote.