
A 1990s Newmarket two-storey, painted with the family at home
Much of Newmarket away from the older streets near Main Street and Fairy Lake went up as tract housing in the last three decades of the twentieth century; this house dates from the tail end of that wave: a brick two-storey with the bedrooms upstairs, a kitchen and family room at the back, and a dining room that had been opened up at some point into a vaulted space with tall windows onto the back garden. A long, low linear gas fireplace had recently taken the place of the old one there, set into a new drywall wall.
They asked us for the whole interior: every room on both floors, the hall and stairwell, ceilings throughout, and all the trim. Young children, a dog and working parents were going to be in the house the entire time, and it was winter, so the windows would stay shut.
What we were working with
Decades of family life shows up in predictable places. The upstairs hall and stair walls were scuffed at shoulder and hand height. In the kids’ rooms there was marker on the walls and doors, crayon low down near the beds, and the shadows of many stickers that had left adhesive when peeled. The kitchen side of the family room had a light grease film near the stove.
The dining room had the most particular problems. Its ceiling peaks well above a normal room, too high to reach well from a ladder on a hardwood floor. And the drywall around the new fireplace had been taped and filled but never finished: ridges, edges of tape and a rough band of compound framed the opening, right on the wall everyone faces when they sit at the table.
Winter added its own conditions. Snow and road salt come in with every boot, so the entry and hall floors needed heavier protection than usual, and with the house closed up, paint odour had to be kept down.
Prep, by area
Planning around the household
We worked out the order with the owners before starting. The kids’ rooms were done first, one at a time, so a child could sleep in a sibling’s room or with a parent for a night and move back into a finished room. The primary bedroom came next, then the upstairs hall and stair, then the main floor, with the dining room last because of the scaffold.
Floors and furniture
- Heavy rosin paper and rubber-backed runners went down from the front door through the hall, replaced as they got wet from snow.
- In each room, furniture was moved to the centre and covered with plastic and drop cloths; beds stayed made under cover so the children’s rooms could be used the same night.
- The long dining table and its red chairs were moved into the living room and wrapped, clearing the floor for the scaffold.
Cleaning and stain removal
Sticker adhesive was softened with a citrus adhesive remover, scraped with a plastic blade and washed off, because paint will not bond over sticky residue. The grease film near the kitchen and the hand marks on the stair came off with a degreaser, followed by a clean-water rinse.
Sealing marker and crayon
Marker bleeds through water-based paint, sometimes days after it seems covered. After wiping away loose crayon wax, we brushed a shellac-based stain-blocking primer over every marked area in the kids’ rooms and on their doors. Shellac primer dries fast and seals ink and wax in, and its odour fades quickly once dry; the room was kept closed with a fan exhausting toward a cracked window during that step.
Finishing the fireplace wall
The rough patch was knocked down with a scraper, then skimmed with two wide, thin coats of joint compound across the whole band, feathered several inches beyond the old edges and sanded flat. The skimmed area took a drywall primer-sealer so it would match the rest of the wall under the finish.
Other repairs
Dents in the stair wall were filled and sanded, a few cracked joints at the top of the stair were retaped, and gaps between baseboards and walls were caulked.
How each surface was painted
The vaulted dining room
A rolling scaffold with locking casters went up on protected floor, which let us reach the peak of the ceiling and the top of the tall window wall from a level deck. Moving the scaffold along the room in sections, we cut in where the ceiling meets the walls and rolled the ceiling in two coats of flat white, then did the upper walls from the scaffold before taking it down and finishing the lower walls from the floor.
Ceilings elsewhere
All other ceilings took two coats of flat ceiling white, rolled toward the main window in each room.
Walls
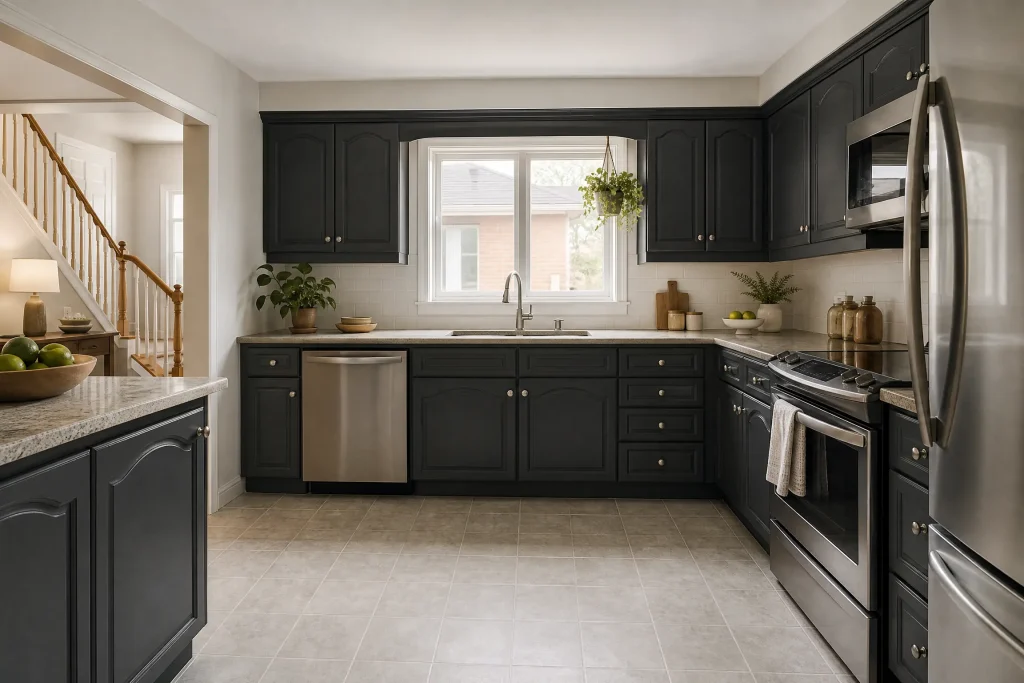
Main-floor walls, the hall and stair took two coats of eggshell. In the kids’ rooms we used satin, which has a little more sheen and stands up better to scrubbing. Every bedroom was painted in Zero‑VOC paint, and the rest of the house in low-odour paint, so the family could sleep in a room the night it was finished.
Trim
Baseboards, door casings, the stair skirt board and window trim were scuff-sanded, then brushed with a pair of semi-gloss enamel coats. Bedroom doors were done in place, early in the day, so they were dry enough to close by bedtime.
Colour choices for a dining room facing snowy trees
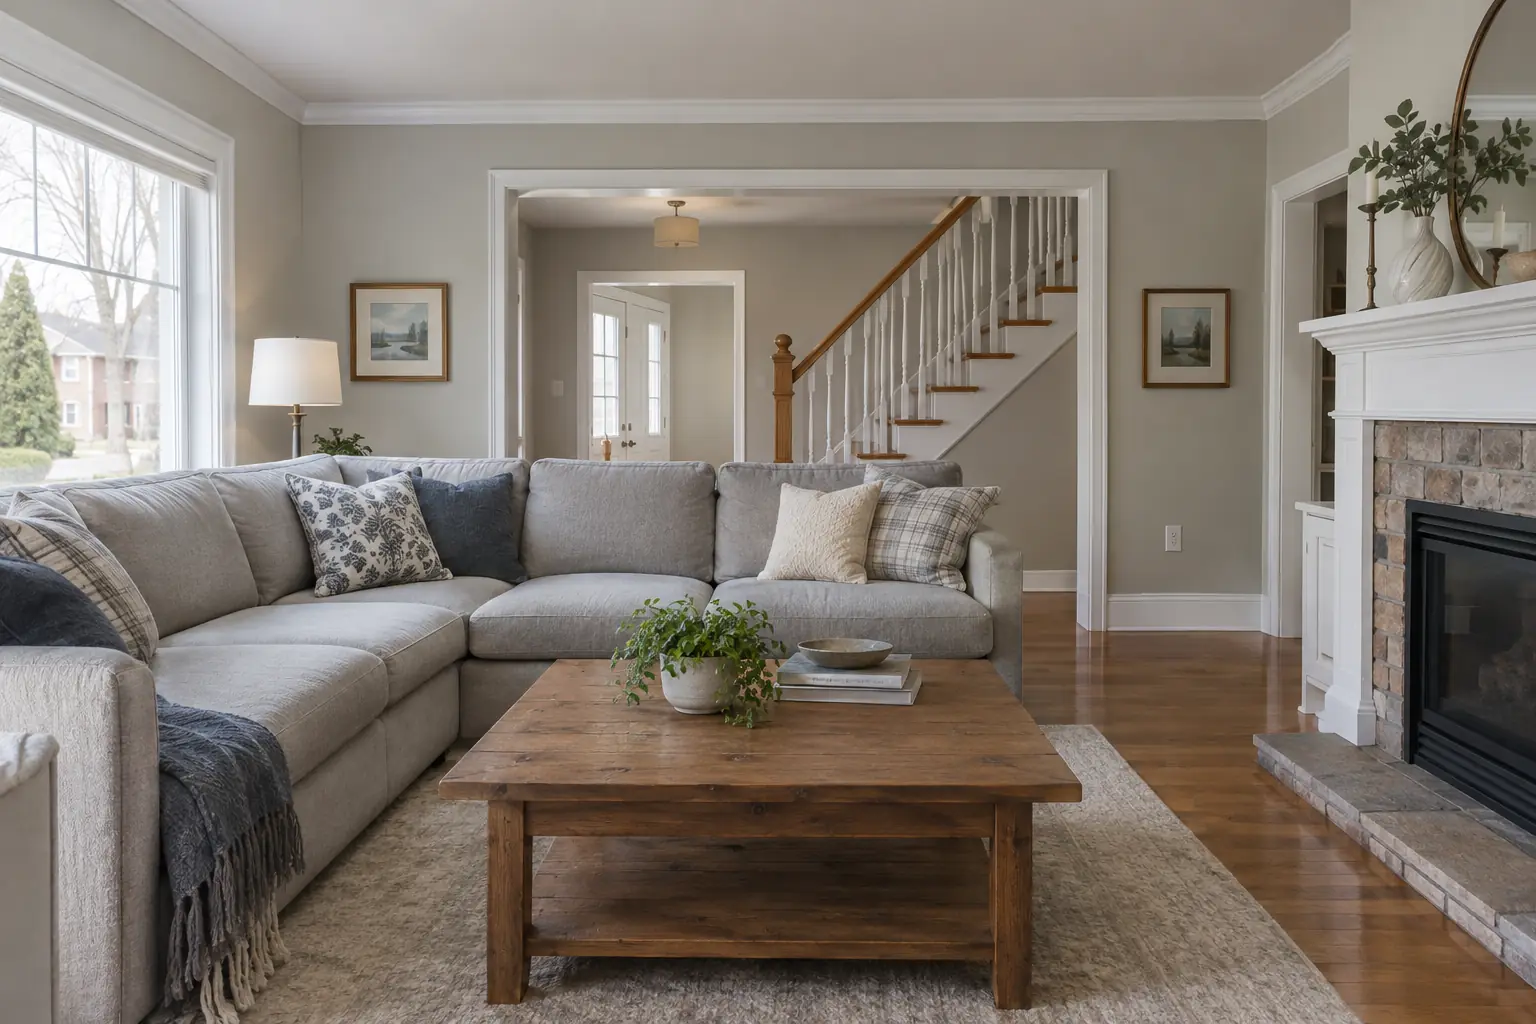
The owners wanted the dining room to look clean and bright against the dark grey of the new fireplace surround and the red chairs. At the colour consultation, sample pots were painted on the fireplace wall and on the wall between the tall windows, and the family looked at them over breakfast and again at dinner. In winter the light off the snow outside is cool and bright, which made a creamy white look dingy beside it. A clear white with very little undertone held up in daylight and under the warm dining lights at night, so the main floor went from its old beige to white throughout.
The children each picked a colour for their own room from a short list we narrowed down to soft, light shades: a pale blue and a light, warm green. The primary bedroom went to a quiet putty, and the trim stayed white everywhere to tie the house together.
Keeping the house livable
With a family living there, a tidy site is a requirement. At the end of each day tools were cleaned in the garage, drop cloths were folded, the hall runner was swapped for a dry one, and every room not being painted was left exactly as the family used it. Paint and supplies were kept in the garage, away from the dog and the kids.
The finished house now looks consistent from the front door to the back windows: a clean white dining room with an evenly smooth wall around the fireplace, a crisp stair wall, and the kids’ rooms in light, fresh colour with no marker ghosting through.
What the owners should keep in mind
- Fresh paint needs a few weeks to cure. Wipe lightly until then, especially on the satin in the kids’ rooms.
- Satin and eggshell take a damp cloth and mild soap. A melamine sponge used gently can lift crayon, but rubbing hard will leave a shiny spot.
- Each wall colour and the white enamel now sits in a labelled can in the basement, kept off the cold floor.
- If new marker appears, prime it with a stain blocker before touching it up, or it will bleed through again.
- Check the caulk at the front entry baseboards each spring, since salt and meltwater break it down.
Why it suits Newmarket homes
Most interior work in Newmarket happens in occupied houses, and a full repaint of a subdivision home there is mostly about planning: room order, kids’ sleep, floors that see snow for months, and paint choices that suit closed windows. Our whole-house painting is built around that order of work, and every surface gets at least two finish coats. Occupied-home repaints have been routine for us around the GTA since 2010; our Newmarket page has more local details, and there are other homes we have painted across York Region. For your own home, book a visit and an itemized quote.