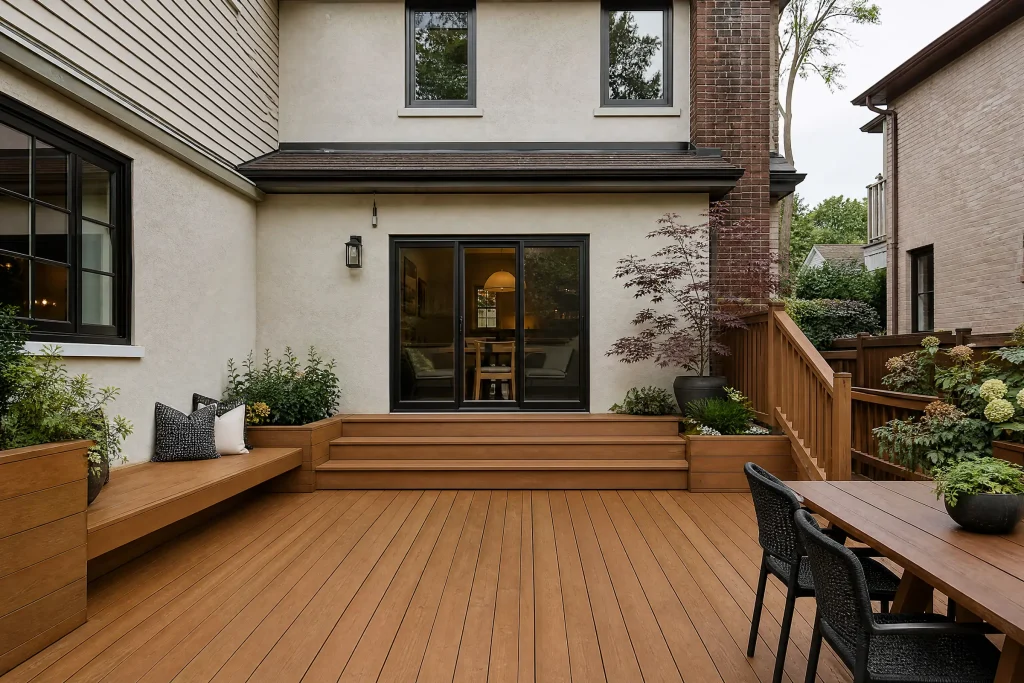

A raised deck and side-yard stair on a Newmarket family home
Our client’s two-storey detached sits on a curving subdivision street of the kind Newmarket built in large numbers from the 1970s on, well back from the older lots near Main Street. Off the kitchen, a raised pressure-treated deck steps down along the side of the house in a long stair that runs beside a white vinyl fence to the backyard. At the front, a covered porch with beige siding and a stone base shelters the wood entry door, with a painted wood floor and steps down to the walk.
The owners asked us to refinish the deck surface, the full side-yard stair and its railings, and the front porch floor and steps, so that the front and back of the house would finally match.
Why the old finish kept failing
Some years back, the deck boards and stair treads had been coated with a solid stain in a dark brown. On railings, a solid stain behaves well. On flat boards that hold puddles, take snow and get walked on, it acts much like paint: it forms a film, water gets under it at the cracks, and it peels. By the time we saw it, the treads were bare and grey in the walking path and still dark brown at the edges, and the deck boards showed the same pattern.
The railings and balusters were white, also in a solid stain, and were flaking at the tops of the posts and along the bottom rail, where water sits. The porch floor at the front was in better shape, but the paint had worn through in front of the door and on the step noses.
The owners wanted the boards to show wood grain again, in a mid-brown, while keeping white railings. That meant taking the treads and deck boards back to bare wood, which is far more work than recoating.
Prep, from stripping to sanding
Protecting the yard and the fence
- The white vinyl fence beside the stair was covered with plastic sheeting from top to bottom. Stain stripper and brown wash water leave marks on vinyl that are hard to get off, and white shows everything.
- Garden beds under the deck were covered with breathable drop cloths, and the plants nearest the stair were misted with water first, so any stray stripper would be diluted.
- Siding next to the deck and the stone at the porch base were wetted and covered where they met the boards.
Removing the old solid stain
- A stain stripper made for exterior wood was brushed onto the deck boards and treads in small areas and left to soften the coating.
- The softened finish was scrubbed with stiff brushes and rinsed off with a pressure washer kept at low pressure and a wide fan tip. High pressure on soft pressure-treated pine raises the grain and carves grooves into the boards.
- A wood brightener, an oxalic acid solution, was then applied and rinsed. Stripper leaves the wood dark and slightly alkaline, and the brightener brings back its natural tone and neutralizes it so the new stain absorbs evenly.
- A few stubborn patches at the board edges were sanded off with an orbital sander.
Drying, and the Holland River mornings
This part of town gets damp mornings, and the stair is on the shaded side of the house. Wood that feels dry on top can still be wet underneath, so we waited for a stretch of dry weather and checked the boards with a pin-type moisture tester before going any further. Staining wet wood traps the water in and the stain does not soak in properly.
Railings and the porch
- Loose white coating on the railings and balusters was scraped off, the edges sanded smooth, and bare spots spot-primed with an exterior primer suited to wood.
- Gaps where balusters meet the rails were sealed with an exterior caulk that takes paint.
- On the porch, the worn areas were scraped and feathered, the whole floor was scuff-sanded so the new coats would grip, and bare wood at the step noses was primed.
- Once everything else was done, the deck boards and treads got a final light sanding with an orbital sander to knock down the fibres the washing had raised.
Stain and paint, surface by surface
Railings and balusters first
We did the white railings before staining the boards. Any white that dripped onto bare treads could be sanded off, while white dripped onto freshly stained boards would have been permanent. The railings, balusters and posts received two coats of an exterior acrylic solid stain in white, brushed to work it into the corners and end grain.
Deck boards and stair treads
The boards, treads and the outer stair stringers were finished with a semi-transparent oil-based penetrating stain in a warm mid-brown. Each board was coated from end to end in one pass to avoid lap marks, then back-brushed to work the stain into the grain. The second coat followed within the window the label gives for a second application, while the wood could still take it in. Any stain still sitting wet on the surface after a short while was wiped off, since stain left to puddle on top forms a sticky film instead of soaking in. Pressure-treated decking is usually dry enough to walk on in socks the next day, but we asked the family to keep furniture off for a few days longer.
The front porch floor
Because the porch is covered, its floor stays drier than the deck, and the original painted finish had lasted well apart from the traffic areas. We kept it as a painted floor, using two coats of a porch and floor enamel in a soft taupe-brown chosen to sit between the beige siding and the stained wood door. The step noses got a fine sand mixed into the second coat for grip.
Picking a brown that works with the white
We brought sample cans of several semi-transparent tones as part of our free colour consultation and brushed each onto a stripped tread at the bottom of the stair and a board at the top of the deck. A stain looks different on pine than on the colour card, and different again in shade and sun, so the owners checked the samples in the morning, when the stair is in shade, and late in the afternoon, when the sun comes round onto the deck. The lightest tone looked orange against the white railings in the sun, and the darkest made the narrow side yard feel gloomy. A mid-brown between those extremes was the one they chose.
Keeping the side yard usable
The side yard is how the family reaches the backyard, so we kept one route clear at all times and roped off the stair only while it was wet. Drop cloths came up, rinse water was swept off the walk, and stripper containers and rags were packed away in sealed bins at the close of each day. Oil-soaked rags can heat up and catch fire if bundled, so they were laid flat to dry outdoors and then bagged in a metal container.
Upkeep for the next few years
- A semi-transparent stain wears gradually rather than peeling, so the treads will lighten in the walking path first. When water stops beading on them, it is time for a maintenance coat, usually just a cleaning and a fresh coat on the horizontal surfaces.
- Sweep leaves off the stair in the fall; wet leaves left on stained wood leave dark marks.
- Rinse the vinyl fence with a garden hose after any work on the deck, so splashes do not dry on it.
- We left labelled containers of the white railing stain, the brown deck stain and the porch enamel, each marked with where it was used.
- Use a plastic shovel on the porch steps in winter; metal edges chip floor enamel quickly.
Why this approach suits Newmarket homes
Newmarket’s 1970s to 1990s houses often have decks and fences that have already been through one or two rounds of finish, and solid stain on flat boards is one of the most common reasons we see peeling here. Stripping back, brightening and moving to a penetrating stain on walking surfaces gives a finish that wears slowly instead of flaking. Damp mornings near the Holland River trail make the drying step worth the wait. Our deck and fence staining service covers decks, stairs, railings, porches and fences, and our crews have stained and painted for GTA homeowners since 2010, with plenty of that work in York Region. You can find more about our work on the Newmarket painting page.
If your deck has a peeling finish or you want to change its look, ask for a written quote; photos are often enough for a deck or fence.