
Three floors of stairs in Hawthorne Village
Hawthorne Village is one of the Milton neighbourhoods where newer detached homes and townhouses make up most of the streets. This was a three-storey townhouse in a condominium corporation, with the garage and a family room at grade, the kitchen and living space on the middle floor and bedrooms at the top. That layout means a lot of stairs, and a stairwell that every piece of furniture, laundry basket and hockey bag has to travel through.
The walls were drywall over wood studs, finished in the builder’s flat paint. After years of family life and more than one round of furniture changes, the stairwell showed every one of those trips. The owners wanted it repaired and repainted in a finish that would stand up to the traffic. The interior was theirs to change; in corporations like this one, approval usually applies to exterior doors and trim rather than to a stairwell.
A damage list, floor by floor
We worked up the stairs with the owners and listed what we found.
- Outside corners. The corners where the stairs turned had metal corner beads that had been hit hard enough to crush them. The bead was bent inward, the compound over it had cracked and fallen off in places, and one had a sharp metal edge exposed.
- Stair walls. Along both flights, at roughly shoulder and hip height, the drywall had dents, scrapes through the paper face and a few deeper gouges where something heavy had been dragged.
- The handrail. On the middle flight, the handrail moved when you leaned on it. Its brackets had been fastened with hollow-wall anchors into drywall alone, and the anchors were pulling out, leaving crumbling holes.
- Doorknob holes. Several doors off the halls had no stops, and their handles had punched round holes in the walls behind them.
- Top landing ceiling. An opening had once been cut in the ceiling corner for a speaker, and after the speaker came out the hole had been stuffed with a rough patch of compound and tape that had cracked and sagged.
Why the stairwell made this harder
Stairwells are awkward to work in. Ladders cannot stand flat on a stair, the walls are tall on the lower side, and everything has to stay passable because the family uses the stairs to reach their bedrooms. We used an adjustable stair platform that sits level across the treads, with padded feet, and kept one side of each flight clear at all times.
Protection on a working staircase
Each tread was covered with a non-slip runner taped at the edges, and the landings were covered with paper and canvas. The handrail on the open flight was wrapped. Pictures, the hall mirror and the smoke alarm cover came down and were labelled. At the top landing, the bedroom doors were kept closed and a plastic sheet was hung during the ceiling work to keep dust out of the upper hall.
Fixing each defect properly
Corner beads
Crushed beads cannot be filled smooth; the dent comes back through the compound. We cut through the compound along both sides of each damaged bead, pried the bent section away and cut it out cleanly, then fitted new bead into the gap and fastened it to the corner. The new section was bedded in setting compound, which hardens strongly and handles knocks better than ready-mixed mud, then finished in two further coats feathered out onto the walls.
Dents and gouges
Where the paper face of the drywall had been torn, we cut away the loose paper and sealed the exposed brown layer with primer before filling. Skipping that step lets moisture from the compound lift the torn edges into bubbles. The gouges were then filled with setting compound and finished with lightweight topping, sanded and checked under a work light held along the wall.
The handrail
Hollow-wall anchors are not meant to carry a handrail. We took the rail off, cut a small rectangular opening in the drywall at each bracket location and slid short pieces of wood blocking between the studs, screwing them in from the side. The cut-out pieces of drywall were screwed back over the blocking, taped and finished. Once the patches were painted, the brackets went back on with screws driven into solid wood, and the rail no longer moved.
Doorknob holes
For each round hole, we cut a neat square around it, fitted a strip of wood behind as a backer, and screwed in a square of new drywall. The seams were taped with paper tape and finished. We then fitted a small rubber door stop on the baseboard behind each door so the handles cannot reach the wall again.
The landing ceiling
The old speaker patch was removed in full. We squared the opening up so that its edges landed on the middle of the nearest joists, then fastened a new piece of drywall into the ceiling corner, screwing it to the joists and to the wall plate along the corner edge. Paper tape went into the inside corner and along the flat seams, followed by two finishing coats.
Primer and paint for a high-traffic space
Every repair was spot primed with a latex drywall primer, and the patched ceiling corner was primed in full. Then the painting went from the top floor down, so drips and dust always fell onto areas not yet finished.
- Ceilings. Two coats of flat white on the stairwell and landing ceilings, rolled with an extension pole from the platform, edges cut in by brush.
- Walls. Two coats of satin. Satin has more sheen than the builder’s flat or the more common eggshell, and that extra resin makes it tougher against scuffs and easier to scrub. In a stairwell, where shoulders and bags rub the walls daily, it was the practical choice. The second coat went on after the manufacturer’s recoat time.
- Trim. Baseboards, the white risers and the skirt boards along the stair stringers were sanded lightly and given two coats of semi-gloss enamel, cut in carefully against the stained treads.
A warmer mid-tone for the walls
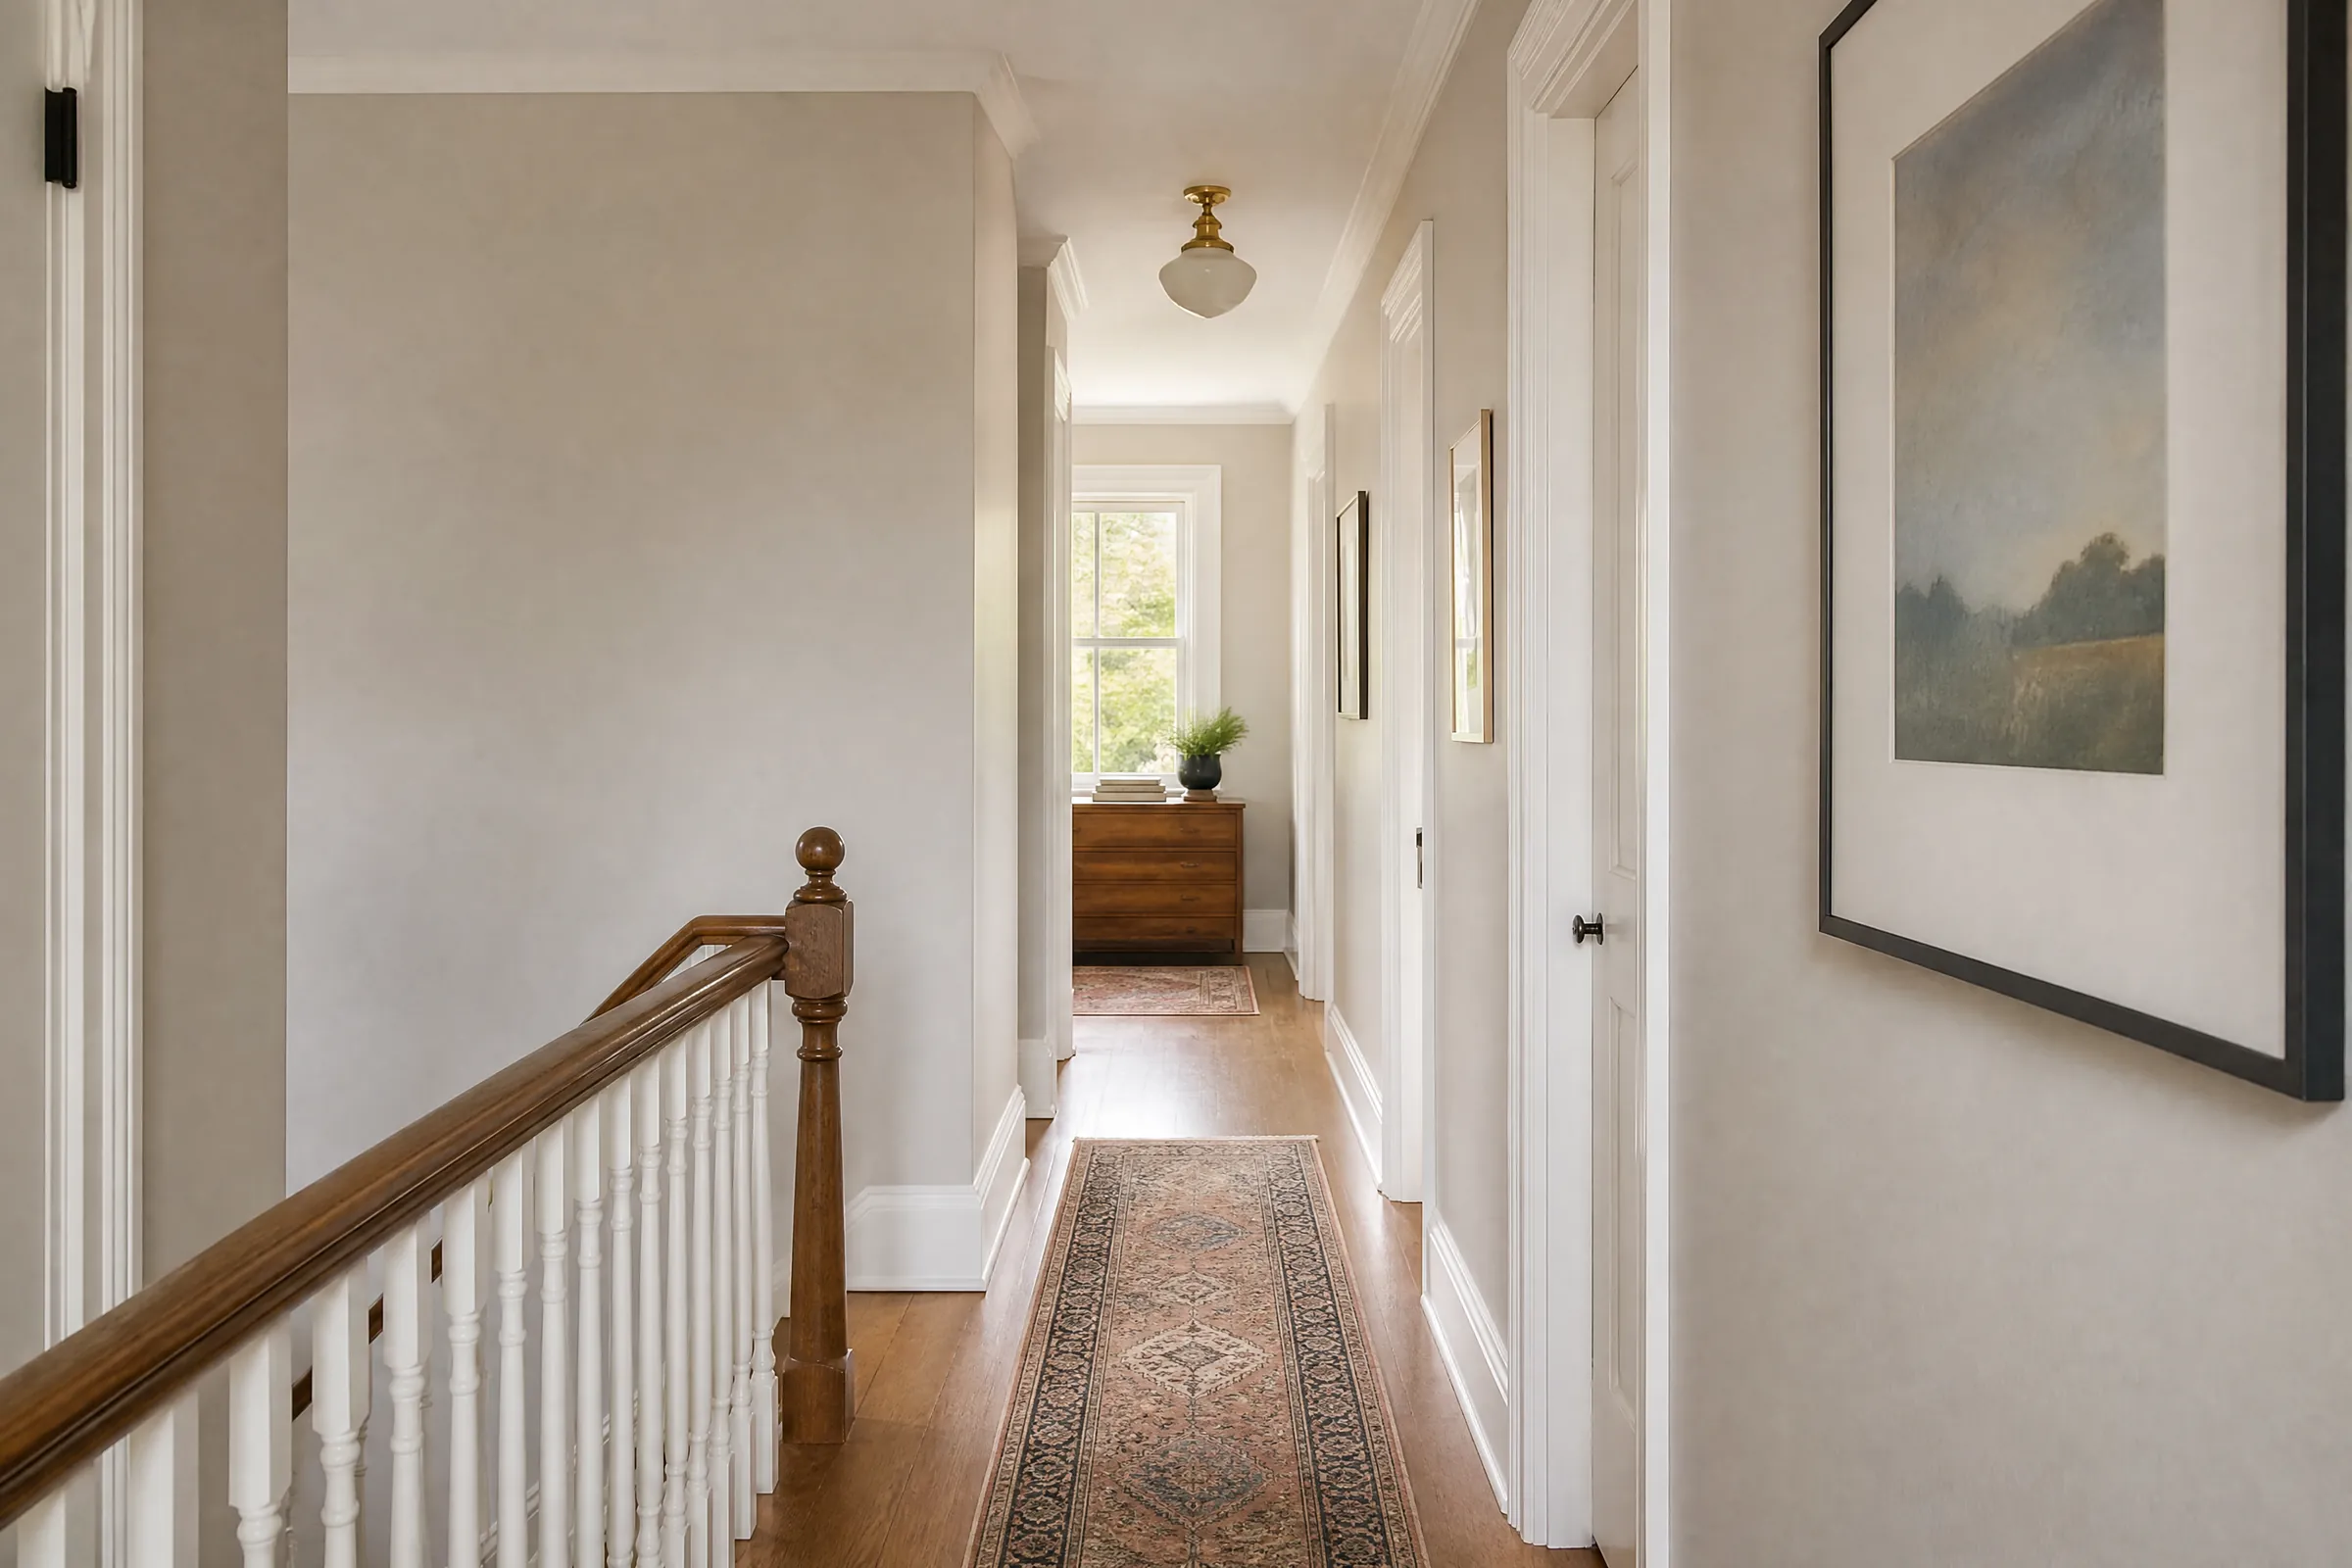
The owners had first thought of white, but in a stairwell that sees constant traffic, a light mid-tone hides everyday marks better. At the colour consultation we painted sample swatches on the middle landing, where light from the living room meets the darker lower flight. They chose a soft mushroom taupe that reads as warm and neutral at every level, with crisp white trim and ceilings to keep the edges sharp. We used a low-VOC satin so the bedrooms upstairs could be slept in each night.
Keeping the stairs safe and clean
Every evening the platform was folded and leaned in the garage, the runners were vacuumed and checked for loose tape, and compound dust was wiped from the handrail. The family could use the stairs normally overnight.
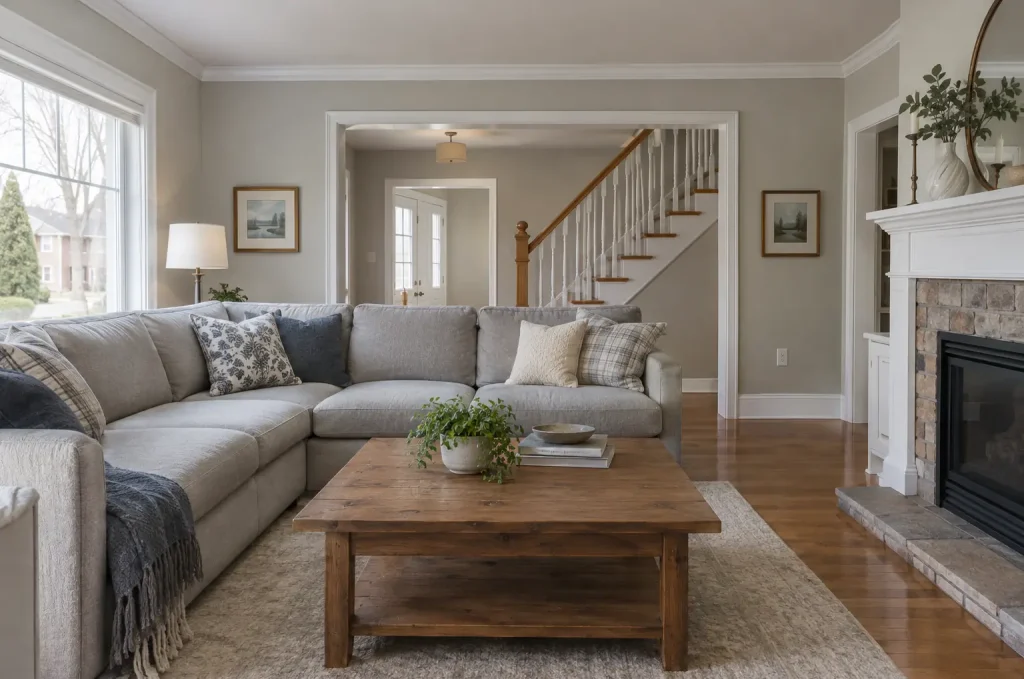
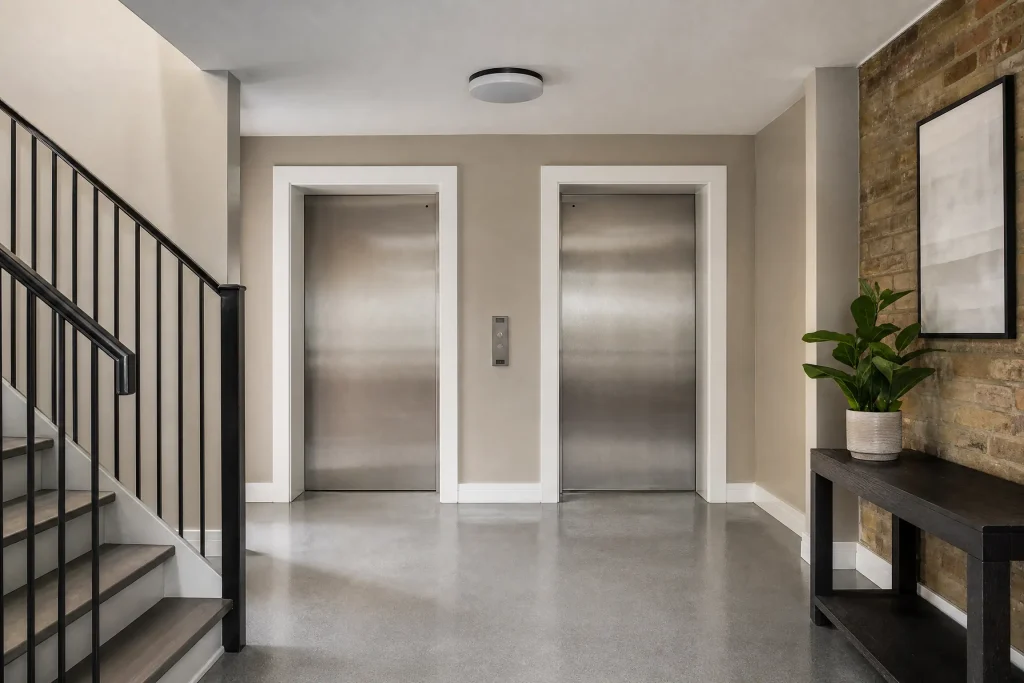
From the front hall now, the stairwell rises in one even colour, with straight, sharp outside corners at each turn and a firm handrail.
Advice for a busy stairwell
- Satin walls can be washed with a soft sponge and mild soap. Scuff marks from bags usually lift off without needing paint.
- Labelled cans of the wall colour, ceiling white and trim enamel were left in the garage. Satin touch-ups blend better when rolled with a small foam roller than brushed.
- When moving furniture, plastic corner guards taped over the outside corners for the day protect the new beads.
- If the handrail ever feels loose again, check the screws first; they go into wood now and can simply be tightened.
Why townhouse stairwells in Milton get this approach
Much of Milton‘s housing is newer townhouses built over three or more levels, which puts stairs at the centre of daily life. The drywall in these homes is light and the builder finishes are soft, so the stairwell is usually the first place to look worn. Proper corner beads, solid blocking behind anything that carries weight, and a tougher sheen are what make drywall repairs in a stairwell last through the next move.
We have worked across the GTA since 2010, with plenty of townhouses in Halton Region among the homes we paint. If your stairs have their own dents and loose rails, tell us about them and we will come out, list every repair and send a written, itemized quote.