
A Hawthorne Village house and the colours that came with it
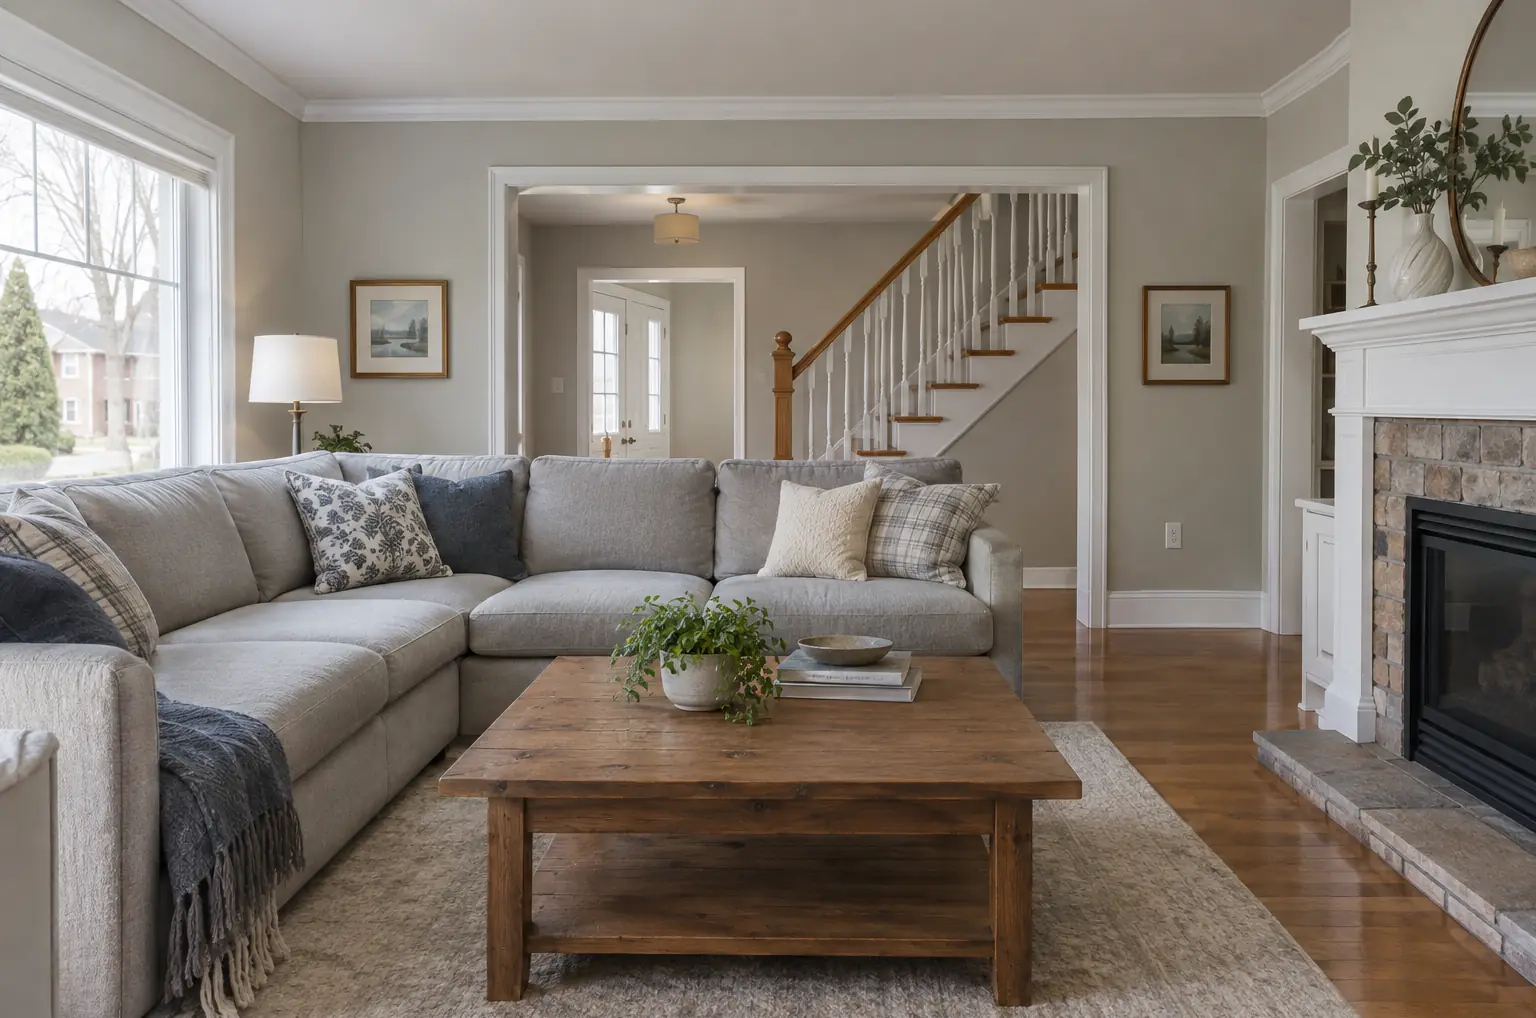
Hawthorne Village was one of the first of Milton’s newer neighbourhoods, and like most homes there this was a detached house with drywall over wood framing and a straightforward main floor: a formal living room at the front, a dining room beside it, and a hallway running back to the kitchen and family room. What stood out was a floor-to-ceiling surround of large marble-look porcelain panels in the living room, framing a linear gas fireplace.
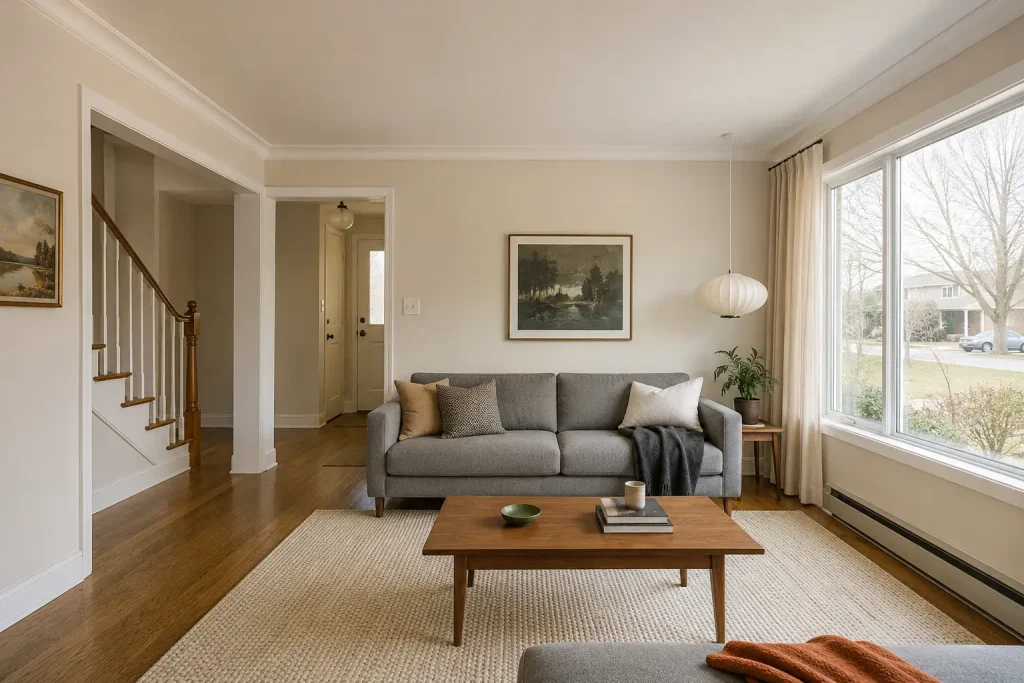
The previous owners had liked strong colour. The dining room was a deep brick red, the living room a saturated teal, and the hallway a plum that had been rolled on in a semi-gloss. The new owners wanted the whole main floor in warm neutrals that would sit quietly next to the porcelain wall. Our job covered the walls and ceilings of the living room, dining room and hallway, plus all their trim and doors.
What was under the colour
Hardware everywhere
Before any painting, we walked the rooms with the owners and counted what was left on the walls. There were plastic anchors from shelving, metal toggle bolts from a mirror, and the bracket and its large holes from a wall-mounted television in the living room. Some anchors had been half pulled out, tearing the drywall face around them.
Paint that resists the next coat
The plum semi-gloss in the hallway was a problem in its own right. Latex does not bond well to a slick, glossy surface, and it would have been easy to scratch off with a fingernail if painted over without prep. In the dining room and living room, the issue was depth: few colours fight a light neutral harder than deep red and teal, because they keep showing through as a pink or green tint.
Other marks
Low on the hallway wall there were crayon and marker marks, which tend to bleed through water-based paint if they are not sealed first.
Preparation, step by step
- Protection. Floors were covered with drop cloths taped at the baseboards, furniture was grouped in the centre of each room, and the porcelain feature wall was masked with plastic held by a low-tack tape made for delicate surfaces, so it could not pull at the grout or leave residue on the glazed face.
- Taking out the hardware. Plastic anchors were pushed slightly below the surface or cut flush. Toggle bolts were unscrewed and their wings pushed into the wall cavity. The TV bracket came off and its large holes were too big to fill with compound alone.
- Larger holes. For the TV holes, we cut each one into a neat square, fitted a drywall offcut with a backing strip behind it, and taped and filled the seams. The patches were built up in thin coats and feathered wide, then sanded until they disappeared under a raking work light.
- Small holes and torn paper. Torn drywall face around pulled anchors was trimmed back, sealed with a coat of primer, and filled. Nail holes and dents got thin passes of compound until flush.
- Glossy hallway. The plum semi-gloss was wiped with liquid deglosser, then scuff-sanded with sanding sponges until the shine was gone and the surface felt slightly rough. Dust was wiped off with a damp cloth.
- Marker and crayon. Those marks were spot primed with a shellac-based primer, which seals waxy and solvent-based stains so they do not bleed.
- Caulking. Small gaps along the baseboards and casings, where the house had settled, were caulked with paintable acrylic caulk.
Priming over red and teal
We primed every wall in those rooms with a high-hide acrylic primer tinted to a mid grey. Grey is the right base for going from a strong colour to a warm neutral: it neutralizes red and teal far more effectively than white primer, which tends to let a pink or green cast creep through even after two coats of finish. Over the repaired areas, the primer also evened out the difference between new compound and old paint.
Finish coats and sheens
Ceilings
The ceilings, which had been left in builder flat white, were repainted in a fresh flat ceiling white, two coats, since the previous colours had been rolled onto their edges in several places.
Living room
The living room walls were rolled in a washable matte in the chosen warm neutral. A formal room with a feature wall does not take the knocks a hallway does, and matte gives the walls a soft, even look that does not compete with the sheen of the porcelain. Two finish coats were applied over the grey primer.
Dining room and hallway
The same neutral went on in eggshell in the dining room and hallway, where chairs, bags and hands meet the walls. Eggshell cleans more easily and holds up better to wiping. Here too the walls had a pair of finish coats, and the second waited until the first had reached its recoat time.
Trim and doors
Baseboards, casings and the hallway doors were cleaned and sanded lightly, and finished with two brushed coats of white acrylic semi-gloss enamel.
Finding a neutral that suited the porcelain
Warm neutrals cover a wide range, from creamy beiges to grey-leaning taupes, and the porcelain panels had their own grey veining and a slightly warm white base. During the free colour consultation, a handful of neutrals from sample pots went onto the primed wall right beside the feature wall, and on the dining room wall opposite the window. In daylight the greyest sample looked flat and cold against the porcelain; under evening lamps the creamiest one looked yellow. The owners chose a soft greige with a warm undertone that sat comfortably beside the veining in both lights, and used it throughout the main floor so the rooms flow together.
Keeping the house in order
Patching and sanding produce dust, so the sanding was done one room at a time with the doorway curtained off with plastic, and floors were vacuumed when each stage was finished. The kitchen and family room, which were not part of the job, stayed usable throughout. At the end of every day the tools were gathered, cans sealed and the drop cloths cleared from the main walkway.
Upkeep for the new main floor
- Before hanging pictures or a TV again, mark the spots and use the right anchor for the weight. If an anchor comes out, fill the hole, spot prime and touch up.
- The matte in the living room is washable, but go gently with a soft cloth and plain water.
- Hallway and dining room eggshell can take a mild soap solution once the paint has cured.
- Labelled cans of the neutral in both sheens, plus ceiling white and trim enamel, went onto a basement shelf.
- Small settling cracks along trim are normal in a house this age and can be recaulked and touched up as they appear.
Why a repaint in a Milton home often starts with repairs
Most houses in Milton are relatively young, so a repaint is rarely about stripping old layers. In a resale home like this one, it is more often about undoing what the last owners left: hardware, holes, glossy paint on walls and strong colours that need a proper primer. Getting those right is what makes interior painting in a newer house look clean and last. We have handled this kind of colour change in homes across Halton Region and the wider GTA since 2010, always with at least two finish coats, and we can suggest low-VOC or zero‑VOC paint if you are living in the house while we work. If you have moved into a home with colours that are not yours, book a visit and we will go over the walls with you.