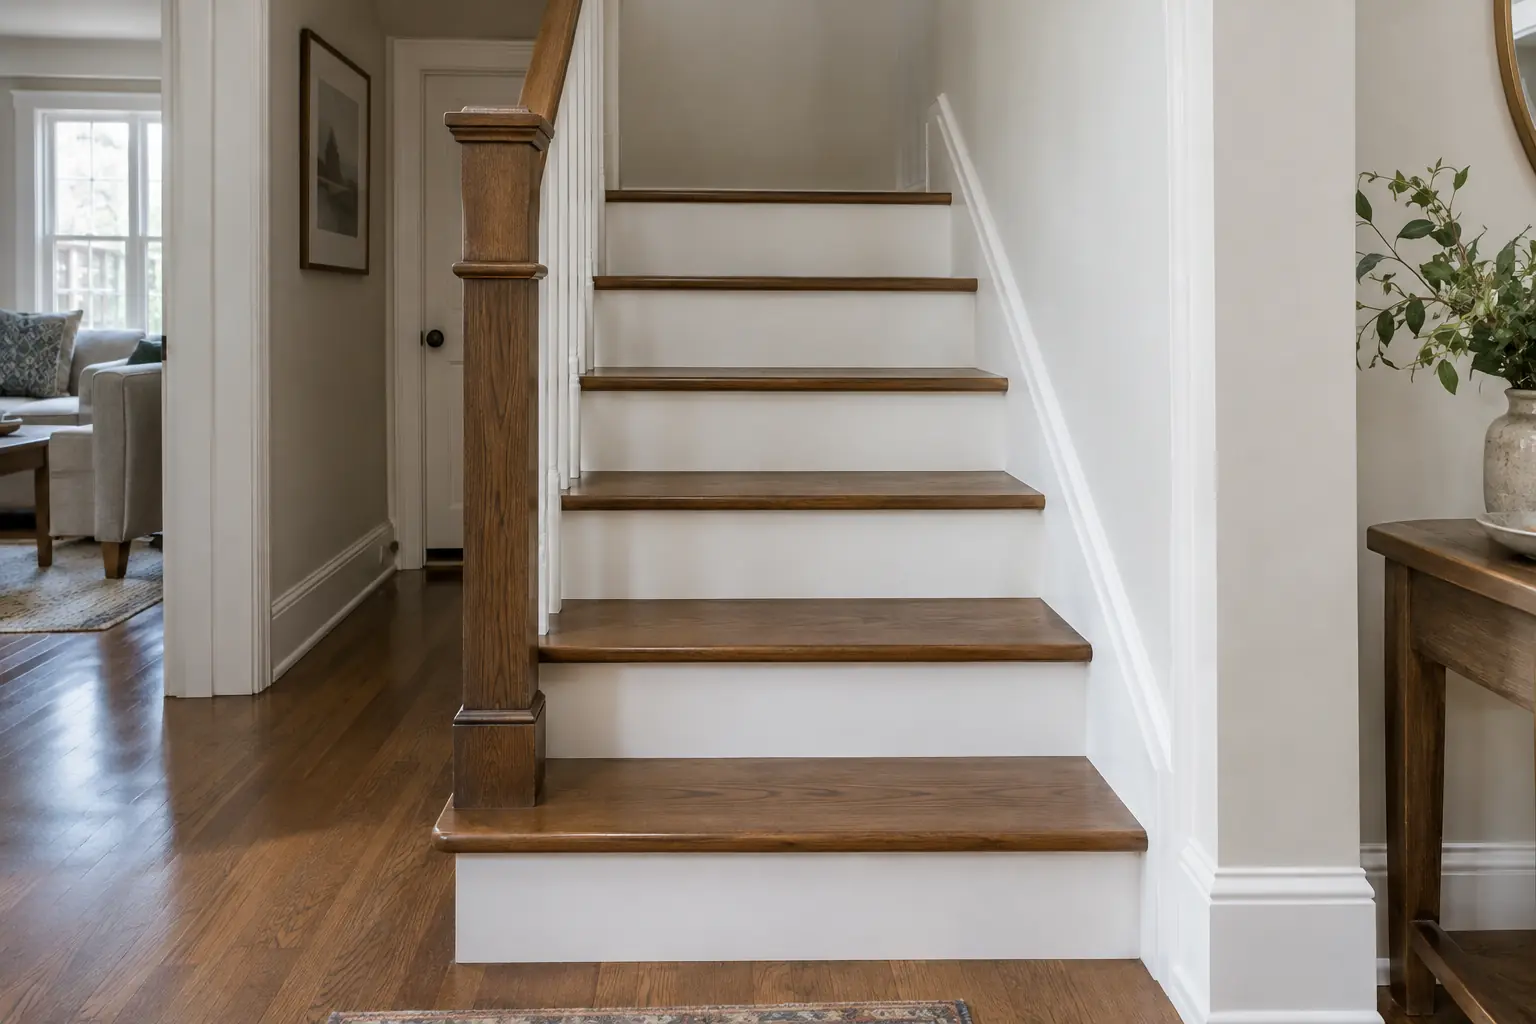

A country home ready for a new railing
Around Leaskdale, north of the town of Uxbridge, homes sit on larger lots among fields and trees, and this one was a two-storey country house built some years ago on a property backing onto woods. Its entry is bright, with a tall window beside a staircase that rises straight from the front hall. When the owners bought it, the staircase had the original oak railing: a stained handrail, square oak spindles set into holes in each tread, oak treads in a mid-brown finish, and oak risers.
A new railing was planned: clear glass panels held by black metal posts under a slim black cap, chosen to open up the view of the window from the stairs. They called us before the new railing went in. They wanted the treads stained much darker to sit well under glass and black steel, and the risers and skirt boards painted white to match the walls.
Holes, wear and the timing of the work
The order of the work was the key to this job. Refinishing treads after a glass railing is installed means masking glass panels and working around posts. Doing it before means the stair is easier to reach, but the old railing has to come out first. The plan agreed with the owners was to refinish with the old railing out and a temporary barrier on the open side, and to leave the glass until our final coat had cured.
Once the old railing came out, it left a row of square-cut holes in the outer edge of every tread, where the spindles had been set. Some of the holes had chipped edges where the spindles had been pried out. The old finish was worn through on the lower treads, which take outdoor grit from the mudroom, and there were dents from boots and dropped tools. The risers had dark scuff marks and small gaps at the skirt boards.
Plugging, sanding and preparing each surface
Working around an open edge
With the temporary barrier in place on the open side, we kept tools and materials on the wall side of each tread. The entry floor was covered with rosin paper and hard protection boards, and the sill of the tall window was taped and papered, since it sits right beside the stair and gets the full force of sanding dust.
Plugging the spindle holes
- Each square hole was squared up and drilled round so it could take a round plug, cleaning up the chipped edges at the same time.
- Plugs were cut from oak offcuts with a plug-cutting bit, choosing pieces whose grain colour came close to the treads.
- Each plug was glued in with its grain running the same direction as the tread, so it would take stain more like the tread around it.
- Once the glue had set, plugs were trimmed with a flush-cut saw and sanded level with the tread.
Sanding the treads and nosings
The treads and nosings were taken down to bare oak, the flat faces with an orbital machine and the corners and nosing returns with a small detail sander, finishing at 120-grit. Dents were steamed out where possible and sanded where not. A shop vacuum ran on every sander, and the treads were wiped with a tack cloth.
A loose tread and a creak
With the old spindles gone, one tread near the top had a little play in it and creaked when stepped on at its outer end, where the spindles had once helped hold it. Working from the closet under the stair, we added a bead of construction adhesive along the joint between the tread and the stringer and drove screws up through a small block. The creak stopped, and nothing showed on the finished face of the stair. A loose tread is worth fixing before refinishing, since movement can crack a fresh clear coat along the nosing.
Risers and skirt boards
The risers and skirt boards were cleaned with a degreaser and scuff-sanded. Gaps were caulked, and every piece of oak due for paint took a coat of tannin-blocking primer so the tannins in the wood would not show through the white.
Finishes, in order
A pre-stain conditioner was wiped onto the outer edge of each tread, where the plugs sit. End grain and plugged spots absorb more stain than the surrounding wood, and the conditioner evens out that difference. Then the treads took an oil-based penetrating stain in dark walnut, wiped on and wiped off with the grain. A second application went on once the first had dried, which deepened and evened the colour across the plugs.
When the walnut was dry right through, we moved on to three coats of a waterborne oil-modified polyurethane in satin. This type of clear has some of the warmth and durability of an oil-based finish with less odour and quicker recoats. It was applied with a pad, and the surface was lightly buffed between coats once each had dried.
The risers and skirt boards took two coats of white acrylic trim enamel in satin, brushed and laid off along the length of each board. They were painted after the treads had cured, with each tread covered in paper.
Choosing a dark brown to sit under glass and steel
At the free colour consultation, oak offcuts were coloured with different dark stains and set on a tread next to a sample of the black metal post finish. Seen in the morning light from the tall window and again in the evening, a near-black looked heavy and hid the grain, while a dark walnut brown still showed the oak and looked richer next to the black. The owners chose the walnut. For the risers and skirts, the white was matched to the walls so the eye goes to the treads and the glass.
Housekeeping on a country property
Country homes bring in more dirt than city ones, and this household had dogs, muddy boots and visitors coming in from walks on the trails nearby. The mudroom entrance stayed open as the main way in, and the front door was closed to traffic while stain and clear were curing. Oily stain rags were laid flat outside on a metal tray to dry, well away from the house, before disposal. Each evening the paper was swept, dust was vacuumed, and tools were stored in the garage. Low-odour finishes were used indoors, and Zero‑VOC paint was used on the risers and skirts.
Looking after the new stair
- Leave rugs and runners off until the clear has fully cured, as listed on the label; then use pads made for finished wood.
- Keep a good mat at the mudroom and front doors to catch grit before it reaches the stair.
- Dust the dark treads with a dry microfibre mop; a damp mop is fine for marks.
- When the walking path starts to dull, scuff-sand and add one coat of the same clear before the stain wears through.
- We left labelled cans of the walnut stain, the clear and the white enamel in the basement.
Why this approach works for Uxbridge homes
Many country homes and older houses around Uxbridge have oak stairs and railings that are sound but dated, and a railing change is a good moment to refinish the treads. Refinishing in the gap between the old railing and the new one avoids masking glass and leaves the stair finished all the way to its edges. The same planning applies to stair projects elsewhere in Durham Region.
We have refinished and painted stairs for GTA homeowners since 2010, and we give every painted surface at least two finish coats. To find out more about the work, see our staircase painting and staining page. If you are planning a new railing, talk to us before it goes in, and we will send an itemized written quote for the treads, risers and skirts.