
A storey-and-a-half near Pape Village
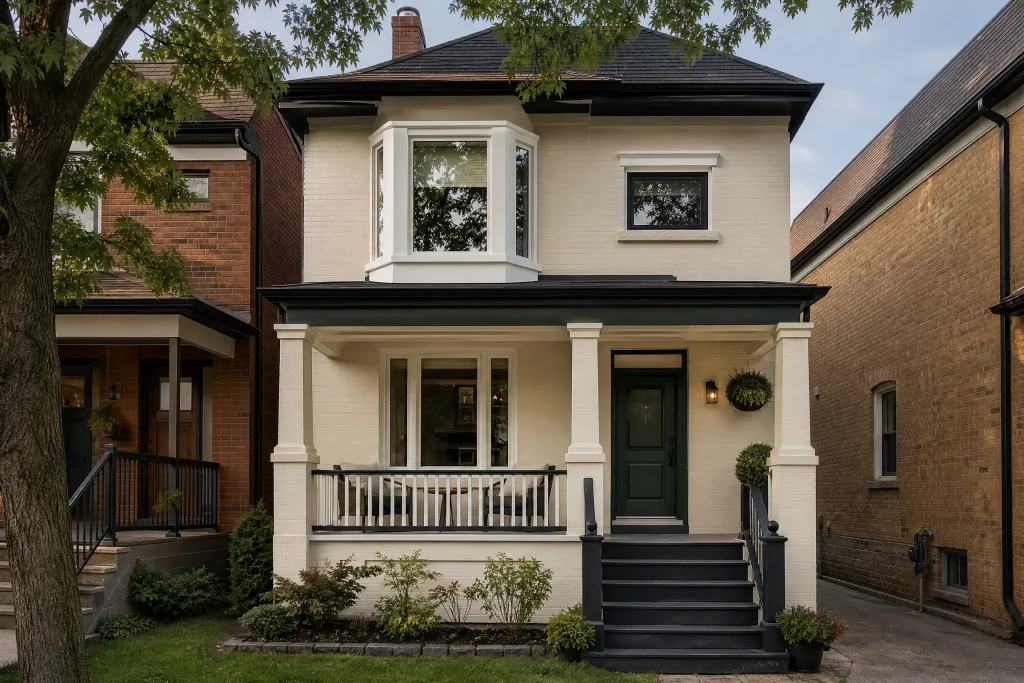
The older streets of East York, around Pape Village and over toward Leaside, are lined with compact brick bungalows, semis and storey-and-a-half houses built between the 1920s and the 1940s. This house was one of the storey-and-a-half kind: a main floor with full-height rooms, and an upper floor tucked under the roof, where the bedroom ceilings slope down to short knee walls along the front and back.
Nearly every interior surface was the original plaster on wood lath, painted many times over. Parts of the upstairs had been redone at some point with drywall, which met the old plaster in long seams that had cracked. The plaster also showed the marks of earlier wiring work: access holes cut wherever cable had needed to turn or pass a framing member. The upper floor and the stair hall were dotted with them, and the bedroom ceilings had long, narrow openings along the slope.
Holes, openings and old seams
There were many holes on the upper floor and in the stairwell, ranging from small round cuts at the tops of walls to rectangles at switch and outlet locations where boxes had been moved. In most of them, the cut edge of the plaster was ragged and a little loose, with crumbled plaster in the cavity behind. The ceiling openings ran along the slope where cable had been pulled between rafters, and the plaster around them had cracked and dropped slightly on one side.
The older drywall seams were the third problem. Where drywall had been placed beside plaster in the past, the two surfaces sat at slightly different depths, and the tape between them had cracked from top to bottom. On a sloped ceiling those cracks catch every bit of light from the dormer windows.
Why this was more than spackle work
- Plaster is thicker than drywall, so a patch has to be built out to match its depth or it leaves a dip.
- Crumbly plaster edges absorb water from fresh compound and can release it in a ring around the patch unless they are treated first.
- Sloped ceilings and knee walls meet at odd angles, and the cut line between wall colour and ceiling colour has to be done by hand.
- Old plaster dust is fine and drifts down a stairwell, so the bedrooms had to stay usable while the hall was sealed off from the main floor.
Sealing off the upper floor
Before any sanding, we closed the upstairs off from the rest of the house. The upper floor was sealed from the stair with a zippered plastic wall, the floors and the built-in drawers under the eaves were wrapped in plastic taped tight at the floor, and we kept the windows closed during sanding with a HEPA vacuum running at every sanding point. Debris was bagged in the room and carried straight out.
Patching, one type of hole at a time
Small and medium holes
- Loose plaster around each hole was trimmed back with a knife until the edge was firm.
- The cut edges were brushed with a bonding agent, which seals the dry, crumbly plaster so it does not pull water out of the compound too quickly.
- For anything larger than a coin, a thin backer strip of wood was slipped through the hole and screwed in place from the front, giving the fill something to rest on.
- A piece of drywall was cut to fit the deeper holes, set on the backer at a depth that left room for compound to bring it flush with the plaster face.
- The holes were filled with a fast-setting compound for the base and a slower one for the top, then taped with mesh at the edges and finished in two thin coats.
The ceiling openings
Along the long slots in the bedroom ceilings, we first secured the cracked plaster around them with plaster washers screwed into the rafters, drawing the loose sections back to the lath. Then the openings were trimmed straight. Strips of furring were added to the rafters inside so that new drywall would sit at the same depth as the plaster around it. The drywall was fastened, the seams were bedded in paper tape with setting compound, and the patches were feathered well out onto the old plaster.
Blending the old seams
For the drywall-to-plaster seams, filling the crack alone would not have hidden the step between the two surfaces. We cut out the broken tape, re-taped each seam with mesh in setting compound, and then skimmed a band roughly a forearm wide on either side, feathering it so the change in depth disappeared into a gentle, invisible slope.
Primers for old and new surfaces
The old plaster had many coats of paint, some of them oil-based, so the walls and ceilings got a bonding primer to give new latex a reliable grip. The new drywall and compound got a latex drywall primer. Priming both kinds of surface before colour was essential; without it, every patch would have flashed through the colour as a flat, chalky shape.
Painting under the slope
Upstairs rooms in a storey-and-a-half are small and full of angles. Each bedroom has a flat ceiling at the top, slopes down each side and short knee walls below them.
- Ceilings and slopes: The owners chose to carry the ceiling colour down the slopes to the knee walls, which keeps small rooms feeling taller. Two coats of flat went on with a short roller, brushed into every corner.
- Walls and knee walls: Two coats of matte, which hides the gentle waves of old plaster better than any higher sheen. The line where each knee wall meets the slope was cut by hand with a steady brush, since tape tends to bleed on uneven plaster. Coat two waited until the first had passed the maker’s stated recoat time.
- Trim and rail: Baseboards, door casings and the painted stair rail were sanded, primed where bare and painted in two coats of satin enamel.
Colours for small rooms with dormers
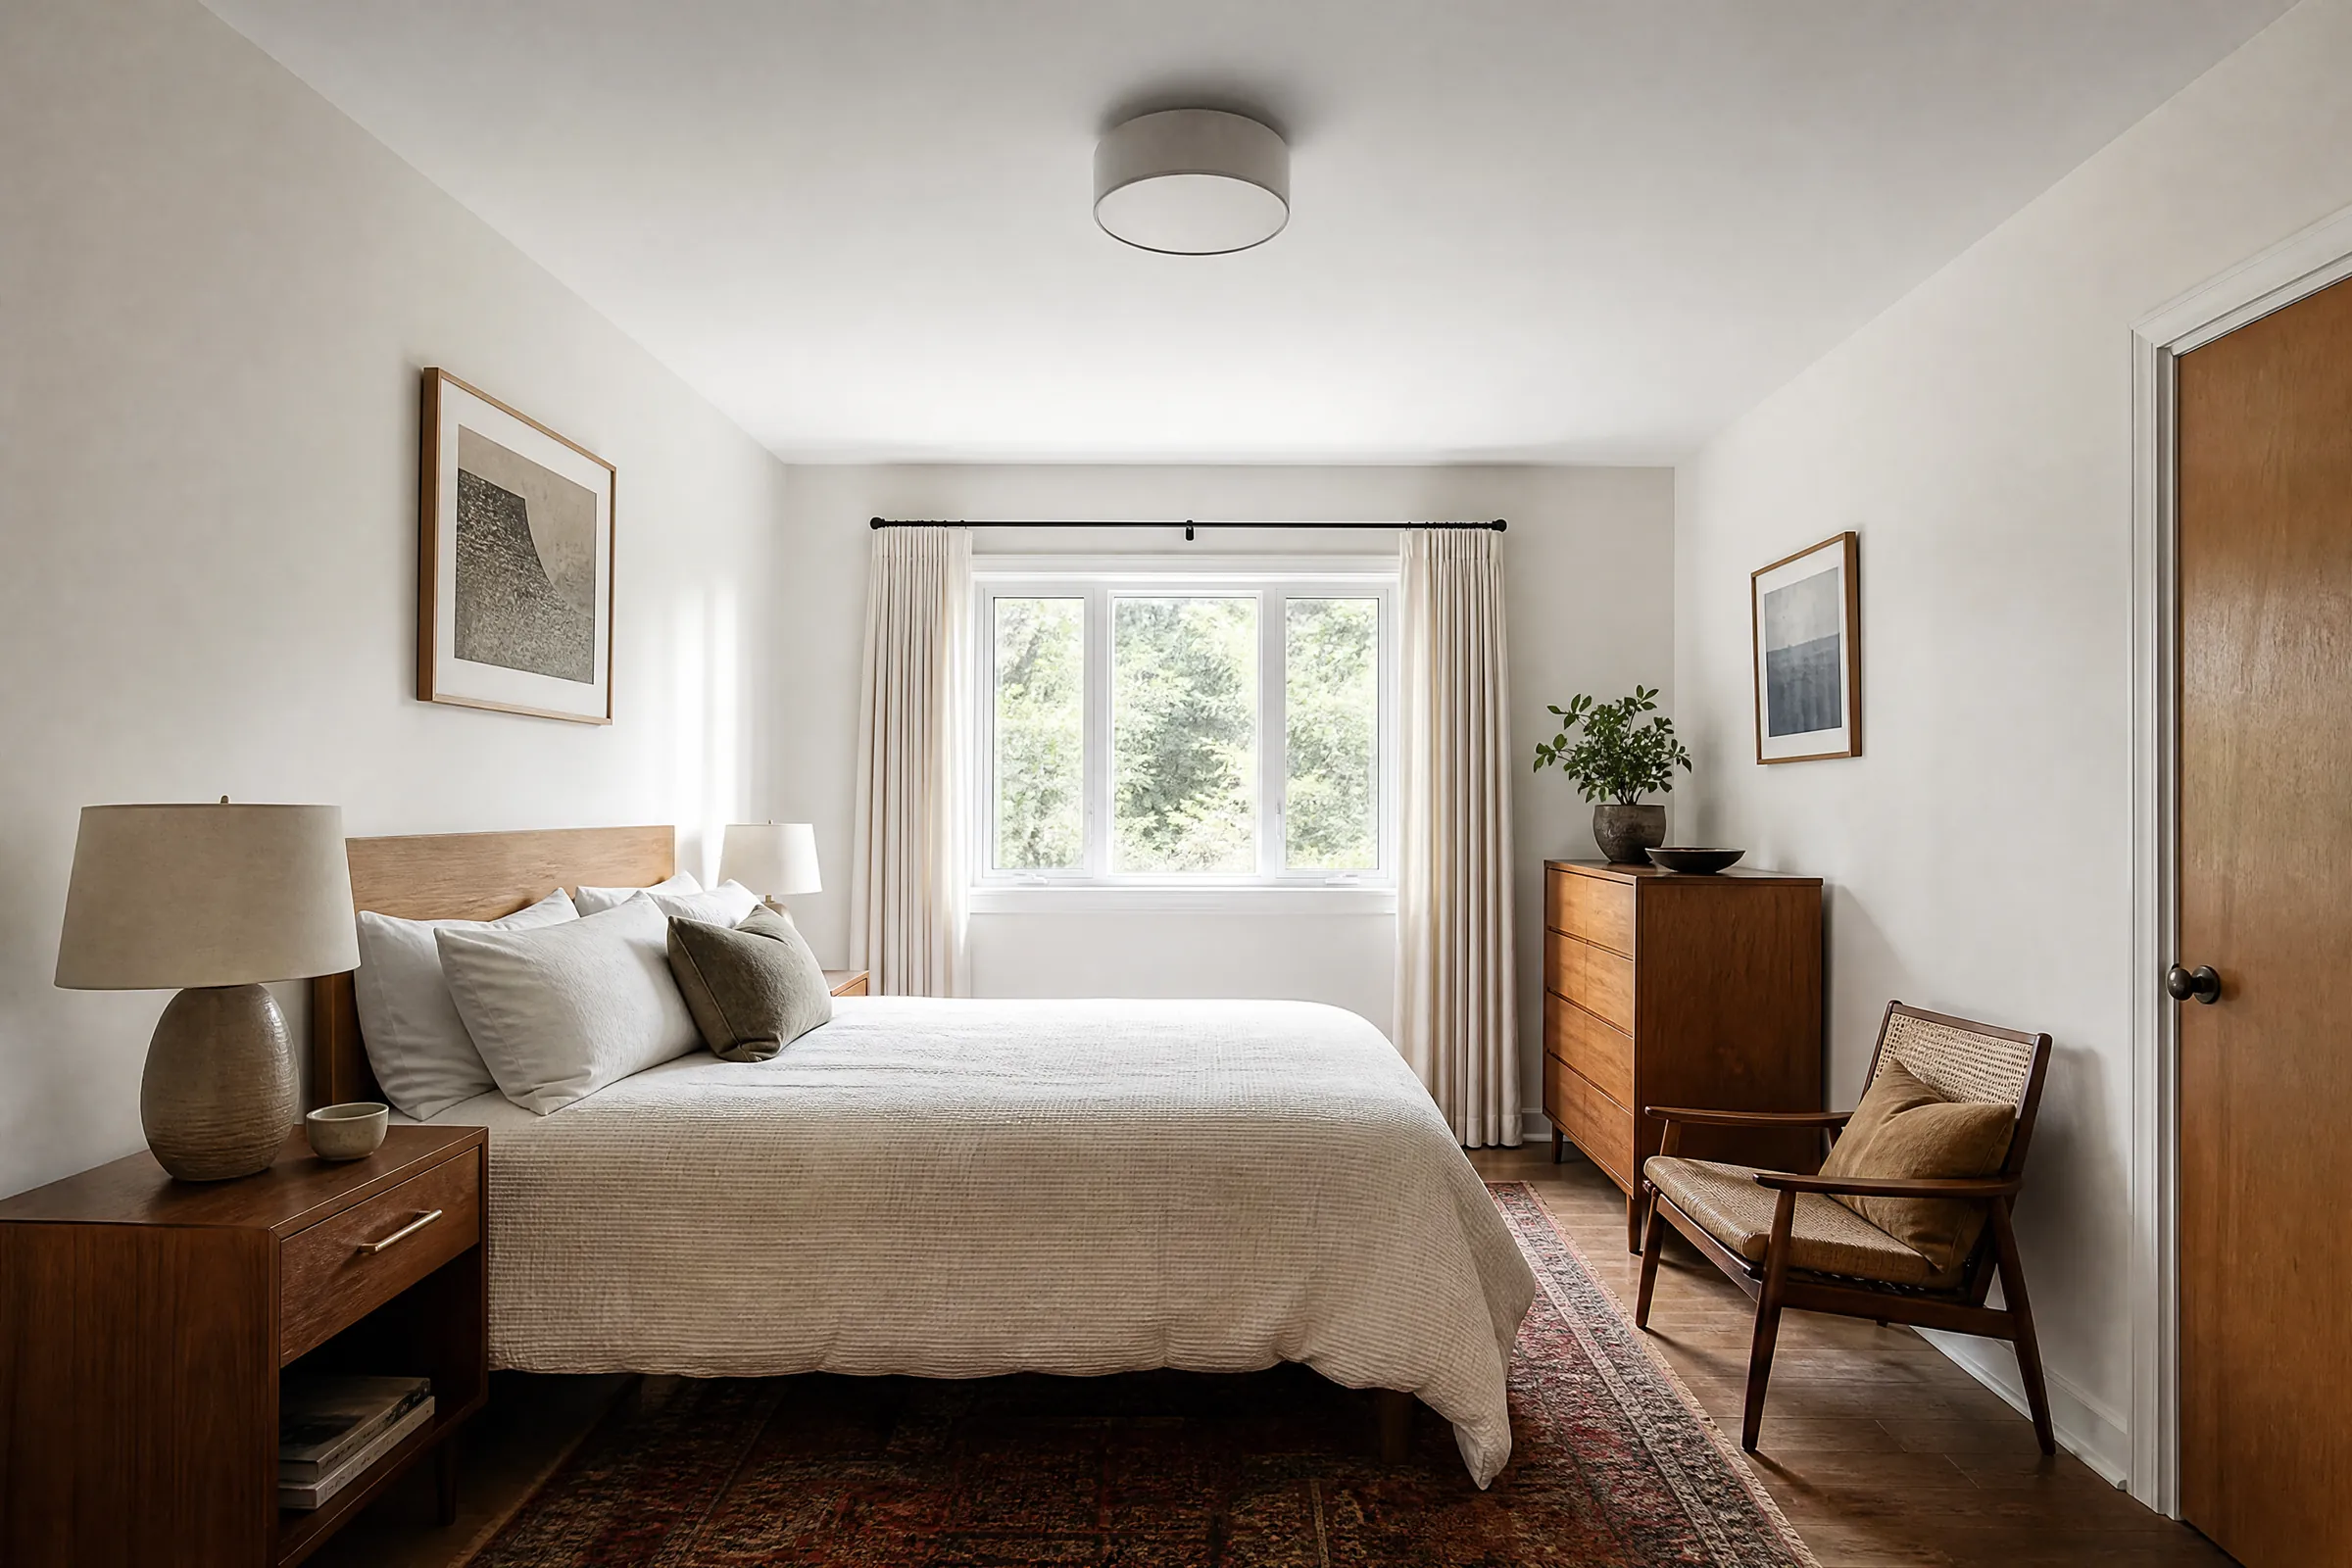
We left sample pots for the owners to brush onto the main bedroom wall, by the dormer window and again on the darker side. They checked them at breakfast and after dark with the bedside lamps lit. They chose a pale clay colour for the main bedroom, a quiet light blue for the second bedroom and a warm white for the hall and all of the slopes. Trim is a soft white throughout. Zero‑VOC paint was used upstairs because the family moved down to the main floor only for the sanding stage and wanted to be back in their bedrooms soon after.
Packing up each afternoon
Each day closed with plaster debris bagged and removed, the floors HEPA vacuumed, the plastic wall checked and the stair swept. Electrical cover plates, removed for painting, were kept in labelled bags by room.
The upstairs now reads as one continuous surface, the pale clay walls meeting a warm white slope along a clean, straight line, with no trace of the wiring holes or the old cracked seams.
Notes for living with old plaster
- If more work inside the walls is planned, ask for openings to be kept as small and square as possible. Clean rectangles are quicker to patch than ragged holes.
- Hairline cracks can still appear in plaster as the house moves through the seasons. A crack that opens and closes with the seasons needs tape, not just filler.
- Labelled touch-up cans for each room’s colour, the slope white and the trim are in the basement.
- Wipe matte walls gently with a damp cloth; heavy scrubbing can leave a shine.
Why this suits East York’s older houses
Homes from the 1920s to the 1940s across East York are steadily being rewired, replumbed and partly renovated, and each round of work leaves its mark on the plaster. Most of it can be kept: patched to depth, its edges sealed and its seams blended with newer drywall. That is the focus of our drywall and plaster repair work in older houses, and it is a regular job for us as house painters across Toronto, where we have worked since 2010.
If recent wiring or pipe work has left your walls full of holes, get a quote from us; we will count and measure the repairs at a visit and list them on an itemized written quote.