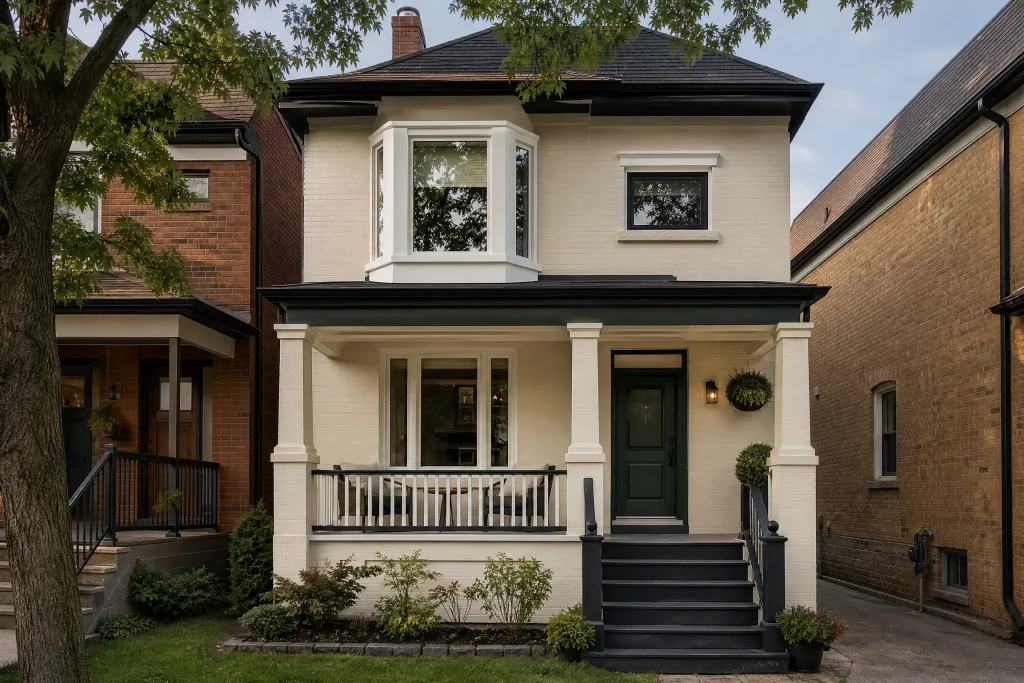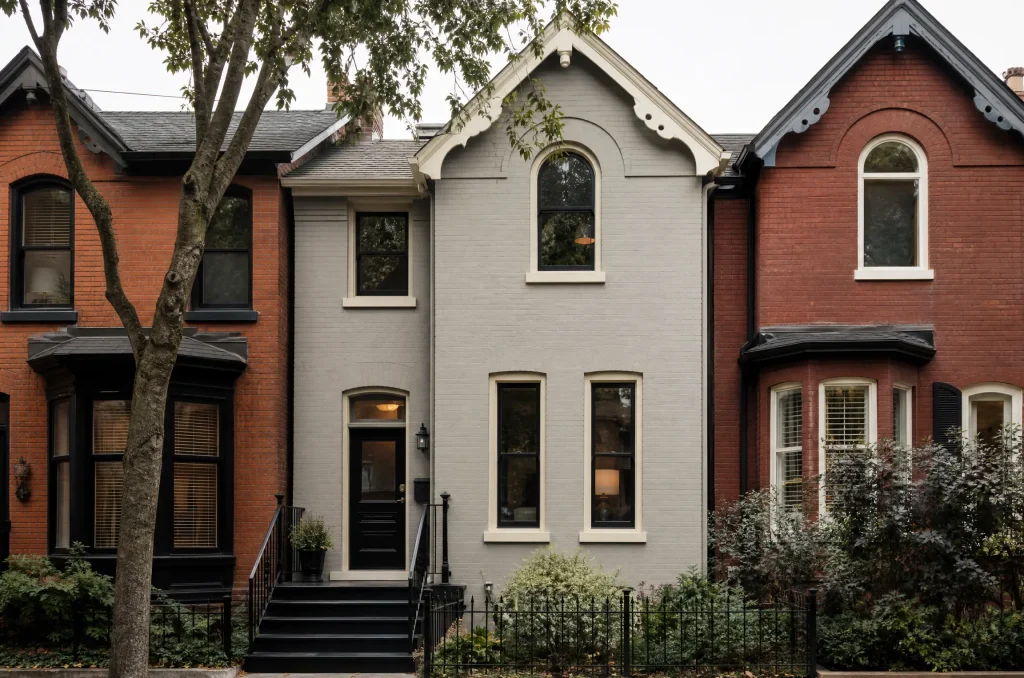

A semi from the interwar years
Pape Village sits among East York’s older streets, where much of the housing went up between the 1920s and the 1940s, a good share of it as pairs of brick semis. This house is one half of a brick semi, with a front living room, a narrow dining room in the middle of the house and a kitchen at the back. The dining room’s long wall is the party wall shared with the neighbouring half, finished in plaster applied directly over the brick, as many semis of that period were.
Somebody, at some point, had papered that wall, and later owners had painted over the paper rather than strip it, more than once by the look of the edges. The current owners noticed that the seams of the old paper had started to lift under the paint, showing as faint raised lines from floor to ceiling, and a bubble had formed near the sideboard. They wanted the old paper gone and a new paper on that wall: a deep navy with a fine gold geometric line pattern, to sit behind their wood sideboard.
Paper sealed under paint
Painted-over wallpaper is one of the slower removals. Paint is designed to keep water out, so paper sealed under paint sheds the very moisture you need to soften the paste underneath. We checked the edges where the seams had lifted and found thin paper pasted straight onto the plaster, with latex built up on top of it.
Because the room stayed in daily use and opens to the kitchen, we kept dust and mess down from the first cut: surfaces misted before any scraping, plastic underfoot and a HEPA vacuum for cleanup.
What we had to be careful of
- Plaster over brick does not flex like plaster on lath, and it can be soft where moisture from the masonry has reached it over the years.
- Steam on a solid party wall can drive moisture into the plaster and the brick behind it, which then takes a long time to dry.
- The dining room is small, with a built-in cabinet in one corner and a radiator under the window, which left a tight working space with plenty in it to guard.
Protecting a small dining room
The table and chairs went to the living room. The sideboard was moved to the centre and wrapped. We covered the wood floor with plastic along the party wall and absorbent drop cloths over it, and wrapped the radiator in plastic. The built-in cabinet’s glass doors were taped shut and covered. Outlets on the party wall were switched off at the panel and their covers removed.
Getting the painted paper off
- Light scoring. We ran a serrated scoring tool over the painted surface with gentle pressure. The tool perforates the paint and paper so remover can reach the paste, and set lightly it does not cut into the plaster.
- Gel remover. Rather than steam, we used a gel wallpaper remover spread on with wide plastic spreaders. A gel clings to a vertical wall and keeps working without soaking into the masonry the way repeated sprays or steam would. Each section was covered and left until the paint began to wrinkle and the paper softened.
- Lifting. The paint and paper came away together in sheets under a flexible scraper held flat. Stubborn spots got a second coat of gel rather than more force.
- Washing. Every trace of paste and gel was washed off with warm water and a sponge mop, the wall was rinsed, and it was left to dry fully with the room warm and a window cracked open.
Repairing the plaster
With the wall bare, we could see its condition. It was sound for most of its length, with a few hairline cracks near the ceiling and a cluster of old picture hook holes. Near the floor at the front end of the room, a palm-sized patch was soft and powdery. We scraped that area back to firm plaster, brushed it clean and rebuilt it with setting compound in layers. The cracks were opened slightly, filled and sanded, and the hook holes were filled flush.
Since the new paper would be dark with fine metallic lines, the wall had to be smooth. The whole party wall got a thin skim coat of lightweight compound, sanded with a fine sponge and checked with a low-angle work light.
Two primers on the papered wall
First, the party wall was sealed with an alkyd primer-sealer. Old plaster over brick can draw moisture and salts toward its surface, and an alkyd sealer resists that better than a water-based primer and binds any remaining paste residue. Once it was dry, a coat of acrylic wallcovering primer went over it. That second coat gives the paste even grip and the paper a little slip during hanging, and it means whoever takes this paper down later will not face a repeat of this job.
Hanging a dark paper with gold lines
Setting out from the sideboard
The sideboard sits in the middle of the party wall, so we centred the pattern on it. A laser set the plumb line at the centre, and the first drop was hung on that line, with drops worked out to each end of the room.
Paste, fold and rest
This was a paste-the-paper type with a heavy base. Each length was cut with spare at both ends, pasted evenly to the edges, folded paste to paste and booked for the time the manufacturer gives, then hung.
Protecting the gold
Metallic inks scuff and smear easily. We smoothed each drop with a felt-edged smoother rather than a plastic one, pressed seams with a roller wrapped in a soft cloth, and kept every bit of paste off the face. Any paste that did reach the face was lifted at once with clean water and a soft sponge, rinsed often, and blotted dry, never rubbed.
Ends of the wall
At the front and back corners, the last drops were cut to width along a straightedge so the pattern met each corner cleanly. Trimming at the ceiling and baseboard was done with a broad knife and a new blade for each cut.
Painting the rest of the room
The remaining walls, plaster with a few cracks of their own, were filled, sanded and primed where repaired, then painted in two coats of matte. Matte suits old plaster because it does not highlight waves in the surface. The ceiling had two coats of flat white. Both were brushed at the edges and rolled, with the second coat only after the first had passed its recoat time.
The owners wanted the trim to tie into the paper. The window casing, door casing, baseboards, the radiator cover and the frame and doors of the built-in corner cabinet, its glass masked, were washed, scuffed until the old shine was gone, spot primed, and painted in two coats of a deep navy satin matched to the paper’s background. We kept to zero‑VOC products in this room, because it opens straight onto the living room and kitchen.
Colour choices around the navy
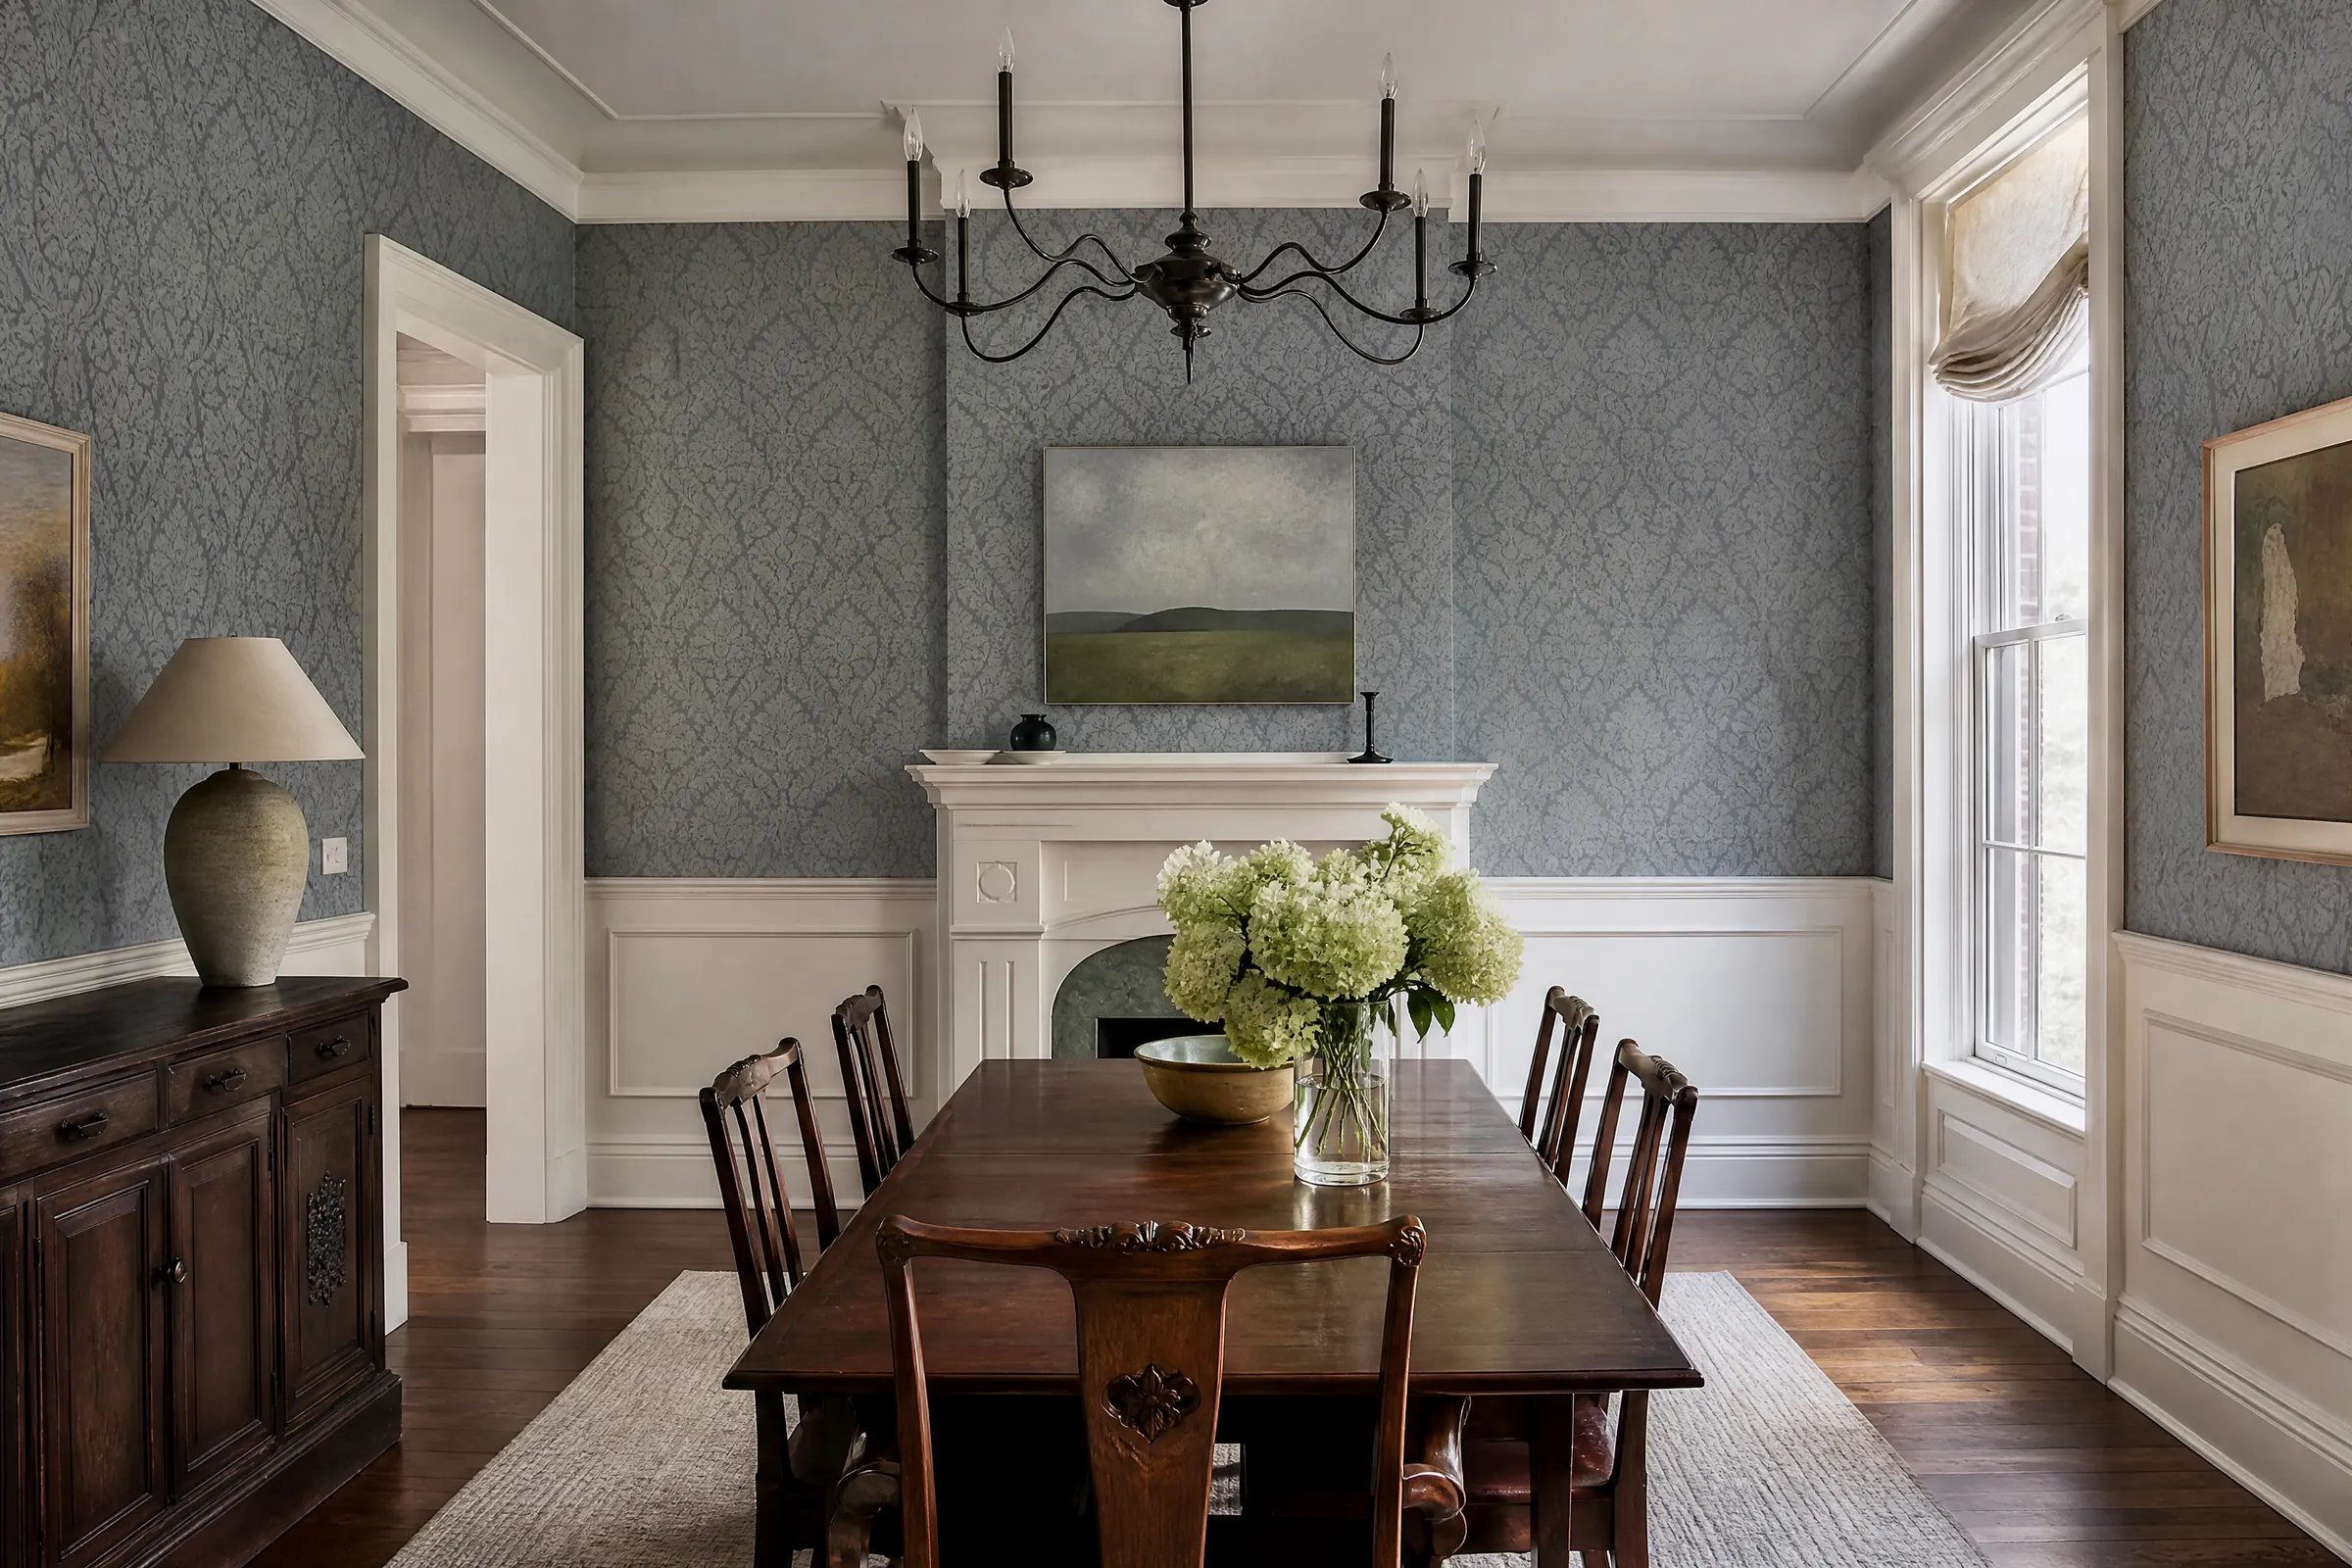
At the colour consultation we put up a sample of the paper and painted sample pots on the opposite wall. With light coming from one end of the room only, it changes a lot between a bright morning and a grey evening. The owners chose a pale, soft blue-grey for the painted walls, which keeps the small room light and makes the navy paper look deliberate rather than heavy. Navy trim pulls the paper’s colour around the room, and the white ceiling keeps it from closing in.
A clean house at the end of each day
Wet sheets of painted paper were bagged as they came down. Each evening the floor was dried and swept, the drop cloths were checked and the dining room left clear enough to walk through.
The dining room now has a deep navy wall with fine gold lines catching the light behind the sideboard, flanked by soft blue-grey plaster walls and dark navy trim around the window, the door and the corner cabinet.
Care tips
- Dust the paper with a soft, dry cloth. Avoid water on the gold lines except for a light blot when needed.
- Leave a small gap between the sideboard and the paper so it does not rub when drawers are opened.
- If a seam lifts, press it back with a little seam adhesive on a fine brush, and blot any excess straight away.
- Offcuts, a spare roll, and labelled cans of the wall blue-grey and trim navy were left in the basement.
Why this method suits East York semis
Semis and bungalows in East York from the 1920s to the 1940s often have plaster applied straight to brick on their party walls and layers of earlier decorating on top. Removing painted paper gently, with gel rather than steam, protects that plaster, and a sealer-plus-primer base gives new paper a stable, dry wall. Our wallpaper removal and installation jobs in older homes follow that order, and we bring the same care to houses everywhere we work as painters across Toronto, as we have since 2010.
If an old paper is showing through the paint in your home, ask us to come and look; we will test a corner, check the plaster and send an itemized written quote.