
A Kingsway brick house with a mismatched side
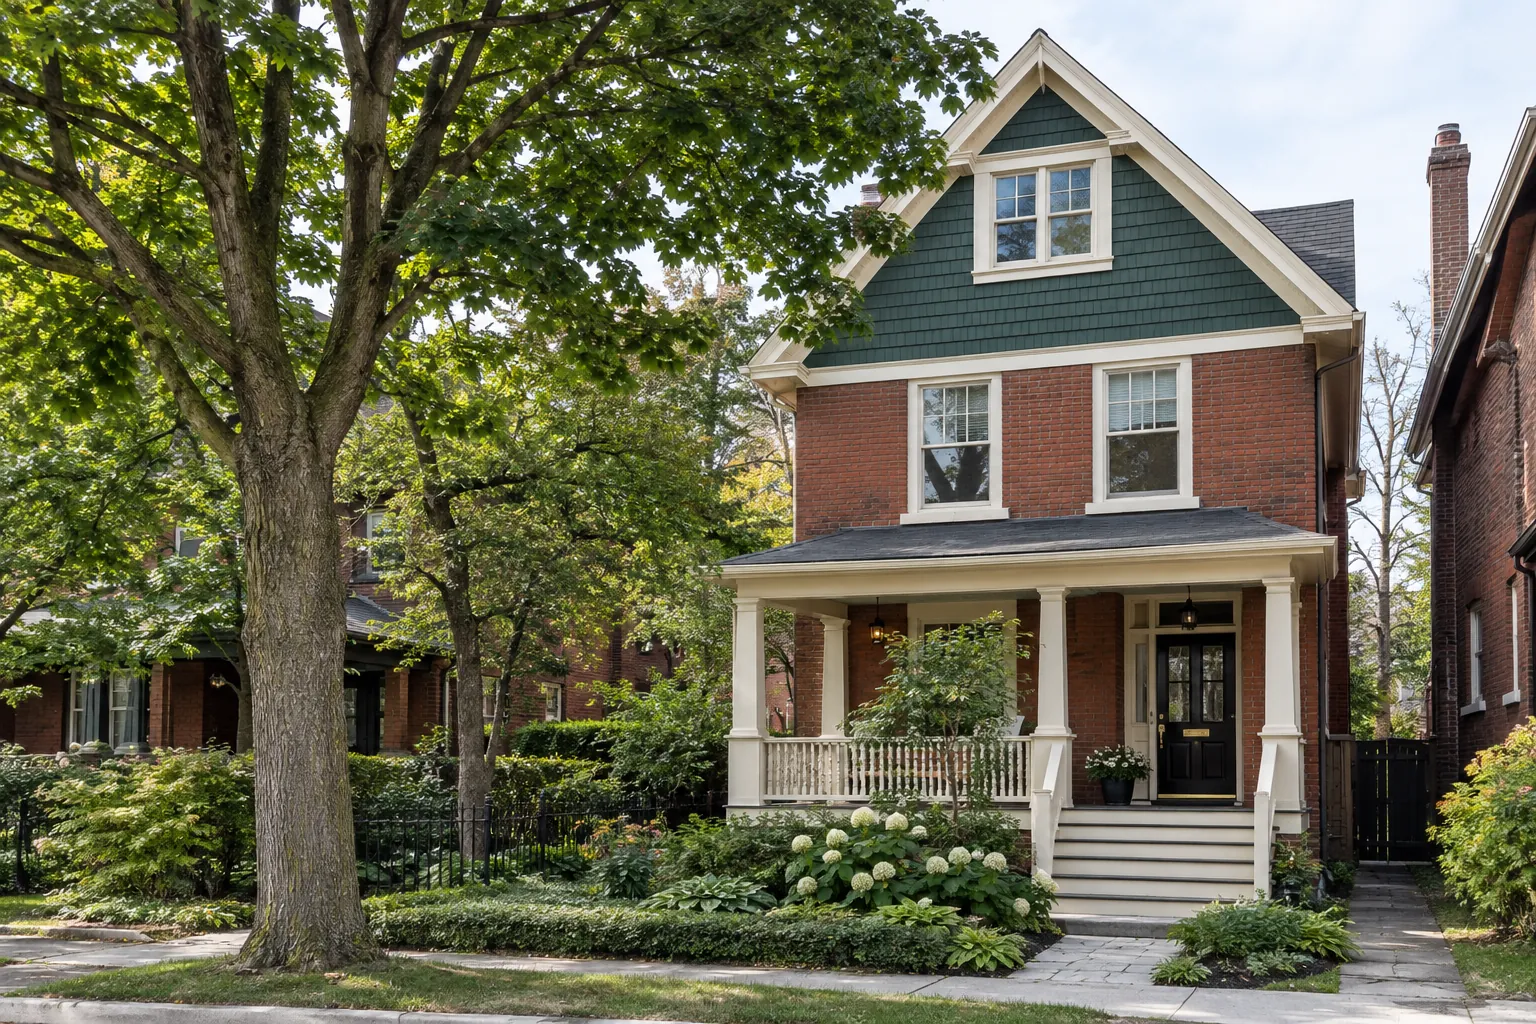
Much of The Kingsway was built in brick between the 1930s and the 1950s, and on many streets the brick has never been painted. This house is one of them: a two-storey in a warm, mottled brown brick with light mortar joints. Years before the current owners bought it, a one-storey side addition had been built, and a window on the front had been bricked in when the interior layout changed.
The new brick never matched. It was smoother, lighter and distinctly orange, and the mortar between it was a hard, cool grey cement rather than the warm, pale joints of the original walls. From the street, the addition looked bolted on, and the filled window showed as a bright rectangle in the middle of the front wall.
Why not just paint it?
Painting the whole house one colour would have hidden the mismatch, and we discussed that option. But the owners liked their original brick and the street is full of unpainted brick houses. Once brick is painted, there is no simple way back. We suggested a different approach: a breathable masonry stain on the mismatched brick only, tinted to match the original. A masonry stain soaks into the brick instead of forming a film on top, so the texture stays, the brick can still release moisture, and the surface looks like brick rather than paint.
The real challenge: brick is not one colour
Up close, the original brick is not a single brown. Some bricks are dark chocolate, some reddish, some almost tan, with dark flecks scattered through them. Staining all the new brick in one flat brown would have swapped an orange patch for a uniform brown patch that looked just as wrong. The work had to recreate the variation, brick by brick, on the addition walls and the filled window.
Preparing the brick
- Looking from a distance. We started by photographing and studying the original walls from the sidewalk and from across the street, since that is how most people see the house. We noted roughly the balance of dark, mid and light bricks, and how the light ones were scattered.
- Cleaning. The addition walls and the filled window were washed with a masonry cleaner and soft brushes, and a little efflorescence near the ground was brushed off dry first. Stain only penetrates clean brick; dirt or salts would show as blotches.
- Drying. The brick was left to dry out completely in fair weather before any stain went on, so it would absorb evenly.
- Masking. Windows, the flagstone walk, the downspouts and the eavestrough ends were masked, and drop sheets lined the base of the walls. Tape was run along the edge of the original brick where the addition joins the house, so the original would not pick up stain.
Mixing and testing the stain
The owners had a few spare bricks left over from the addition in their garage, which made ideal test pieces. We mixed penetrating masonry stain in a dark brown, a mid red-brown and a lighter tan-brown. Each was tested on the spare bricks, which were allowed to dry fully before judging, since masonry stain looks quite different wet and dry.
The first versions were too red. We adjusted the tints, retested and then moved to a small patch on the back of the addition, where adjustments would not show from the street. The owners then compared that patch with the original brick, as part of the free colour consultation, once in cool morning light and again in the warmer evening light, and we tweaked the light tone once more to take out a hint of pink that showed only in the evening. The mixes were measured and recorded on labelled jars so every batch would come out the same.
Staining brick by brick
First coat
Each brick face was stained individually, using brushes and small foam pads sized to the brick so the stain stayed on the face and off the joints. Following the mix we had noted on the original walls, we spread the dark, mid and light tones across the wall in an irregular pattern, checking from the street every so often to make sure no lines or clusters were forming. Brick-by-brick work is slow, but the eye catches any regular pattern immediately.
Second coat
Once the first coat had dried for the time the manufacturer specifies, the walls were checked again from a distance. The second coat deepened the colour and evened out bricks that had absorbed less the first time. Some bricks were deliberately given the second coat in a different tone than the first, which built the subtle mottling seen in the original. A few dark flecks were dabbed on with a fine brush where the original brick shows them.
The mortar joints
The cool grey cement joints were the last piece. With a narrow brush, each joint was coated with a mortar tint stain in a warm buff, mixed to match the pale lime-looking joints on the original walls. Two coats were applied, staying inside the joint and off the newly stained brick faces. Warming the joints made almost as much difference as staining the brick, since the cold grey grid had been one of the first things anyone noticed.
The transition
Where the addition meets the original wall, and around the filled window, we blended a few courses carefully, choosing tones bricks next to each other would plausibly have, so the eye would not stop at a seam.
A tidy site each day
Stain jars were sealed and stored together each evening, brushes cleaned, drop sheets folded, and masking checked so that wind overnight would not lift it. The flagstone walk was wiped down where any drips had landed, before they could soak in. On the last visit, the masking came off, the walk and windows were checked, and the spare bricks went back to the garage stained, for any future repair.
What the house looks like now
From the street, the addition and the filled window now read as part of the same brown brick house. The mottled range of dark, mid and light bricks continues across both, and the pale mortar joints run evenly from the old walls into the new. Up close, the brick still has its own texture, since the stain sits in the brick rather than on it.
Looking after stained brick
- Masonry stain wears slowly and does not peel the way paint can, but it can fade on walls with strong sun. Look at the south-facing side of the addition every few years.
- The stain tones and the mortar tint were left in labelled jars with the recipe written on each, so any repair brick or repointed joint can be matched.
- Wash the walls gently with water if needed. Avoid pressure washing and harsh acids, which can strip stain from the surface.
- If the walls ever need repointing, a light mortar will save tinting the new joints.
Why this suits Etobicoke’s older brick homes
Brick houses in The Kingsway and Islington Village often carry later additions, closed-in windows and replaced brick that never quite matched, and owners understandably hesitate to paint brick that is otherwise in fine condition. Staining the mismatched sections keeps the character of the street while fixing what bothers the eye. It is one of the options we talk through when someone asks about exterior brick painting, alongside full paint for brick that has already been painted. Our Etobicoke page describes the housing from Long Branch to Rexdale, and we work as house painters throughout Toronto. If part of your house has never matched, get in touch; the cleaning, testing, staining and mortar tinting will be listed separately on an itemized quote.