
A Bayview Village side-split and its short flights
Bayview Village is one of the North York neighbourhoods that filled with brick bungalows and side-splits in the years after the Second World War. This house is a classic side-split: the front door opens onto a middle level, a short flight goes up to the bedrooms, another short flight goes down to the family room, and a carpeted flight drops from there to the basement. The upper flights, the ones you see from the entry, were the ones in this job.
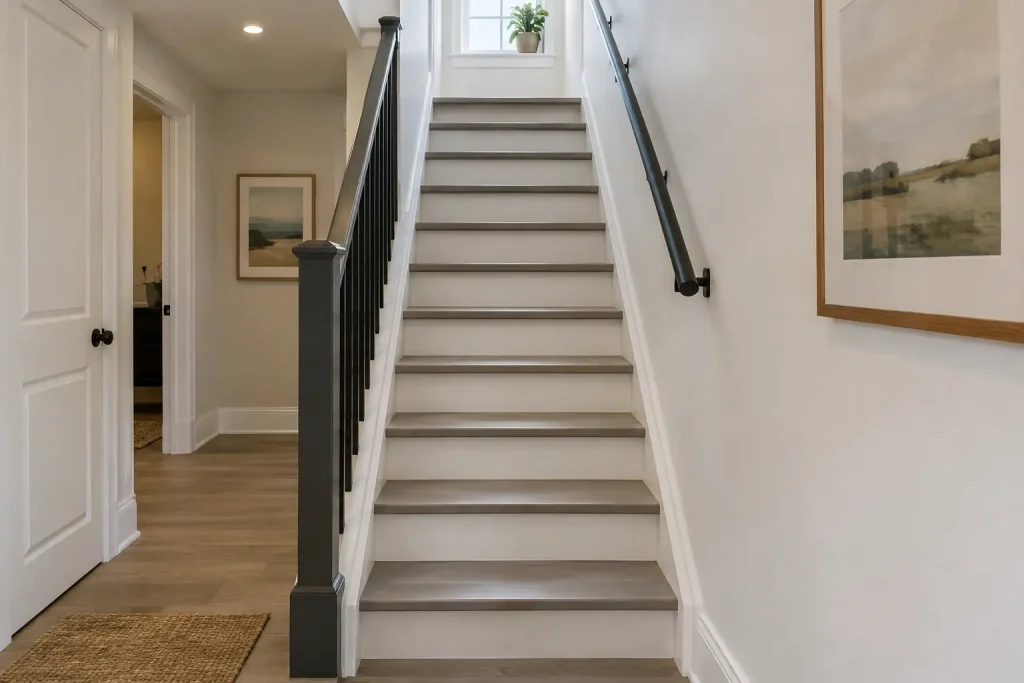
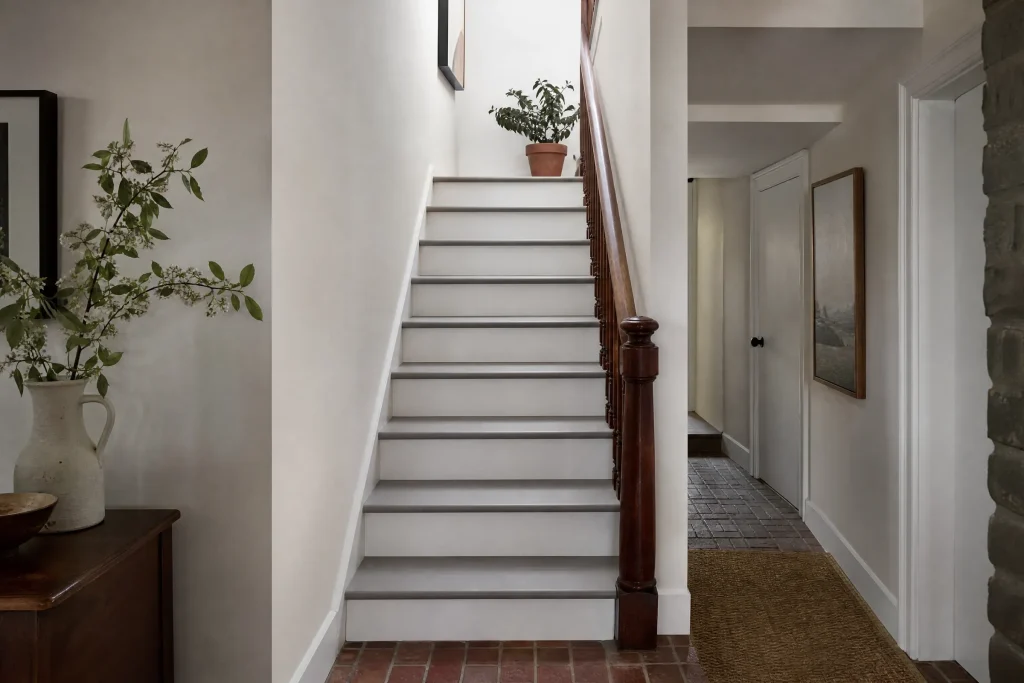
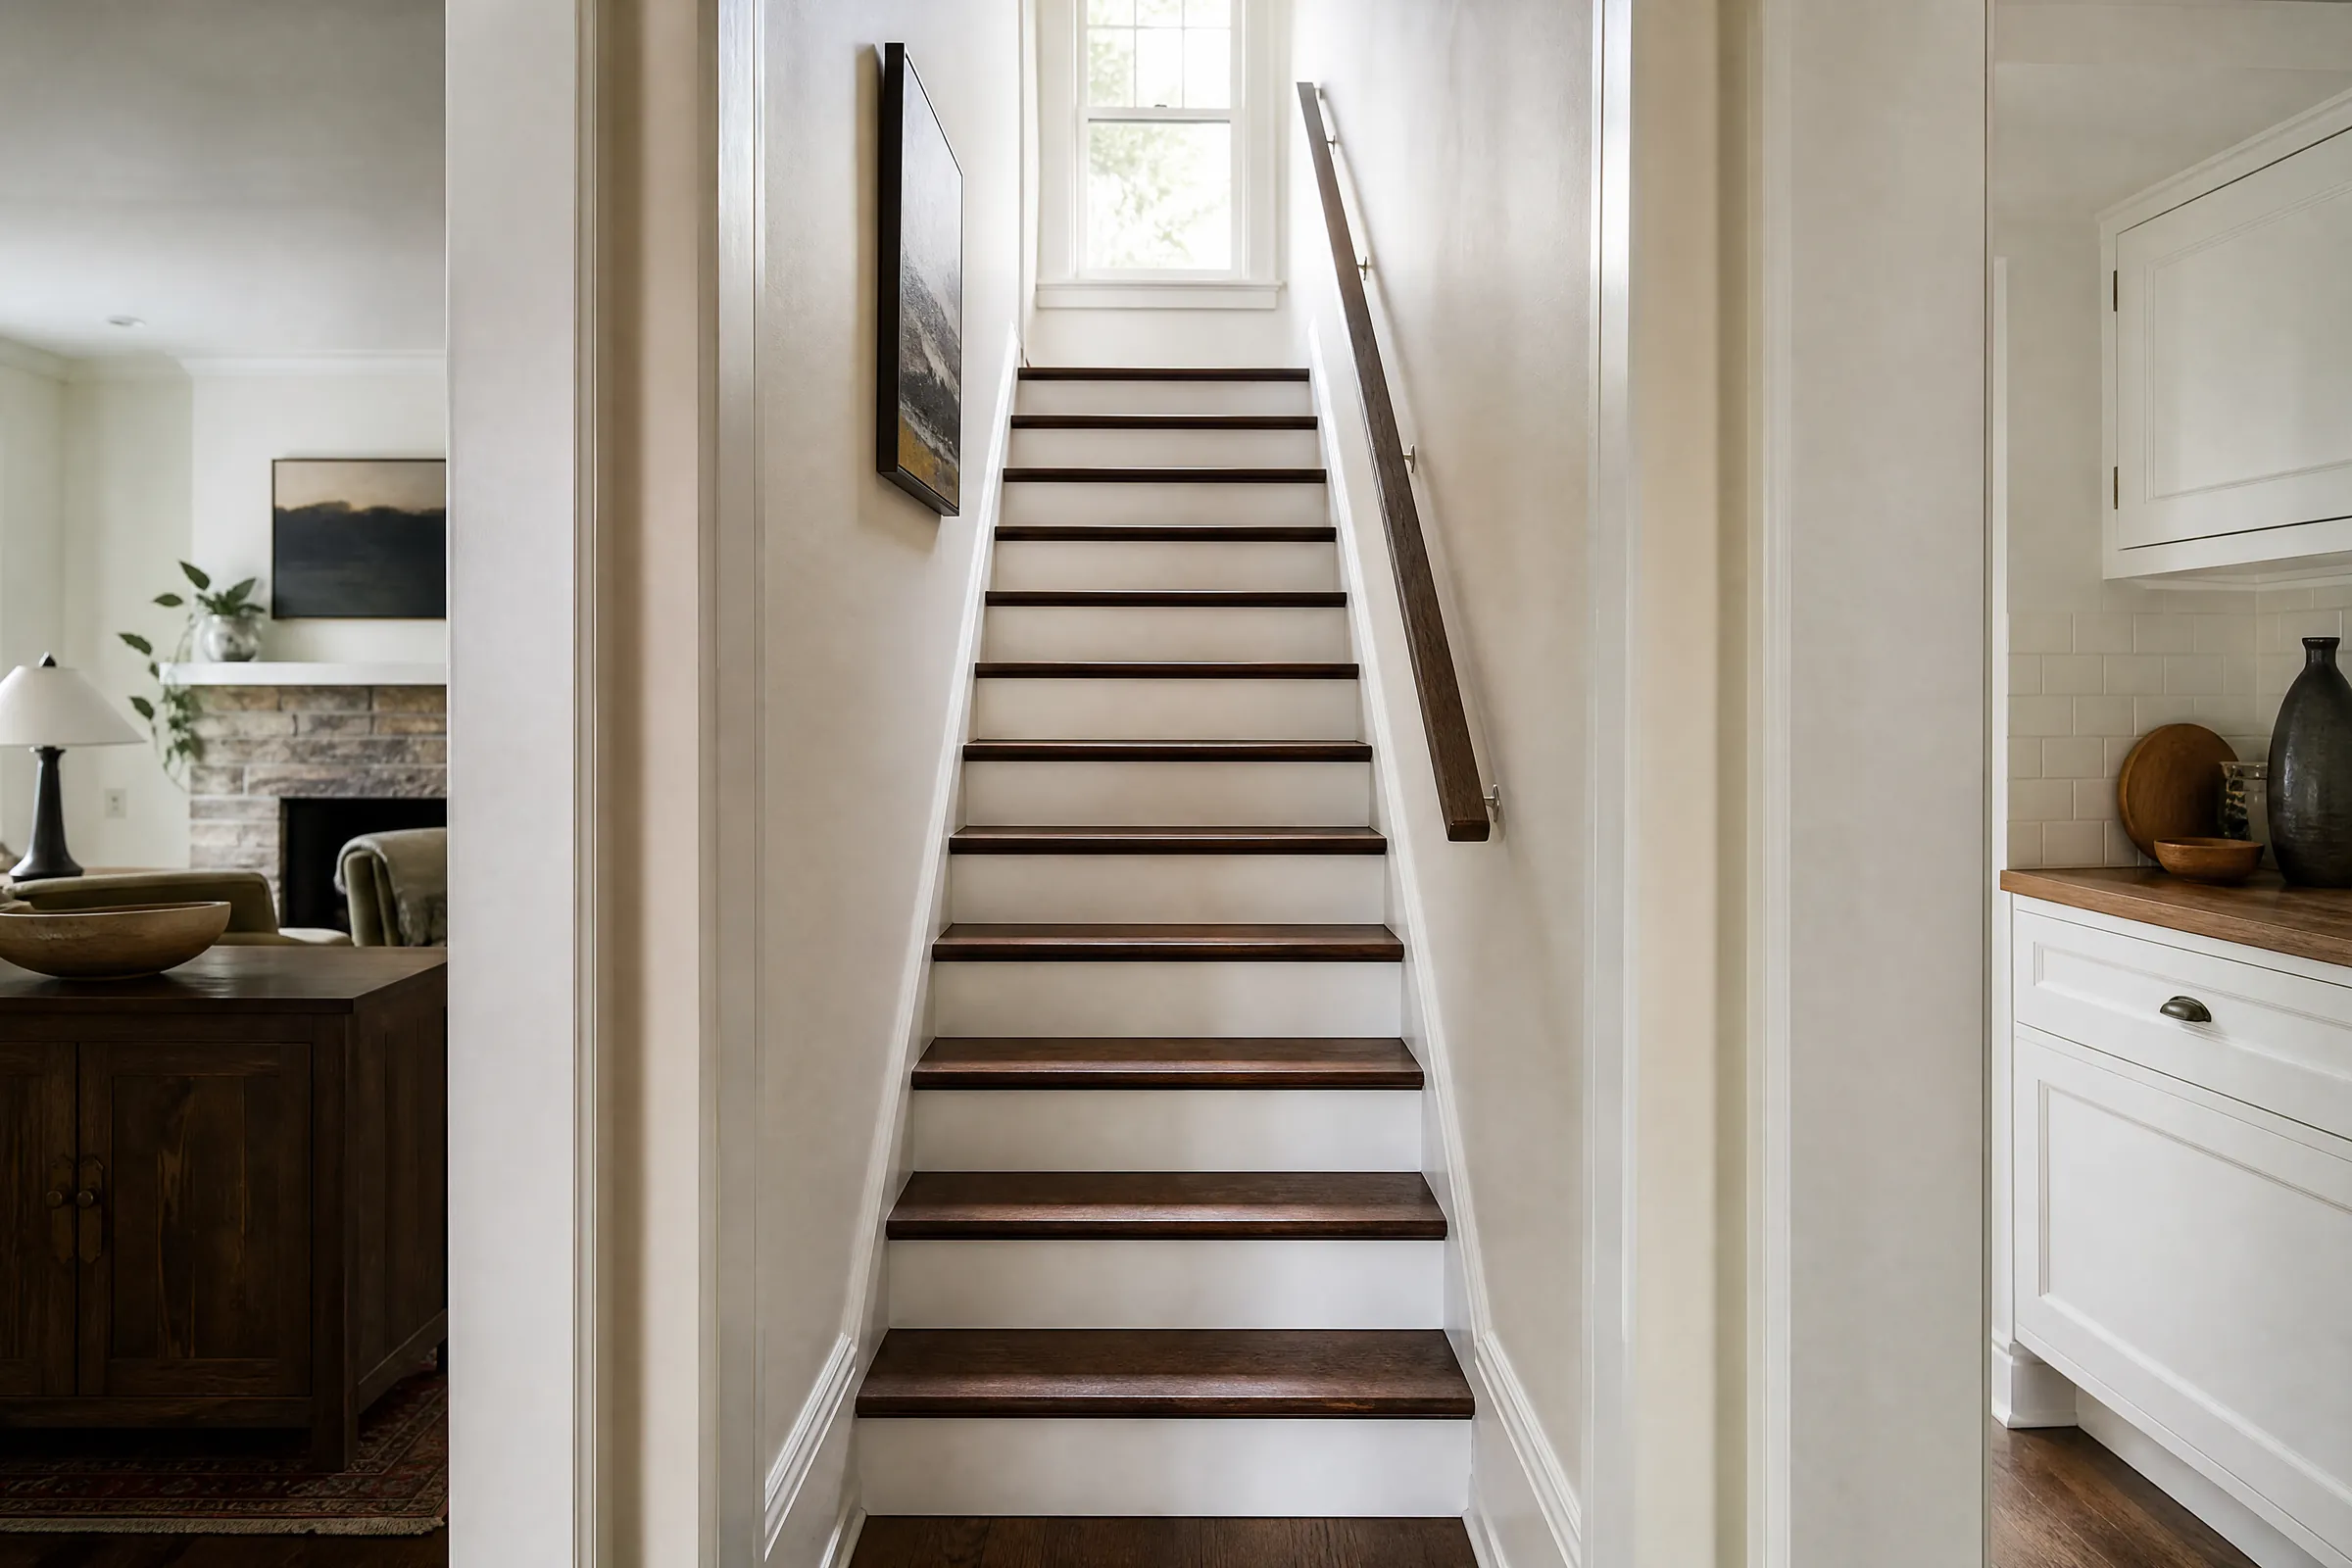
Each of those flights had oak treads, painted risers, an oak handrail on one side and an oak newel post and a row of painted wood spindles on the open side. At some point the oak treads had been coated in a dark brown floor paint, and the spindles and risers had been repainted white many times. The owners wanted the treads back to wood, stained a deep brown to match the original hardwood in the living room, and the spindles cleaned up and repainted white.
Paint on the treads, and older paint on the spindles
The brown paint on the treads had worn through to bare oak in the centre of each step and was chipping at the nosings, which is why the owners wanted it gone. Under it, the oak still had its original finish in places. The spindles carried thick, layered paint, chipped at the corners and with drips at the base. The handrail had a worn varnish, darker where hands hold it.
Where the spindles were chipped, the history showed in rings: white over pale blue, over green, over older white, each coat a little more brittle than the last. The brown floor paint on the treads was a much newer coating, laid over a clear finish. For the spindles the plan was different entirely: no dry sanding, no heat gun and no power tools on them, because brittle layered paint shatters into fine dust and flakes under a power sander. It also meant setting up proper containment between the levels of the house, since a side-split’s open stairs connect every floor and dust would otherwise drift up to the bedrooms.
Containment and preparation
Closing off the work area
We built plastic walls with zip doors at the top and bottom of each flight, so dust could not drift into the bedrooms, kitchen or family room. Floors outside the containment were covered with plastic under drop cloths. The owners and their children used the side door and the lower level while prep went on, and the household agreed to keep pets out of the area.
Spindles and risers: wet prep, no dust
- Loose and chipped paint was misted with water and scraped with carbide scrapers, which keeps dust down.
- Edges were feathered with wet-sanding sponges, rinsed often, rather than dry sandpaper.
- Paint chips and debris were gathered onto plastic and sealed in heavy bags.
- After every prep session, all surfaces were cleaned with a HEPA vacuum and wiped with disposable wet wipes.
- The sound paint left on the spindles was cleaned, then sealed in with a bonding primer.
Treads and nosings
The newer tread paint came off by the usual method. A semi-paste stripper was applied in sections and left to soften the paint, then scraped off with plastic scrapers and cleaned up with stripper wash. Once the oak was dry, the treads and nosings were sanded to bare wood, working up through the grits to 120. The containment stayed up during sanding as a precaution, with the HEPA vacuum on the sander.
Paint left in the grain
Stripping always leaves a little paint behind in the open pores of oak and in the corner where tread meets riser. We picked these out with a dental pick and a stiff brass brush dipped in stripper wash before sanding, and gave the rounded nosings extra hand-sanding, since paint sinks deepest into end grain there. Any tiny brown specks that stayed in the deepest pores were left, because the deep stain chosen for the treads would hide them, and chasing them further would have meant sanding the nosings out of shape.
The handrail
The oak handrail was stripped of its worn varnish with the same semi-paste stripper, then hand-sanded. It had never been painted, which made it straightforward.
Colour and coats on each part
Colour went onto the bare treads and the rail as an oil-based stain in a deep red-brown, wiped on and off with the grain one tread at a time, with a second application where the oak was paler. When the stain had dried completely, the treads took four thin coats of water-based polyurethane rated for floors, in satin, applied with a pad, with light sanding between coats once each had dried. Thin coats go on more evenly on short treads with tight inside corners, and four of them build a durable film. The rail got three thinner coats of the same clear, applied with a brush.
The spindles and risers took two coats of white satin acrylic enamel over the bonding primer, brushed and laid off from top to bottom. Once enamel goes over primer, the old layers are sealed in under three fresh coats. Before the enamel, treads were covered with paper so no white could land on the fresh stain.
Matching the stain to a 1950s floor
The living room’s original oak floor had darkened to a warm red-brown over the years, and the owners wanted the stair to read as part of the same house. During the free colour consultation, several oak sample boards were stained and set on the living room floor near the stairs, checking them in morning light from the front window and again in the evening. One was too dark, another too orange; a deep red-brown was the closest. For the spindles, a soft white matching the trim in the hall was chosen, in satin so it would not shine in the hall light.
Keeping a split-level house livable
In a side-split, the stairs are the hub of the house, so closing them meant planning. We worked on one flight at a time, so the family could always reach the bedrooms or the family room by a route through the other. Before leaving each evening, we checked the plastic walls, debris was bagged and removed, floors outside the plastic were vacuumed with the HEPA vacuum, and tools were packed away. Low-odour stain and water-based clear kept odour down for a family living in the house.
Care for the stairs from here
- Leave rugs and runners off until the floor clear has fully cured, as given on the can.
- Clean the treads with a damp microfibre mop; avoid oil soaps, which make recoating harder.
- If the spindle paint chips, do not sand it dry; clean the chip, spot-prime and touch up with the labelled white we left.
- When the treads start to look dull in the walking path, scuff and recoat with the same clear before the stain wears.
Why this approach suits North York homes
Many postwar bungalows and side-splits across North York have short flights of oak stairs, and many have been painted or carpeted over through the decades. Wet prep on old painted parts, containing dust between levels and stripping rather than sanding painted treads protect a family while still bringing the oak back. Planning one flight at a time keeps a split-level home usable. Those habits travel with us to older houses all over the city, wherever we work as painters across Toronto.
We have been bringing Toronto staircases back since 2010, and no painted part of one is left with fewer than two finish coats. More detail on this kind of job is on our staircase painting and staining page. If your side-split or bungalow has stairs that need attention, book a visit and we will look at every flight, measure and send an itemized written quote.