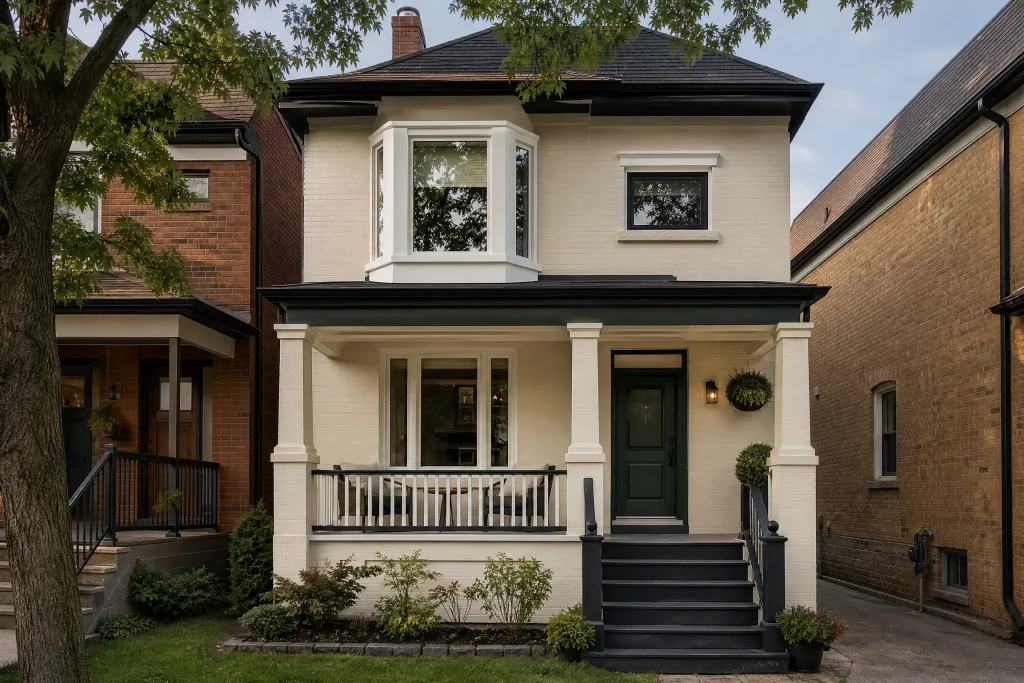

The house: a brick side-split from the postwar years
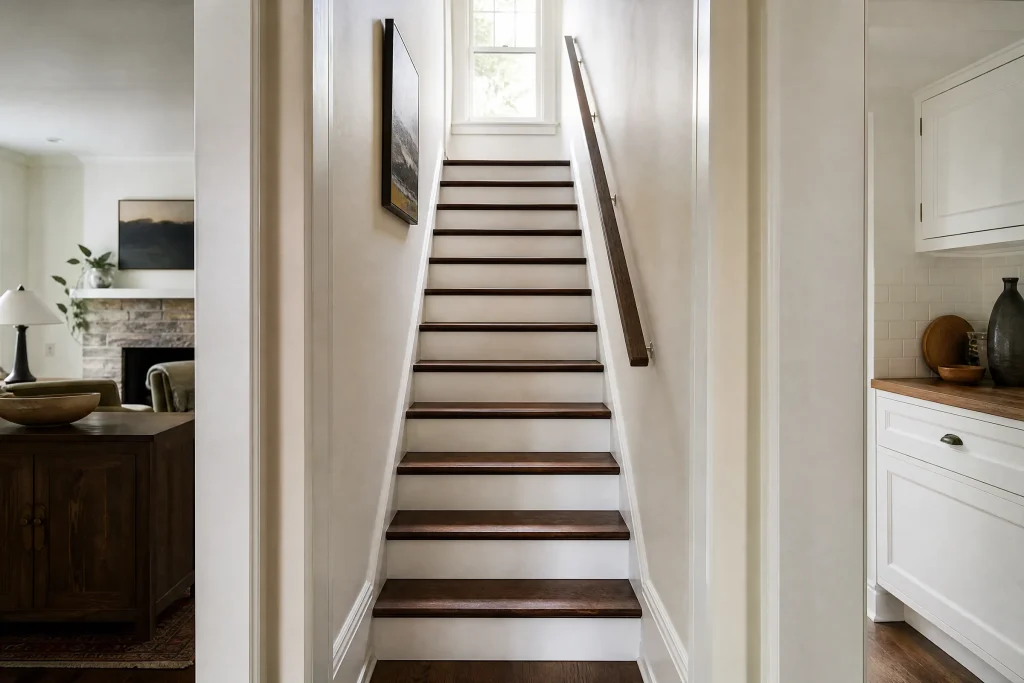
Downsview’s streets, much like those of Bayview Village and parts of Willowdale, were lined with brick bungalows and side-splits during North York’s postwar growth. This one follows the standard split-level arrangement. Step inside and you are on the kitchen, living and dining level; a half-flight climbs to the bedrooms and a bath; another half-flight drops to a walkout family room finished in drywall long after the original build. Short runs of stairs with wrought-iron railings connect the levels.
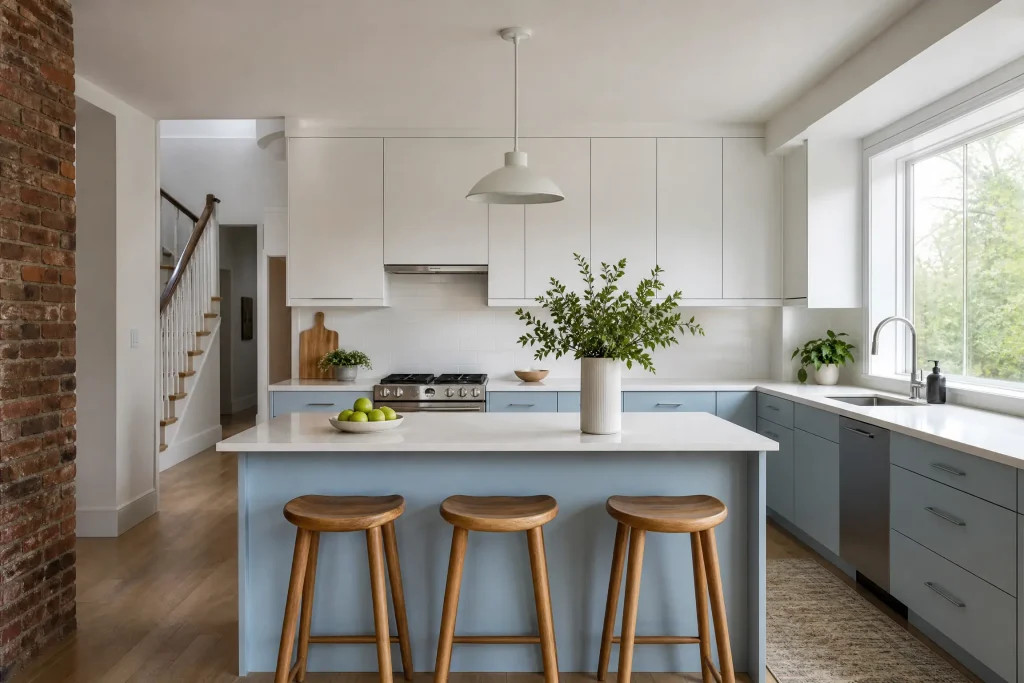
A previous renovation had opened the living and dining rooms into one long space with a red brick fireplace and wood mantel at one end and tall windows to the backyard. The owners wanted the whole interior repainted: walls and ceilings on every level, all trim and doors, and the iron railings.
Three kinds of surface under one roof
A side-split of this age is really three jobs in one house. The original main and upper levels are plaster, with the hairline cracks plaster develops over time, mostly running from the corners of doors and windows. The lower family room is drywall from a later finish, with taped seams and nail pops of its own. And the trim throughout is wood painted many times, the bottom layers almost certainly oil.
The house had its own particulars too. In an upstairs bedroom, wallpaper had been stripped and painted over without the paste being washed off, and the paint had cracked into a fine crazed pattern. The iron railings had small spots of rust at the base of the balusters, where floor cleaning water had sat, and the handrail caps on the lower flight still wore an old reddish-brown paint that was flaking off in strips. The walls were a mix of pale grey in the main rooms and older beiges upstairs.
Protection and prep, level by level
Protecting the house
- Hardwood on the main and upper levels and the lower-level floor were covered with taped protection, and the short stairs got non-slip tread covers.
- Furniture was pulled to the middle of each room and covered.
- Hardware, switch plates and vent covers came off and were labelled by level and room.
Keeping the dust down
Trim with this many layers is better dulled by hand than attacked with a power sander, which tears through soft old coats and fills the air with fine dust. So trim prep was hand scraping and wet sanding only, with plastic under the work and cleanup by HEPA vacuum and wet wiping each day. The railings were scraped and brushed over plastic in the same way.
Plaster repairs on the main and upper levels
Each plaster crack was opened with a utility knife into a shallow V so the filler would key in, dust was brushed out, and the cracks were filled with setting-type compound. Longer ones over doorways got a strip of fibreglass mesh first. Two or three thin coats were sanded flush, and the repairs were spot-primed.
The crazed bedroom
The cracked paint over the old paste was scraped off, the walls were washed with warm water to remove the remaining paste, and once dry they took a coat of oil-based primer. Water-based primer over even a trace of wallpaper paste can reactivate it and cause cracking again; oil primer seals it in.
Lower-level drywall
The family room’s popped nails were reset with screws and filled, a cracked seam at the stair was retaped, and scuffs and dents were filled and sanded. Patches took a drywall primer-sealer.
Trim
Every piece of trim was washed and wet-sanded until it lost its shine, then given an adhesion-promoting primer. Gaps where casings met plaster were caulked with paintable acrylic caulk.
The iron railings
Railings were wiped down, the flaking reddish-brown paint was scraped off the handrail caps and the edges feathered, rust spots were taken back to clean metal with a wire brush, and the cleaned spots and all bare edges were primed with a rust-inhibiting metal primer.
Painting each surface
Ceilings
Plaster and drywall ceilings throughout took two coats of flat white. Flat paint is kind to plaster ceilings, where small undulations would show under any sheen.
Walls
On the plaster levels, walls were edged with a sash brush, then a medium-nap roller laid on two coats of warm white eggshell, which fills slightly into the texture of hand-applied plaster. The lower family room took two coats of a muted blue-green, also in eggshell, in a low-VOC paint because the room has small windows and less air movement than the levels above.
Trim and doors
Trim and interior doors were brushed in two coats of white semi-gloss enamel, each coat applied after the earlier one had reached the recoat time on the can.
Doors and hardware
Interior doors were painted in place with the hinges masked, top rail first and working down, so drips could be caught before they ran onto the floor protection. Once dry, the hardware went back on in the same rooms it came from, and the doors were checked for closing against the fresh paint on the stops.
Railings
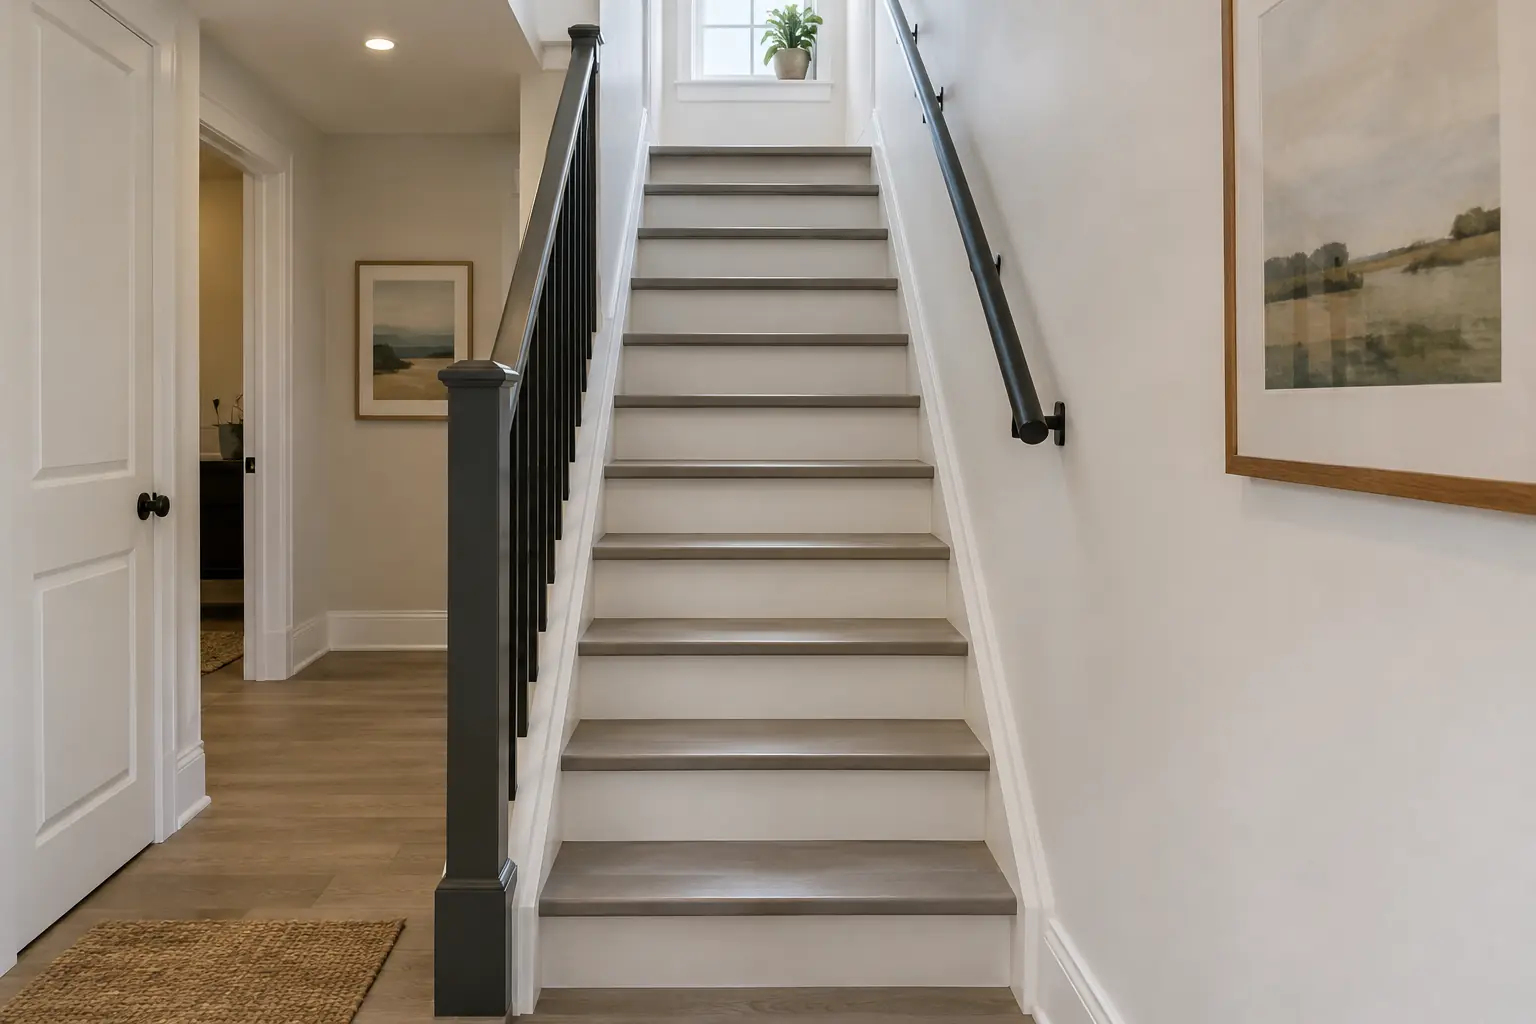
The wrought-iron railings were brushed in two coats of black satin metal enamel. A small brush was used on the scrolls and joints, and drips were caught from below as each section was finished.
A warm white above, a deeper shade below
The owners wanted the plaster levels to feel bright and consistent and the lower level to feel like its own room. For the free colour consultation, swatches from sample pots went onto the main-level walls, in the dining area near the fireplace and in the family room, and they looked at them through the morning and again in the evening. In the main rooms, a warm white with a soft undertone suited both the plaster and the long views through the tall windows; cooler whites looked grey against the snow outside. Downstairs, where the light is lower, a muted blue-green gave the family room a calm, enclosed feel, and the white trim connects it to the rest of the house.
The black railings now read as clean lines against warm white walls on every half-level, and the dining room around the fireplace looks bright and simple.
Daily clean-up
Because sanding dust travels between half-levels so easily, each day ended with HEPA vacuuming and damp wiping of the work area, plastic folded inward and bagged, and the house left tidy for the family. Paint and tools were kept on the lower level near the walkout so nothing had to be carried through finished rooms.
Upkeep for a side-split of this age
- Old plaster shifts a little between summer and winter, so hairlines can reopen near door frames. Fill them with a dab of compound and paint from the matching labelled can on the lower-level shelf.
- If trim gets damaged, wet-sand the spot gently rather than reaching for a power sander, which tears into the old layers, or call us for repairs.
- Keep the base of the iron railings dry when mopping. If rust spots appear, brush them clean and spot-prime before touching up with the black enamel.
- New eggshell stays soft for its first few weeks; after that a soft, damp cloth is all the walls need.
Why this approach suits North York homes
North York’s postwar bungalows and side-splits often combine original plaster, later drywall and much-painted trim, and each needs its own prep before a single colour can look even across them. Our house painting service plans for all three, and each surface ends with two finish coats or more. Toronto homes have been our daily work since 2010; more about the neighbourhoods we paint is on our North York page, and the wider range of jobs handled by our painters across Toronto starts from the main site. If your side-split or bungalow is due for a repaint, book an assessment and an itemized quote.