
A brick house of the old town
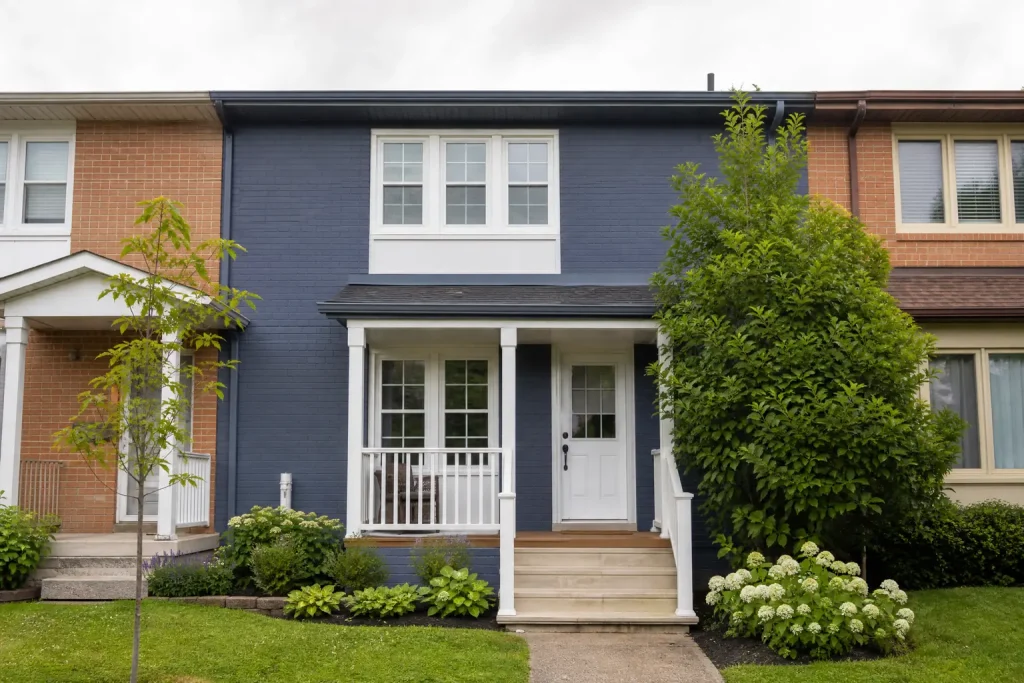
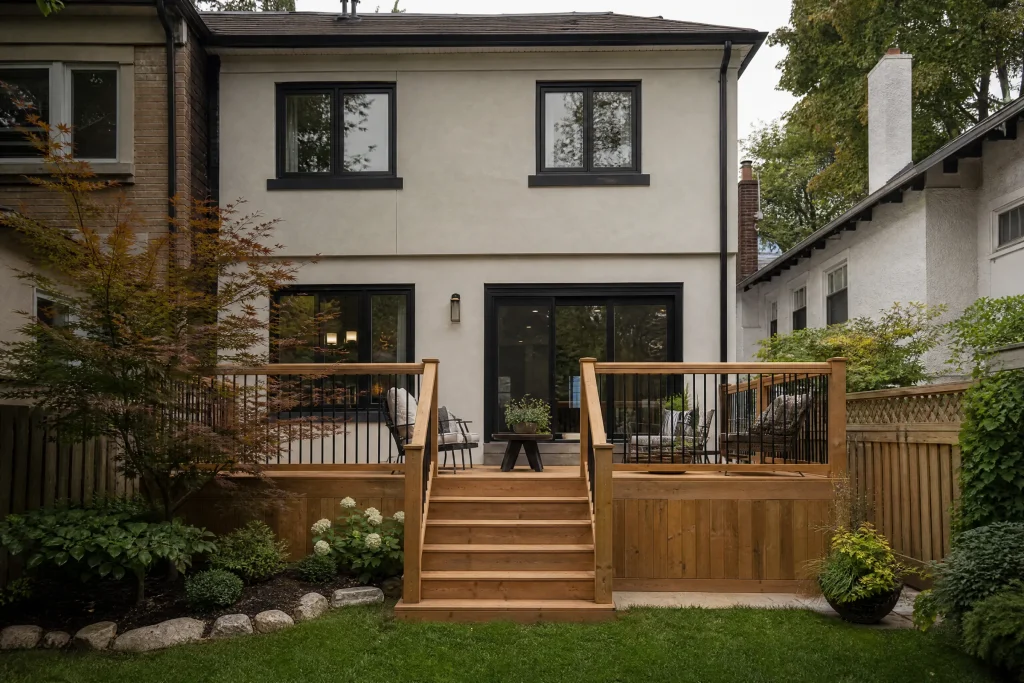
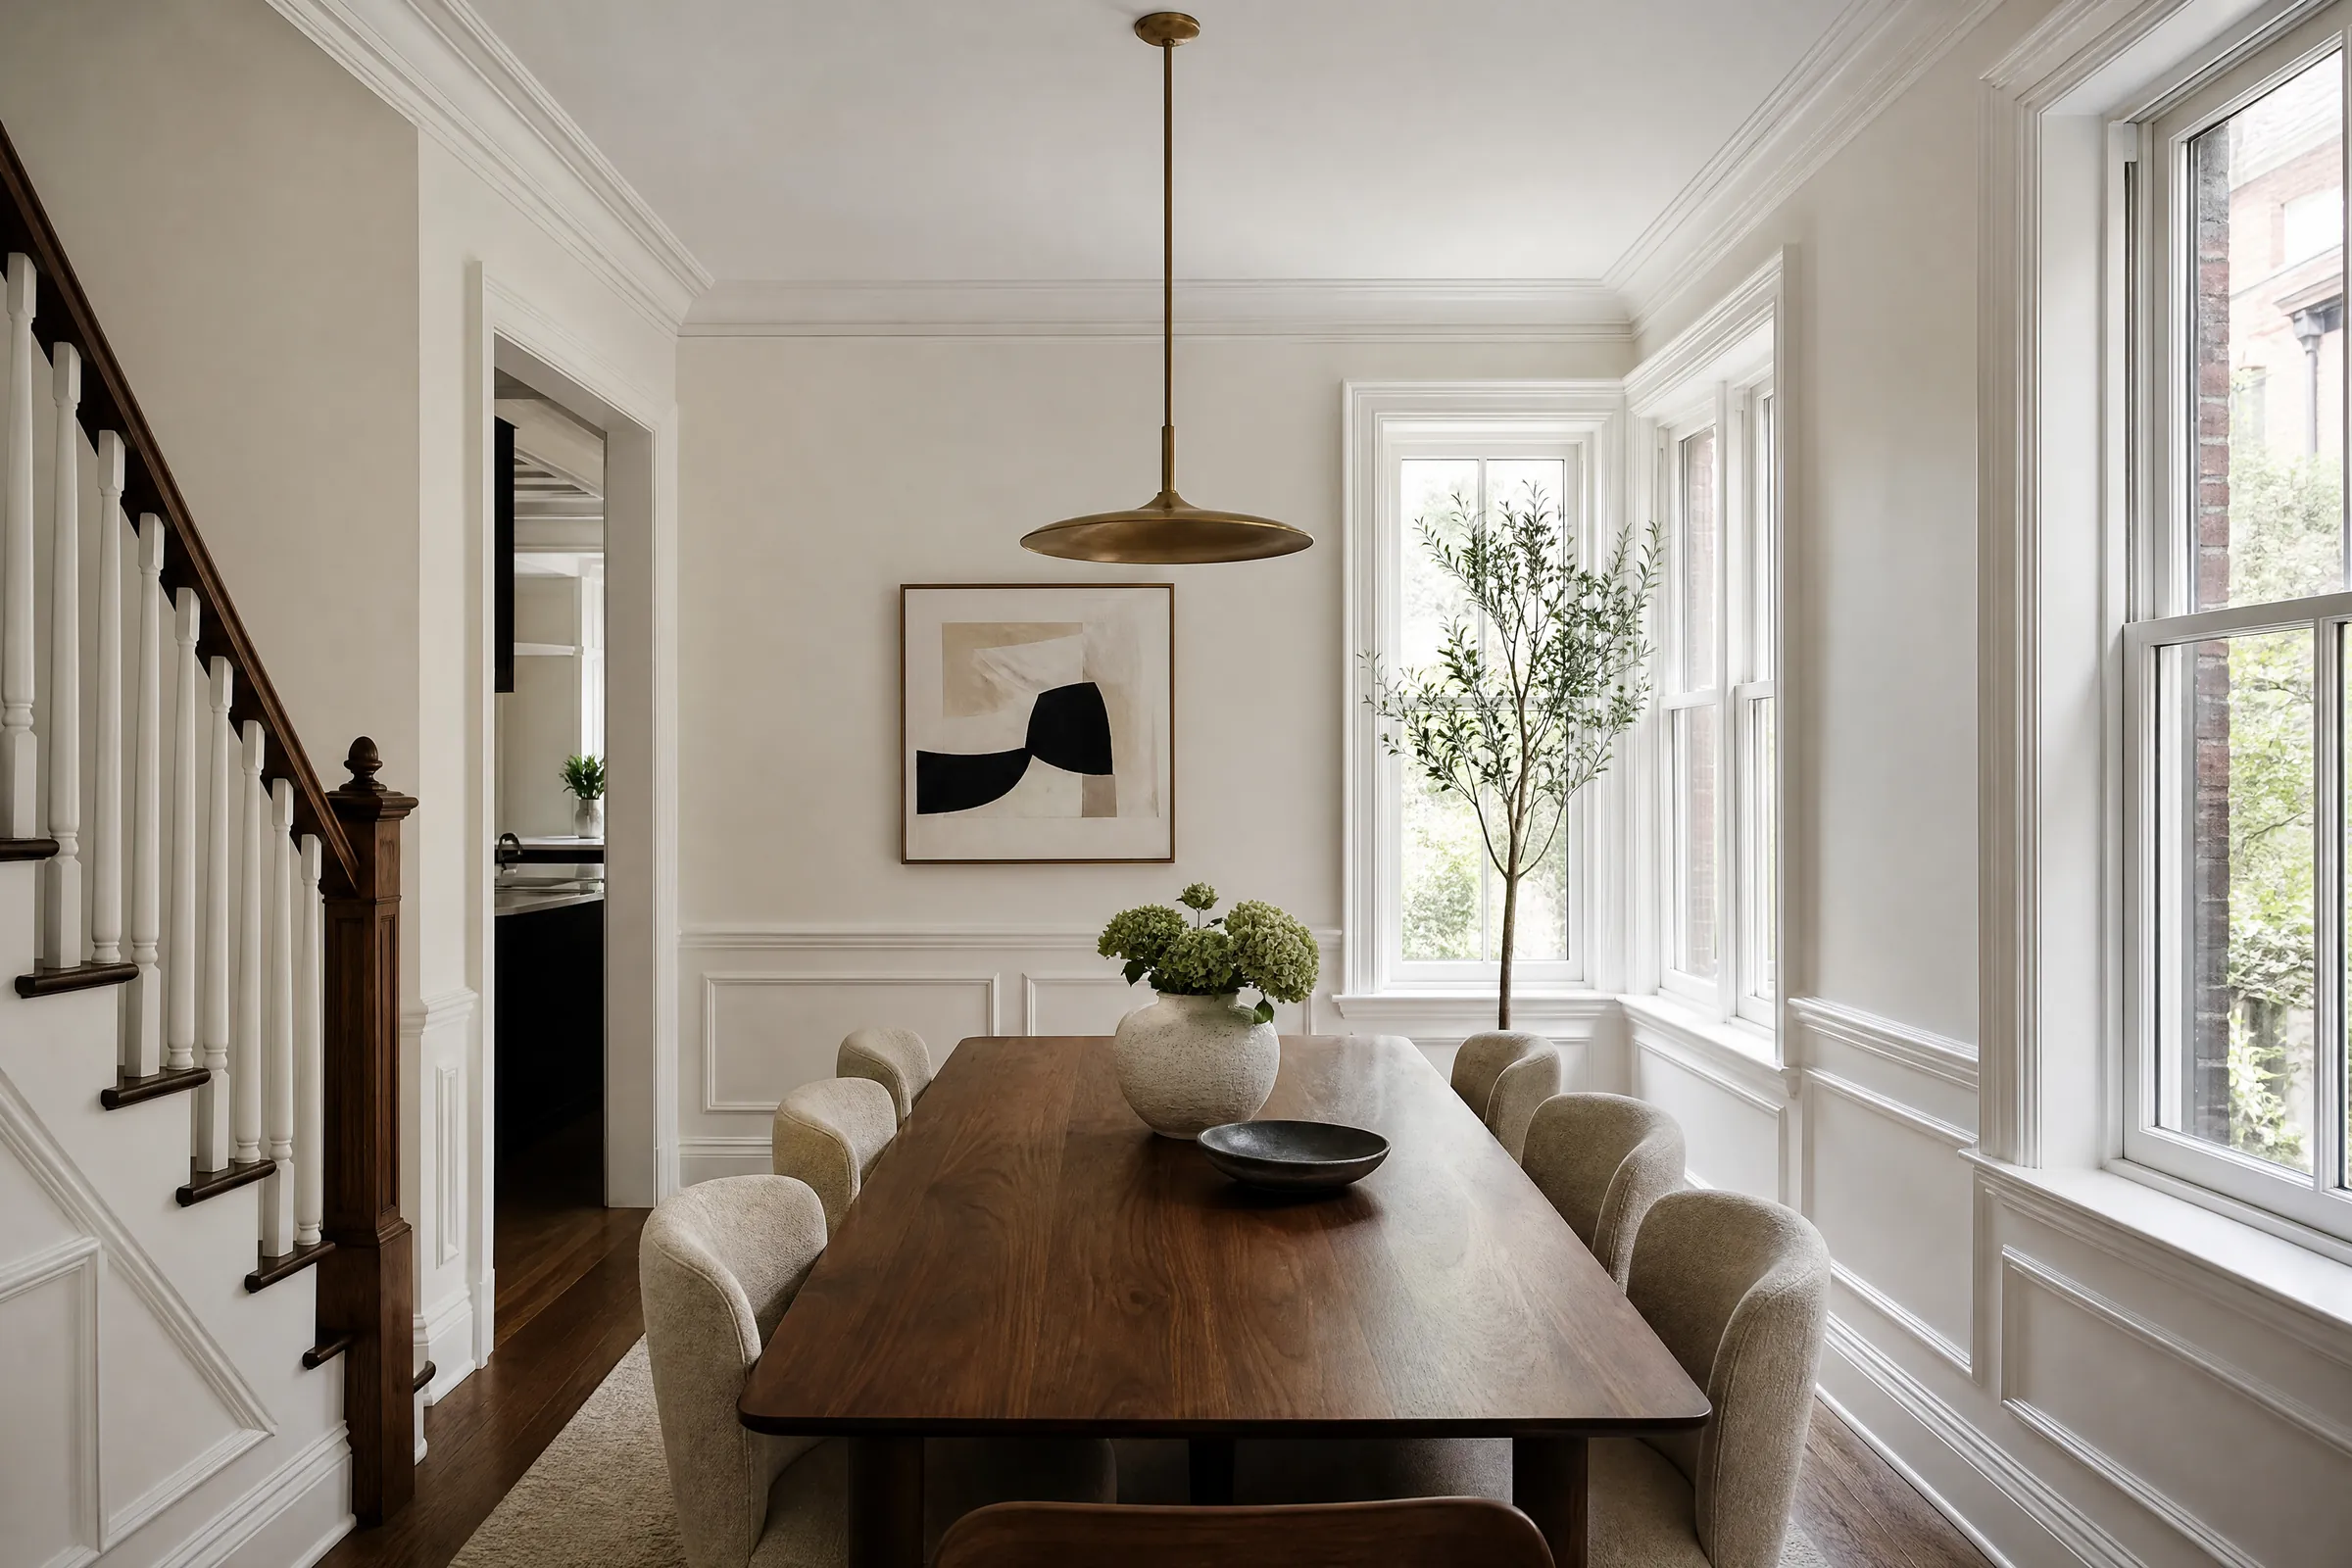
Bowmanville is the largest of the communities that make up Clarington, and its older streets still have a good share of heritage homes: brick walls outside, plaster and wood trim inside. This was one of them, a two-storey brick house with a front living room and a formal dining room joined by a wide cased opening. Ceilings are tall, the baseboards are deep and moulded, a picture rail runs around both rooms a short way below the ceiling, and the dining room has a plaster ceiling medallion over the light fixture.
A previous renovation had clad the living room’s fireplace wall in large marble-look panels, which the owners liked and were keeping. Everything else in the two rooms, walls, ceilings, picture rails, baseboards and window and door casings, was ours to paint.
What we found when we looked closely
Ceilings that were shedding paint
The most obvious problem was overhead. Both ceilings had paint curling away in flakes, worst around the dining room medallion and along one living room wall. A scrape at the edge of a flake showed a chalky white powder underneath, and a damp sponge on that powder lifted it straight off. That is the sign of calcimine, an old water-based ceiling coating used before modern latex paint. Calcimine never binds hard, so every coat of paint applied over it since has been holding onto powder, and the layers eventually let go.
Old paint on the trim
The trim carried many coats, the newest a cream gloss, with darker layers showing where edges had chipped. Taking all of that back to bare wood would have meant stripping every profile, which old moulded trim rarely needs. The plan instead was to keep the sound layers, remove only what was loose, and keep the dust down while doing it, and that set how each baseboard, casing and picture rail would be prepared.
Plaster and window stools
The walls themselves were in fair shape, with hairline cracks in a few places and small holes where pictures had once been hung directly on the wall instead of from the rail. The south-facing window stools, which take years of strong sun, had paint broken into a network of small cracks, the pattern painters call alligatoring.
Protecting the rooms and preparing every surface
- Containment. Furniture was removed to other rooms. The floors were covered with heavy plastic sheeting taped at the edges, with drop sheets over it, so paint dust and calcimine residue could be collected and bagged rather than tracked into the house. The doorways to the hall and kitchen were sealed with plastic.
- The marble-look wall. The edges of the porcelain panels were masked with low-tack tape and the panels covered with paper, so no scraping debris or primer could reach them.
- Ceilings. All loose and lifting paint was scraped off. The exposed calcimine was washed with warm water and sponges, rinsing often, until the surface no longer left powder on a fingertip. The medallion was cleaned gently with a soft brush so its detail was not lost. After drying, both ceilings were sealed with an oil-based primer-sealer made to bind chalky surfaces. The few low spots where flakes had come off were then skimmed with compound, sanded and spot-primed.
- Older painted trim. No dry sanding and no heat. Loose edges were scraped with the surface misted, then smoothed with wet sanding sponges. Debris was collected as we went, and the area was cleaned with a HEPA vacuum and wet wipes at the end of each stage. Sound old paint was left in place to be sealed under the new coats.
- Window stools. The alligatored paint was scraped back with the same wet methods to a firm edge, feathered, and primed with an oil-based primer, which bridges old cracked layers better than latex.
- Plaster cracks and holes. Cracks were opened, taped with paper tape in setting-type compound, and finished flush. Old picture holes were filled. All repairs were spot-primed.
- Caulking. Gaps where baseboards and casings met the plaster were filled with paintable acrylic caulk, leaving the picture rail’s top edge open so it would still hold hooks.
- Trim primer. All trim was wiped down and given a coat of bonding primer over the old gloss.
Painting each part of the two rooms
Ceilings and medallion
Two coats of flat ceiling paint in a softened white went on over the sealed ceilings, rolled across the width of each room. The medallion was painted by brush with a thinned first coat so the paint would not fill its detail, then a second full coat.
Walls
The plaster walls were cut in by brush along the picture rail, the baseboards, the casings and the edge of the marble-look panels, then rolled with a short-nap cover suited to smooth plaster. Two finish coats of washable matte, with the full recoat time between them. The narrow band between the picture rail and the ceiling was painted the wall colour, as the owners wanted the ceiling to read as a single plane.
Picture rail, baseboards and casings
Two coats of satin waterborne enamel were brushed on all trim, working one length at a time and finishing each run with a long light stroke so no brush marks or lap lines remained in the profiles.
The colour story
The marble-look panels set the palette. Their background is a creamy white, but the veining runs through grey, taupe and a faint gold. During the free colour consultation, a range of warm neutrals from sample pots went directly beside the panels and on the opposite wall, and the owners studied them in morning light and again in the evening. The greiges looked cold next to the gold veins. A beige looked yellow by lamplight. The one they chose is a warm mushroom neutral that picks up the taupe in the veining and holds steady from daylight into evening.
The dining room took the same colour lightened by a step, so the two rooms read as a pair through the wide opening without being identical. Trim and picture rails are a creamy white in satin, a gentle contrast that suits a heritage room better than a bright modern white. Zero‑VOC paint was used for the walls and ceilings, and low-odour products for the trim, since the owners were living upstairs during the work.
Today the living room has a quiet, warm look: soft matte walls in mushroom, cream trim tracing the baseboards and picture rail, a smooth white ceiling, and the marble-look wall set off cleanly against it.
Keeping the work contained
With old trim paint and calcimine both involved, tidiness was part of the plan from the first day. At the end of every day, debris was bagged and removed, the plastic floor covering was HEPA vacuumed and wet wiped, the doorway barriers were checked, and tools were cleaned outside the work area. When the job ended, the plastic was rolled inward on itself, bagged and taken away, and the floors were cleaned again before the furniture returned.
Advice for the owners
- Disturbing old layers. The older layers are now sealed under sound paint. If trim is ever stripped, cut or sanded in future, keep the dust down with plastic sheeting and a vacuum, and sand the old profiles by hand.
- Ceilings. Watch the area around the dining room medallion. If any paint ever starts to lift, have it looked at before simply painting over it.
- Cleaning. The matte walls can be wiped with a damp sponge; avoid scrubbing hard on one spot.
- Touch-ups. Labelled cans of the living room colour, the lighter dining room shade, the trim cream and the ceiling white are on a basement shelf.
- Hanging art. Use the picture rail with hooks and wire wherever possible, and the plaster stays free of new holes.
Why this approach fits Clarington’s heritage homes
Clarington is several communities in one: Courtice and the newer edges of Bowmanville have recent subdivisions, while Bowmanville, Newcastle and Orono keep heritage homes with brick walls and wood trim, and farm properties lie between them. Inside those older houses, the surfaces are plaster, layered trim and sometimes ceilings with coatings that predate modern paint. They need careful containment and primers chosen for what is really underneath, more than they need a quick fresh coat. Our Clarington painting page covers the range of homes we work on there.
Since 2010 our painters have worked in Toronto and GTA homes of every age, among them heritage houses throughout Durham Region. For any interior painting job in an older house, we check what is under the paint first, prepare by surface, and finish with at least two coats, with every step listed in an itemized written quote. If you have peeling ceilings or old trim in a heritage home, reach out to arrange a free assessment.