
An old Glen Williams house and its built-in kitchen
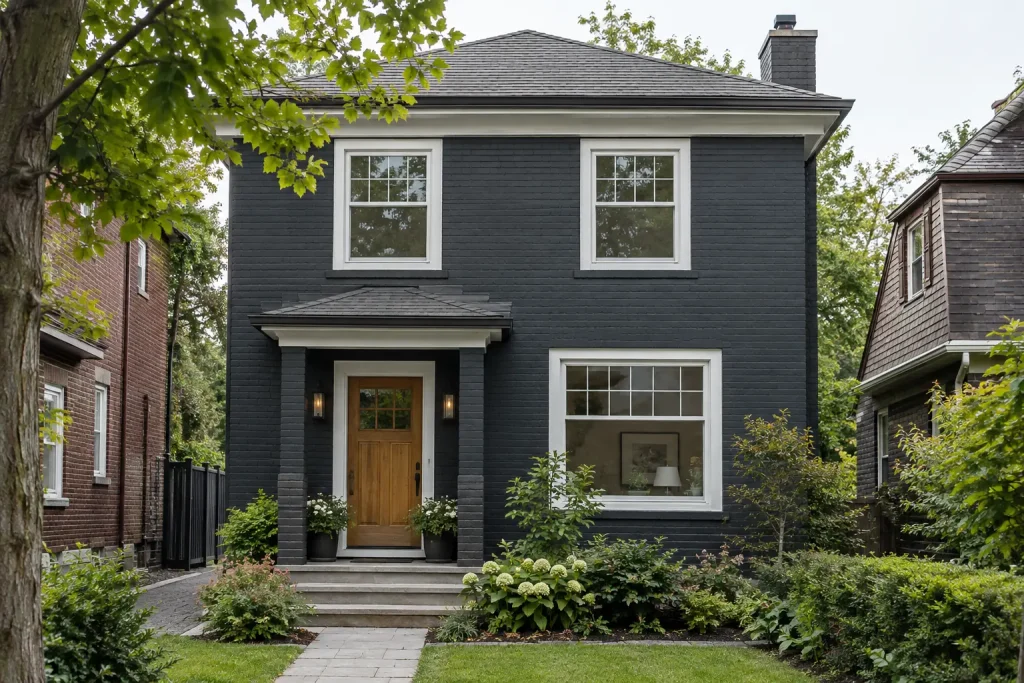
Glen Williams is the village along the Credit River in Halton Hills, and it is known for heritage homes with detailed trim. This was one of them, a frame house with a deep front porch and tall windows, and a kitchen at the back that looks out over the garden through a big window above the table. Unlike most kitchens we paint, the cabinets were not factory-made. They were site-built, fitted into the room long ago: solid softwood face frames and doors, probably pine or fir under the paint, with glass-front doors on the uppers and panelled doors below.
The cabinets had been painted many times over the years. The most recent coat was a glossy cream, chipped along the edges and yellowed over the stove. The owners wanted to keep the built-ins, which suit the house, but bring the colour up to date with the light grey they had in mind for the rest of the main floor.
Layers of history under the cream
A chipped corner on one of the lower doors showed the story in cross-section: cream over pale green, over white, over a darker brown near the wood. Cabinets with that much history are better kept than stripped, because heat guns, stripping and power planing on old layered finishes make a mess and can raise fine dust that drifts through an old house. So dry sanding, heat stripping and planing were ruled out from the start, and all the prep was planned around keeping the dust down.
Other things showed up on inspection:
- Oil-based top coat. A cloth with rubbing alcohol did not soften the cream paint, which tells you it is an oil-based (alkyd) finish rather than latex. Water-based paint will not grip it without a bonding primer.
- Alligatoring. On lower doors near the stove, the paint had cracked into a pattern like reptile skin, a sign of layers that dried at different rates.
- Binding doors. Paint build-up on the door edges meant some doors rubbed against the frames when closed.
- Old glass. The glass in the upper doors was older wavy glass held in with glazing putty. Removing it risked breaking panes that would be hard to replace.
The plan was to leave the old layers in place, sealed under new paint, and to do all surface prep wet so no dust was created.
Prep without a dust cloud
Containment and protection
We closed the kitchen off from the rest of the house with plastic sheeting and a zippered door, and sealed off the heating registers. The floor got plastic first, then drop cloths, so any wet residue could be rolled up and bagged at the end of each day. Counters and appliances were wrapped. The owners agreed to stay out of the kitchen while prep work was going on, and to keep their dog upstairs.
Doors and drawers
- Doors were removed and labelled, and hardware went into labelled bags. The glass-front doors were laid flat and their glass masked with paper and tape right up to the putty line.
- Every surface was washed with a degreaser, with extra attention to the cream over the stove.
- All surfaces were then wet-sanded with fine sanding sponges, keeping the surface damp with a spray bottle so the dust became a slurry instead of a cloud. The slurry was wiped off with damp cloths, which went straight into bags.
- In the tight mouldings, a liquid deglosser took the shine off where a sponge could not reach.
- The alligatored areas were wet-sanded to knock the ridges down, then skimmed with a fine surfacing filler, left to dry and wet-sanded smooth. Two thin skims were needed on the worst door.
Frames and the inside of the uppers
The face frames and the interiors of the glass-front uppers were washed, wet-sanded and deglossed in place. Because the uppers have glass doors, their shelves and backs show from across the room, so they were included in the scope. The lower cabinet interiors, which nobody sees, were left alone.
Binding doors
Planing the door edges would have cut into the oldest paint layers, so we adjusted the hinges instead. Shimming and tightening the hinges gave each door enough clearance to close without rubbing, and the new paint was kept thin on the edges.
Bonding primer
All surfaces got a waterborne bonding primer made to grip oil-based paint, brushed on in a thin, even coat. It also sealed the old layers under a fresh film. Once dry, it was given a very light wet-sand and wiped down.
Brushing on the warm grey
Because the job stayed under containment and the house is old with a lot of moulding detail, we brushed and rolled rather than sprayed. The finish coat was a hybrid urethane cabinet enamel that levels well when brushed, which matters on older doors where a sprayed finish would make the surface look newer than the house.
- Doors and drawers: brushed with a blended-bristle brush in the panel mouldings, rolled with a fine foam roller on the flat stiles and rails, then laid off with the brush in the direction of the grain. Each side received two finish coats, reverse side first, waiting for the manufacturer’s recoat time between each.
- Glass-front doors: painted with the glass still masked, then the masking was pulled carefully while the second coat was still slightly soft, so the paint line at the putty stayed clean. Any paint that crept onto the glass was trimmed with a razor scraper once it dried.
- Frames and upper interiors: brushed in place, two coats, shelf edges first, then the backs.
Picking a grey that suits an old house
The owners had a cool grey picked out from a chip. At the colour consultation we painted it on a primed board next to warmer options from our sample pots and leaned them against the cabinets, with the garden window behind them. In the morning, the cool grey looked blue and cold next to the old pine floor. A warm light grey, with a little beige in it, looked right in both the morning light and the lamplight in the evening, and it sat well with the original wood. That was the colour the owners chose.
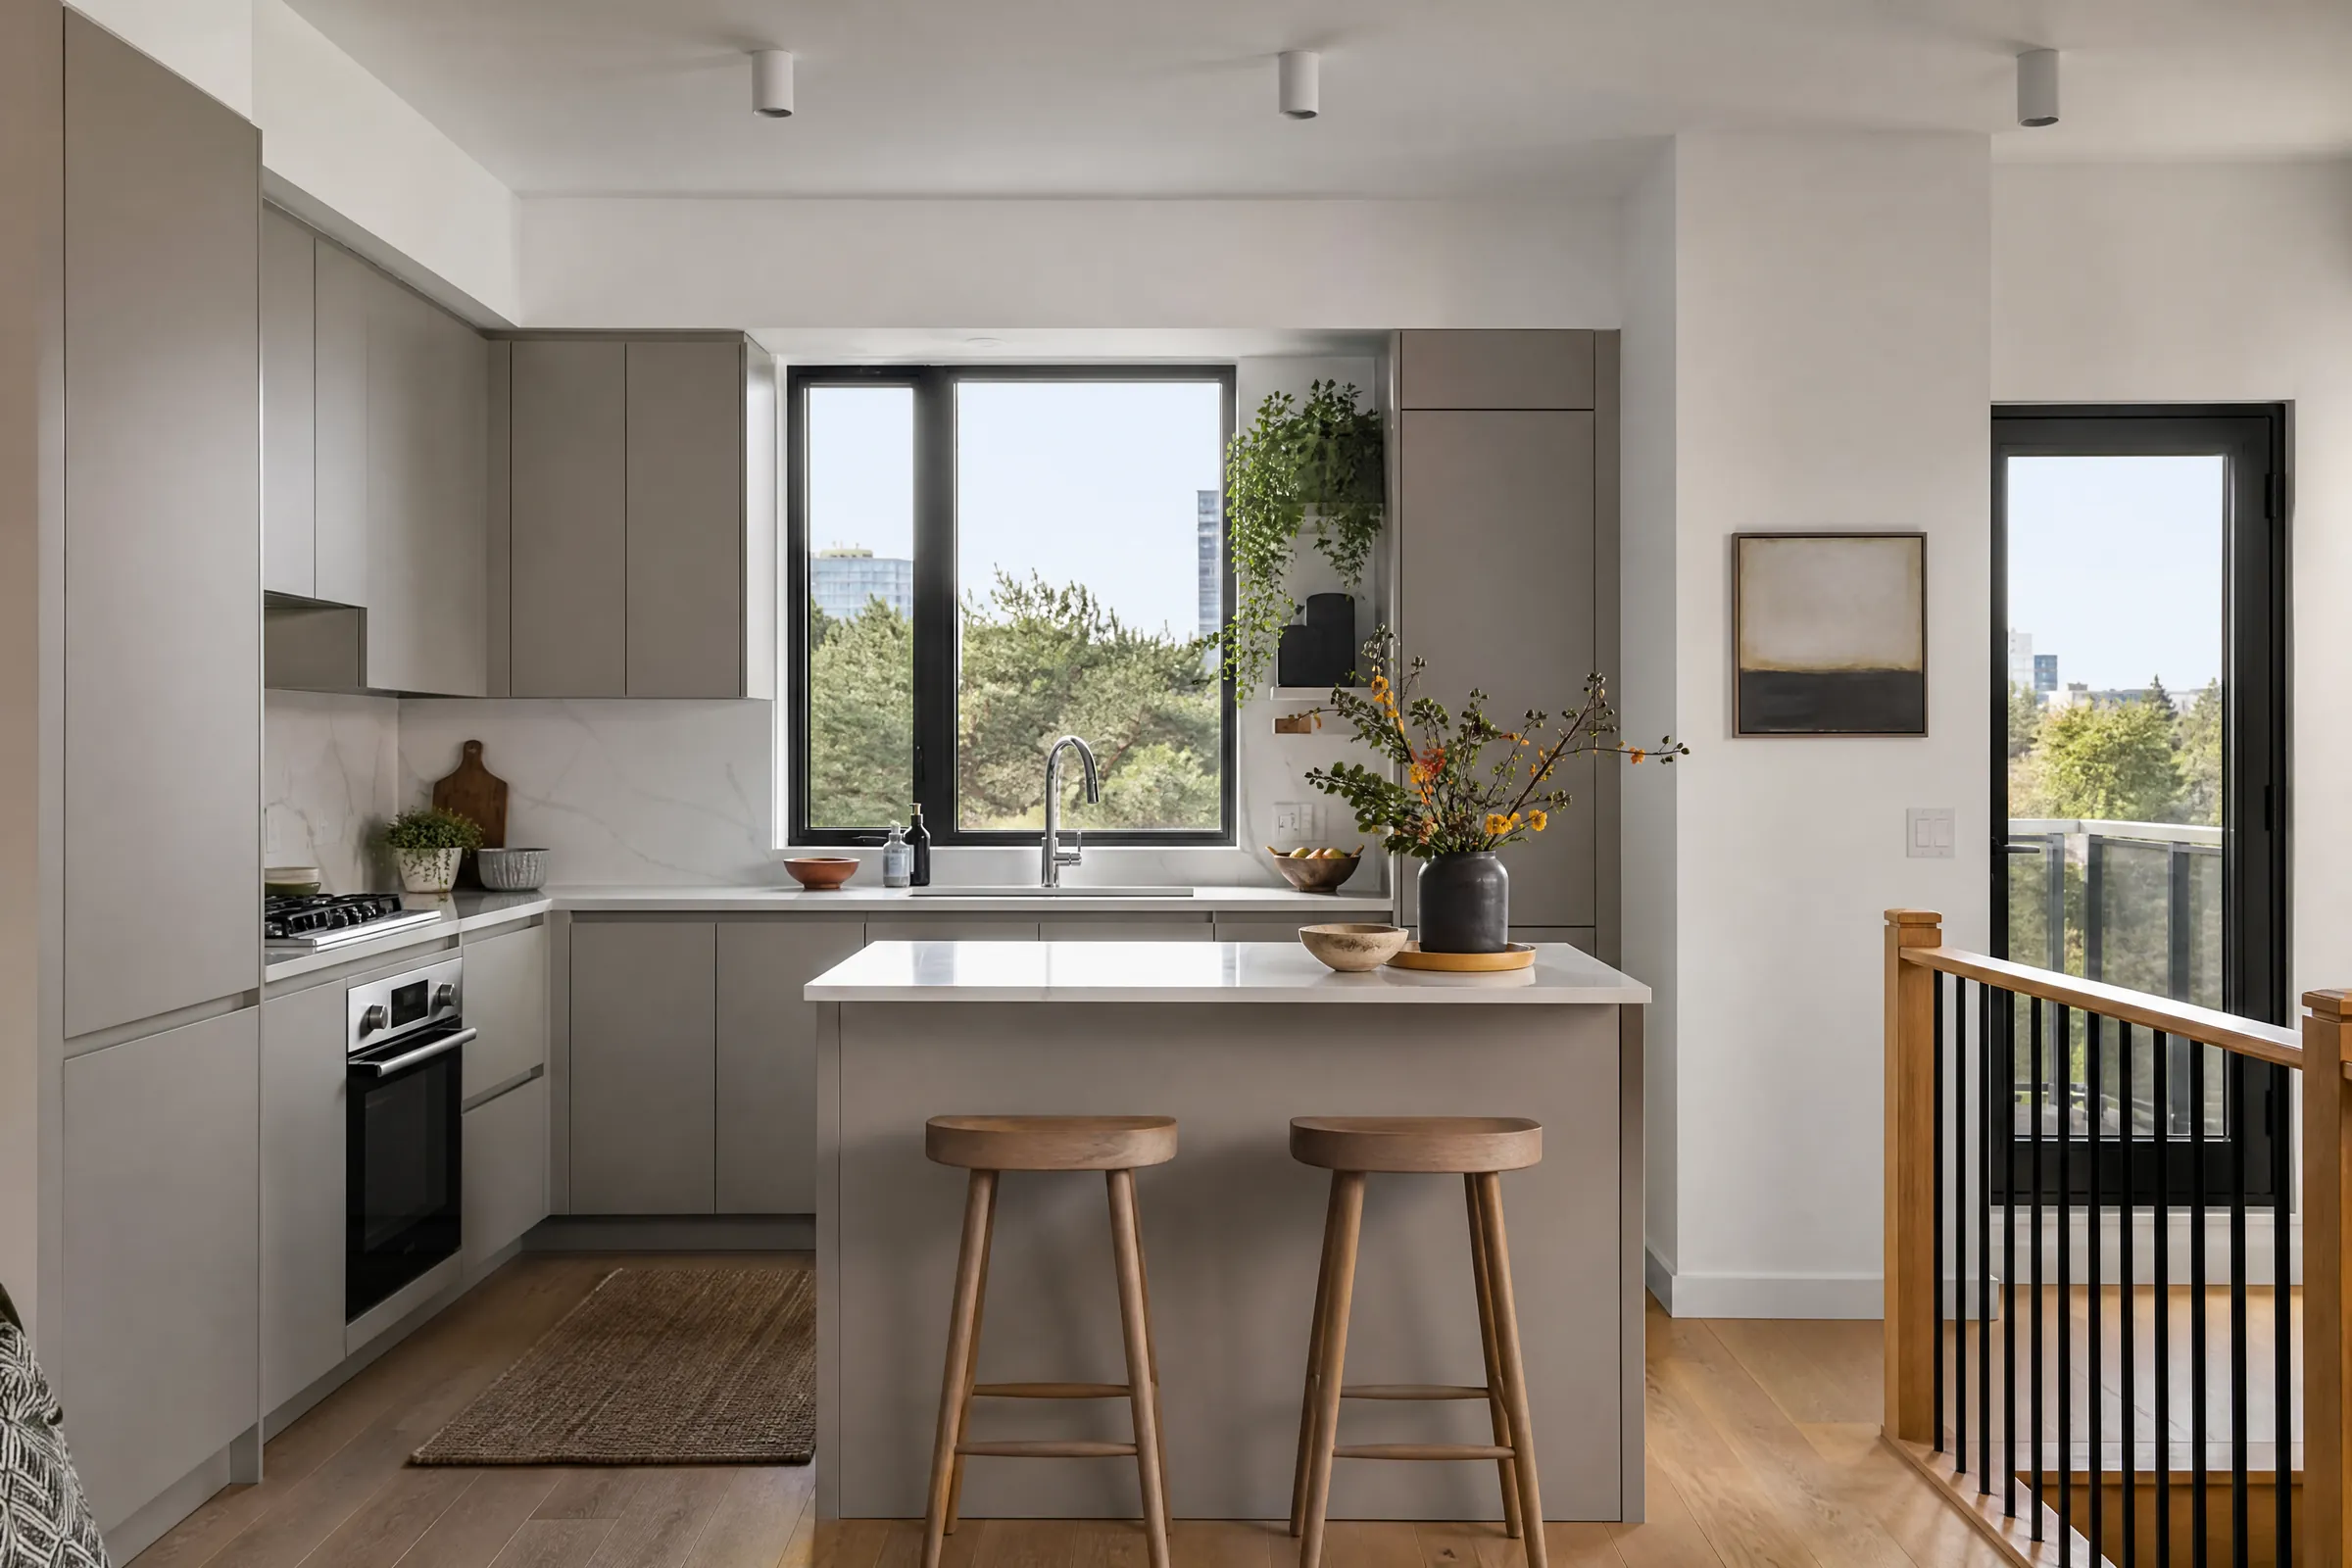
For sheen they went with eggshell. A glossier finish would exaggerate the dips and brush history in the layered paint, and an eggshell looks closer to how cabinets in older houses tend to look. The kitchen now reads soft and calm, with grey built-ins and the wavy glass on the uppers showing grey shelves behind it.
Daily cleanup under containment
At the end of every day we wiped down every horizontal surface in the work area with damp cloths, vacuumed with a HEPA-filtered vacuum, rolled up and bagged any soiled plastic and checked the containment for gaps. The tools were cleaned inside the containment. The rest of the house stayed clean, and the kitchen was tidy at the end of every day. The containment came down only after the last wet-wipe and HEPA vacuum.
Upkeep for painted heritage cabinets
- Clean with a soft damp cloth. Avoid dry-sanding a chip yourself, since that raises dust from the old layers underneath. If a chip goes deep, call us and we will repair it with the same wet methods.
- Touch-up paint is in a labelled jar, with the colour, sheen and kitchen noted on the lid.
- Doors may need a small hinge adjustment as the house moves through the seasons. That is easier than taking anything off the door edges.
- The enamel hardens over several weeks, so close doors gently at first.
Why this suits homes in Halton Hills
Glen Williams and the older streets of Georgetown and Acton have plenty of houses with built-in cabinets and trim that have been painted over and over. Keeping those built-ins means working with the paint already on them, keeping sanding dust down and choosing a primer that bonds to oil. Our kitchen cabinet painting service includes that kind of prep. We work across Halton Hills and the rest of Halton, and if you have older cabinets you would like to keep, please send us a message and we will arrange a visit and a written, itemized quote.