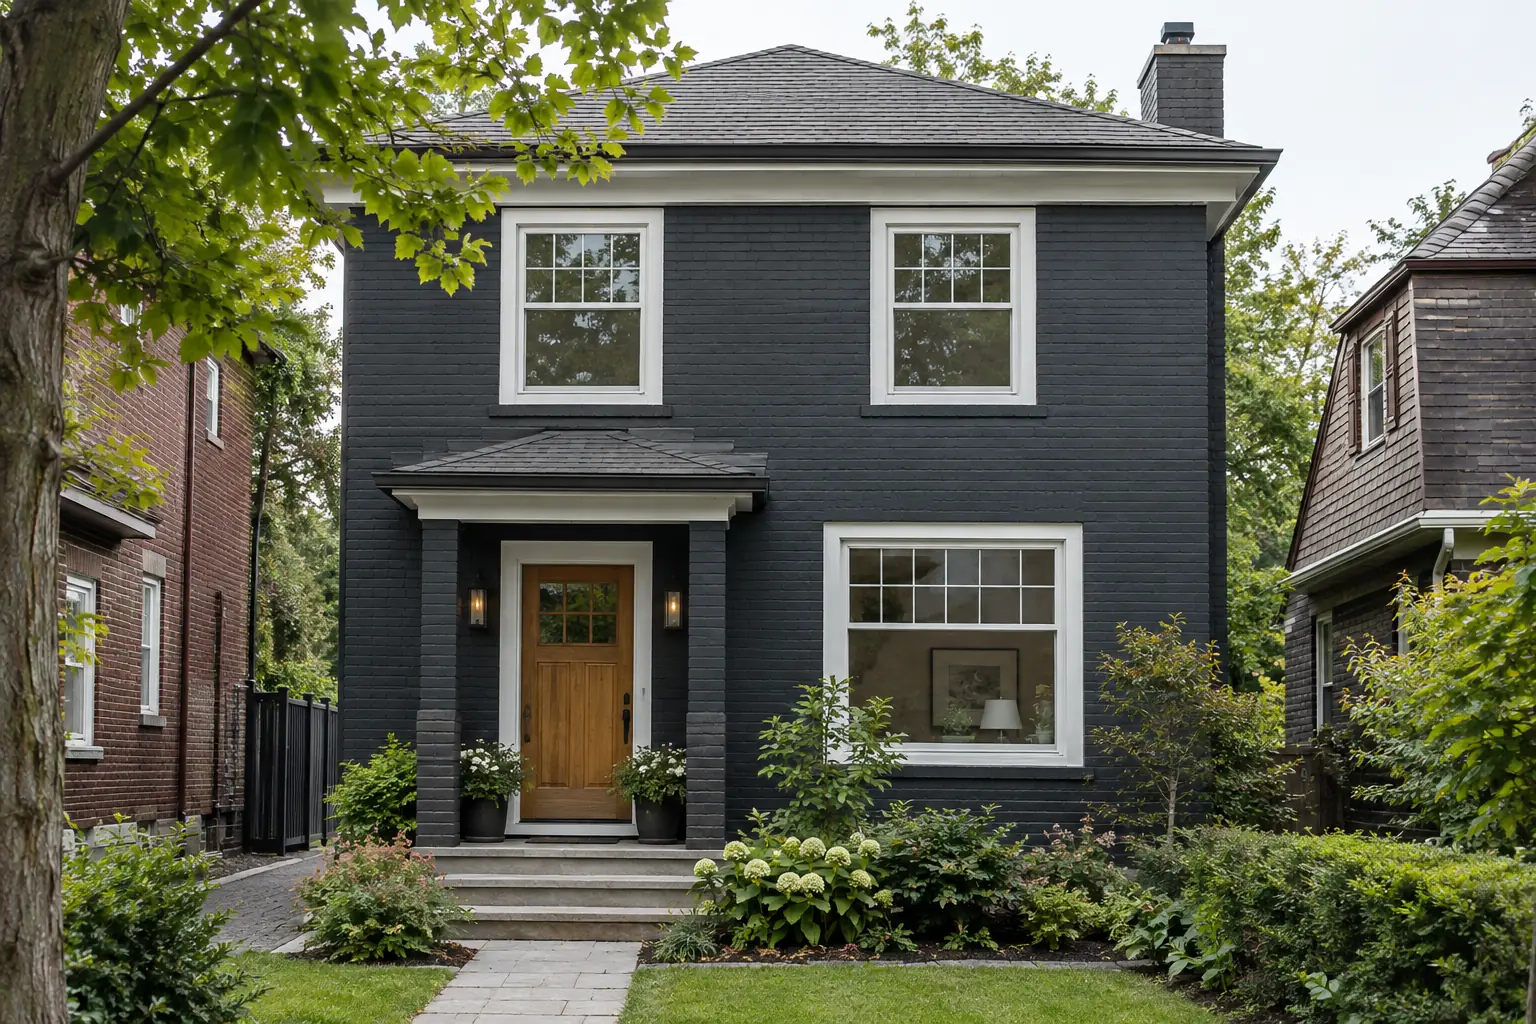

An older brick house on a treed Georgetown street
Georgetown’s older streets are lined with brick houses, frame homes with wood or aluminum siding, and porches that need regular attention. This house is one of the brick ones: a modest two-storey in a mid-brown brick with light grey mortar joints, on a street of mature trees not far from the Credit River valley. The brick was sound and had never been painted, but the owners had lived with its flat brown for years and found it heavy and dated next to their newer windows.
They asked us to paint the brick on every wall. The windows, the front door and the concrete sills were staying as they were, and the parged foundation was to stay unpainted.
Deciding whether this brick should be painted at all
Painting brick is hard to undo, so we treat a first-time job differently from a repaint. Before quoting, we walked every wall and looked closely at three things:
- The brick faces. They were hard and intact, with no spalling, which is when the outer face of a brick flakes off. Spalled brick usually means moisture is trapped, and paint can make it worse.
- The mortar. Most joints were firm, but on the west wall and around the chimney a run of joints had eroded back from the brick face and crumbled under a screwdriver tip.
- Moisture. White crusts of efflorescence sat under some window sills, and the north wall, shaded by a large tree, had green algae and dark mildew spots along its lower courses.
Our advice was that the brick was a fair candidate for paint, but not until the mortar was repaired and the moisture sources dealt with. The eroded joints were repointed before any other work. A downspout that emptied against the wall below a sill, the cause of the salt crusts, was extended away from the house. Fresh mortar is highly alkaline and needs to cure before it can be painted, so we waited for the period the primer manufacturer recommends before starting.
Test patches first
While the mortar cured, we painted test patches of primer and candidate colours on a section of the rear wall, where any patch that was not chosen would be painted over anyway. That let the owners see real paint on their real brick, which looks quite different from a paint chip, and it let us confirm that the primer bonded well after a scratch test.
Cleaning and drying the brick
- Efflorescence. The salt deposits under the sills were removed with stiff nylon brushes, dry. Wetting efflorescence dissolves the salts and draws them back into the brick, where they come out again later under the paint.
- Mildew and algae. On the north wall we applied a mildew wash, let it work for the time on the label, and scrubbed the worst courses with long-handled brushes. Any growth left behind would have stained through the new colour.
- General wash. Every wall was cleaned with a masonry cleaner and rinsed at low pressure. High pressure can erode old mortar and drive water deep into the brick, which is the opposite of what you want before painting.
- Drying. Brick holds water long after it looks dry. We waited for a stretch of dry, mild weather and checked readings with a pin-type moisture tester at several heights on each wall, including the shaded north side, before priming.
Protecting the yard and the house
Foundation plantings were tied back with soft garden ties and covered with breathable cloths, taken off every evening so the plants were not left cooking under plastic. Ground cloths ran along every wall. Windows, the front door, the concrete sills, exterior lights and the foundation parging were masked with film and tape. Spray shields were used along every edge, and we checked the wind before each spraying session, stopping when gusts picked up rather than risking drift onto the neighbour’s car or house.
Primer and finish coats
Why an alkali-resistant masonry primer
Brick and mortar are alkaline, and fresh mortar more so. Ordinary primers can break down on alkaline surfaces, leading to blotchy colour and poor adhesion. An alkali-resistant masonry primer stands up to that, seals the porous brick so the finish coats go on evenly, and gives the paint a consistent base over brick and new mortar alike.
Breathable paint, not a sealer
Older brick has to let water vapour pass outward. If paint traps moisture inside, freeze-thaw cycles push the brick faces off from behind. For that reason we used a breathable exterior acrylic masonry paint in a low sheen, and avoided thick elastomeric coatings that form a near-waterproof skin.
Spray and back-roll
Mortar joints are recessed, and spray alone tends to bridge over them, leaving pinholes. Each coat was sprayed onto a section of wall and immediately back-rolled with a thick-nap roller, pressing the paint into the joints and the pitted brick faces. Edges at windows, sills and the parging were cut in by brush. The primer and both finish coats went on this way, with the label’s recoat interval respected between coats, and never in direct midday sun on the south wall, which can make masonry paint dry too fast to back-roll properly.
The colour choice
The owners started out wanting white. After seeing a white test patch next to the grey concrete sills and the dark roof, they found it stark, and it made the house look bigger than it is on a street of brick neighbours. Through our free colour consultation, they tried a warm putty grey and a soft greige on the rear wall, looking at both in the cool light of morning and in the warmer light of late afternoon.
The putty grey won. It has enough warmth to sit comfortably among the brown and red brick houses nearby, it makes the concrete sills look intentional rather than leftover, and it shows the texture of the brick and the lines of the mortar without the brown that had made the house feel heavy. A low sheen keeps the wall looking like masonry rather than plastic.
A tidy site
Every evening we rolled up the ground cloths, uncovered the plants, cleaned the sprayer and stored it, picked up masking scraps and swept the walkway and driveway. Ladders came down and were secured. Masking stayed on windows only where the next day’s work needed it.
How the house looks now, and its upkeep
The house is now a soft, warm grey from the foundation line to the eaves, with the brick texture and mortar joints still clearly visible under the paint. The concrete sills, windows and front door stand out cleanly against it.
- Keep downspouts running away from the walls; the moisture that caused the salts under the sill would also lift paint.
- Rinse the shaded north wall gently each spring if green growth returns, and trim the branches touching the house.
- Look for any blistering or flaking along the lower courses, which usually means water is getting in from somewhere.
- Labelled cans of primer and the putty grey were left in the basement for small repairs.
- Painted brick generally needs repainting from time to time; washing and inspecting it yearly is how you see that coming.
Why this approach suits Halton Hills homes
Many older houses in Georgetown and Acton sit under big trees, close to the Credit River or on low ground, and shaded brick there holds moisture and grows mildew. That is exactly the situation where first-time brick painting goes wrong if the mortar and moisture are not sorted out first. It is also why our brick painting starts with an inspection, a test area and breathable products rather than a quick coat. You can read more about local housing on our Halton Hills page, and about other towns we serve across Halton. If you are weighing up painting your brick, ask us to take a look; the cleaning, primer and coats will each be listed on an itemized written quote.