
An Orchard house still dressed in its first colour scheme
Millcroft, Orchard and Alton Village in Burlington were built mostly between the 1980s and the 2000s, and the houses there tend to show the tastes of when they went up. This detached home in Orchard dates from the later part of that run: drywall throughout, nine-foot ceilings on the main floor, a stained oak stair rail, and a living and dining room across the back with large windows facing the yard.
The colours were pure early-2000s: a terracotta great room, a mustard kitchen eating area, a sage dining room finished in a sponged glaze, and a burgundy powder room with a rag-rolled effect. The owners wanted all of it gone. The job was the full interior: walls and ceilings in every room, all baseboards, casings and interior doors, and the stairwell, keeping the stained oak rail as it was.
The challenge: texture and gloss under the colour
Strong colour is easy to cover with the right primer. Faux finishes are harder. In the dining room and powder room, the sponging and rag-rolling had been done with a glaze over a base coat, and in places it had been built up thickly enough to leave a raised, stippled texture you could feel with your hand. On top of that, glaze dries with a slight gloss. New paint over that combination would show every ridge and could fail to bond on the slicker areas.
The powder room added a different problem. It is a small, windowless room with a vanity, toilet and mirror taking up most of the wall space, so there was little room to work and the old burgundy had been cut in roughly around the mirror and the backsplash. Every one of those edges had to be cleaned up and re-cut by hand, and the room needed a paint that could handle bathroom humidity.
The rest of the house had the usual wear: chips at the bottom of door casings, scrapes in the stairwell, nail pops near the upper hall ceiling, and a few large holes where a previous TV mount had been. The terracotta great room had also been touched up in a slightly different batch, so patches showed as darker squares in daylight.
Prep, surface by surface
Protection first
- Hardwood on the main floor and carpet upstairs were covered with floor protection suited to each, with taped seams so nothing slipped underfoot.
- Sofas, tables and beds were gathered mid-room, then wrapped in plastic topped with canvas.
- The stained oak handrail, spindles and newel post, and the edge of the stair carpet along the wall, were masked with low-tack tape and paper so no paint or sanding dust could mark the finish.
- Vent covers, switch plates and door hardware came off and were bagged by room.
Flattening the faux finishes
We sanded the sponged and rag-rolled walls with a pole sander fitted with a dust-extracting head connected to a vacuum, which took off the raised texture without filling the room with dust. Where the texture was deep, the walls then received a thin skim coat of lightweight joint compound, applied with a wide knife and sanded flat once dry. Checking each wall with a light held at a low angle showed any remaining ridges, which were sanded again.
Bonding over glaze
Glaze areas that had not been skimmed were scuff-sanded and coated with an adhesion primer, which is formulated to grip slick surfaces. The skimmed walls took a drywall primer-sealer so the compound would not soak up the finish unevenly.
Repairs and caulking
The TV mount holes were backed and patched, nail pops were screwed tight and filled, and dents in the stairwell were filled and sanded. Gaps where baseboards met the wall, and the line where the stair skirt meets the oak rail base, got a bead of paintable acrylic, smoothed with a damp finger.
Priming over strong colour
The terracotta, mustard and burgundy walls were base-coated in a grey-white tinted primer with heavy hiding power. Covering warm, saturated colours with white is easier over a neutral base, and the primer also evened out the mismatched touch-up patches.
The paint, room by room
Ceilings
Every ceiling had two coats of flat ceiling white, rolled from the window side of each room. The nine-foot main-floor ceilings were rolled on extension poles from the floor, which is quicker and steadier than working off a ladder at that height.
Main-floor walls
The great room, dining room and kitchen area took two coats of bright neutral white in a scrubbable matte. On large, open walls lit by big windows, matte hides small surface variations far better than eggshell, which suited walls that had been skimmed. We cut in by brush and rolled each wall top to bottom with an extension pole while the edge stayed wet.
Halls, stairwell and bedrooms
Here we used eggshell in the same white, chosen for washability where school bags and shoulders rub along the drywall. The stairwell was cut in carefully along the masked oak rail, and each coat went on after the previous one had passed the label’s recoat time.
The powder room
The small powder room took the same white in a satin bathroom paint with mildew resistance, cut in by hand around the mirror, vanity and backsplash in two coats.
Trim and doors
Builder trim and the hollow-core doors were cleaned, lightly sanded and given two coats of white semi-gloss enamel, brushed on the profiles and laid off in long strokes on flat areas. Doors were painted in place on both faces, with hinges masked.
Why a neutral white throughout
After a decade-spanning run of warm colours, the owners wanted a quiet, unified background that would let furniture and the oak rail carry the warmth. At the free colour consultation we put up several whites from sample pots on the great room wall facing the window and on the darker stairwell wall, then compared them in early morning and evening light. One with a yellow undertone picked up the oak and looked cream; a cool white looked grey on the shaded stair. The chosen white sits in between, and looks clean in both places. Trim and doors went to a slightly brighter white in semi-gloss for a crisp edge.
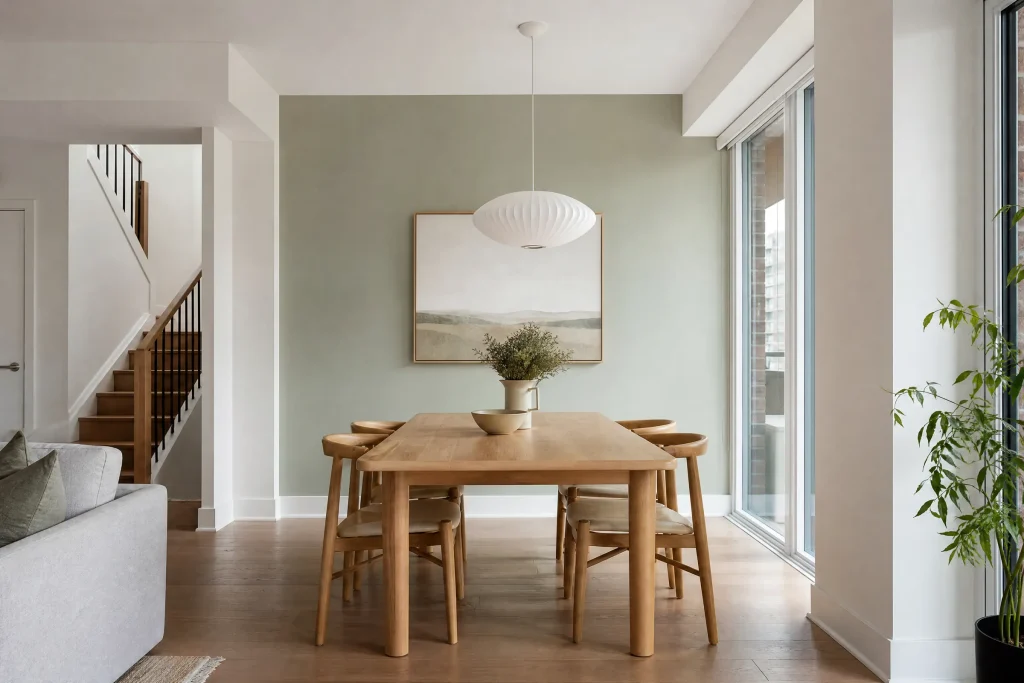
The main rooms now look open and bright: smooth white walls with no trace of sponging, a dining room that matches the great room, and the stained oak rail reading as a single warm accent against white.
Day-to-day tidiness
Skim coating and sanding are the dustiest parts of a repaint, so those rooms were closed off with plastic over doorways and the vacuum-extraction sander stopped fine powder drifting into finished rooms. Before leaving each day we vacuumed, wiped down sills, folded drop cloths and returned furniture to its place in finished rooms. Paint and tools were kept together in the garage.
Notes for living with the new finish
- Give the new coats several weeks to harden before any cleaning. Afterwards, matte walls respond well to a soft sponge and mild soap, used gently and not scrubbed hard.
- The eggshell in halls and bedrooms is more forgiving for regular wiping.
- We left labelled cans of each white and sheen. Touch up matte by rolling a small area rather than dabbing, to avoid a visible spot.
- The oak rail was not painted, so its finish should be cleaned the way it was before.
- If you later hang a TV on a skimmed wall, choose a mount that fastens into studs, which avoids large anchor holes.
Why this suits Burlington’s newer neighbourhoods
Many homes in Millcroft, Orchard and Alton Village still carry the builder trim and the colour schemes of the years they were built, and some, like this one, still have faux finishes from that period. A whole-home repaint there means taking those surfaces back to flat and sound, choosing the right primer for each, and then finishing with two coats everywhere. That is the core of our whole-house repainting. Halton homes have been on our schedule since 2010; our Burlington painting page covers the city’s bungalows, subdivisions and condos, and there is more on our work across Halton Region. If your house has its own faux finishes to deal with, request a free colour consultation and itemized quote.