
A downtown Burlington suite facing the lake
Downtown Burlington runs along the shore of Lake Ontario around Brant Street, and the condo buildings there put many suites right at the water. This one is a two-bedroom unit with an open living, dining and kitchen area, a wall of windows looking out over the lake, and a sliding door to the balcony. The walls are drywall, the living room ceiling is drywall rather than sprayed concrete, and the owners had hung a few large framed prints that they took down themselves before we started.
The owners wanted the suite repainted throughout: walls, ceilings, baseboards and casings, and the trim around the balcony door. They also wanted the marks on the window returns and the stain on the living room ceiling dealt with properly, not just painted over.
Condensation, mildew and a ceiling stain
Suites on the water see a lot of moisture in the air, and in winter warm indoor air meets cold glass. Water that collects on the window frames runs onto the sills and soaks into the drywall returns beside the glass. Here it had left dark mildew spots on most of the returns, and in the corners nearest the floor the paint had blistered and softened. The window sills had water marks and a fine black line of mildew along the back edge.
In the living room ceiling, a brown ring about the size of a dinner plate marked an old leak from above. Before any primer went near it, we pressed and tested the drywall around the ring to be sure it was dry and firm. Painting over a stain that is still wet only brings it back.
Condo living added its own conditions. Buildings like this usually keep renovation work to weekdays during set hours, expect the service elevator to be booked ahead with management, where it is shared with residents moving in and out, and ask that hallways be protected whenever materials are carried through, so we planned for all three.
Preparing the suite, step by step
In the building
We booked the service elevator for the first and last days of the job, when most of the materials came in and went out, and used it at the agreed times in between. Every trip had padded elevator walls and a carpet runner laid from the cab to the suite door. No materials were left in the corridor or the parking garage overnight.
Protecting the suite
- Floors were covered from wall to wall, with heavier protection along the window wall where we would be working with cleaning solutions.
- Furniture was grouped away from the walls and covered; the dining table moved to the bedroom to clear the window wall.
- Window frames, glass edges and the balcony door track were masked.
Treating the mildew
The returns and sills were washed with a mildewcide solution, left for the time the label specifies, then rinsed and allowed to dry with a fan running. Mildew that is painted over keeps growing under the paint and comes through again.
Repairing the returns
Blistered paint was scraped back to firm material. Where the drywall’s facing paper had gone soft, we cut away the loose layer, let the area dry fully and sealed the exposed gypsum before filling, since filler on wet or torn drywall tends to bubble. Each repair was filled with lightweight filler and sanded smooth.
Priming the window wall
All the returns and sills took a coat of mould-resistant primer. It gives the finish a clean, sealed base in the one place in the suite where moisture keeps returning.
Sealing the ceiling stain
Water stains bleed through ordinary latex, often in a yellow-brown halo that shows up after the paint dries. We sealed the ring and a margin around it with an oil-based stain-blocking primer. The odour is short-lived, and we kept the balcony door slightly open with a fan running while it dried.
The balcony door
The trim around the sliding balcony door had the same moisture problem on a smaller scale: the casing at the bottom corners had swollen slightly where water had run down the frame. We let it dry, sanded the raised grain flat, sealed the end grain at the bottom of each casing with primer and caulked the joint between the casing and the frame so water would run off rather than wick in.
Patching and caulking
Picture hook holes, a few dents near the balcony door and some scuffs in the hall were filled and sanded. Separated caulk along the top of the baseboards was cut out and replaced.
Painting each part of the suite
Ceilings
Two coats of flat white went on every ceiling, rolled from the window wall back into the room so the light skims along the roller direction. Once the stain-blocked ring was covered in the first coat, it no longer showed at all.
Walls
The living area and bedrooms received two coats of pale warm grey in a matte finish. The kitchen and bathroom walls took the same colour in a pearl finish, a low-lustre sheen that handles steam and cooking splashes better. Cut lines along the window returns and the balcony door frame were brushed by hand.
Trim
Baseboards, door casings and the balcony door trim got two coats of white semi-gloss, brushed and laid off. Semi-gloss also gives the trim nearest the window a surface that wipes clean when condensation runs onto it.
Choosing a soft grey for bright lake light
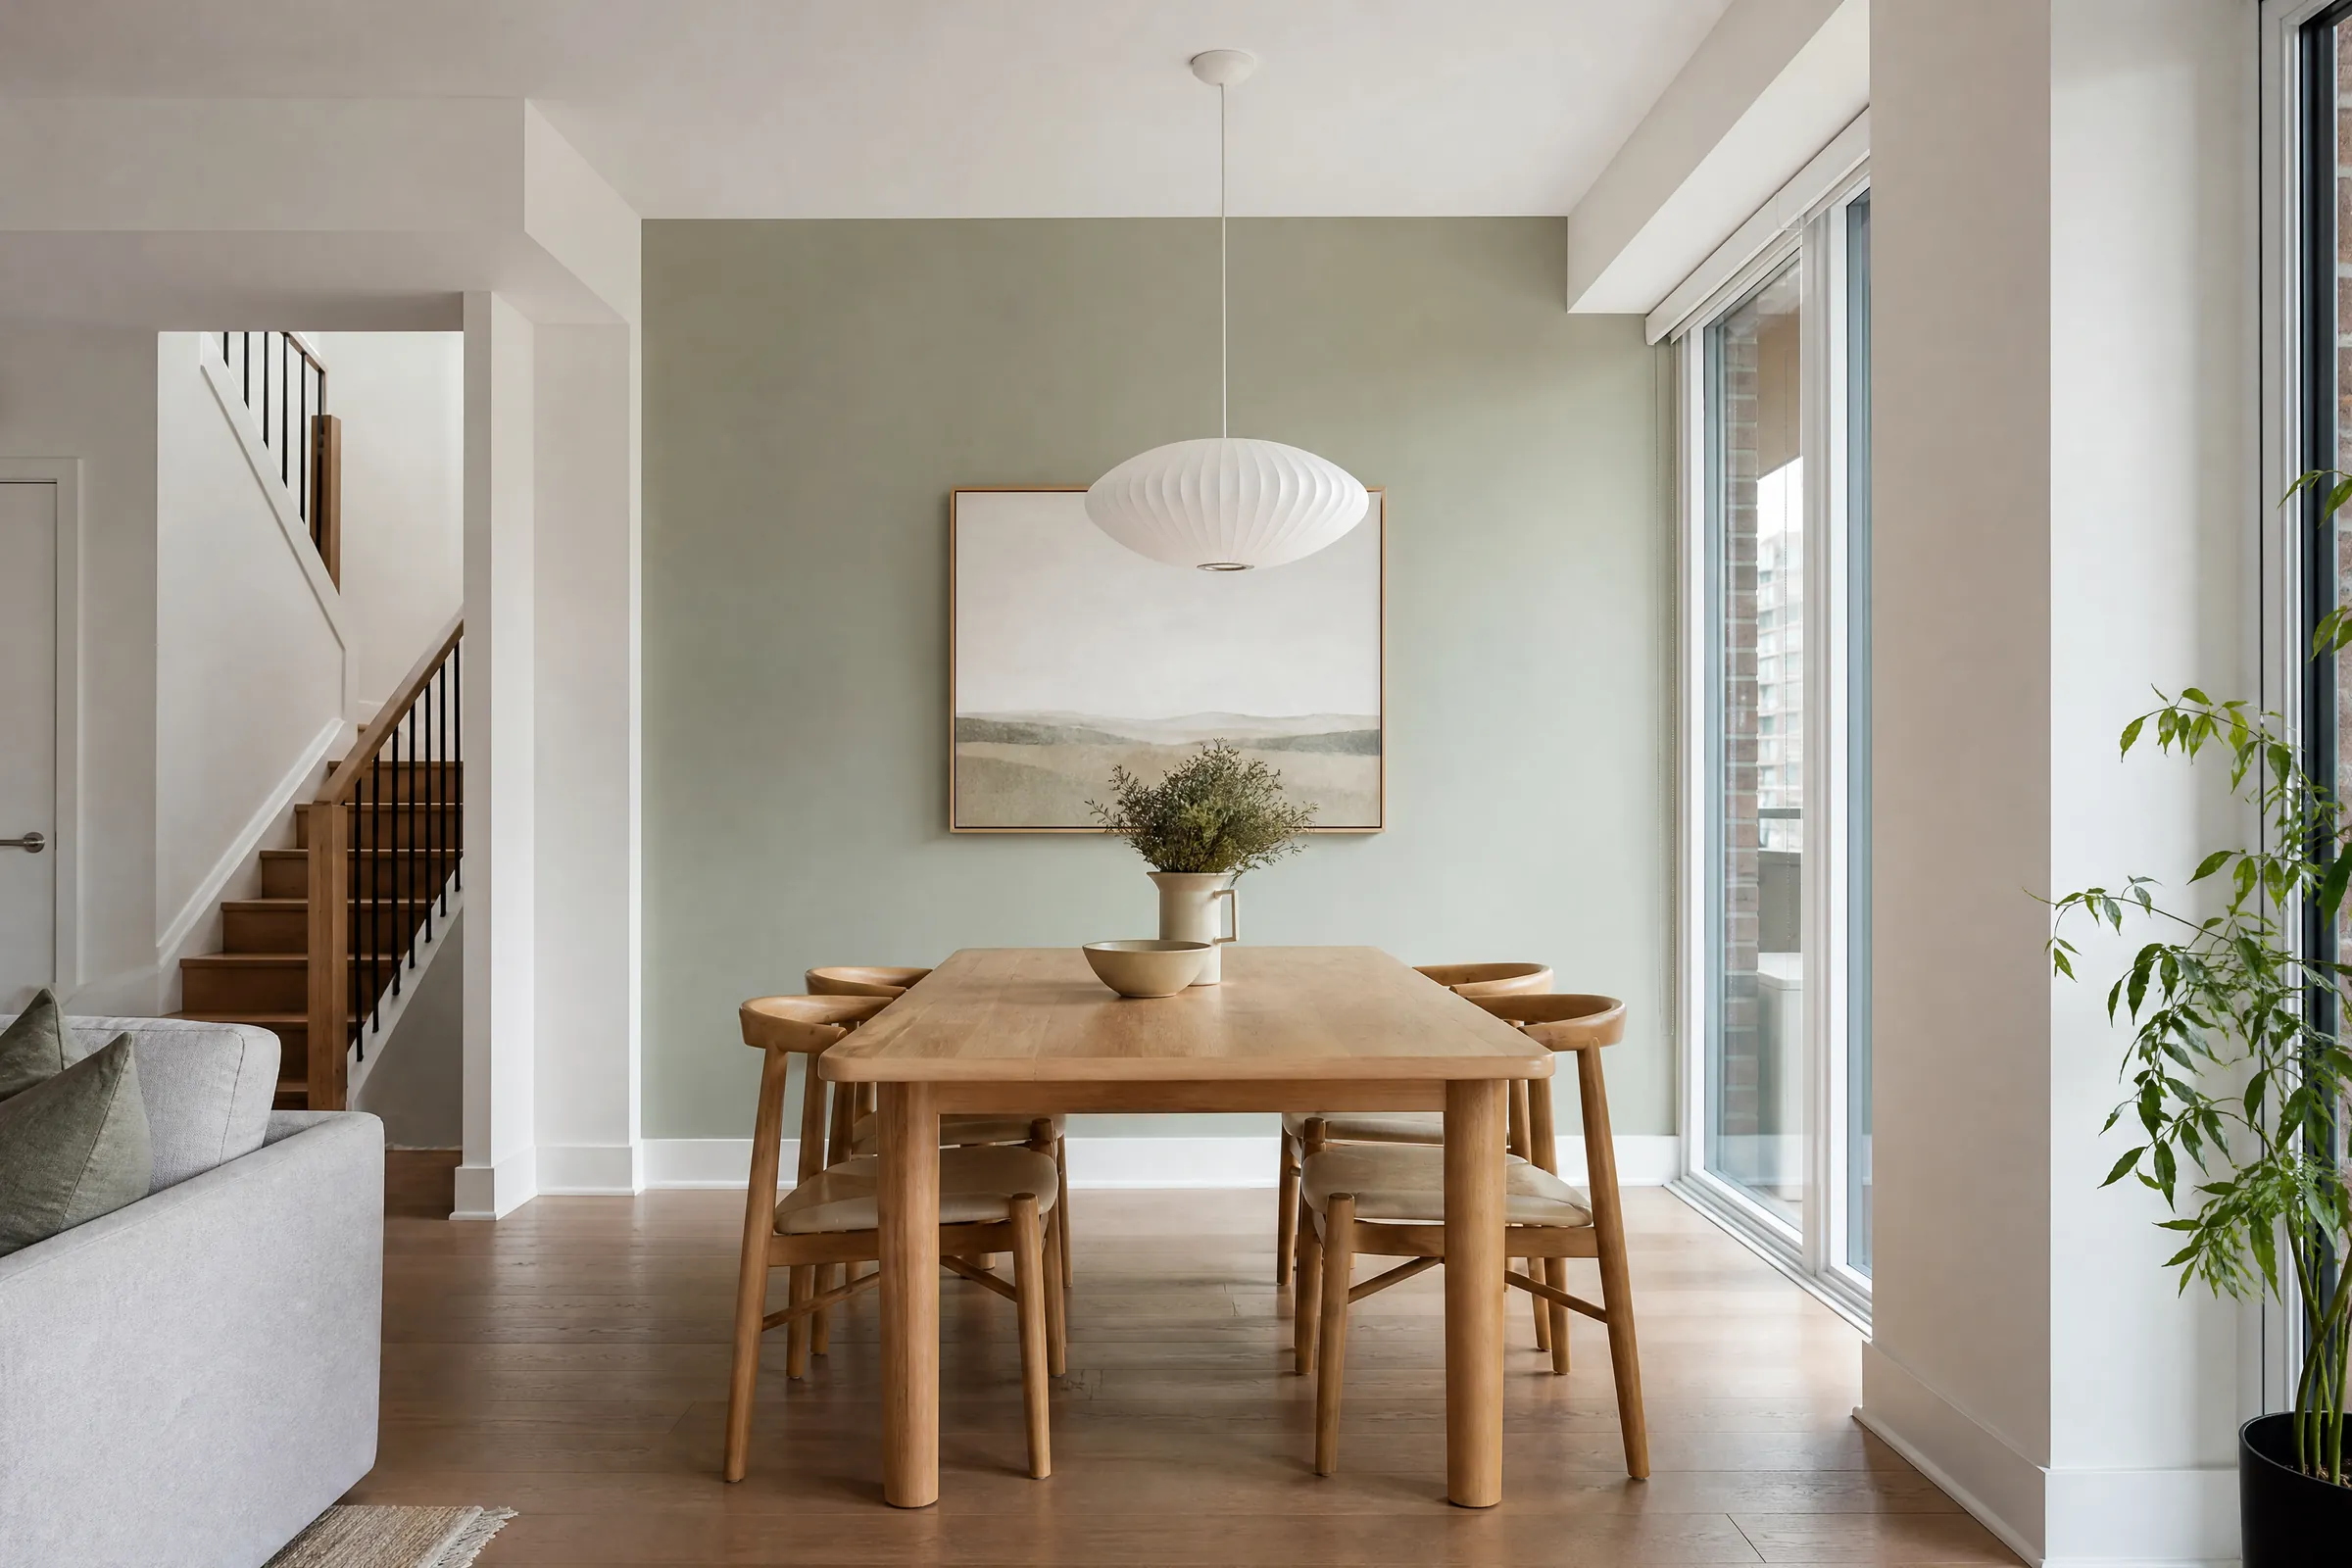
Lake-facing glass over open water means a lot of reflected light, especially on clear winter days. Our free colour consultation put sample pots on the living room wall opposite the windows: a bright white, a warm white and pale warm greys. The whites looked glaring at midday with the sun off the water. The warmest of the greys kept a gentle, even tone through the day, from the bright morning light to the softer evening glow, and made the framed prints and the dark wood dining table look settled against it. Trim and ceilings stayed white, so the suite still feels bright and open.
The finished living room is a calm, warm grey with crisp white trim and window returns that are clean and smooth again, with no sign of mildew or the old ceiling stain.
Keeping the suite tidy and the building quiet
We kept noise and smell low. Sanding was done by hand with fine sponges rather than power tools, and the suite door stayed closed. At the end of each workday, tools were cleaned in a lidded bucket kit, drop cloths folded, floors vacuumed, and the hallway runner and elevator pads removed. The owners could use the suite each evening as normal.
Upkeep by the water
- In cold weather, wipe condensation off the window frames and sills when you see it. Leaving blinds slightly open and keeping air moving near the glass helps.
- If mildew spots return, clean them early with a mildewcide cleaner rather than scrubbing them into the paint.
- Matte needs time to harden, so hold off on washing for a month or so; from then on, a soft damp cloth handles most marks.
- Labelled cans of the grey in both sheens and the trim white are in the storage locker for touch-ups.
- If a new stain appears on the ceiling, tell management before painting, since it may mean another leak above.
Why this approach suits Burlington’s lakeside condos
Suites by the lake in downtown Burlington deal with moisture and bright light more than most, and their buildings bring rules on elevator booking, work hours and hallway protection. Our condominium painting handles both: the building logistics first, then mildew and stain treatment, then two finish coats. We have painted homes and suites in the GTA since 2010. Our Burlington page covers bungalows and subdivisions as well as condos, and there is more about our projects across Halton. If your suite has marks by the windows, book a visit for an itemized quote.