
A River Oaks home with a kitchen painted the wrong way
River Oaks, like Glen Abbey and Joshua Creek, is one of the established subdivisions north of the QEW in Oakville, and its streets are lined with large detached homes. Oak kitchens are common here, and this house had one: a long L-shaped run of solid oak cabinets with framed, recessed-panel doors, a wide island with a seating overhang, and crown moulding along the uppers. A bay window over the breakfast area lets in a lot of light.
The problem was not the oak. The cabinets had already been painted white at some point, with a roller and ordinary wall paint, straight over the original varnish. There was no sanding and no primer. By the time the current owners called us, the paint was coming off in strips, doors were sticking to the frames, and the kitchen looked worse than unpainted oak would have.
The scope was the full kitchen, including the island and crown, and the bathroom vanities that had escaped the earlier paint job: a double vanity in the main ensuite and a single vanity in the powder room, both in their original oak.
Diagnosing the failed paint
We ran a tape test on a handful of doors, pressing tape onto the painted surface and pulling it off sharply. On most of them the paint came away with the tape in large flakes, showing the shiny varnish underneath. Around the handles and the sink, it had already peeled on its own.
A few things had gone wrong at once:
- No adhesion. Latex wall paint does not bond to a glossy varnish. Without scuffing and a bonding or oil-based primer, it sits on top like a skin.
- Blocking. Wall paint stays slightly soft, so wherever a door pressed against a frame, the two painted surfaces had stuck together. Opening the doors tore paint off both.
- Tannin stains. In places, yellow-brown blotches had come through the white where the varnish was thin, a sign of oak tannins moving into the water-based paint.
Painting over a failed coat only adds weight to something that is already letting go. The old paint had to come off before anything new went on.
Stripping, sanding and protecting
Setting up the house
Stripping and sanding make more mess than a normal cabinet job. We put up a zip-wall dust barrier between the kitchen and the family room, laid rosin paper over the hardwood with all seams taped, covered the counters with masking film and cardboard and wrapped every appliance. The breakfast table and chairs moved to the dining room.
The doors and drawer fronts
- Each door was numbered, hardware removed, and the doors carried out to sawhorses on the driveway, in front of the open garage, for stripping.
- The loose paint was scraped off with plastic scrapers, which lift paint without gouging soft oak.
- A low-odour gel stripper went on the remaining paint, in the inside corners of the panels and along the routed edges where scraping could not reach.
- Once the paint softened, it was lifted with scrapers and nylon pads, and any residue was cleaned off according to the stripper instructions.
- The doors were left to dry completely before any sanding.
The frames and island, in place
We did not use stripper inside the house. On the face frames, island panels and crown, the old paint was scraped and then sanded away with sanders connected to a dust-extraction vacuum, which pulls most of the dust off before it gets into the air. A light hand-sand cleaned up the inside corners.
Primer
With the old coating gone, most surfaces were now bare oak with traces of varnish in the grain. Bare oak has tannins that bleed through water-based products, so we used an alkyd stain-blocking primer on everything, sprayed on the doors in a ventilated spray area and brushed on the frames and island. Once it dried, every surface was sanded lightly with a fine sponge. Holes from the old knobs were filled, sanded and spot-primed, because the owners had chosen longer brass pulls.
The finish coats
The colour went on in a waterborne alkyd enamel made for cabinetry. Unlike the wall paint that failed here, it cures hard enough to resist blocking, so doors close against the frames without sticking once it has cured. It also levels as it dries, so the sprayed doors came out smooth.
The owners decided they liked a little of the oak texture showing through, so we did not grain-fill. On the drying racks, every door and drawer front was sprayed by HVLP: two coats on the backs, then two on the fronts, after the manufacturer’s recoat time each time. The doors were sprayed in a set order, the inside corners of each recess first, then the flat centre, then the frame of the door, which keeps the coat even across the panel.
The face frames, island and crown were brushed in the corners and rolled on the flats with a fine foam roller, two finish coats each. The island ends and seating side, which catch the light from the bay window, were checked after each coat in raking light.
The vanities were prepared as a regular cabinet repaint: degreased, scuff-sanded and primed with the same alkyd primer, then given two coats of the same enamel in soft white. They had never been painted, so there was nothing to strip.
Deep green for the kitchen, soft white for the baths
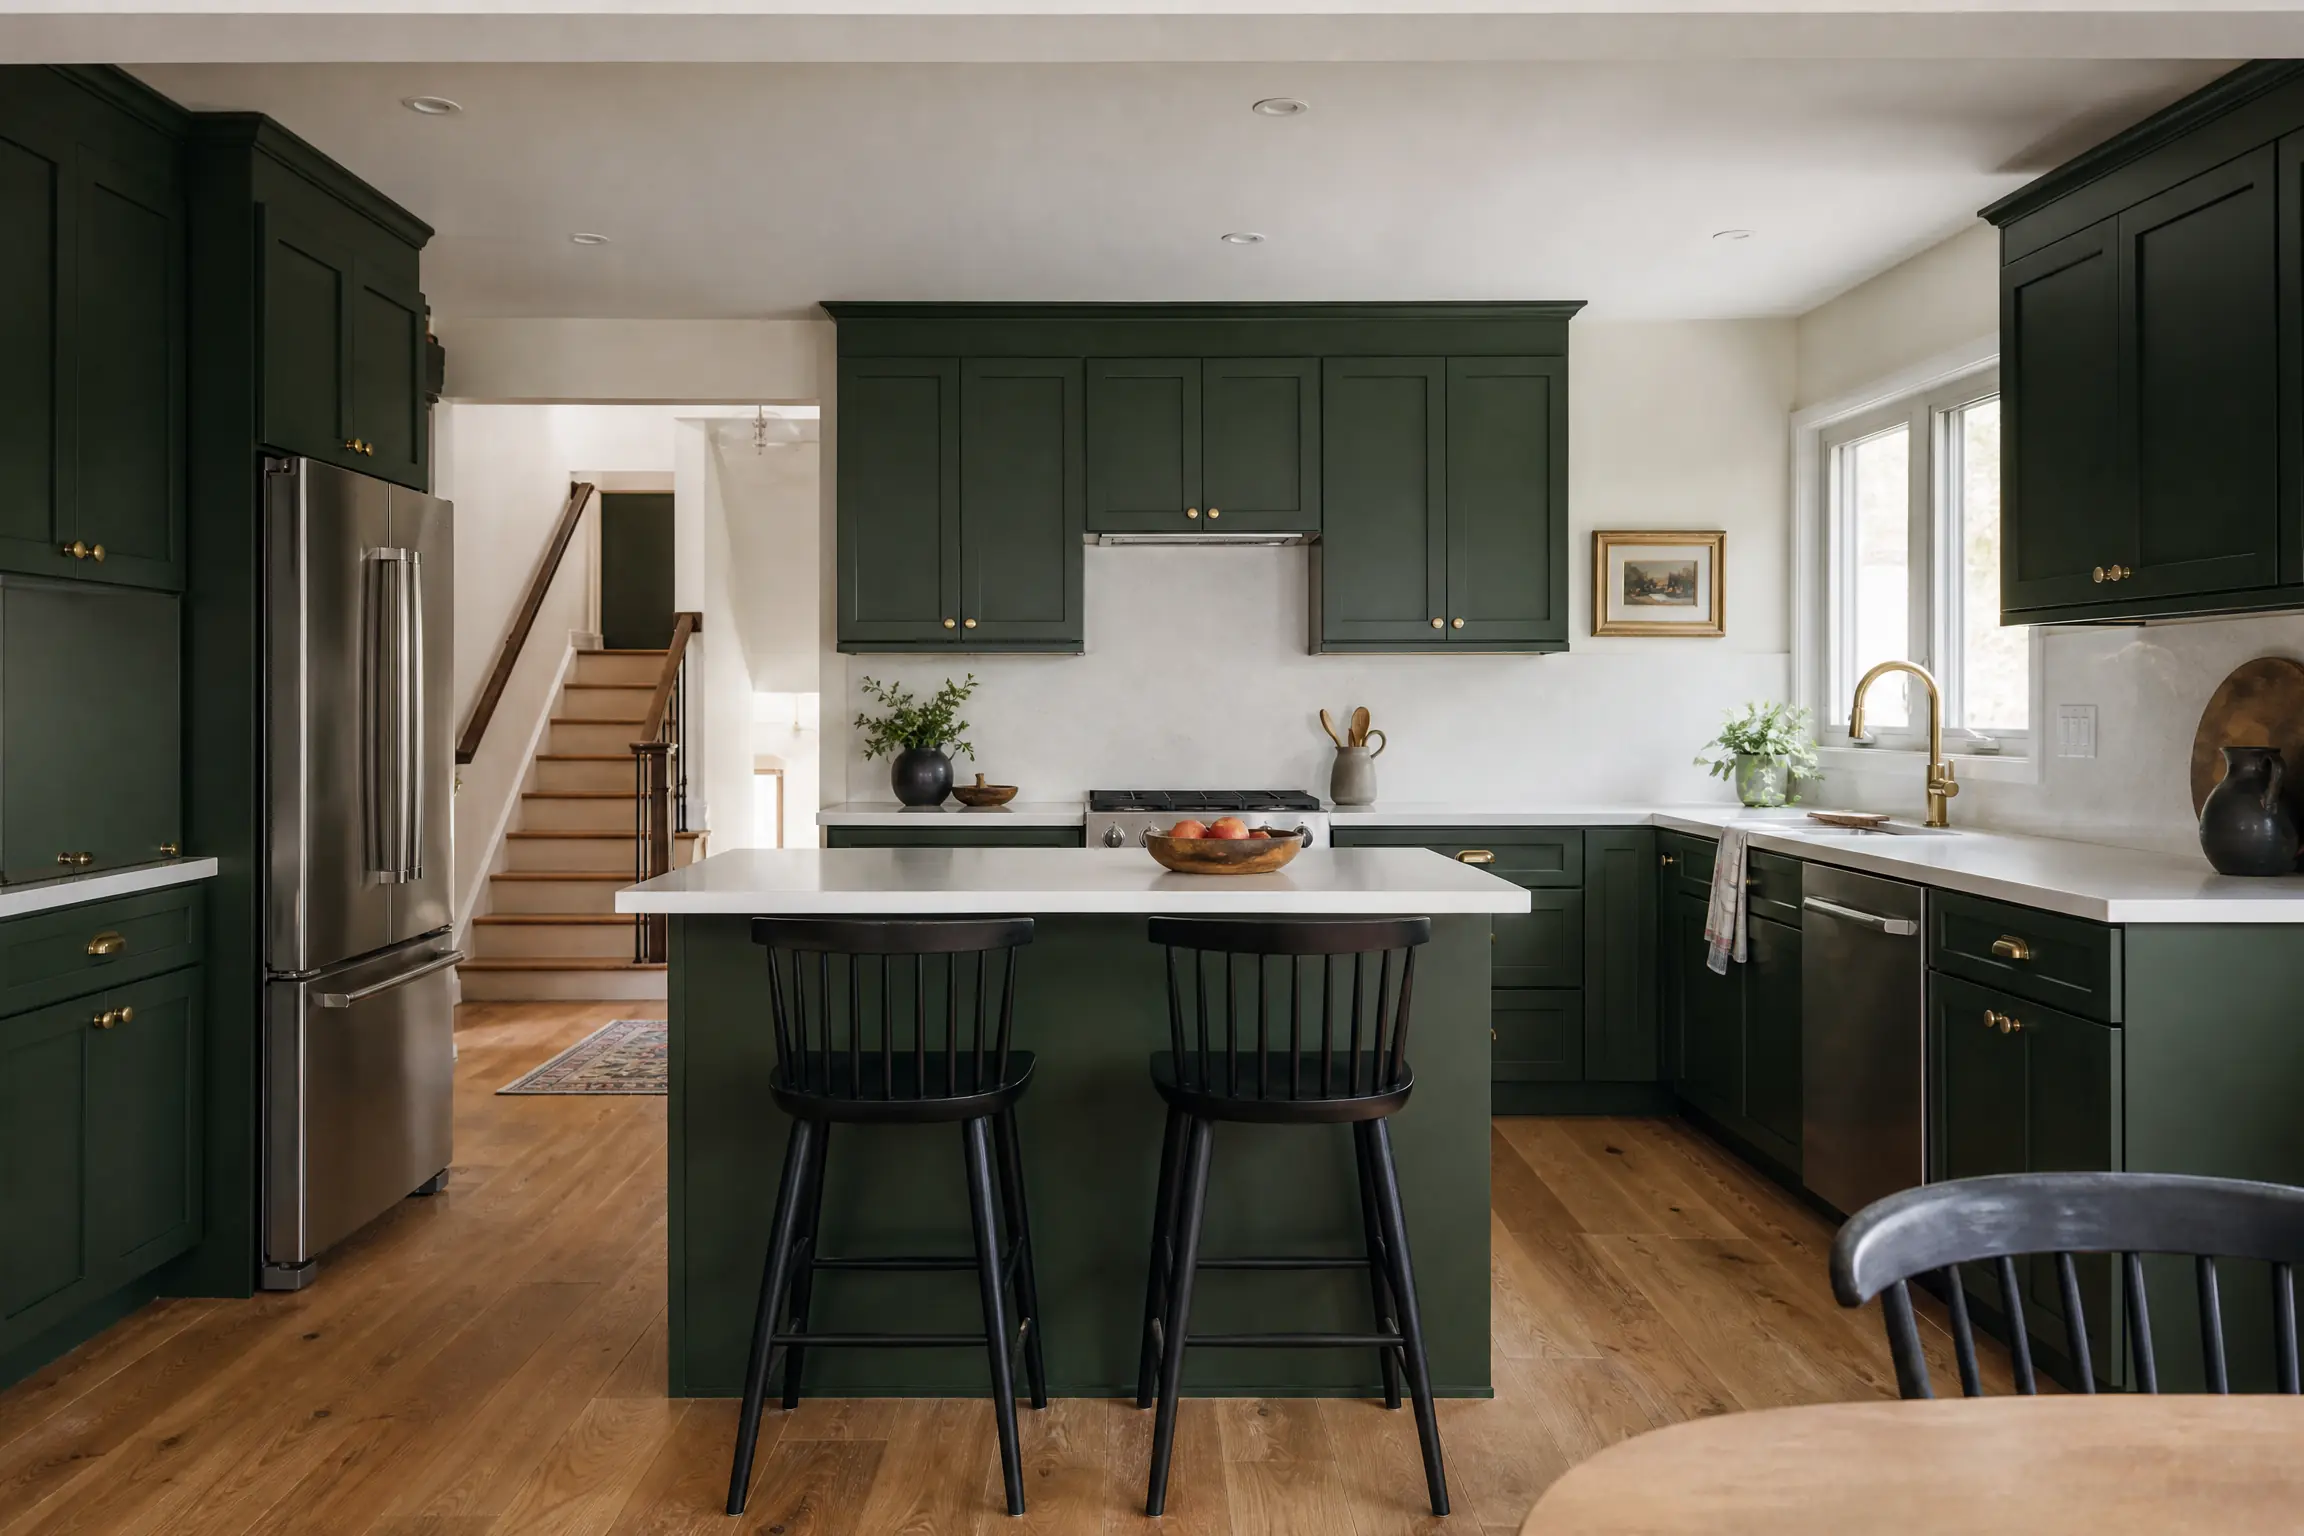
The owners did not want white in the kitchen again. At the colour consultation, sample pots of a deep green, a navy and a dark grey were brushed onto primed boards and propped against the counters. The bay window fills the breakfast area with light in the morning, and in that light the navy looked almost purple and the grey looked flat. The deep, slightly muted green held its colour in the morning and stayed rich in the evening under the pot lights. It also suited the oak floor that runs through the main level.
The finish is satin, with the oak grain showing as a light texture under the green, and long brass pulls on the drawers and doors. For the ensuite and powder room, the owners kept it light with a soft white enamel in the same sheen, so the bathrooms read as clean and bright against the green kitchen downstairs.
Cleaning up each day
Stripping leaves scrapings and residue, and we cleaned them up the same day rather than letting them sit. Scraped paint was swept up and bagged, stripper residue and used pads were collected for proper disposal, the driveway under the sawhorses was swept, and the dust barrier was checked and vacuumed. The kitchen itself was vacuumed and the walking paths cleared every evening.
Caring for the new finish
- The enamel is hard to the touch soon after it dries but takes some weeks to reach full hardness. In that time, close doors gently and avoid leaning on the island ends.
- Felt bumpers were fitted on every door, which keeps paint from resting on paint and helps the doors close quietly.
- Clean with a mild soap and a soft cloth. A dark green shows white residue from strong cleaners, so rinse with a damp cloth after and dry the surface.
- Touch-up paint for both colours was left in labelled jars, with the room and the sheen on each lid.
Why it fits Oakville’s oak kitchens
Many homes in River Oaks, Glen Abbey and Joshua Creek have solid oak kitchens, and some have already been painted once without proper prep. When that has happened, the only lasting fix is to take the failed paint off and start again with the right primer. Our cabinet painting service covers stripping as well as straightforward repaints, and we work throughout Oakville and the rest of Halton Region. If your cabinets are peeling or sticking, contact us and we will look at them and write you an itemized quote.