
A converted cottage on the south shore of Lake Simcoe
This one-and-a-half-storey cottage in Jackson’s Point was built for summers and has since been insulated and winterized so the family can live there year-round. It stands a short walk from the shore, with its main windows facing north over Lake Simcoe. The lower walls are cedar bevel siding, the gable ends above are vertical board-and-batten, and the windows are wood, with flat casings and sloped sills. Homes like this line much of the shore in Georgina, and many of them have gone from seasonal use to full-time living without the exterior being rethought.
The owners called us because of a damp patch on the inside wall beneath one of the lake-side windows. They wanted the exterior repainted, but first they wanted to know where the water was coming from.
Following the water in
The answer was in the window trim. On the north wall, the side that takes the wind coming across the lake, every window showed the same pattern: caulk at the top of the head casing had shrunk and pulled away, the joints where the side casings meet the sill had opened, and the paint on the sill corners had cracked. Rain driven sideways by the wind was getting into those gaps and soaking into the end grain of the sills.
Pushing a probe into the sill corners confirmed it. Several sills were soft at their outer ends, and some side casings had split along the grain. The moisture reader showed the wood around those joints was far wetter than the siding a few feet away.
The rest of the cottage
- The east wall, shaded by large maples, had grey-green mildew spotting along the lower siding.
- The old white paint on the cedar siding was peeling on the north and west walls, so badly on the lake side that most of it scraped back to bare wood, with some brown tannin staining where bare cedar had been wet.
- The white board-and-batten gables were dirty and chalky but mostly sound.
- The south wall, facing the road, needed little more than a wash and a fresh coat system.
Repairs and preparation, surface by surface
Protecting the yard and the house
Drop sheets went down along each wall as we worked around it, and the hydrangeas along the east wall were tied back and loosely covered. The windows were masked once the trim repairs were done, and the side door stayed usable throughout, as the owners kept living at the cottage while we worked.
Window sills and casings
- Soft wood in the affected sill ends was dug out back to firm fibres and left to dry.
- A penetrating epoxy consolidant was brushed into the remaining wood to harden it, then the hollows were built back with a two-part exterior epoxy filler, shaped to the sill profile and sanded flush.
- The split side casings were replaced with new pine boards that were primed on all faces and ends before they were nailed up, so no raw wood sat hidden against the wall.
- All old caulk at the window heads, side casings and sill ends was cut out. Deep gaps were filled with backer rod first, then sealed with a paintable exterior sealant tooled to shed water away from the joint.
Mildew on the east wall
The shaded siding was washed with a mildew wash, scrubbed gently with soft brushes and rinsed. Cedar that stays in shade dries slowly, so that wall was left until the moisture reader showed it was dry enough to paint, while work carried on elsewhere.
Cedar siding
Loose and peeling paint was scraped off and the edges were sanded so the transitions would not telegraph through. Every bare patch of cedar was then primed with a stain-blocking exterior primer. Cedar is full of tannins that bleed through water-based paint as brown streaks, and the primer locks them in.
Board-and-batten gables
The gables were washed to remove chalk and dirt, a few lifting spots on the battens were scraped and spot-primed, and the whole surface was lightly scuffed so the new white would bond to the old.
Paint, coats and how they went on
Lake weather set the daily rhythm. Morning dew sits heavily on lakefront wood, so painting started only once the boards were dry to the touch, and we stopped in the mid-afternoon on cooler days so the paint could form a skin before the evening damp. On humid days the gaps between coats were longer, since we waited for the manufacturer’s recoat time to be fully met rather than pushing ahead.
- Cedar bevel siding: two coats of 100% acrylic exterior paint in satin, a deep blue-green. Each course was brushed along its full length, with the bottom edge of every board coated so water runs off instead of wicking up.
- Board-and-batten gables: two coats of white in satin, rolled on the wide boards and brushed on the battens and their edges.
- Window trim, fascia and soffits: two coats of white semi-gloss by brush, which sheds water a little better at the sills and is easy to wipe down.
Picking colours by the water
Light off a large lake changes through the day, and that makes colour hard to judge from a chip. During the free colour consultation we brought sample pots in a range of blue-greens and painted each on a primed board, then set the boards against the lake-side wall. In the bright morning light the lightest shade looked almost turquoise; by evening, under a grey sky, the deepest went nearly black. The owners chose a shade just short of the deepest, which stayed recognizably blue-green in both. White was kept for the gables and trim so the window outlines read clearly from the shore.
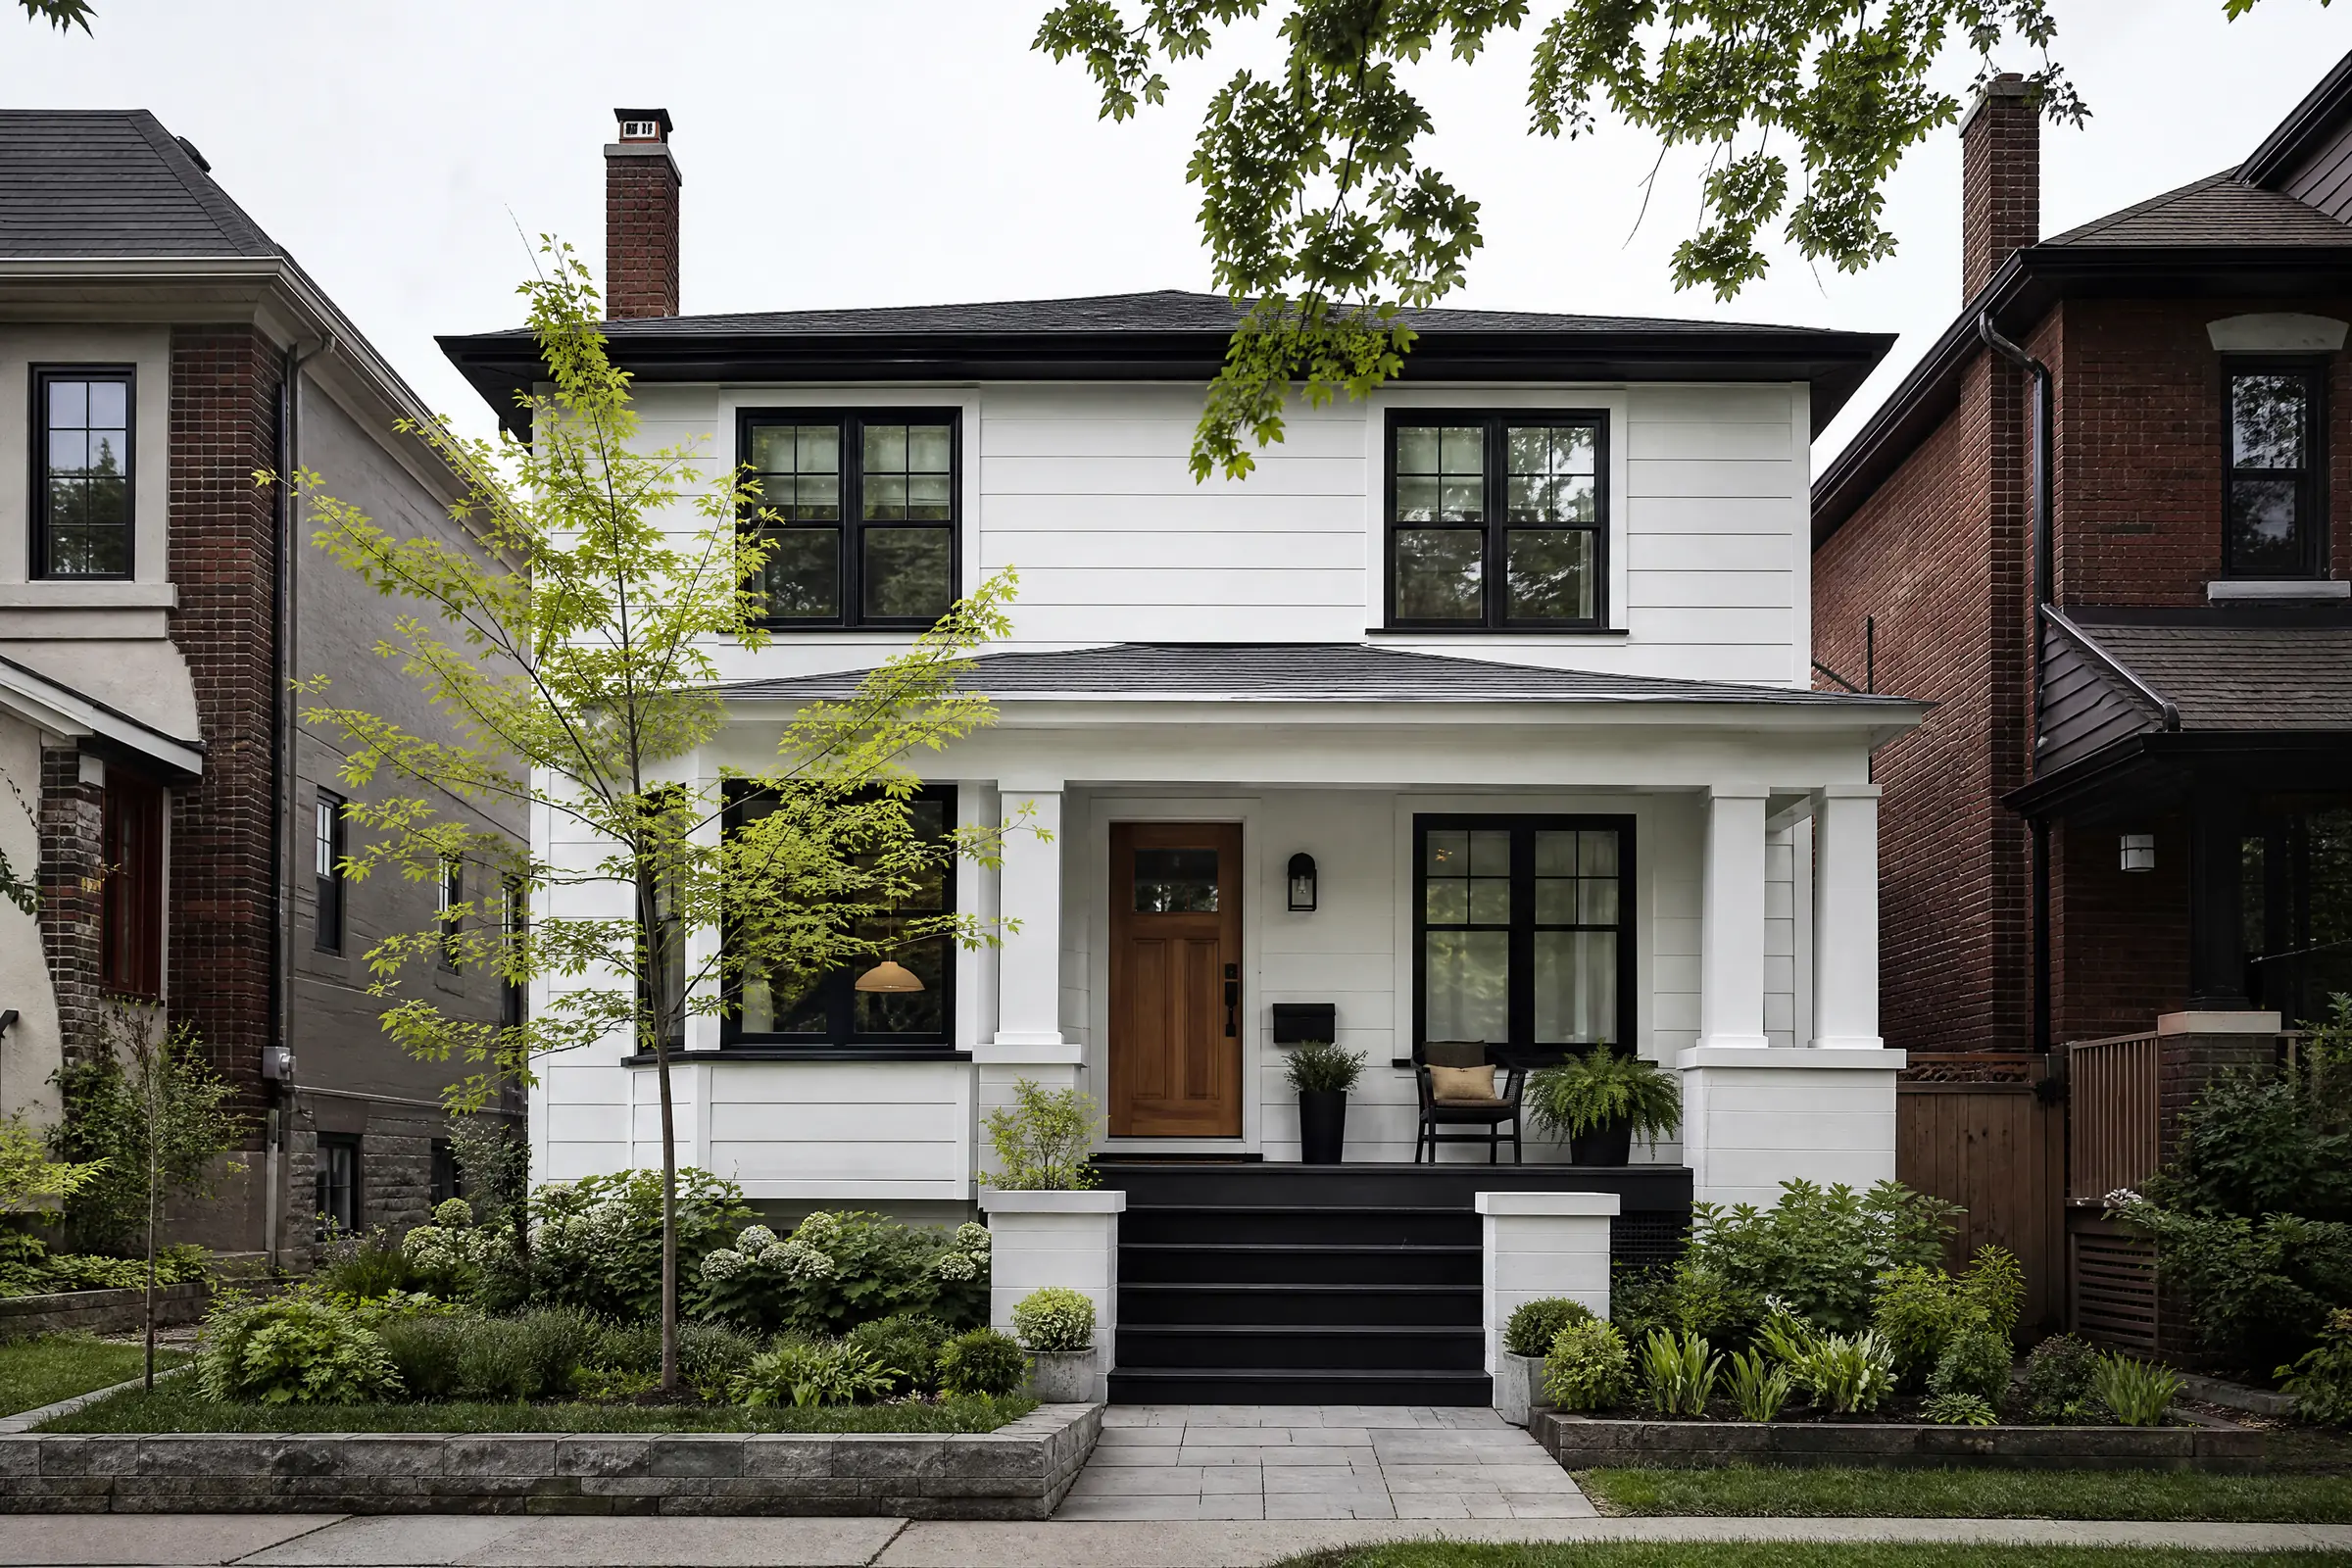
The cottage now shows a dark blue-green base with crisp white gables above, and each window is outlined by clean white trim with tight, freshly sealed joints.
A tidy house that stayed lived in
Because the family was at home, the path to the side door and the deck stairs were kept clear and swept every evening. Ladders were taken down and stored behind the shed at the end of each day, open paint was sealed, and scraped chips were swept up from the drop sheets before they could blow toward the water. The final clean-up included removing all masking from the glass and checking each window opened freely.
Looking after a lakefront finish
- Check the caulk at the lake-side window heads and sill ends every spring. It is the first line against wind-driven rain, and small gaps are easy to reseal.
- Rinse the east wall once a year to keep mildew from getting a foothold under the maples.
- If water sits on a sill after rain, wipe it off and look at the paint there; sills take the most punishment on this house.
- Touch-up paint for the blue-green, the white satin and the white semi-gloss was left labelled in the shed.
Why this suits Georgina’s lakeshore homes
Along the south shore of Lake Simcoe, rain arrives sideways as often as it falls straight down, and window joints facing the lake take the brunt of it. A cottage that was built for summers and is now lived in all year needs its trim sealed and its sills sound before paint can do its job. That is why our exterior painting work here starts with the joints rather than the colour. We have painted homes in Toronto and across the GTA since 2010, including lakeshore and cottage properties around York Region, and every surface gets two finish coats as a minimum.
If your cottage trim is cracking or you have found damp beneath a lake-side window, reach out to us to book a visit and receive an itemized written quote.