
The house: an older brick home near Main Street
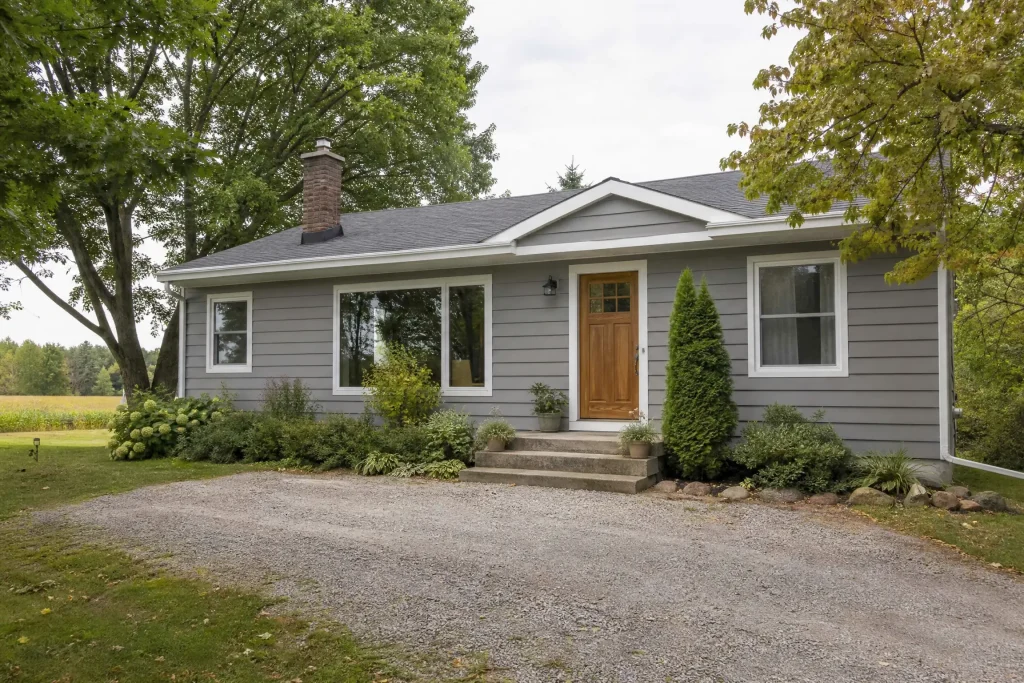
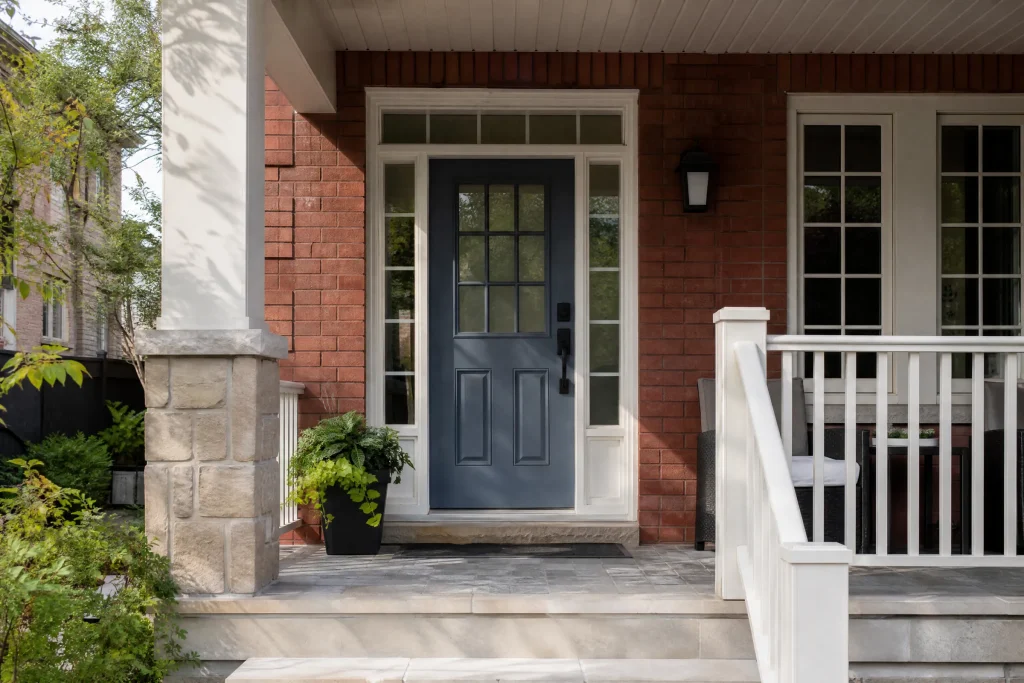
Stouffville is the largest community in Whitchurch-Stouffville, and the streets around its Main Street hold the town’s older houses. This one is a two-storey brick home with a front porch, plaster walls inside, wide wood casings and baseboards, a painted stair with turned balusters, and original wood floors through the main rooms. The living and dining rooms open into each other across the front, with big windows on two sides.
A previous owner had painted the living room a deep red and the dining room a dark hunter green. The current owners found both rooms heavy and wanted the whole interior lighter, with the plaster made sound and the trim brought back to a clean, consistent finish. They also asked us to include the porch ceiling and railings while we were there.
Condition and challenges
Plaster lasts a long time, but it was showing its age. Hairline cracks ran out from the corners of door and window openings, a longer crack crossed the living room ceiling, and in places upstairs the plaster had let go of its lath, flexing under a light push of the hand. The trim had been painted many times, the lower coats in glossy oil, and several window sashes were painted shut. Sills and stair treads had chips showing several older colours underneath.
Two things set this apart from a typical repaint. First, the trim carried so many coats, the lower ones in oil, that new paint would only hold with the right sanding and primer. Second, deep red and dark green are among the hardest colours to cover with a pale one; without the right primer, they ghost through several coats.
Protection and preparation
Keeping trim dust contained
Trim with this many coats of paint makes a lot of fine dust, so we kept it contained: plastic sheeting sealed the doorways of the room being worked on, scraping and sanding were done by hand with damp sponges rather than a power sander, debris was caught on plastic laid along the baseboards, and each evening the room was vacuumed with a fine-filter vacuum and wiped down with damp cloths.
Covering the rooms
- Heavy paper went over the old wood floors first, then plastic in rooms with trim work, then drop cloths on top.
- Furniture went to the middle of each room and was covered; the green sofa and dining set were wrapped and kept clear of the work.
- Radiator covers, hardware and switch plates were removed, labelled and stored.
Securing and repairing plaster
Where the plaster had separated from the lath, we drew it back with plaster washers and fine-thread screws set into the lath and framing, then skimmed over the washers. The cracks were opened slightly with a utility knife so they would take filler, loose material was brushed out, and fibreglass mesh went across each crack, pressed into a powder-mixed compound that cures chemically and shrinks less than premixed mud. Two or three thin coats were feathered out and sanded smooth.
Windows and trim
Painted-shut sashes were cut free along their edges with a sash knife, and built-up paint on the stops was cleaned back so the windows open again. All trim was washed with a degreasing cleaner, wet-sanded until the old shine was gone, and coated in an adhesion primer, the dependable way to get water-based enamel to hold on top of old oil paint. Open joints in the casings were caulked, and chipped sills were filled and sanded level.
Covering the dark colours
The red and green walls took a full coat of high-hide primer, tinted toward the new cream, so the finish would cover evenly in two coats instead of three or four.
Painting room by room
Ceilings
Ceilings got two coats of flat paint, tinted a quarter strength toward the wall colour rather than left stark white. In old rooms with plaster cornices and slightly uneven corners, a ceiling that is just a shade off the walls hides wavy lines where the two meet. We rolled the ceilings in one direction and brushed the corners carefully by hand.
Walls
Walls took two coats of a soft cream eggshell, cut in by brush and rolled with a medium-nap roller that gets into the slight undulations of old plaster. Eggshell was chosen over matte for the hallway and stair, where hands touch the walls, and the owners kept it consistent through the main rooms so the sheen reads the same everywhere.
Trim, doors and stair
All trim, interior doors and the stair balusters were brushed in two coats of a water-based alkyd satin enamel in a slightly deeper cream. This type of enamel levels out brush marks well and dries hard, which suits old woodwork that gets handled. Each coat went on once the previous one had passed its recoat time on the can, and the balusters were done one at a time from top to bottom to keep runs off the stair treads.
The porch
On a dry, mild stretch of weather, the porch ceiling and railings were washed, scraped where loose, spot-primed with exterior primer on bare wood and given two coats of exterior acrylic porch paint. The ceiling stayed a pale colour and the railings matched the interior trim cream.
Colour: moving from heavy to light
The owners wanted the rooms to feel lighter, but not cold. During the free colour consultation, a few creams and whites from sample pots went straight onto primed patches of the old red and green walls, then looked at them in morning and evening light. Pure whites looked stark against the warm wood floors and the old trim profiles. A soft cream with a little yellow suited the age of the house and made the floor glow without looking dated. Trim in a cream a few steps deeper gave the casings definition against the walls without the hard contrast of bright white, which the owners felt suited the house better.
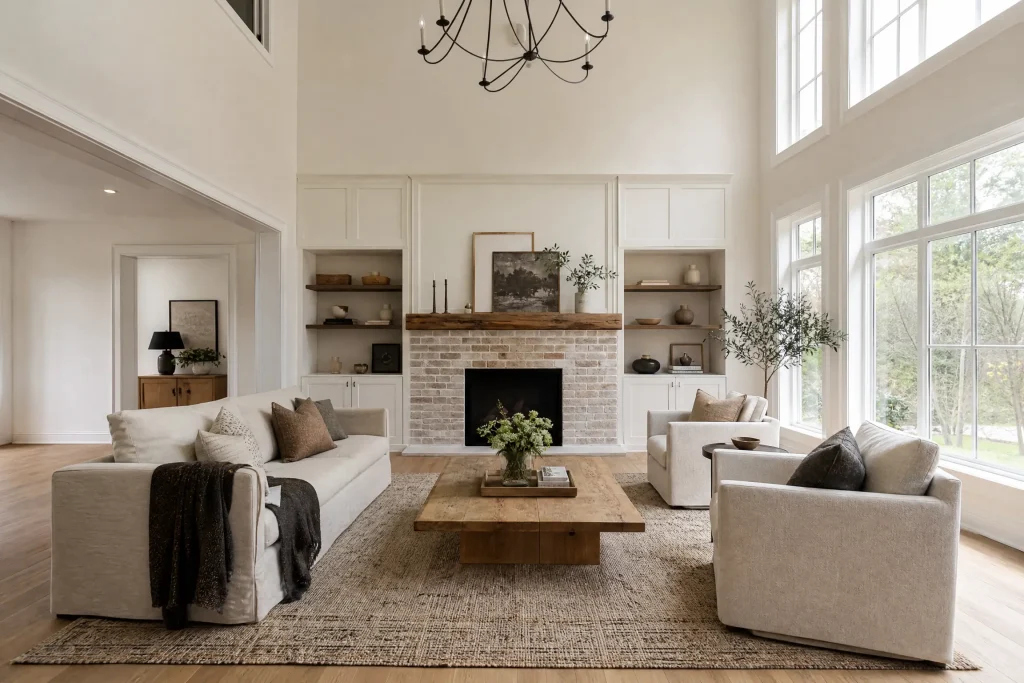
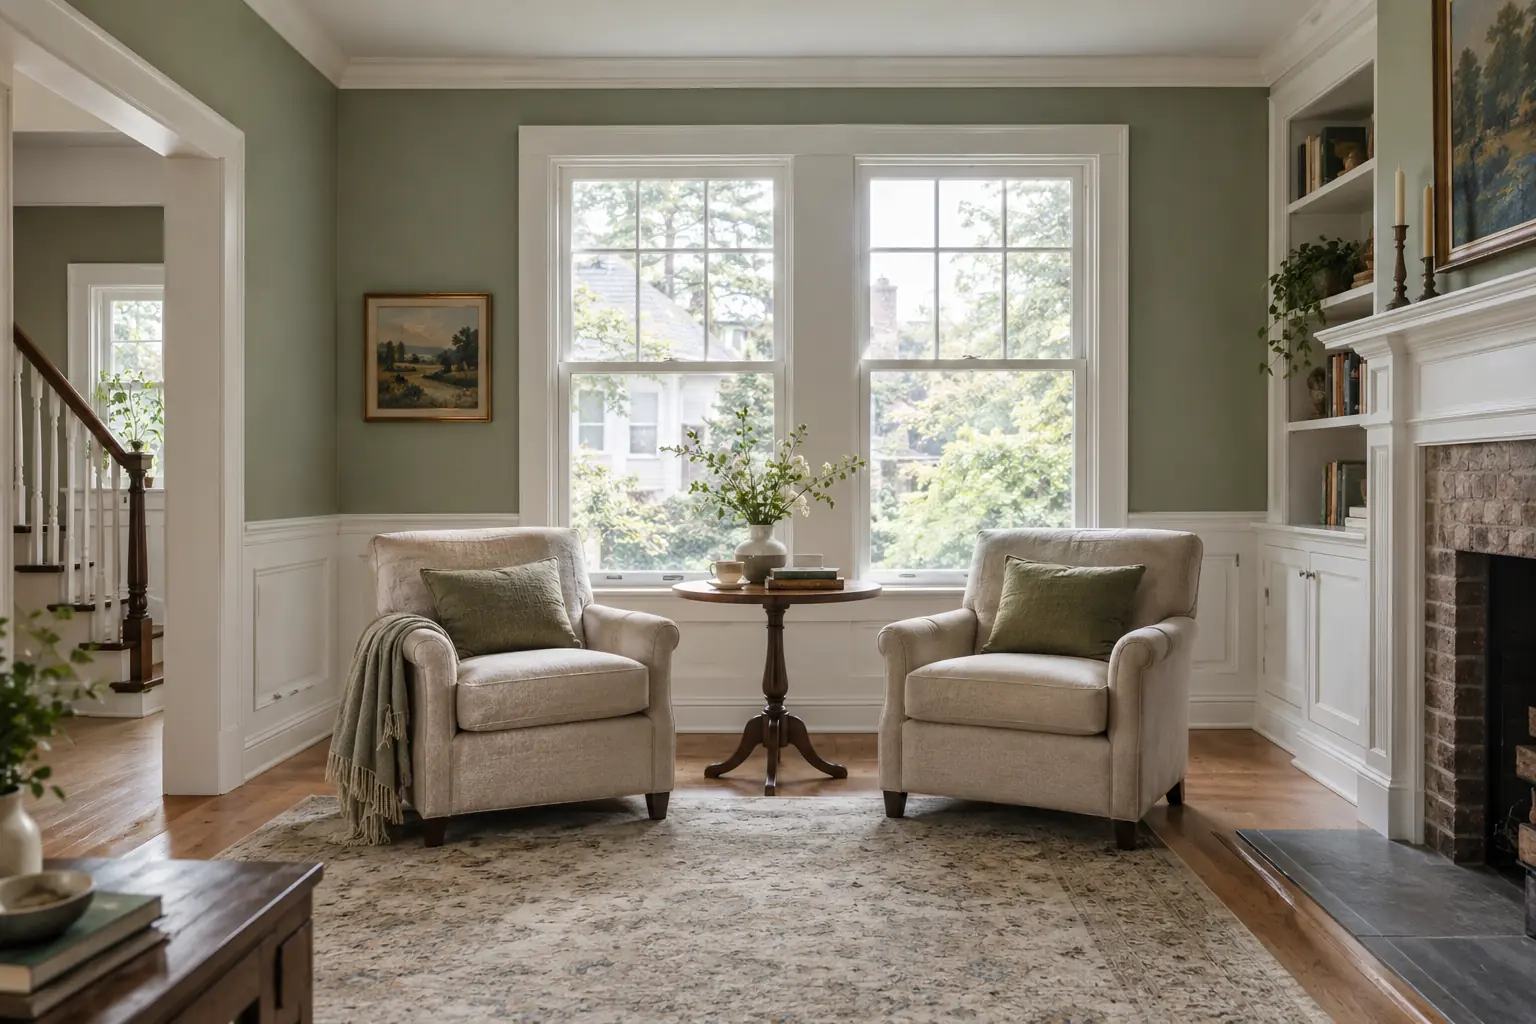
The result is a bright, calm living and dining room: cream walls, deeper cream casings framing the windows, flat ceilings in a barely tinted white, and the wood floors as the warmest colour in the room.
Keeping the site safe and clean
Trim prep in an old house leaves fine dust behind, so daily clean-up mattered. At the end of every day, debris from trim prep was bagged, plastic floor layers were wiped and folded inward, the work area was vacuumed with a fine filter, and the rooms the family were using were left clean. Paint, tools and primers were kept in one room set aside for them, and the porch work area was swept before we left each day.
Looking after the finish and the house
- Allow a few weeks of curing before washing walls. After that, eggshell can be wiped with a soft cloth and mild soap.
- Old plaster moves a little with the seasons. Fine cracks may reappear at a door corner; small ones can be filled and touched up with the labelled cans left in the basement.
- If any trim chips later, ease the edge with a damp sanding sponge, spot-prime it with a bonding primer and touch up with the labelled trim cream.
- Check the porch railings each spring for cracks in the paint at joints, and recaulk and touch up before water gets into the wood.
Why older Stouffville houses need this kind of prep
The older homes near Stouffville’s Main Street have plaster, wood trim and porches that reward patient preparation more than speed. Securing loose plaster, getting a bond on old oil trim and covering dark colours properly make the difference between a repaint that holds and one that cracks and peels again. Our house painting service puts interior and porch work on one plan, and every surface ends up under two or more finish coats. Older houses like this have been part of our work since 2010; more about local homes is on the Whitchurch-Stouffville page, and nearby jobs in York Region are listed too. To talk about your own house, get in touch for a written quote.