
A new Queensville house reaching its first refresh
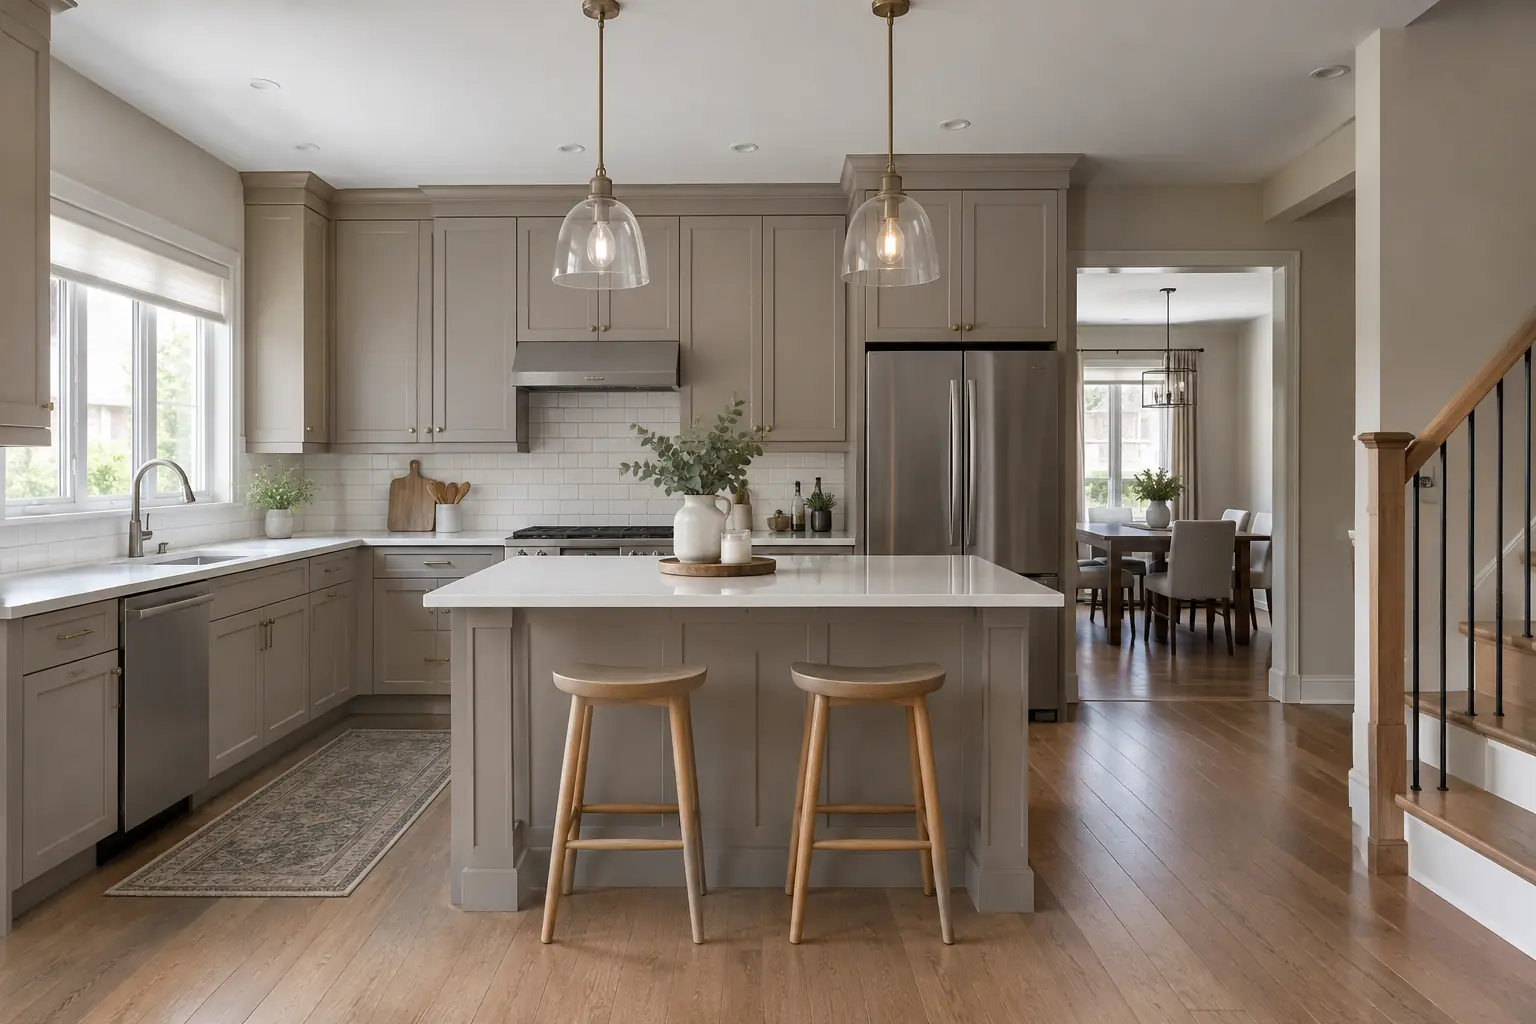
Queensville is one of the East Gwillimbury villages where new subdivisions of detached homes and townhouses have gone up around the older core. This house was one of them, a detached two-storey still fairly new to its owners, with an open kitchen that runs straight into the dining area and a wide window at the end of the table. It still had most of what the builder put in: flat paint on the walls, a few nail pops along the ceiling, and white shaker cabinets.
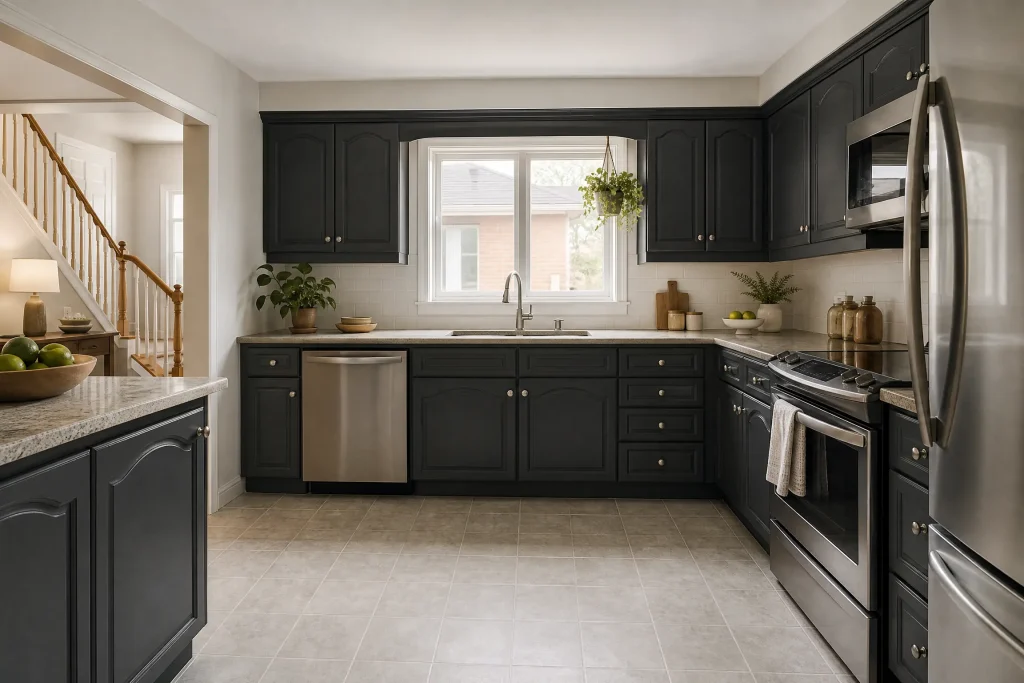
The owners were not unhappy with the cabinet style. They liked the plain shaker doors and the layout. What bothered them was the condition. The factory white had chipped along the edges of the busiest doors, one sink base door had swollen, and the white near the range had turned a slightly creamy yellow. They also wanted a little colour in a kitchen that looked bright white from end to end, and they wanted the main bathroom vanity to match.
What painted MDF does as it ages
The first check was what the doors were made of. Some builder kitchens use thermofoil, a vinyl skin heat-pressed over the door, and that surface is a poor candidate for paint because the skin itself can lift. We looked at the edges and the back of a door: these were solid MDF with a factory paint finish, which is a good base for repainting.
MDF is smooth and stable, but it has two weak points.
- Edges chip. The factory finish is thin on the outside edges, and once a pot or a vacuum knocks a chip out, the exposed fibres soak up grime. Several lower doors near the dishwasher and the pantry had chips along their edges.
- Water makes it swell. A slow drip from the sink had soaked the bottom edge of the left sink base door, and the MDF had puffed up and gone soft. Swollen MDF does not shrink back, and filler on top of it will not stay put.
We told the owners the swollen door needed replacing. An unfinished MDF blank in the same shaker profile took its place, and we primed and painted it with the rest so it would match.
The yellowing near the range came from heat and cooking oil on the factory finish. A white topcoat on cabinets will often take on a cream cast over time near a stove, which is one more reason a fresh coat of enamel was due.
There was also a visible melamine gable, the flat end panel beside the fridge, which was white melamine rather than painted MDF. Paint will not hold on melamine without a primer made for slick surfaces, so it needed its own step.
Protection, repairs and primer
Setting up
The open plan meant the dining area, the window and the floor all had to be covered before anything came off the wall. Rosin paper went down from the kitchen through to the dining table, which was pushed to one side and draped. The counters were covered with masking film, and the range hood and appliances were wrapped. The black bar pulls and the hinges came off and went into bags labelled by door. We ran fine-line tape where the cabinet frames meet the builder-painted walls so the new grey stopped on a straight edge and the walls were left untouched.
Cleaning
Every door, drawer front and frame was washed with a degreaser and rinsed. The panel above the hood and the doors on either side of the range needed a second wash before the cloth stayed clean.
Edge repairs
- Loose paint around each chip was scraped back to a firm edge.
- A two-part polyester filler was pressed into the chip and left a little proud of the edge.
- Once hard, the filler was shaped with a sanding block to follow the original rounded profile of the door, so the repair would disappear once painted.
- The repaired edges were checked by running a finger along them; any dip or bump was filled again.
Sanding and primers
The factory finish was scuffed with fine sanding pads all over. Where sanding went through to raw MDF, mostly on the repaired edges and on the new door, we primed with an alkyd primer. Raw MDF edges soak up water-based products and the fibres stand up, leaving a fuzzy edge that never sands perfectly flat. An alkyd primer seals the fibres down first. The rest of the doors got a spot coat of the same primer over repairs and an overall scuff, and the melamine gable got a bonding primer rolled on thinly, then left to dry fully before a light sand.
Spraying the kitchen and the vanity
The colour coat was a waterborne alkyd enamel in semi-gloss. MDF gives a very flat, smooth surface, and on that kind of door a semi-gloss looks crisp and clean rather than showing every flaw. It also wipes clean easily, which the owners wanted with young children at the table.
Doors and drawer fronts were taken to a ventilated spray area walled off with plastic in the garage and laid across padded sawhorses. The backs were sprayed first, two coats with the manufacturer’s recoat time between them. They were then flipped and the fronts got the same two coats, with each pass starting on the edges and the inside profile of the shaker frame before the flat centre panel. The new sink base door went through every step alongside the others so its finish matched.
The face frames and the fridge gable were done in place with a fine synthetic brush in the corners and a small foam roller on the flats, two coats each. The vanity in the main bathroom was done the same way: doors and drawer front sprayed, the box brushed and rolled where it stood. The floor and toilet were covered, and the bathroom fan ran during and after each coat.
Settling on a cool light grey
The owners started out wanting a greige, a grey with beige in it. At the colour consultation we painted sample pots onto primed MDF scraps, a warm greige beside a cool light grey. Next to their black counters and the white tile, the greige looked muddy. The cool grey looked clean, and it sat well next to the red chairs at the dining table. The window throws plenty of daylight into the kitchen, so the boards were checked in the morning, when the room is brightest, and again in the evening under the pendant lights, where the cool grey held its colour.
Now the kitchen reads as a soft grey block under the counters and along the wall, with the window and the white tile keeping the room bright. The vanity upstairs is the same grey, so the two rooms feel connected without the house looking all one colour.
A clean site every day
The family stayed at home throughout. The dining area stayed covered but walkable, the sink was cleared each evening, and the drying racks stayed in the spray area rather than in the living space. Before we left each day the floor was swept and vacuumed, tape that was no longer needed came off, and bins were emptied.
What to watch for later
- Give the enamel a few weeks to harden before scrubbing. Until then, mild soapy water on a soft cloth is enough.
- Check under the sink from time to time. Another slow drip would damage the MDF again, and swollen MDF has to be replaced, not painted.
- Keep wet towels off the oven door handle where they lean on the drawer fronts below.
- A labelled container of the grey, marked with the sheen and the rooms it was used in, was left for touch-ups on edges.
Why it suits East Gwillimbury’s newer homes
Homes in Queensville, Holland Landing and Mount Albert built in recent years often reach their first repaint with builder-white MDF cabinets that are structurally fine but worn at the edges. Repairing the chips properly and sealing raw MDF is the difference between a repaint that looks factory-smooth and one that shows every old knock. That is the core of our kitchen cabinet painting work, and we bring the same approach to houses across East Gwillimbury and the wider York Region. For an itemized written quote, get in touch and tell us which rooms you want included.