
A new house in Queensville with untouched outdoor wood
East Gwillimbury is still largely rural, but much of its recent growth has come as new subdivisions around villages like Queensville and Holland Landing. This home is one of them: a modern two-storey detached on a young lot, where the sod was barely knitted in and the trees were still staked. The house came with a pressure-treated deck off the family room, with a stair running down the side yard beside a white vinyl fence and prefinished white aluminum railings. Along the back and the far side of the lot ran a newer horizontal cedar privacy fence, just as bare.
None of that wood had ever been finished. The owners asked us to give the deck boards, the stair treads and risers, and the whole run of cedar fence their first coats of stain, while leaving the aluminum railings and vinyl fence untouched.
The catch with brand-new wood
New wood is not ready for stain the day it is built, and the two materials here were unready in different ways.
Pressure-treated deck and stair
Treated lumber arrives soaked with the preservative solution, and it can take a good part of a season to dry out enough to absorb stain. When we first visited, water poured on the deck boards sat in beads on the surface instead of soaking in, the simplest sign that the wood was still too wet. The boards also carried a film of construction dirt, boot prints, splashes of drywall mud near the patio door, and pencil layout marks.
Cedar fence
The cedar was dry enough, but its boards had a smooth, slightly shiny face called mill glaze, left by the planing knives at the mill. Mill glaze seals the surface so that stain sits on top and wears off early. Some boards near the gate also showed faint dark streaks around the screw heads, where tannins in the cedar had reacted with the fasteners.
So the plan had two stages: prepare and stain the cedar fence first, then come back for the deck once it passed the water test.
Preparing the fence and deck, in order
Protecting a new yard
- New sod does not tolerate being covered with plastic in the sun, so along the fence line we laid canvas drop cloths and moved them as we went, rather than leaving sheeting down.
- The white vinyl fence on the side yard was wrapped in plastic, and the aluminum railings were masked with tape and paper at every post base and baluster.
- The air conditioner, the gas line and the hose bib near the deck were bagged, and the stone on the patio below the stair was covered.
The cedar fence
- We washed the fence with a percarbonate-based wood cleaner and a soft brush, then rinsed it off gently from a hose; a pressure washer was never used on it. New cedar is soft and fuzzes badly under high pressure.
- The mill glaze was broken by sanding every board face with an orbital sander and a coarse pad, which opens the grain so the stain can soak in.
- The tannin streaks by the gate were lifted with an oxalic acid brightener, which also evened out the colour of the whole run after washing.
- We checked the screws along the run: plain steel keeps reacting with cedar and brings the streaks back, but these were coated, so a brightening wash was enough.
The deck and stair, once dry
- When the boards finally drank in a splash of water within a few minutes, and a pin-type moisture tester agreed, the deck was ready.
- The boards, treads and risers were scrubbed with the same wood cleaner to lift dirt, boot prints and the dried drywall mud, then rinsed and left to dry again.
- Pencil marks and a few rough spots at the board ends were sanded off.
- Cut ends on the stair treads and deck boards, where the factory treatment is thinnest, were saturated with stain separately before the main coats.
Applying the first coats
Horizontal cedar fence
For the fence we chose an oil-based semi-transparent stain in a natural cedar tone, two coats of it, pigmented enough to block the sunlight that greys bare cedar. On a long horizontal fence, we applied it with a pump sprayer and followed directly behind with a brush, working each board along its full length. Back-brushing is the step that matters here: it pushes the stain into the grain and evens out what the sprayer puts down, so there are no drips hanging off the lower edge of each board. Coat two went on wet-on-wet, inside the window the label allows for that, and anything left wet on the surface was wiped off.
Deck boards, treads and risers
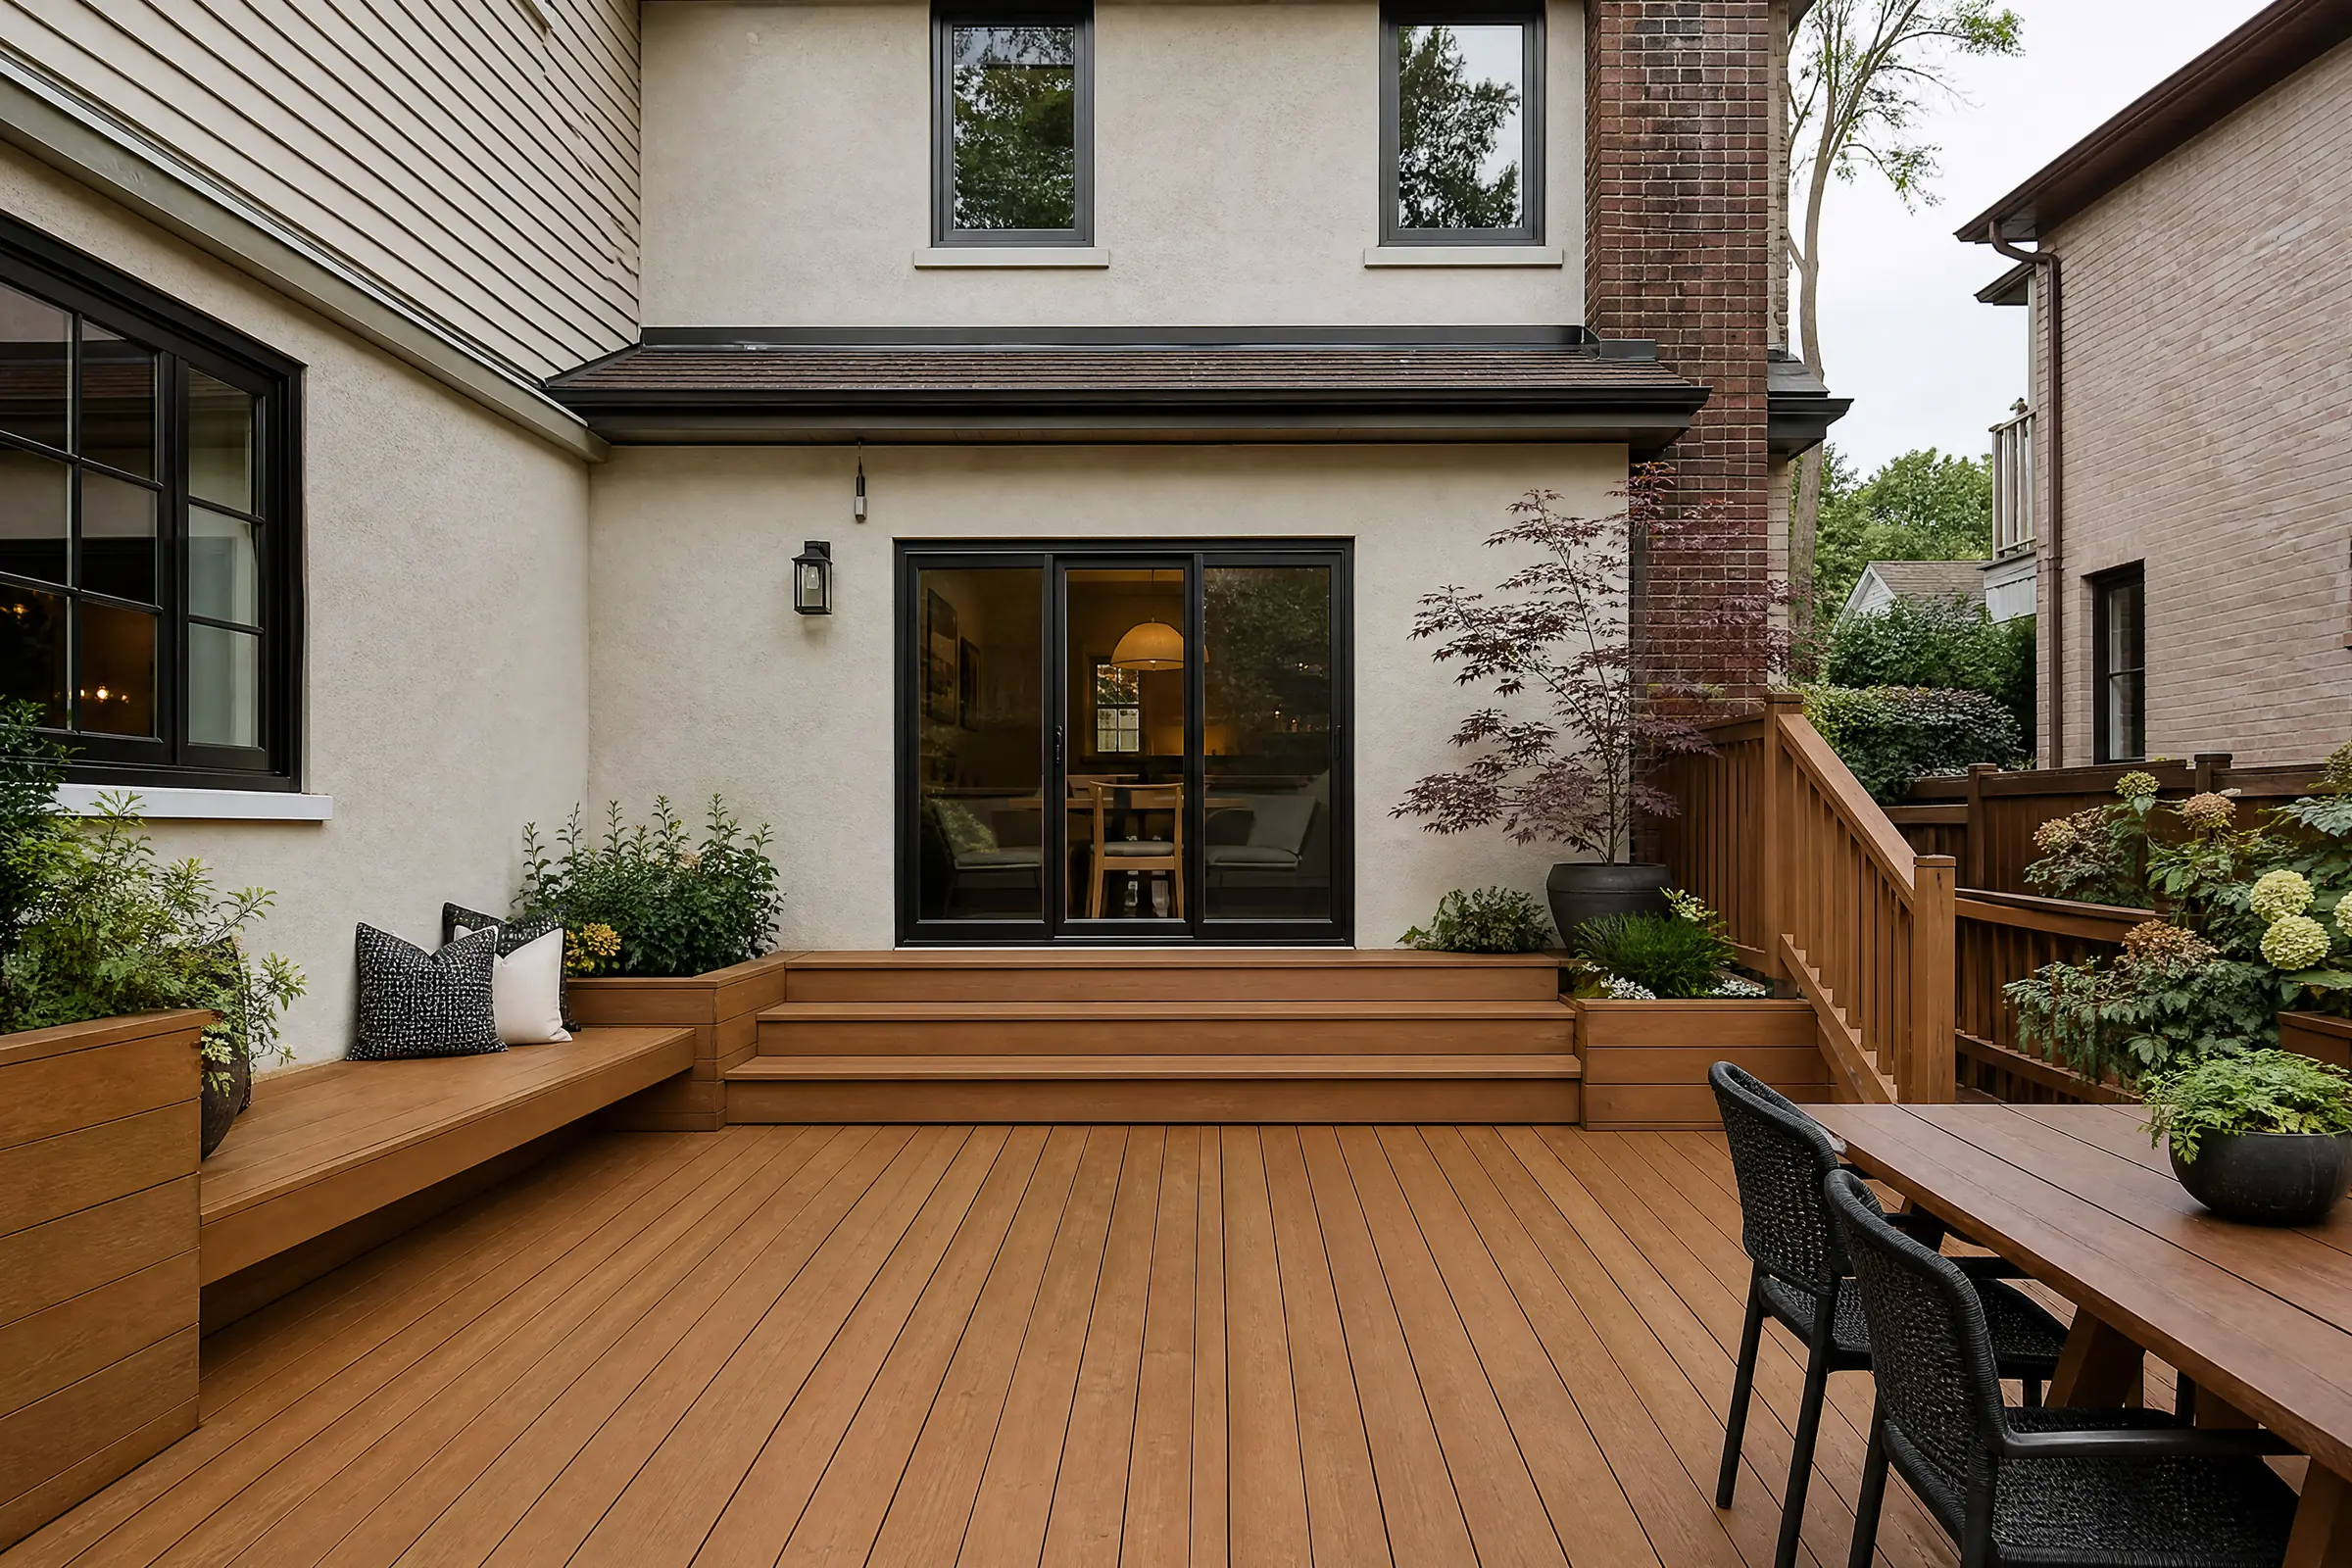
For the deck surface we used a semi-transparent stain in a deeper brown picked to echo the house’s dark window frames. The deck boards were coated with a flat stain pad on a pole, three or four boards at a time along their whole length to avoid lap marks. Treads and risers were brushed by hand, taking care at the white aluminum balusters. Two coats went on, with the second applied before the first had fully set, so both could soak into the dry wood rather than building a film.
Choosing the two tones
Cedar offcuts lying beside the shed were perfect for sampling. During the free colour consultation we brushed a range of cedar tones and browns onto those offcuts and onto a hidden deck board, and leaned them against the fence where the owners could see them in the morning, with the low sun behind the house, and again in the early evening, when the fence glows orange. The palest cedar tone almost disappeared next to the bare wood, and the reddest one fought with the cool grey of the house. The natural cedar won for the fence. For the deck, a darker brown hides dirt on the walking surface and ties into the window frames, so the two tones read as related but not identical.
Tidy work on a brand-new property
With new sod, new stone and a new house, we kept our footprint small. Drop cloths came off the lawn every evening so the grass would not suffer underneath, empty containers and rags went into a closed metal bin, and the patio and walkway were swept before we left. Rags soaked in oil stain were spread out to dry before being bagged, because a crumpled pile can heat up on its own.
Looking after new stain
- New pressure-treated wood keeps weathering for a while, so its first maintenance coat often comes sooner than later ones. When water no longer beads on the deck, clean it and add a fresh coat.
- Keep lawn sprinklers aimed away from the cedar fence; wood that is soaked daily greys and grows mildew in spots even under good stain.
- Avoid piling shovelled snow against the bottom of the fence boards in winter.
- The labelled cans we left are matched to each surface. Stir them well before use, as the pigment settles.
- Pull plants and mulch back a little from the fence base so the bottom boards can dry out after rain.
Why waiting pays off in East Gwillimbury’s new subdivisions
Many new houses here come with a bare pressure-treated deck and a fence added soon after, on open lots where young trees give little shade. Sun and wind on those lots grey unprotected wood quickly, but staining too early, before the wood is ready, wastes the first coat. Testing with water, sanding away mill glaze and staining in stages is how our deck and fence staining service handles new-build yards. We have taken on GTA jobs since 2010, and a good share of the yards we look after now are in York Region, and there is a separate page on our East Gwillimbury painting and staining work, from new subdivisions to rural homes.
If your new deck or fence is still bare, share some pictures of it; we can usually judge from those whether the wood is ready, and the quote comes itemized and in writing.