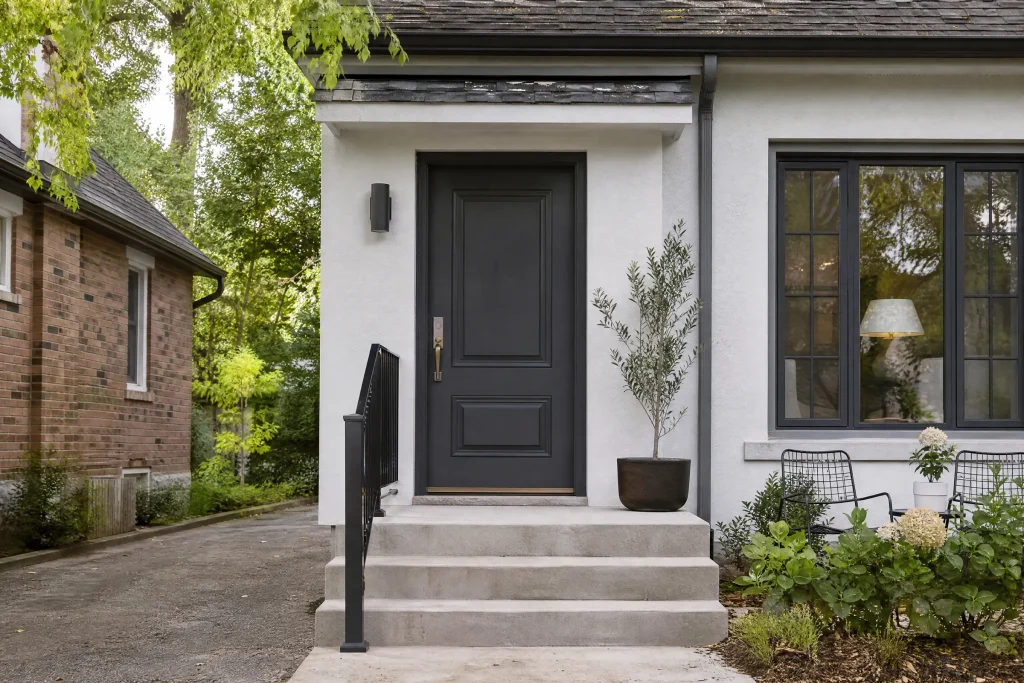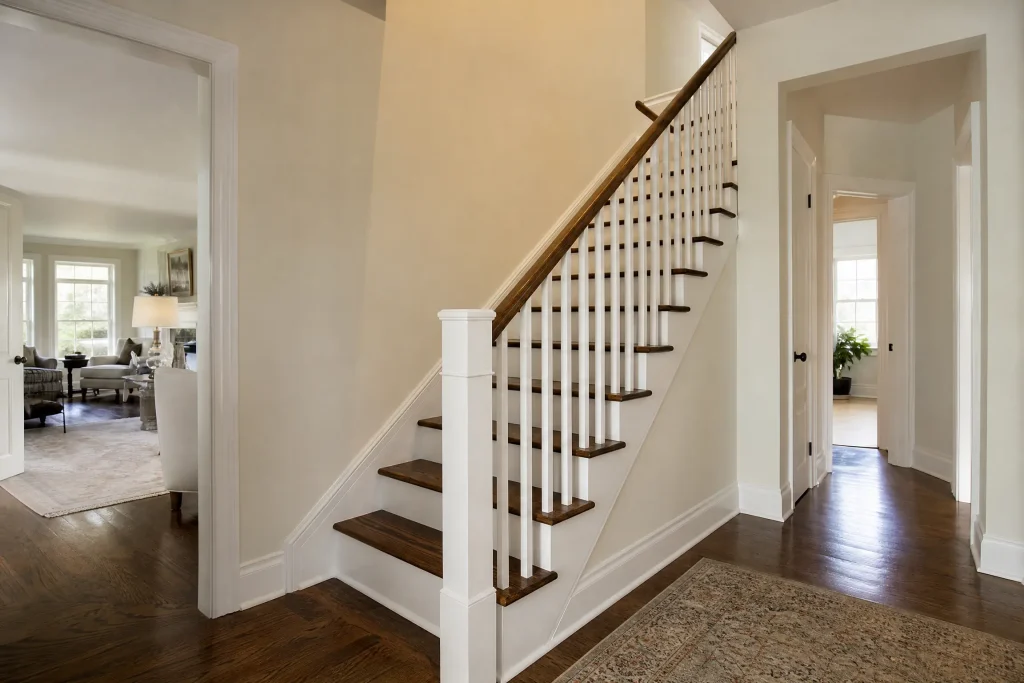

A Jefferson home with a lot of window and a lot to correct
Jefferson sits on the west side of Yonge Street in Richmond Hill, and like much of the city it is made up mainly of detached houses, many with double-height entries and open staircases. This one had a living room at the back with a wall of tall windows dressed in white sheers, and a smaller sitting room at the front of the house. Both rooms were drywall over wood framing, with a smooth ceiling and painted trim.
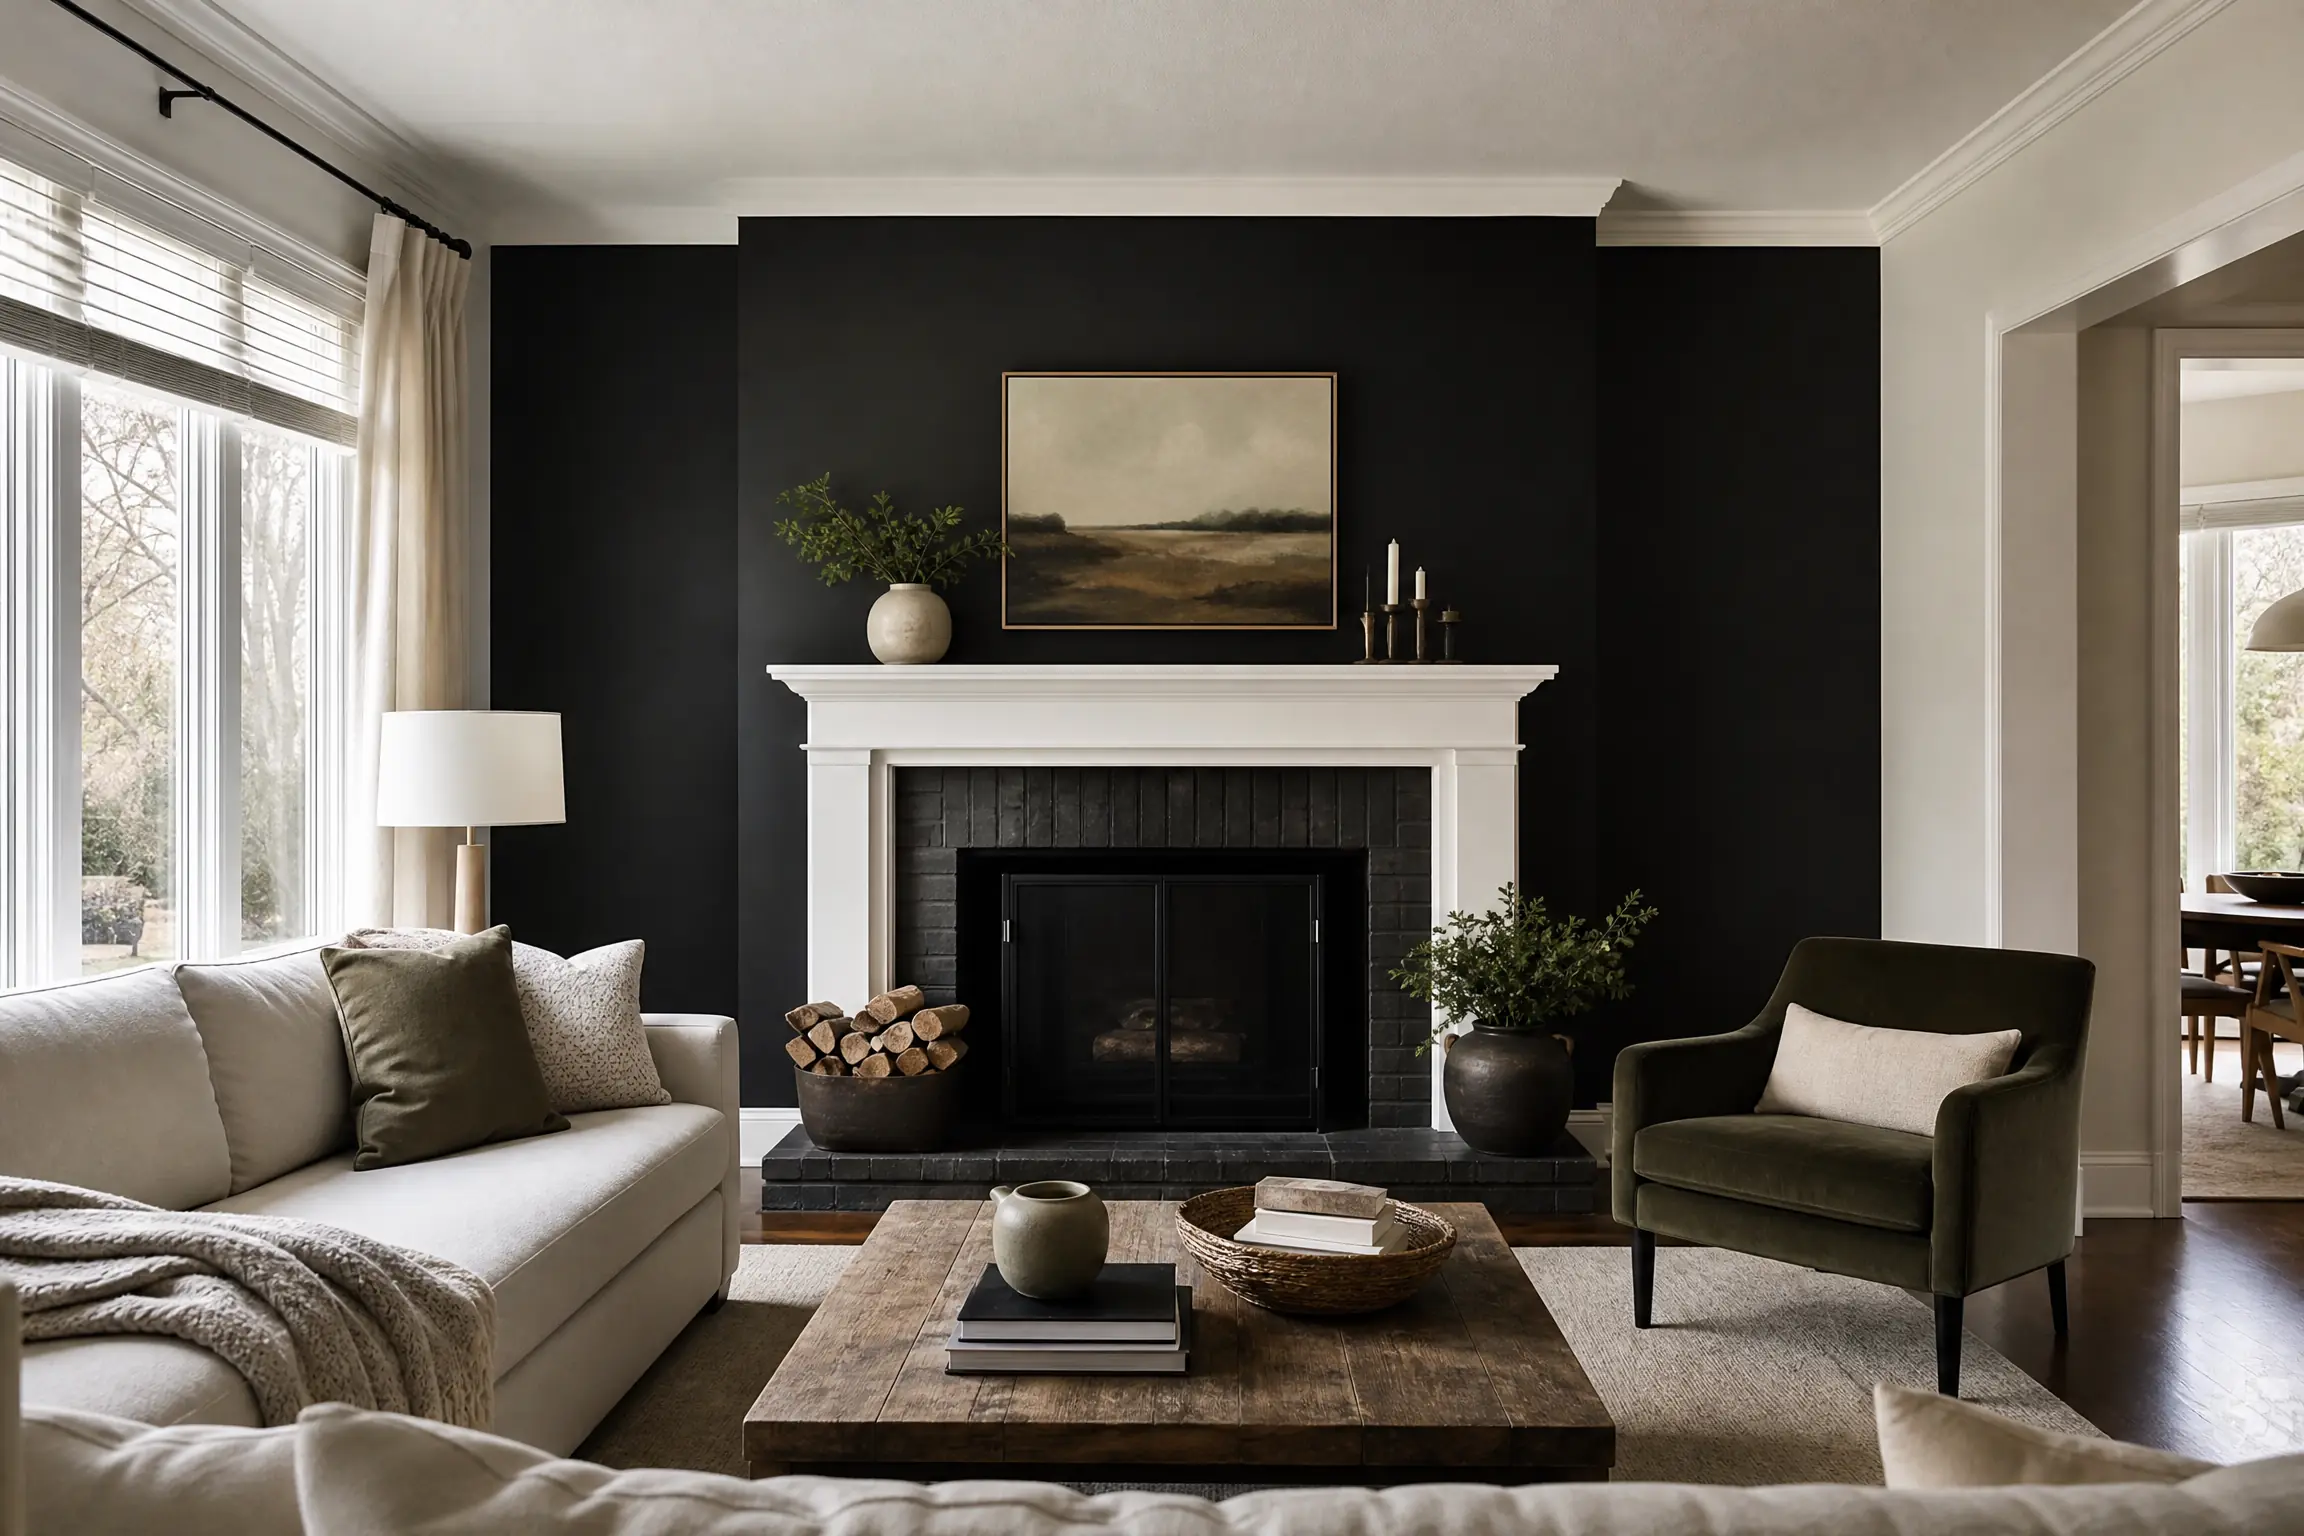
The owners wanted the two rooms finished in a warm beige, with one wall in the living room painted black as a backdrop for a large piece of backlit artwork. The ceilings, baseboards and window casings in both rooms were part of the job.
An earlier repaint that showed every stroke
Before the current owners moved in, the rooms had been repainted over the original builder colour, and not carefully. Up close the problems were easy to list:
- heavy roller stipple on some walls and almost none on others, as if different roller covers had been used;
- raised ridges along the edges of roller passes, where paint had built up and dried;
- runs and sags below the window casings;
- a wavy cut line at the ceiling, with the wall colour creeping onto the white in places;
- patches over old anchor holes that had never been primed, so they dried dull against the eggshell around them.
None of this was obvious from the middle of the room on a grey day. With sun coming through the sheers and grazing along the walls, though, every ridge cast a small shadow. Painting straight over it would have locked those faults under the new colour. The real work here was getting the walls flat and uniform before any finish went on.
Bringing the walls back to an even base
Clearing and covering
The sheers and rods came down first and were bagged. The backlit artwork was lifted off its mounting cleat, the cleat screw positions were marked lightly in pencil, and the low-voltage cord was coiled and taped up out of the way. Furniture went to the centre of each room under plastic, and the floors were covered with drop cloths taped along the baseboards so sanding dust could not drift underneath.
Sanding the ridges and drips
Every wall was sanded with a pole sander and fine screens, working in long overlapping strokes to knock down the roller ridges and level the stipple. Sags under the windows were cut back with a scraper and sanded smooth. We ran a work light flat across each wall to find what the eye missed, circled anything still raised, and sanded again.
Skim patches and the ceiling line
Where sanding left shallow hollows, and over the old anchor holes, a thin skim of all-purpose joint compound was trowelled on and feathered out wide so the edge would disappear. At the ceiling, the wavy band of wall colour was scraped where it was thick, and the corner was tidied so a straight line could be cut later.
Full priming
Spot priming would not have been enough. The walls now had sanded paint, bare compound and untouched eggshell side by side, and each absorbs paint differently. A full coat of acrylic primer-sealer over every wall in both rooms gave the finish coats one consistent surface to sit on, which is what stops patches from flashing in strong side light.
Dust control
Sanding dust is the enemy of a black wall, since every speck shows. After priming, the floors and sills were vacuumed with a fine-filter shop vacuum, and the feature wall was wiped with a tack cloth right before each coat.
Finish coats, wall by wall
Ceilings
The ceilings came first, rolled in a flat white with two coats. Doing them before the walls meant any small spatter on the walls would be covered later.
The black feature wall
We used a deep-base matte latex tinted black, rolled with a lint-free woven cover because fibres shed from cheaper covers stick in dark paint and stay visible. The ceiling line and both inside corners were cut in by hand with a fine angled brush, slowly, since a wobble on a black wall next to white is the first thing anyone sees. The wall was rolled in full-height lanes, top to bottom, and it took two finish coats to reach a deep, even black with no sheen differences across it.
Warm beige walls
The other walls in the living room and all of the sitting room were finished in eggshell. Its slight sheen makes the walls washable, and over the newly flattened surface it no longer picks out every roll mark. Again it was two coats, with the second applied once the first had dried for the time the label specifies.
Trim
Window casings and baseboards were cleaned, sanded lightly to dull the old gloss, and brushed with two coats of a semi-gloss acrylic enamel in white.
Finding the right black and a beige that stayed warm
Black is rarely just black. At the free colour consultation we brushed out black samples on the feature wall, a blue-black, a brown-black and a neutral black, along with beige samples on the side walls. In the morning, with daylight through the sheers, the blue-black looked cool and slightly hard next to the beige, while the brown-black read as dark chocolate. In the evening, with the artwork lit, the neutral black disappeared behind the piece and let it glow. That was the one the owners chose. For the side walls they picked the warmer beige, which kept the room from looking cold opposite the black.
Keeping the rooms usable and tidy
Sanding is messy work in a lived-in house, so the doorways to the hall were closed with zip-up dust barriers while it was under way. At the end of every day the floors were vacuumed, a walkway was opened across the drop cloths, and the open cans were sealed. The sheers went back up and the artwork returned to its marked cleat after the last coat had dried.
Living with a matte black wall
- Dust it with a dry microfibre cloth. For marks, use a barely damp cloth and dab rather than rub, since rubbing can polish a dark matte.
- Touch-ups on black should be thin and small, feathered at the edges. Labelled cans of the black, the beige, the ceiling white and the trim were left behind for that.
- If the artwork is moved, fill the old screw holes, spot prime, then touch up in two thin passes.
- Give the beige eggshell a few weeks to harden before washing it; after that, a sponge and a little dish soap will lift most marks.
Why bright Richmond Hill rooms need the prep first
Big windows are one of the things people like most about Richmond Hill houses, and they are also what makes interior painting here unforgiving. Light that runs along a wall shows ridges, patches and sheen changes that would vanish in a darker room, so the effort goes into sanding, filling and priming before colour. We see this on both sides of Yonge, from newer builds in Jefferson to the larger homes in Bayview Hill, and the approach is the same for many houses we paint across York Region. Every job gets at least two finish coats, and the quote spells out each room and each step. If you have bright rooms in Richmond Hill that never looked quite right after a previous repaint, ask us to have a look.