
The house and the stairs under the carpet
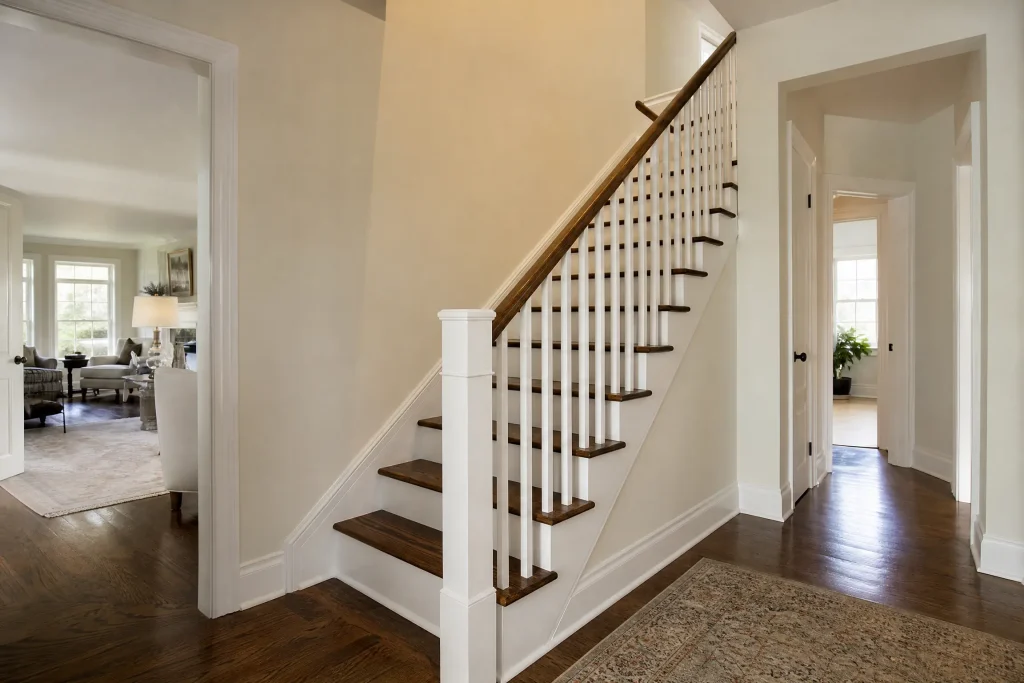
This was a large detached home in Maple, one of the Vaughan neighbourhoods known for big family houses with open, two-storey foyers. The staircase rises straight out of that foyer to a landing, turns, and finishes at an open hallway that looks back down over the front door. When the owners bought the house, the stairs wore a beige carpet runner held down with staples and tack strips, with only a narrow edge of oak showing at each side. The balusters were painted white, the handrail and newels were stained oak, and the risers were hidden under the carpet.
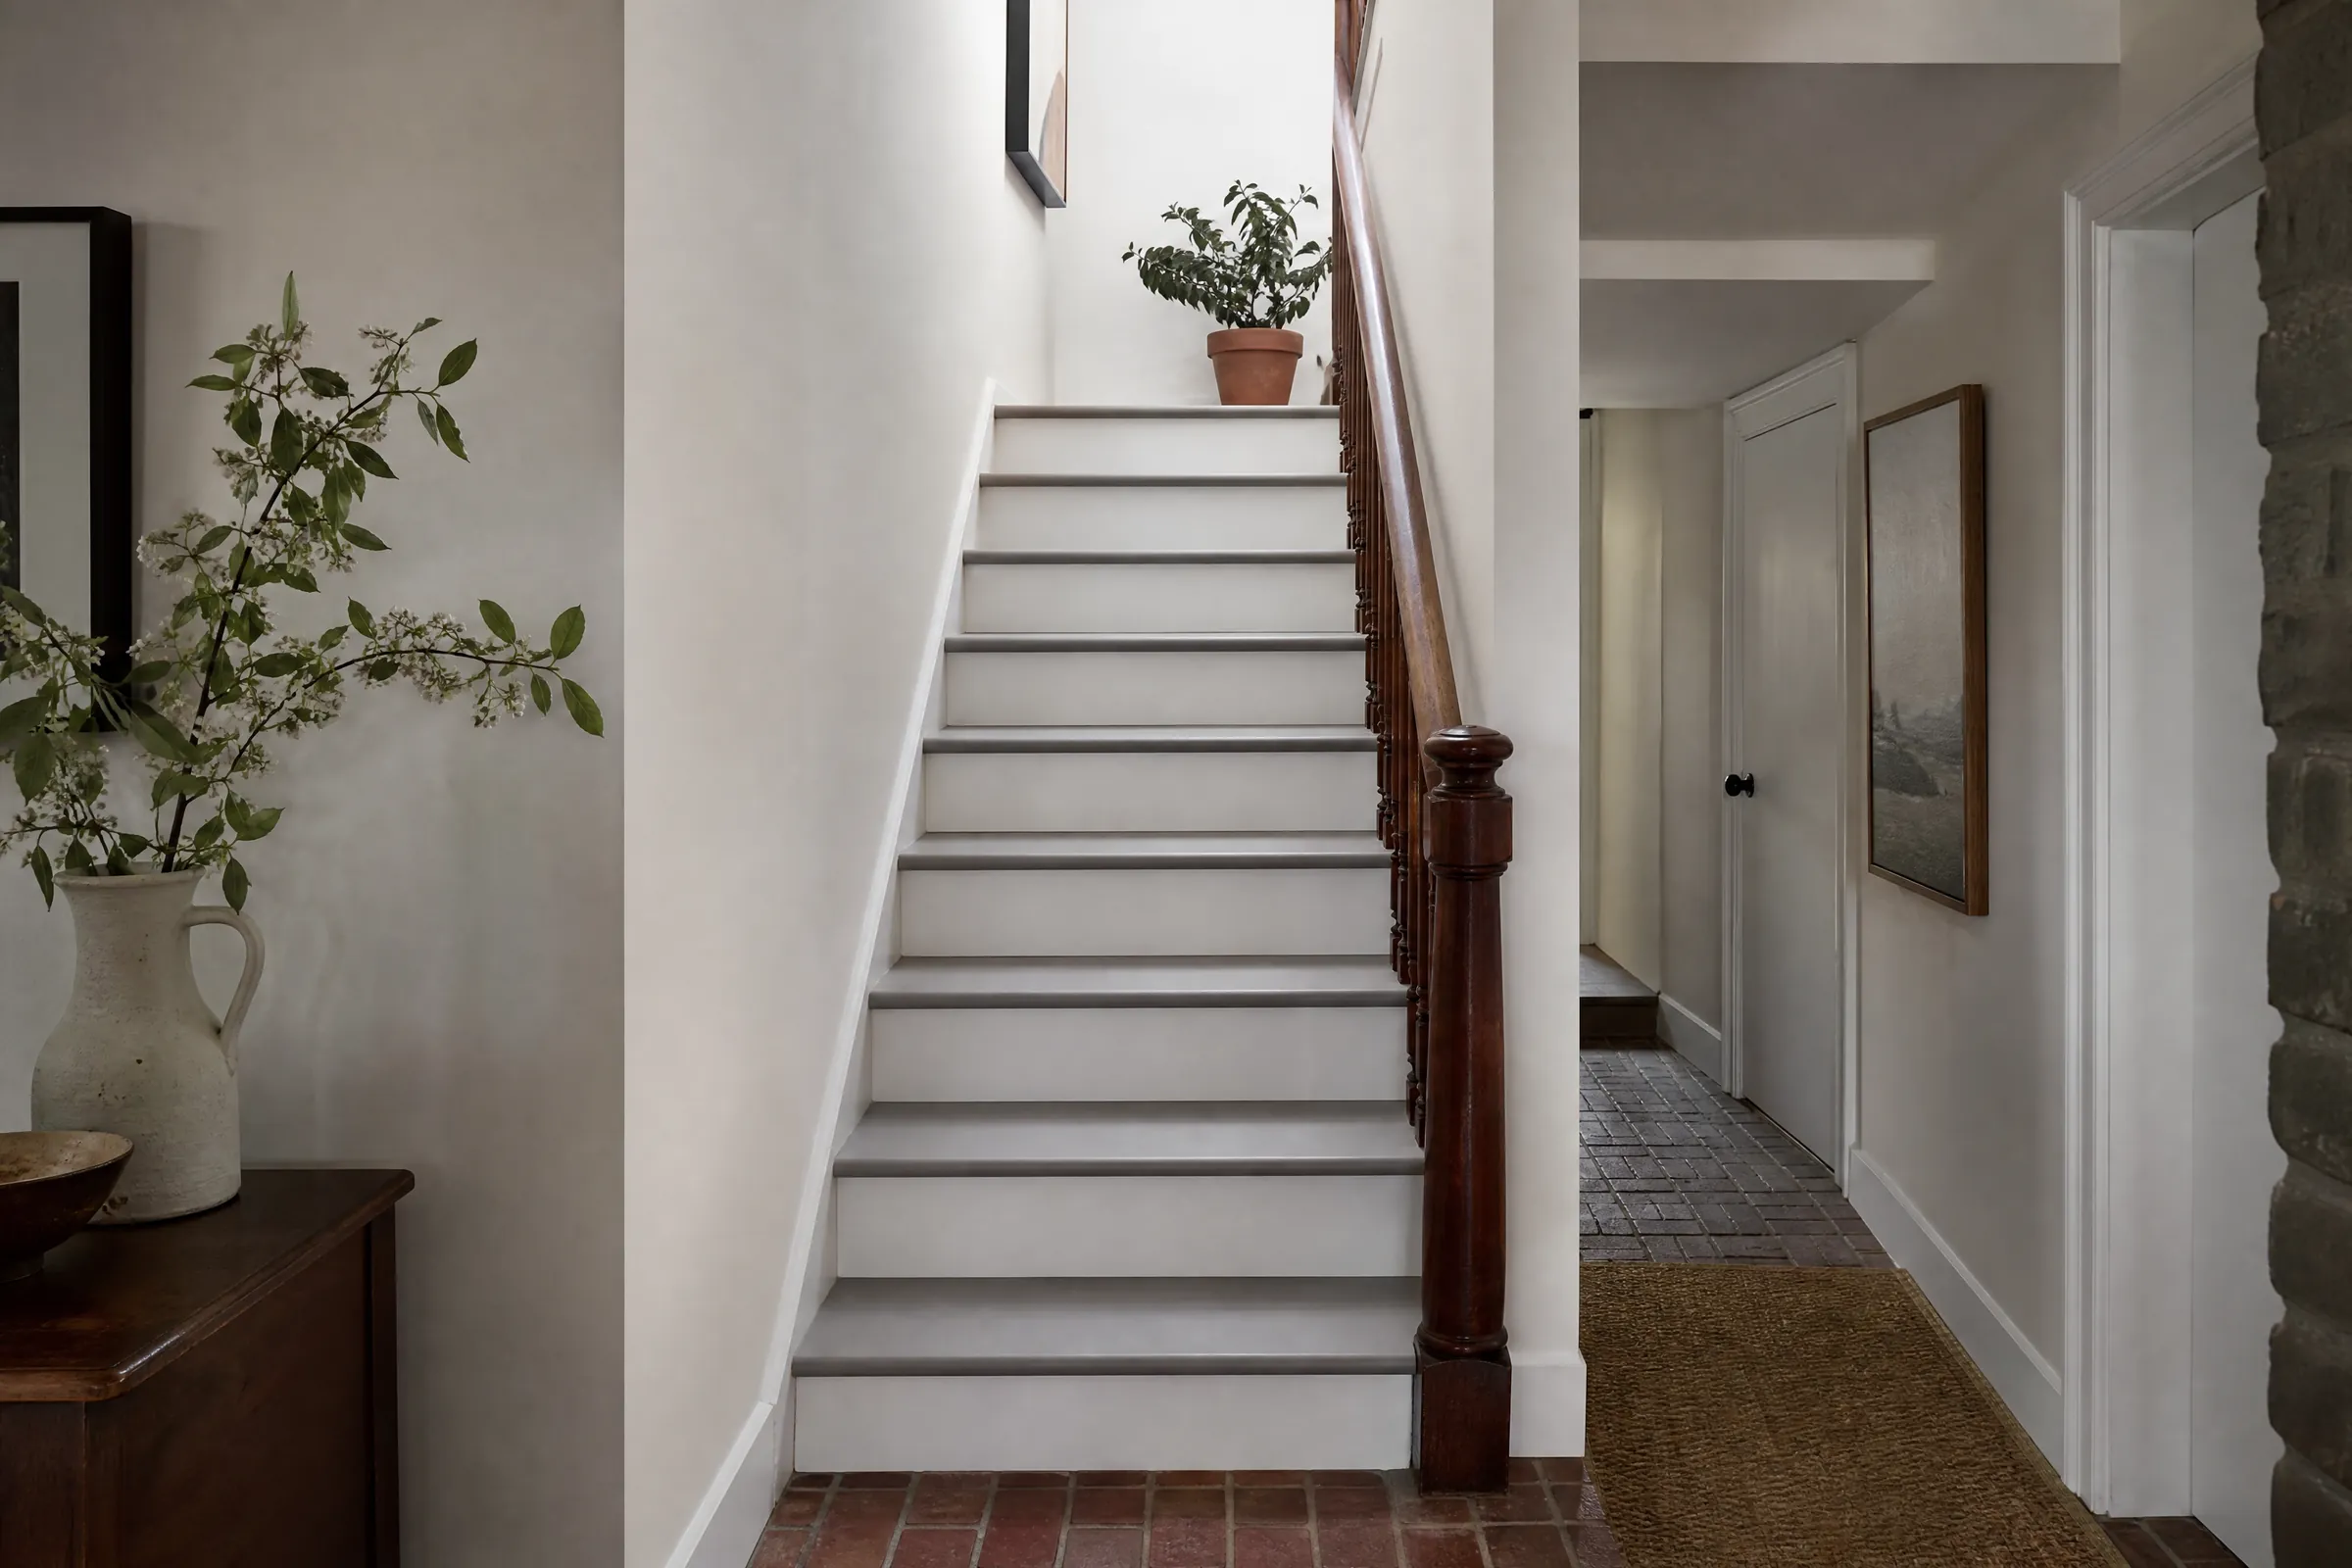
The family had a dog and young children, and the carpet had become hard to keep clean. They wanted the runner gone and the oak treads on show, with the balusters and risers painted a clean white to match the trim elsewhere in the house. The handrail and newels were in good condition and were left as they were. Because the foyer walls were scuffed along the stair, they also asked us to repaint the tall stair wall while the staging was up.
What we found when the runner came up
Lifting a stair runner always shows what the carpet has been hiding, and this one held a few surprises. Every tread had a row of tack-strip nail holes across the back and many staples along the nosing. A ring of dried carpet adhesive sat on the lowest treads, where someone had glued the runner down at the bottom. Most noticeable of all, the oak was two different colours. The exposed side strips had aged under sunlight from the foyer window to a deep amber, while the centre of each tread, covered for years, was pale and had never been finished at all.
The risers were raw oak plywood with pencil lines and staple holes. The balusters had paint chipped off at the bottom where the vacuum had hit them, and a few had a yellow cast in the paint. That two-tone oak was the real challenge. A clear finish alone would have shown a stripe down every tread, and even sanding could only take the aged colour back partway.
From staples to sanded oak: the prep
Protecting an open foyer
Dust travels a long way in a two-storey foyer, so we closed it off before the carpet came up. Spring-loaded poles and plastic sheeting made a tent around the stair, the foyer floor and the upper hallway, with a zippered door at the kitchen side. The tile in the foyer and the hardwood at the foot of the stair were covered with rosin paper and a hard floor protector, and the front door and its sidelights were masked over so the house could still be entered from the garage.
Lifting the carpet and the hardware
- The runner and underpad were cut into tread-sized pieces and rolled out of the house.
- Tack strips were pried up with a flat bar over a scrap block so the oak would not be dented.
- Staples were lifted one at a time with a staple puller, and snapped ones were cut flush and set below the surface.
- The glue ring on the lower treads was softened with a citrus-based remover, scraped and wiped clean.
Filling and sanding the treads
Every hole was filled with a stainable wood filler in an oak tone, overfilled slightly and left to harden. The treads and nosings were then sanded with a random orbital sander and a detail sander for the corners, starting at 60-grit to cut through the aged edges and finishing at 120-grit. We wiped the oak with a damp cloth to raise the grain, let it dry and sanded again by hand. That step helps stain go on evenly across wood that has been both exposed and covered.
Balusters and risers
The balusters were cleaned with a degreaser, scuff-sanded, and the chipped spots feathered smooth. The yellowed ones were spot-primed with a bonding primer. The plywood risers were sanded, filled and primed in full, since bare oak plywood soaks up the first coat unevenly.
The stair wall
A stair plank was set on a ladder at the landing and a levelled extension ladder on the steps, giving safe footing high on the two-storey wall. Nail pops and dents were filled, sanded and spot-primed.
Stain, clear coats and spraying the balusters
To blend the amber edges into the pale centre, we used a light neutral stain rather than a clear finish alone. We tested it first on the underside of a spare tread from the basement and on the back edge of the top step, where it would be hidden. On the actual treads, the stain was wiped on with a rag, left only briefly, and wiped off evenly from edge to edge. Once it had dried, the treads took three coats of a two-part water-based clear floor finish, laid on by pad applicator in a satin sheen and buffed lightly between coats. Two-part finishes cure harder than single-pack products, which suits a stair that takes dog claws and school shoes.
The balusters and risers were sprayed inside the dust tent with an HVLP sprayer, which lays down a smooth, even film on slender balusters and their corners, where a brush tends to leave runs. Treads were covered with paper and the oak handrail was masked along its underside. Each spindle took two coats of white urethane-modified enamel in satin, with the recoat time on the can observed between them. The stair wall got two coats of eggshell, cut in by brush at the ceiling and rolled in full-height passes from the plank.
Settling on a tone for bare oak
The owners first pictured a fairly dark tread. For the free colour consultation, sample boards were stained in a dark, a mid-brown and a neutral tone and set on the stairs in the morning and again in the late afternoon. In the foyer’s strong daylight, the dark board showed every speck of dust and dog hair, and the mid-brown clashed with the oak handrail. The neutral stain kept the oak looking like oak and matched the rail closely, so that was the choice. For the wall, a soft warm white was picked from sample pots so the white balusters would stand out without looking stark.
Working in an open foyer without spreading dust
With the family living at home, we kept the stair closed off behind plastic and moved everyone through the garage door. The upper hall stayed reachable by the second staircase at the back of the house, which made it possible to work on the whole main flight at once. A shop vacuum ran on every sander. We used a low-odour clear finish and low-VOC enamel indoors. At the end of each day the tent was checked, floors were vacuumed outside it and tools went into the garage.
Care for refinished treads and painted balusters
- Keep socks or bare feet on the treads until the full cure time on the finish has passed, then shoes are fine.
- If you add a runner later, use a rug pad made for finished wood, not one with a rubber backing that can mark the surface.
- Keep the dog’s claws trimmed; that does more for a clear stair finish than anything else.
- Dust the balusters with a soft cloth and use a damp one for scuffs; avoid scouring pads on the enamel.
- We left the leftover stain, clear finish and white enamel in labelled cans for small repairs.
Why it suits Woodbridge and Maple houses
Many big homes in this part of Vaughan were built with oak stairs that went under carpet at some point, and the same two-tone problem turns up whenever the carpet comes off. A test board, a neutral stain and a hard-wearing clear handle that better than clear finish alone. A tall open foyer also needs dust control and safe access for the stair wall, which is why we plan the tent and the plank setup before anything else.
All Painting has refinished staircases around the GTA since 2010, with at least two finish coats on every painted part. The details of this kind of work are on our stair painting and staining service page, and we take on similar jobs throughout York Region. If you are thinking about taking the carpet off your own stairs, get in touch and we will come and look before anything is lifted, then send an itemized written quote.