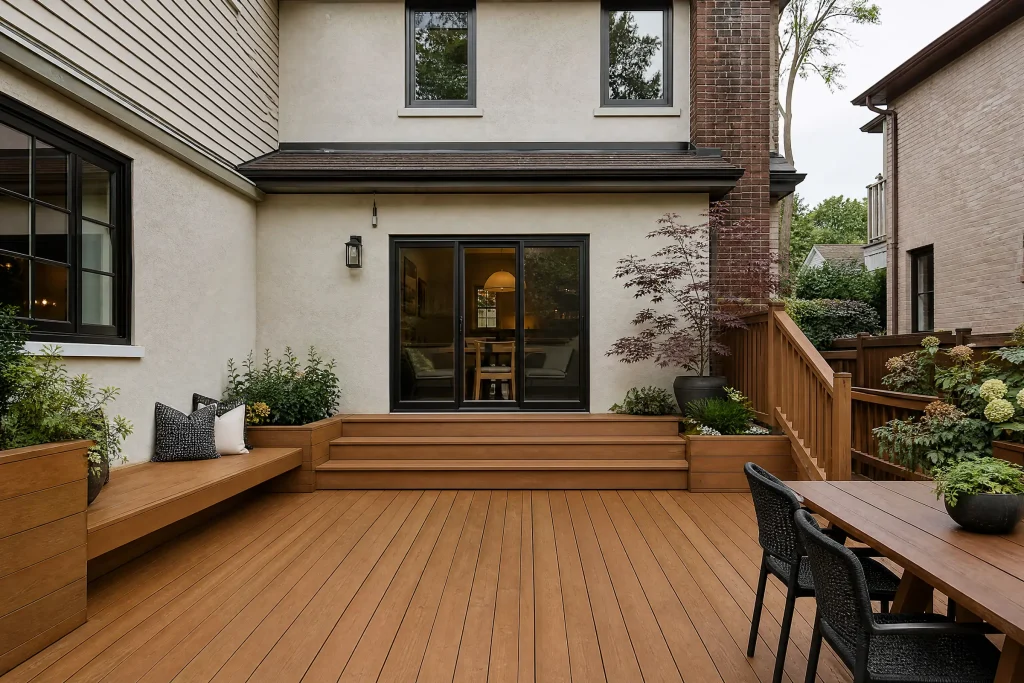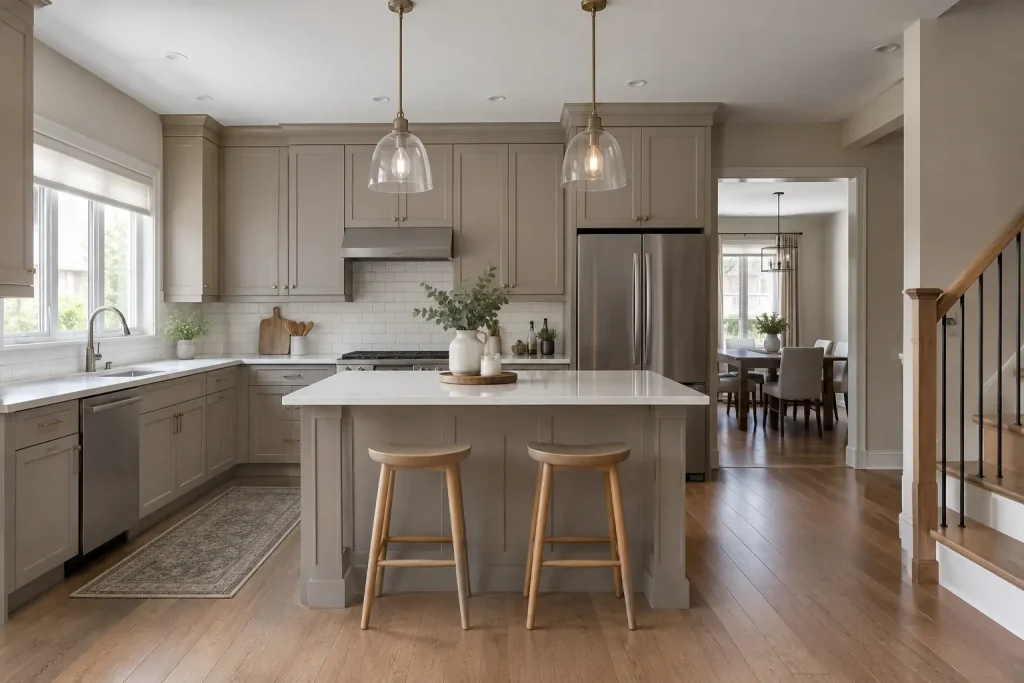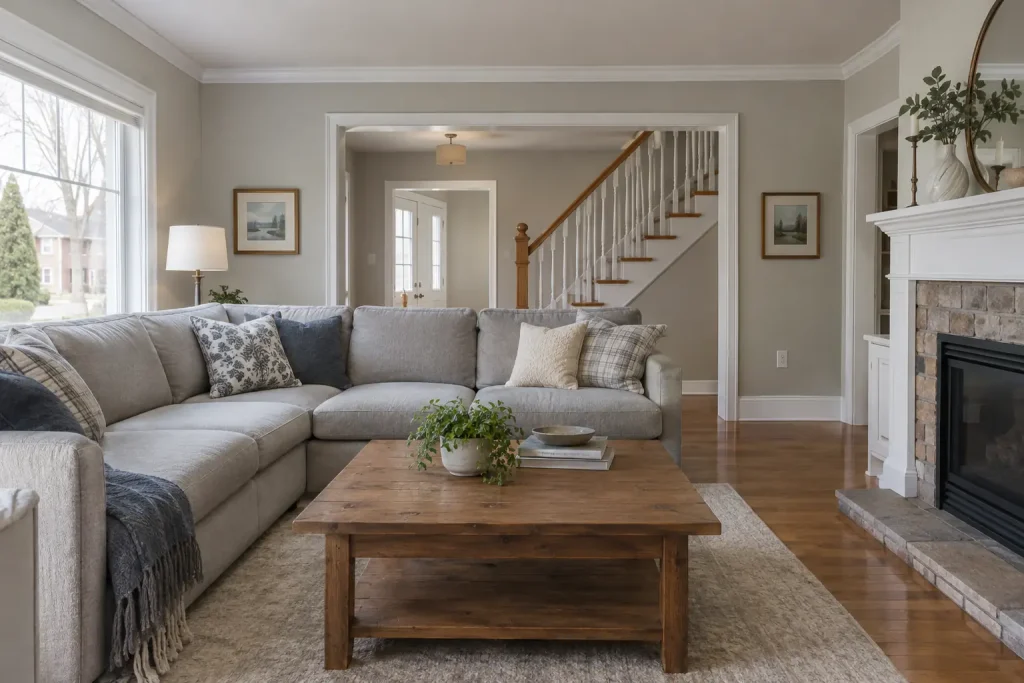

A first repaint in a Queensville subdivision
Queensville is one of the East Gwillimbury communities where most of the recent building has been new subdivisions of detached homes and townhouses. This house was a two-storey detached home, a few years old, still finished in the builder’s single flat colour from top to bottom. The owners had lived with it long enough to know which rooms they wanted to change, and long enough to see the house develop the marks every new build gets: little round bumps across walls and ceilings, cracks at the top of the upstairs walls, and a ceiling patch that had never been properly closed.
They wanted the whole interior painted in colours they had picked, and they wanted the defects dealt with properly first, rather than buried under fresh paint.
Three different defects, three different causes
On the walk-through, we marked every problem with a small square of painter’s tape, which made the scale of the job easy to see once the second floor was done: tape in nearly every room. The marks fell into three groups.
Nail pops
Most of the tape marked nail and screw pops: round bumps or small cracked circles where a fastener had pushed the compound off its head. In a new house, the framing lumber loses moisture after it is closed in, and as studs and joists shrink they can leave a fastener standing proud of the board. They were scattered through every room, with more on ceilings than walls.
Winter cracks at the upstairs ceilings
Along several interior walls on the second floor, the taped corner where the ceiling met the wall had split, leaving a clean crack along the joint. The owners mentioned that these cracks appeared each winter and nearly closed again in summer. That pattern points to truss uplift: roof trusses span from exterior wall to exterior wall, and in cold weather their bottom edges, sitting in the cold attic insulation, can bow upward slightly. The ceiling drywall rises with them, and the corner tape tears away from the interior walls. Filling those cracks with compound would only see them open again the next winter.
The kitchen ceiling opening
In the kitchen ceiling, below the ensuite, a square of drywall had been cut out at some point for access to the drain above. The square had been screwed back in place and covered with a skim of compound, but it was sagging on one side and its outline showed through the paint. It had never been backed or taped.
Getting the house ready
The family stayed in the house, so we worked room by room. In each room, furniture was gathered in the middle and covered with plastic, floors were covered with canvas drop sheets and paper at doorways, and wall plates and vent covers came off and went into labelled bags. The kitchen, where the ceiling patch was, was handled first so cooking could return to normal quickly: counters and appliances were sheeted, and a plastic curtain closed the opening to the family room while we cut and sanded.
The repairs
- Resetting the pops. At each pop, the fastener was driven back below the surface. Because a reset nail can work loose again, a new drywall screw went in about a hand’s width away, into the same stud or joist, to pull the board tight against the framing. Loose compound around the head was scraped off, and both heads were filled, sanded, filled again and sanded flush.
- Rebuilding the kitchen ceiling. We removed the old square and cut the opening back to a clean rectangle that ran from joist to joist. Wood backing strips were screwed to the joist sides along the open edges, so the new piece of drywall could be fastened on all four sides rather than floating. The new board went up and was screwed off, and the seams were bedded in paper tape and finished in three coats, each one feathered wider than the last.
- Treating the truss cracks. Rather than taping these joints again, we cut away the torn tape along each crack, filled the deeper gaps with setting compound to a slightly recessed line, and then ran a bead of flexible, paintable acrylic sealant along the corner, tooled smooth. The sealant can stretch and compress as the ceiling lifts and settles, so the corner stays closed through the seasons. We explained to the owners that a very fine line may still show in a hard winter, which is the nature of this kind of movement.
- Corner beads. A few metal corner beads at the stair opening and hall bulkhead had hairline cracks along their edges, again from framing shrinkage. The loose compound was cut out and the edges refilled with setting compound.
Priming before colour
Builder flat paint is often thin and porous, and fresh compound is more porous still. Painting over a mix of the two without priming leaves dull, flat patches that show at an angle, a problem painters call flashing. Every repair, every sanded area and any wall where the builder paint was badly scuffed got a coat of latex drywall primer. On the kitchen ceiling, where the whole patch area was new, we primed the full ceiling so it would absorb evenly.
Painting room by room
Ceilings
All ceilings were rolled in flat white, two coats, with a brushed edge along the new sealant line at each wall. Flat finish hides the small surface changes that any repaired ceiling has.
Walls
Walls went from the builder’s flat to eggshell, a sheen that can be wiped with a damp cloth, which matters in a house with children and a dog. Two coats went on every wall, with the second applied once the manufacturer’s recoat time had passed. Corners and edges were cut in by brush and the field was rolled.
Doors and trim
Baseboards, door casings and the interior doors were lightly sanded, wiped clean and painted in semi-gloss white. Doors were laid flat on padded stands in the garage for the faces and edges, so the finish levelled without runs.
Colours chosen room by room
At the colour consultation, the owners wanted the main floor to feel connected, with a little more character in the bedrooms. We brought sample pots and painted large swatches on the living room wall near the window and on the dimmer wall by the stairs. They settled on a warm off-white for the main floor and hallway, a soft blue-grey in the main bedroom and a muted green in the children’s rooms. Keeping one colour through the open main floor also keeps future touch-ups simple. We used a low-odour paint throughout, since the bedrooms were in use every night.
A tidy house each evening
Each day ended with the rooms in progress swept and vacuumed, drop sheets folded back from doorways, and the kitchen fully usable. Compound buckets, ladders and paint stayed together in the garage.
Walking through now, the walls are smooth and evenly coloured from room to room, the upstairs corners are crisp, and the kitchen ceiling is one flat plane with no outline where the opening used to be.
What to keep an eye on
- More pops may surface while the lumber is still giving up moisture. Waiting until several have shown up, then fixing them in one session, makes the touch-ups less fiddly.
- The sealant lines at the upstairs ceilings are designed to move. If one shows a fine gap in late winter, wait until spring before deciding whether it needs attention.
- Labelled cans of each wall colour, the ceiling white and the trim paint are in the basement. For touch-ups on eggshell, use a small roller rather than a brush so the texture matches.
- Marks on eggshell come off with a damp sponge and a drop of dish soap; scouring pads will leave shiny spots.
Why new houses here need this kind of prep
Much of the housing in Queensville, Holland Landing and the other growing parts of East Gwillimbury is only a few years old, so its framing is still settling and its trusses are still moving with the seasons. Painting over those defects simply resets the clock. Fixing fasteners properly, backing and taping patches, and giving seasonal cracks a flexible joint is how our drywall repair work gets a new home ready for colour that stays even.
We have been painting homes in Toronto and the GTA since 2010, including many first repaints in new subdivisions across York Region. If your house has its own crop of nail pops and corner cracks, ask for a visit and we will walk the house with you and write up an itemized quote.