
The house and the hall ceiling
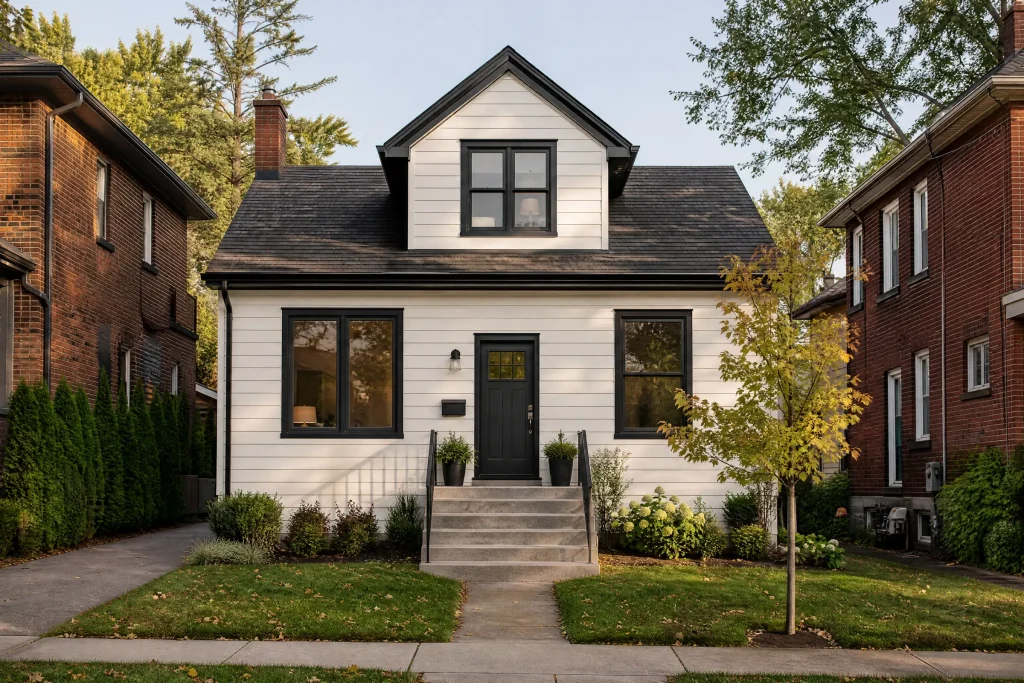
This was one of the older brick houses a short walk from the corner of Yonge Street and Wellington Street, the part of Aurora where the town first grew. Houses of that generation were built with plaster on wood lath rather than drywall, and this one still had most of its original plaster upstairs. At some point a skylight had been cut into the roof over the upstairs hall, framing a shaft through the attic and finishing its sides with drywall. The skylight brought welcome light into a narrow hall lit otherwise by a small side window. It also put the old plaster ceiling right next to a newer, differently built opening.
The owners asked us to repair the hall ceiling, which had been cracking for a while, and repaint the ceiling and the hall walls once it was sound.
A ceiling that had come loose from its lath
Plaster on lath stays up because, when it was applied, some of the wet plaster squeezed between the wooden strips and curled over the back, forming what plasterers call keys. Over many decades, those keys can snap, from house movement, from someone working in the attic, or from vibration. When enough of them break, the plaster is held only by its neighbours and the paint on its face.
That is what we found. Around the skylight shaft, a web of cracks spread out like a map, the classic pattern of plaster that has lost its keys. Pressing gently with a flat hand, most of the cracked area moved slightly and then stopped: loose, but still in one piece. In the corner nearest the shaft, though, a section about the size of a doormat had dropped visibly below the surrounding ceiling, and pressing on it produced a gritty crunch. Behind it, the keys were gone.
There was a second, smaller problem. The drywall on one side of the skylight shaft had a faint brown tide line, probably from condensation running down the glass in winter. It was dry when we checked it, but it would need sealing.
Keeping the dust down
The ceiling carried many layers of paint, some of them probably oil-based, and fine plaster dust drifts a long way through an old house once it is in the air. So the plan was to do as much smoothing as possible with the trowel and as little sanding as we could, and to treat every bit of dust the same way: plastic sheeting at the doorways, a HEPA vacuum hooked to the sander, and damp cloths rather than a broom at the end of each stage.
Containing the work in a narrow hall
An upstairs hall is the route to every bedroom, so it could not simply be closed off. We covered the hardwood and the stair runner with taped-down rosin paper, then wrapped the banister and newel post in plastic. Each bedroom doorway got a plastic sheet with a zippered opening, so the family could get in and out but dust stayed in the hall. The return air grille upstairs was sealed during cutting and sanding. Hall light fixtures came down and their boxes were capped.
Repair sequence for an old plaster ceiling
Reattaching what could be saved
For the cracked but intact plaster, we used plaster washers: thin, perforated discs that go on under a screw and spread its grip across the face of the plaster. We located the lath and the ceiling joists, then drove screws with washers in a loose grid across the loose area, snugging each one just enough to draw the plaster back up against the lath without crushing it. Where a crack had opened wide, a bead of adhesive went into it before the washers drew it closed.
Rebuilding the failed corner
The sagging corner could not be saved. We scored around it and cut back until we reached plaster that was firmly keyed, then removed the loose section in pieces into bags. The lath behind was intact. Old plaster here was noticeably thicker than standard drywall, so we screwed thin furring strips to the lath to bring the new board out to the right depth, then fitted a piece of drywall into the opening and fastened it to the joists. The result sat flush with the old plaster on every edge.
Taping and filling
All of the cracks and every edge of the new patch were taped with fibreglass mesh and filled with setting-type compound. Setting compound hardens chemically and bonds well to old plaster, which suits a ceiling that has moved before. The washers were covered in the same pass.
Skimming the old and the new into one surface
Even with every crack filled, a ceiling like this one is a patchwork: old plaster with its slight waves, the flat face of the drywall patch, and a scatter of washer heads under compound. To make it read as one surface, we skimmed the entire hall ceiling. Two thin coats went on with a wide trowel, the second at right angles to the first, and the skylight shaft walls were skimmed where the old drywall tape had cracked at the corners.
Sanding was kept light and done with a sander connected to a HEPA vacuum. Most of the smoothing happened with the trowel, which keeps dust down in an old house. A low work light pointed along the ceiling showed the last few ridges, which were spotted and sanded again.
Primers and paint
- Bonding primer on the old painted areas. Some of the original layers were oil-based, and fresh latex does not always grip well to old oil. A bonding primer gave the ceiling and walls a surface the finish coats would hold to.
- Stain-blocking primer on the shaft. The tide line on the skylight shaft was sealed so it could not bleed through.
- Ceiling finish. Two coats of flat white went on by roller, with the edges cut in by brush, the second coat after the manufacturer’s recoat time.
- Hall walls. The plaster walls had their own hairline cracks and old nail holes, which were filled and sanded earlier. They received two coats of eggshell, which wipes clean along a hall where hands and bags brush the walls.
The owners asked for zero‑VOC paint for the ceiling and walls because the bedrooms open directly onto the hall and the family slept in them throughout.
Choosing a colour under a skylight
Light from a skylight moves across a hall all day, cool and bright at noon and warmer toward evening. At the colour consultation we painted sample patches of a few pale greige shades on the primed hall wall, one near the skylight and one at the dark end by the bathroom door, and the owners compared them in morning light and again after dark. The shade they chose stays warm in the dim end of the hall without turning pink under the skylight. The ceiling and shaft are a plain flat white, so the shaft reads as a clean, bright opening.
Tidy at the end of every day
Every evening, the plaster debris was bagged and taken out, the paper was vacuumed with the HEPA unit, and the zippered doors were closed and checked. The light fixtures went back up once the final coat was dry, and the paper came up last.
Looking down the hall now, the ceiling is flat and even from end to end, with no sag at the corner, and the skylight shaft has sharp white corners.
Notes for the owners
- Plaster keyed to lath can still move. If a new crack appears, press gently beside it; if the plaster moves, call before patching, since it may need washers rather than filler.
- Labelled cans of the ceiling white and wall colour were left in the basement, along with a small container of the bonding primer for touch-ups on old surfaces.
- Condensation on the skylight glass in winter is worth watching. Wiping the glass and keeping indoor humidity moderate will help protect the shaft finish.
- Anyone working in the attic should step only on the joists. Weight on the lath is one of the ways plaster keys break.
Why plaster gets this treatment in Aurora’s older houses
The brick houses near the old downtown have plaster that has been in place for generations, often under many coats of paint, and alterations like added skylights, new wiring and attic work keep putting stress on it. Taking down a whole ceiling is messy and rarely necessary. Reattaching sound plaster, rebuilding only the failed sections and skimming the result keeps the original material and avoids dust through the rest of the house. That is how we approach drywall and plaster repairs in older homes.
Older plaster has been a steady part of our work since 2010, in Aurora and in towns throughout York Region as well as Toronto. If a plaster ceiling in your house is cracking in a web or dipping in a corner, book a visit and we will check it before writing an itemized quote.