
A subdivision house with its first wallpaper still up
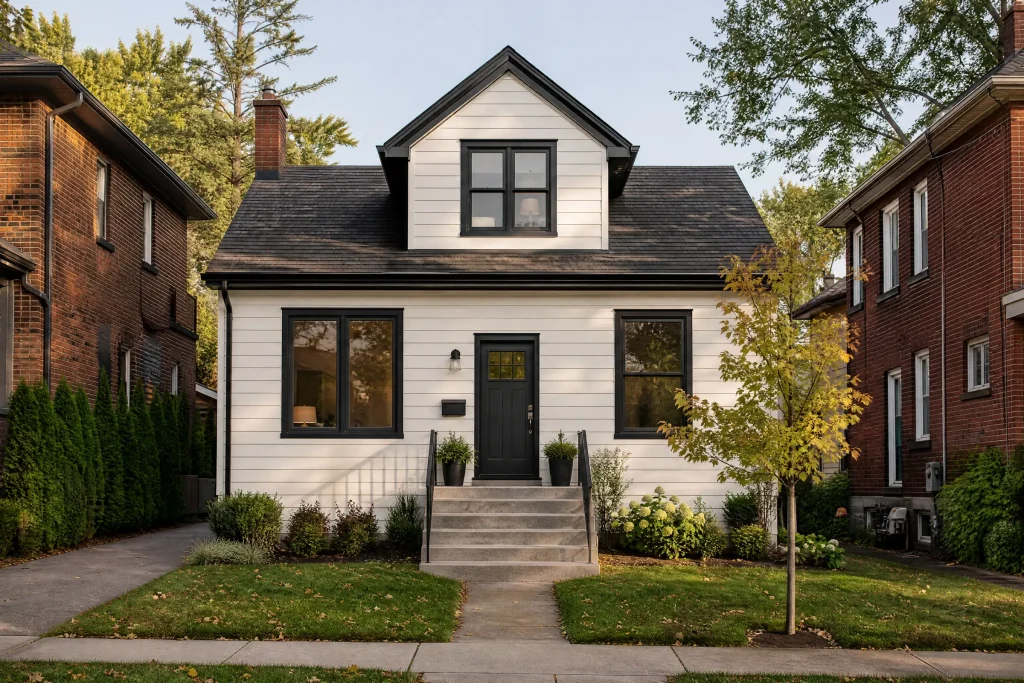
Around Aurora’s historic downtown, the town fills out with subdivisions built from the 1970s through the 1990s. The owners’ place, a detached two-storey on one of those streets, had a living room and dining room joined by a wide opening, oak baseboards and casings, and the original wallpaper that had gone up when the house was new: a cream vinyl with a faint texture and, just under the ceiling, a floral border that ran around both rooms.
The owners wanted the paper gone. In the dining room they wanted paint. In the living room they wanted one wall papered again, but with something bolder: a navy and blush stripe printed on the diagonal, to sit behind their grey sofa and a group of framed prints. They wanted the oak trim kept as it was.
What was behind the vinyl
The first thing we do on any removal is a test patch in a hidden spot, usually behind where a sofa or bookcase sits. Here it told us two things. The vinyl face layer lifted from its paper backing easily, which is typical of this kind of paper. But when we soaked and scraped the backing, the brown paper face of the drywall came up in a few places with it.
That meant the walls had never been primed or sealed before the paper went up, so the paste had bonded straight into the drywall paper. On walls like that, aggressive scraping or steaming tears the face and leaves fuzzy brown patches. The border added a second layer along the top of every wall, pasted on top of the vinyl with a stronger adhesive.
Why this was harder than a plain removal
- Unsealed drywall meant every scrape had to be gentle, with the risk of tearing on every wall.
- The border needed its own soaking time and came off in smaller pieces.
- Oak trim cannot just be repainted if it is splashed or gouged, so it had to be protected carefully from water and blades.
- The new paper was a diagonal stripe, which shows every out-of-plumb edge and every bump in the wall beneath it.
Protecting oak trim and floors
Wallpaper removal is wet work. We grouped the sofa, armchairs and dining set in a tight cluster away from the walls, sealed them in plastic and threw canvas drop cloths over the top. We laid plastic sheeting along the base of each wall, taped to the baseboard top, with absorbent drop cloths over the floor, so runoff from the remover solution could not reach the hardwood. The oak baseboards and door casings were masked with a low-tack tape and plastic. Electrical cover plates came off and the boxes were taped over, and power to those circuits was switched off while walls were wet.
Taking the paper off without wrecking the drywall
- Dry peeling the vinyl. Starting at a bottom corner of each strip, we peeled the vinyl face away by hand, slowly and close to the wall, leaving only the thin paper backing behind.
- Soaking the backing. The backing was sprayed with warm water mixed with a wallpaper remover concentrate, in sections small enough to work while wet. We let it soak until the paper darkened and softened, then sprayed again.
- Lifting. The softened backing was lifted with a wide plastic scraper held nearly flat. Where it resisted, we soaked again rather than pushing harder. That patience is what saved most of the drywall face.
- The border. The border was scored very lightly with a blade along its length, soaked several times, and peeled in short sections.
- Washing off the paste. Old wallpaper paste left on a wall will crack and wrinkle paint applied over it. Every wall was washed with warm water and the remover solution, rinsed with clean water, and checked by touch for any slippery film.
Repairing and priming the walls
Despite the care, a scattering of spots on the living room walls and along the border line had lost their face paper. Those were sealed with a shellac-based primer, which dries fast and stiffens the exposed fibres so they cannot swell. Once it was dry, the damaged areas and the old border line were skimmed with lightweight compound and sanded smooth. Small nail holes from old pictures were filled at the same time.
The feature wall needed a smoother surface than the painted walls, since paper shows bumps more than paint does. It got a full skim coat and a careful sanding, then a coat of acrylic wallcovering primer. That primer gives the new paper an even surface to grip and some slip while positioning, and it protects the drywall face so that, when this paper is eventually removed, it should come off without repeating this job.
Hanging a diagonal stripe
A diagonal stripe is still hung in vertical drops. What changes is how unforgiving it is. If the first drop is off plumb, the diagonal lines tilt visibly at the ceiling and the baseboard.
Layout
We found the centre of the wall behind the sofa and decided whether to centre a seam or the middle of a drop on it, based on which left wider pieces at both corners. A laser level marked the plumb line for the first drop. We also checked the ceiling line, which was slightly off level, and planned the trim at the top so the stripes would meet the ceiling at a consistent point across the wall.
Pasting and hanging
This paper was a paste-the-paper type. Each length was cut long, with extra at top and bottom, pasted evenly on the table, folded paste to paste and left to rest for the time the manufacturer specifies, which lets the paper relax so it does not expand on the wall and open the seams. Then each drop went up, butted tight to the previous one with the diagonal lines matched, and was smoothed from the centre outward with a plastic smoother to push out air.
Seams and trimming
Seams were pressed lightly with a seam roller, not so hard that paste squeezed out and left a shine. The excess at the ceiling and the baseboard was trimmed with a fresh snap-off blade guided by a wide knife, changing blades often so the cut stayed clean and did not tear the wet paper. Paste on the face was wiped off with clean water and a sponge as each drop went up.
Paint for the other walls
The rest of the living room and all of the dining room were painted. After priming, two coats of eggshell went on, with corners and edges brushed and the walls rolled; the second coat followed once the can’s recoat time was up. A low-VOC paint suited the owners, who were living in the house throughout. The oak trim was left unpainted, as they asked, so the cut line along it had to be clean and straight.
Choosing colours around a bold paper
With a navy and blush stripe in the living room, the paint needed to support the paper without competing. At the colour consultation we brought sample pots and painted swatches on the dining room wall facing the living room, where both would be seen together. Seen at breakfast, with sun pouring through the rear windows, and again at dusk, the warm white with a faint pink undertone picked up the blush in the stripe without looking pink on its own. The oak trim reads as a warm frame against it.
Keeping the rooms clean between days
Wet scraps of paper were bagged as they came off, and at the end of each day the plastic along the walls was emptied of debris, the floors were dried and checked, and the furniture was left covered but reachable.
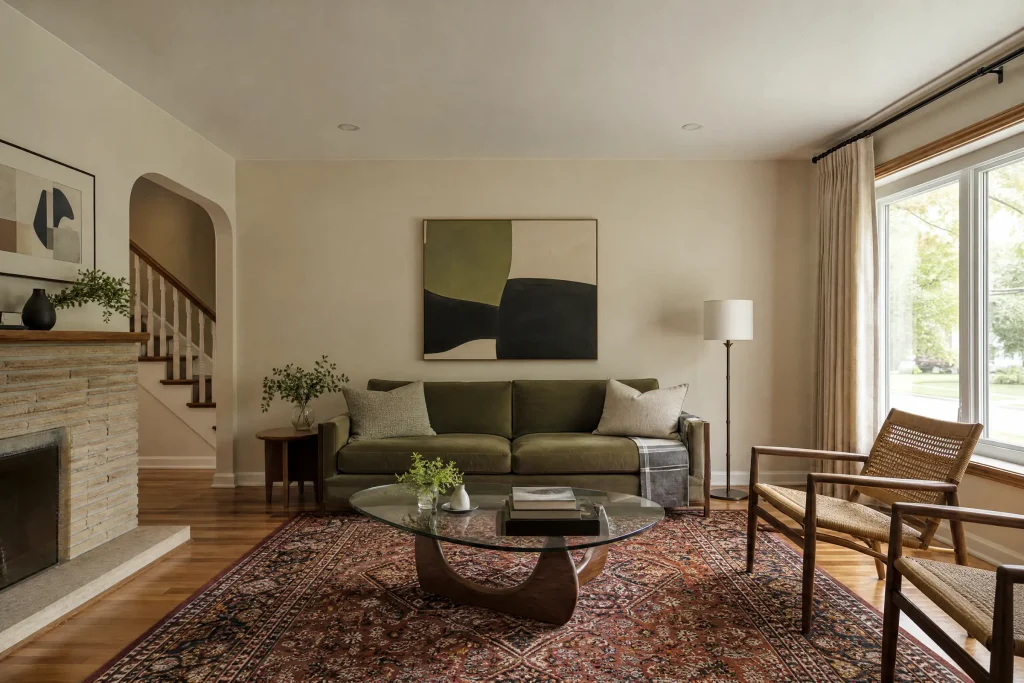
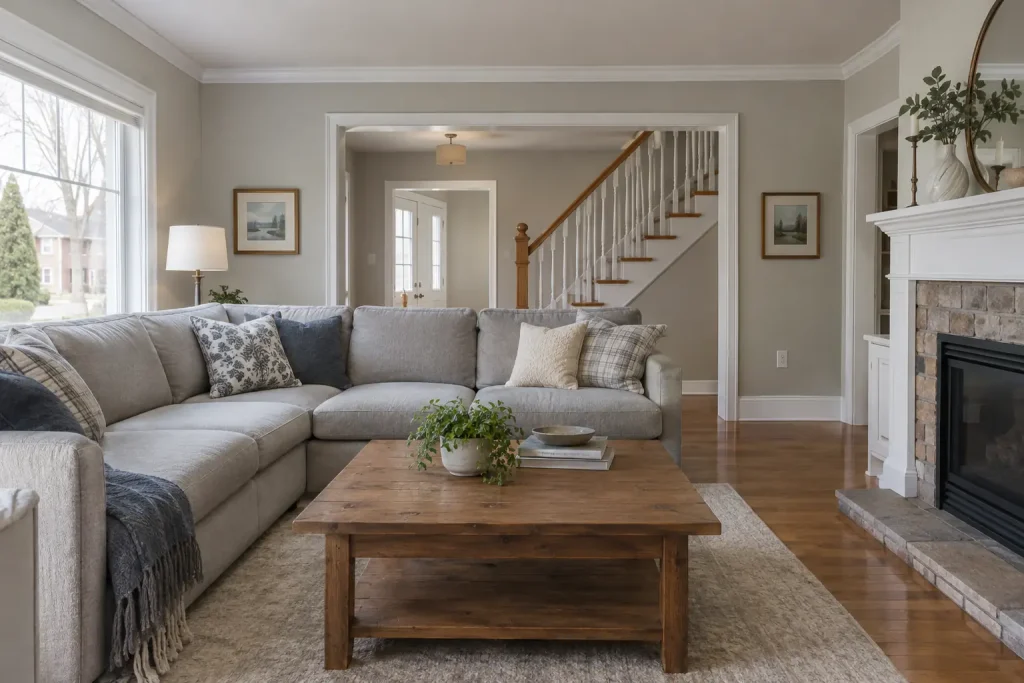
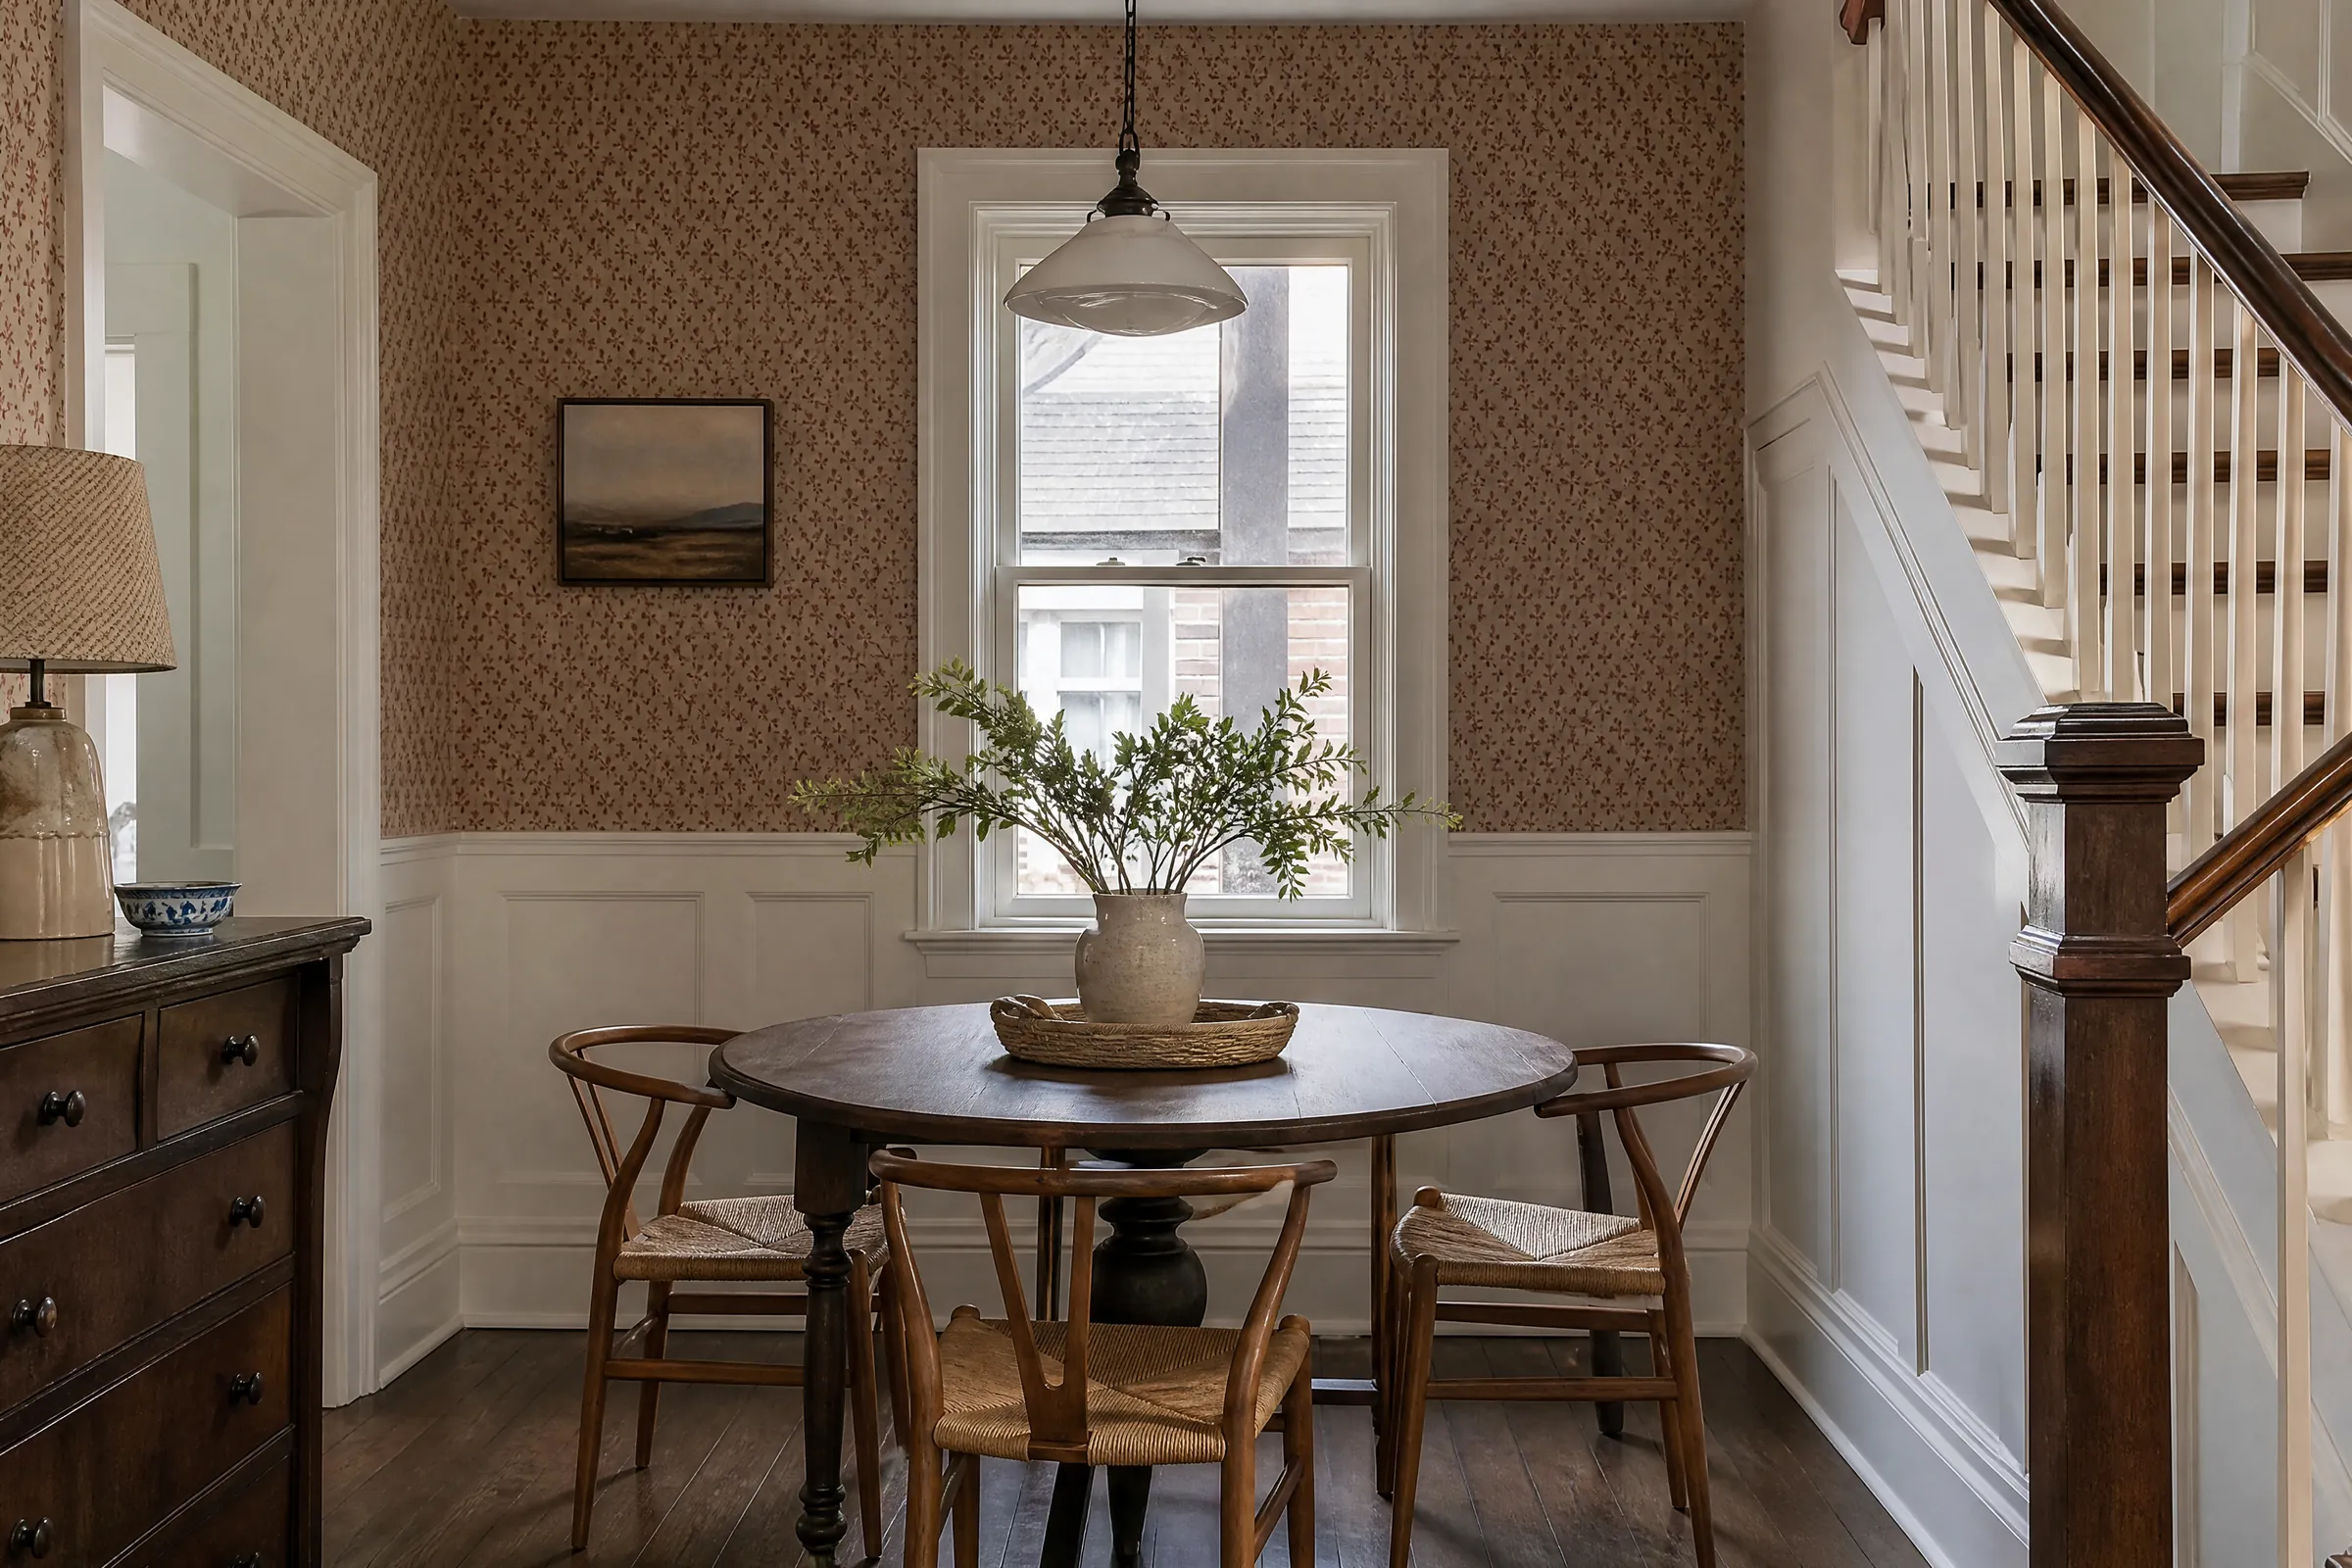
The living room now has a crisp diagonal stripe running edge to edge behind the sofa, the lines straight at ceiling and baseboard, with warm white walls and oak trim around it. The dining room is clean, smooth and painted, with no line where the border used to be.
Caring for the new paper and paint
- Most printed papers can be wiped gently with a barely damp sponge. Do not rub at the seams.
- Keep a spare roll or the offcuts we left labelled in the basement; a damaged section can be patched with a matched piece.
- Fresh wallpaper paste needs time to dry fully. Avoid hanging the framed prints on the papered wall until the paper is completely dry and flat.
- A labelled can of the wall colour is with the offcuts for touch-ups.
Why removals in Aurora’s older subdivisions need patience
Houses in Aurora from the 1970s to the 1990s often still carry paper that went up when they were built, and much of it was hung directly on unsealed drywall. Pulling it off quickly leaves walls that need far more repair than careful soaking would. Our approach to wallpaper installation and removal is to test first, go gently, wash every trace of paste away, and prime properly for whatever goes up next. It is how we have handled paper since 2010, in Toronto, the GTA and the towns of York Region.
If your walls still carry their original paper and you are ready for a change, talk to us. A visit and a test patch come first, followed by an itemized written quote.