
An Aurora two-storey with its original siding
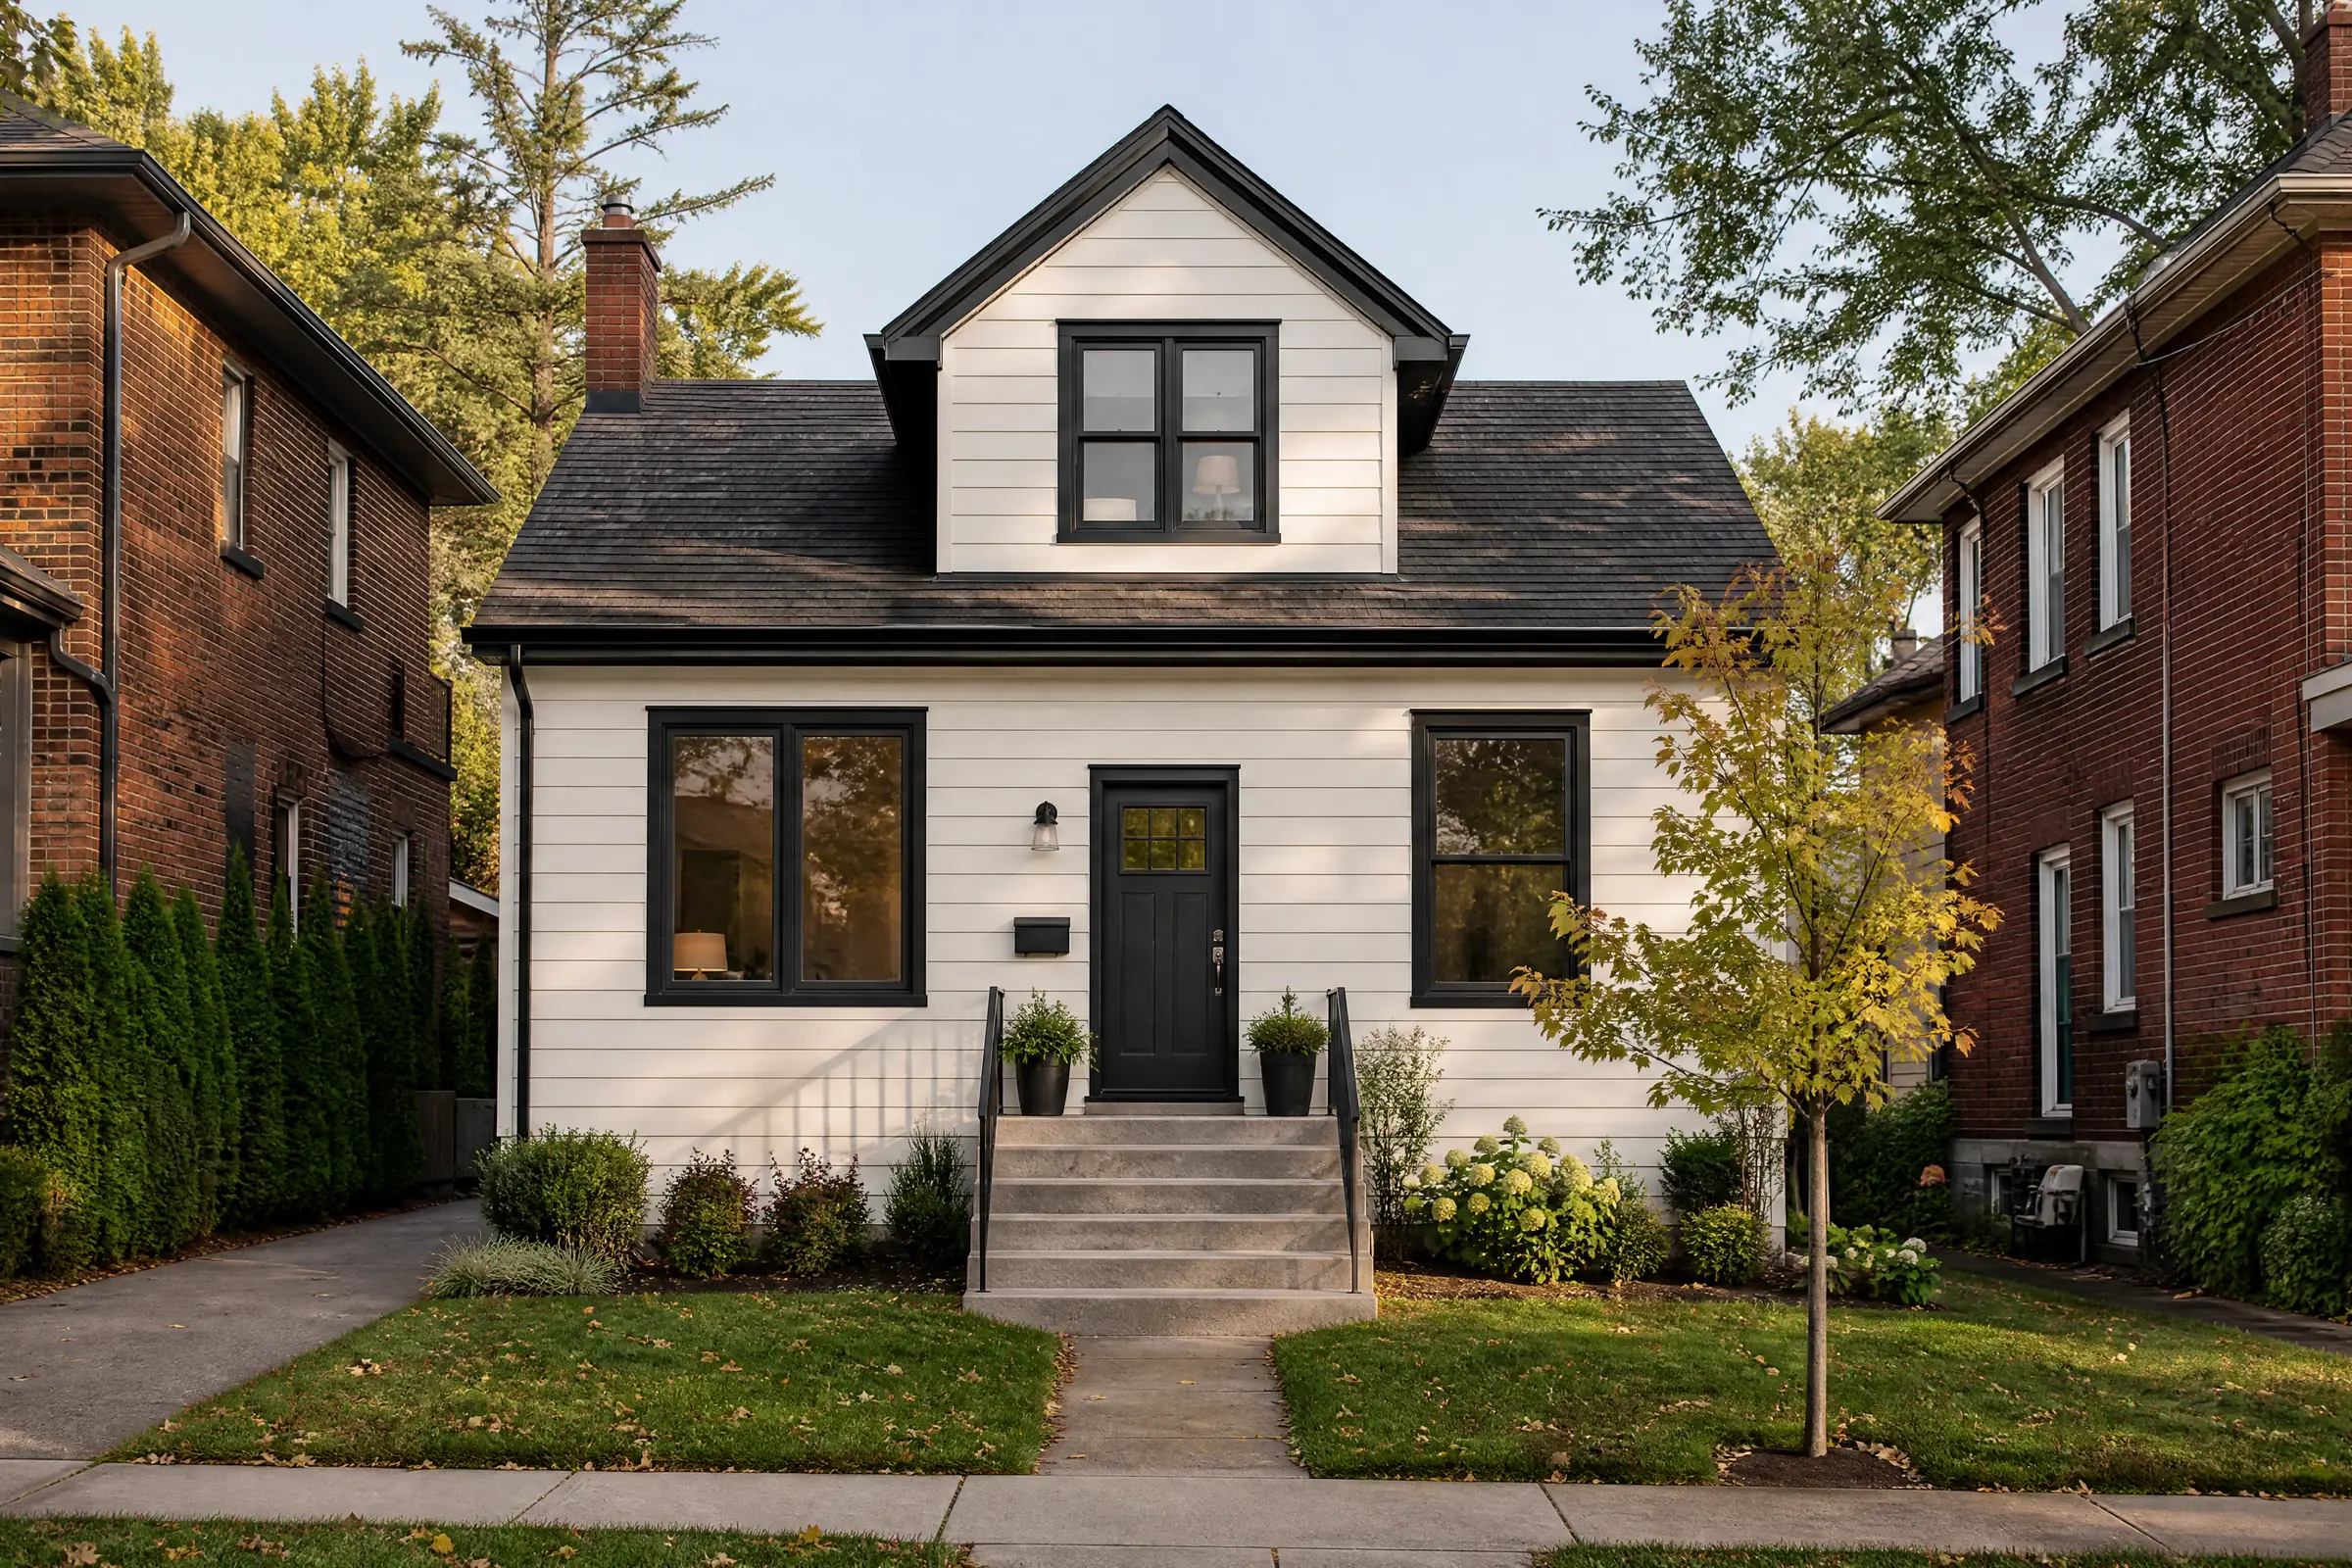
This two-storey detached house sits on a curving street in one of the subdivisions that grew around the older centre of Aurora through the late decades of the last century. Like many of its neighbours, it has brick across the ground floor at the front and a low brick base along the sides, with aluminum siding above: the whole upper storey and most of the side and back walls. The siding was original and still the yellow it came in, with white corner posts, white J-channel around the windows and white downpipes. The owners liked the yellow and wanted to keep it, just clean and fresh again, and they wanted to know whether painting was a sensible alternative to replacing the siding.
The panels were straight, firmly fastened and free of corrosion, so painting was a sound option.
What decades of sun had done to the factory finish
Aluminum siding comes with a baked-on factory coating, and over a long life in the sun that coating breaks down into a fine powder on the surface. This house showed the pattern clearly. The south wall had faded from a warm yellow to a pale, washed-out cream. When we ran a dark cloth across it, the cloth came away coated in yellow powder. The north wall had faded less, and its chalk was lighter, but there were grey streaks below the window sills where dirt had collected in the chalk and run down in rain.
Why chalk matters
Chalk is the main reason paint fails on aluminum siding. Primer applied over a chalky surface bonds to the powder, not to the metal, and peels off in sheets as soon as the powder gives way. Removing the chalk is most of the work on a job like this, and it is the part that cannot be rushed.
Other details
- A handful of panels near the back door had small dents from years of bikes and garden tools. Paint does not hide dents, and the owners chose to keep those panels.
- The white downpipes and eavestrough faces were chalky and had grey streaks of their own.
- The caulk where the siding meets the brick front had cracked and shrunk.
Cleaning, masking and priming
Removing the chalk
Each wall was wetted, then scrubbed with a chalk-removing siding cleaner using soft-bristle brushes on extension poles, working from the bottom up to avoid streaking. It was rinsed at low pressure, from the top down, aiming the water downward so none was forced up behind the panel laps. Once a wall had dried, we ran the dark cloth test again. Where it still picked up colour, the wall was scrubbed and rinsed a second time. The south wall needed repeated rounds before the cloth stayed clean.
Repairs and caulking
The cracked caulk along the brick line was cut out, and fresh sealant that accepts paint went in its place. Small gaps where J-channel meets the window frames were sealed. Siding laps were left alone, since water that gets behind aluminum panels needs to drain out the bottom.
Masking for spraying
Because the siding was going to be sprayed, masking was thorough: windows and doors were covered with film and paper, the brick front was papered from the siding line down, and light fixtures, the dryer vent, the hose bib and the air-conditioning unit were wrapped. Shrubs along the foundation were tied back and covered. Drop cloths lined the ground along every wall, and the driveway was covered where it met the house.
Scuffing and priming
The corner posts and downpipes still had a glossy finish under their chalk, so they were lightly scuffed with fine non-woven pads. Then every surface, siding and trim alike, received a coat of bonding primer formulated for metal. It grips the clean factory coating and the bare aluminum at nicks and scratches, and gives the finish coats a uniform base.
Spraying and back-brushing the finish
The siding was sprayed with an airless sprayer, which lays an even coat on the profiled panels much faster than a brush. Spraying alone can leave paint sitting on the face of each panel and thin at the bottom edge, so a second painter followed the sprayer with a brush, working paint into the lower lip of every panel and smoothing any heavy spots. Spray shields were held along the edges near the brick and the windows. We sprayed only on calm days, and stopped if the wind picked up.
- Siding: a soft yellow in a low-sheen 100% acrylic, applied as two full coats. The second coat followed once the first had reached the manufacturer’s recoat time.
- Corner posts, J-channel and window capping: two coats of white semi-gloss, brushed to keep the lines sharp against the yellow.
- Downpipes and eavestrough faces: brushed and rolled in white semi-gloss, again with two coats.
Painting was kept to the shady side of the house through the day, as metal siding in direct sun gets hot enough to make paint dry before it can level out.
Choosing the right yellow
Matching the old colour was not the goal, since the original had faded unevenly. The owners wanted a yellow close to how the house looked when new. A few yellows, from a pale butter to a warmer straw, went up as sample patches during the free colour consultation, each one painted on a primed section of the north wall, beside the white trim. Seen in the morning and once more in late-day light, the palest looked white from the street and the warmest leaned toward orange beside the red brick. The middle shade, a soft, clear yellow, held its colour in both lights and sat comfortably with the brick.
From the street, the upper storey now shows an even soft yellow with clean white corners and window outlines, and the downpipes run crisp and white from the eavestrough to the ground.
Keeping the property usable
The family kept using the side door and the driveway throughout. Masking around the side door was arranged so it could still open, and the path to it was cleared of hoses and drop cloths every evening. Ladders came down each evening, the sprayer was cleaned and packed away, and any wind-blown masking was re-taped before the next morning. When the job was done, every scrap of masking and film came off, the brick was checked for overspray, and the drop cloths were rolled up and taken away.
Looking after painted aluminum siding
- Wash the siding once a year using a soft brush and plain water from the hose. Do not use a pressure washer at close range, which can force water behind the panels and scar the new paint.
- Painted siding will slowly chalk again over time, as all exterior paint does. When a dark cloth wiped on the south wall picks up colour, it is time to think about the next coat.
- Avoid leaning bikes, ladders and tools against the siding; scratches through to the metal should be spot-primed and touched up.
- Labelled touch-up cans of the yellow and white were left in the garage, and the colour formulas were written on the lids.
Why painting suits Aurora’s original aluminum siding
Many houses built in Aurora’s subdivisions from the 1970s through the 1990s still have their original aluminum siding, and much of it is structurally sound but faded and chalky. When the panels are straight and firmly attached, thorough chalk removal, a bonding primer and two finish coats give the house a fresh, even colour on the siding it already has. You can read more about how we approach aluminum siding painting, which we do across York Region. We have been painting Toronto and GTA homes since 2010, and we will not finish a wall with fewer than two coats.
If your siding has faded and leaves powder on your hand, arrange a free visit; we will do the wipe test with you and provide an itemized, written quote.