
An estate home facing open country
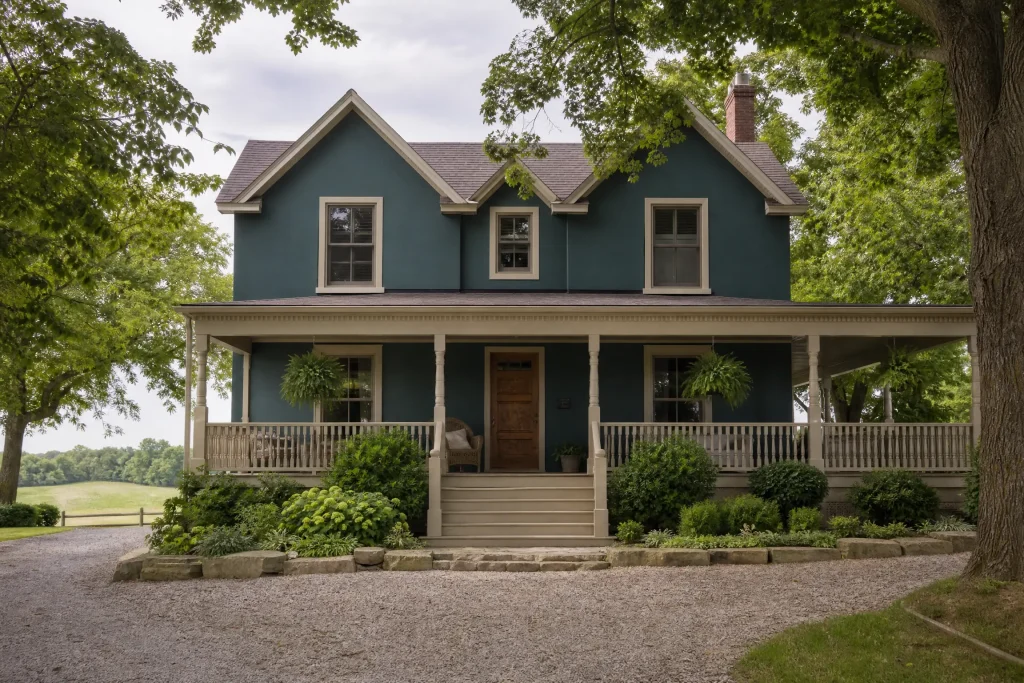
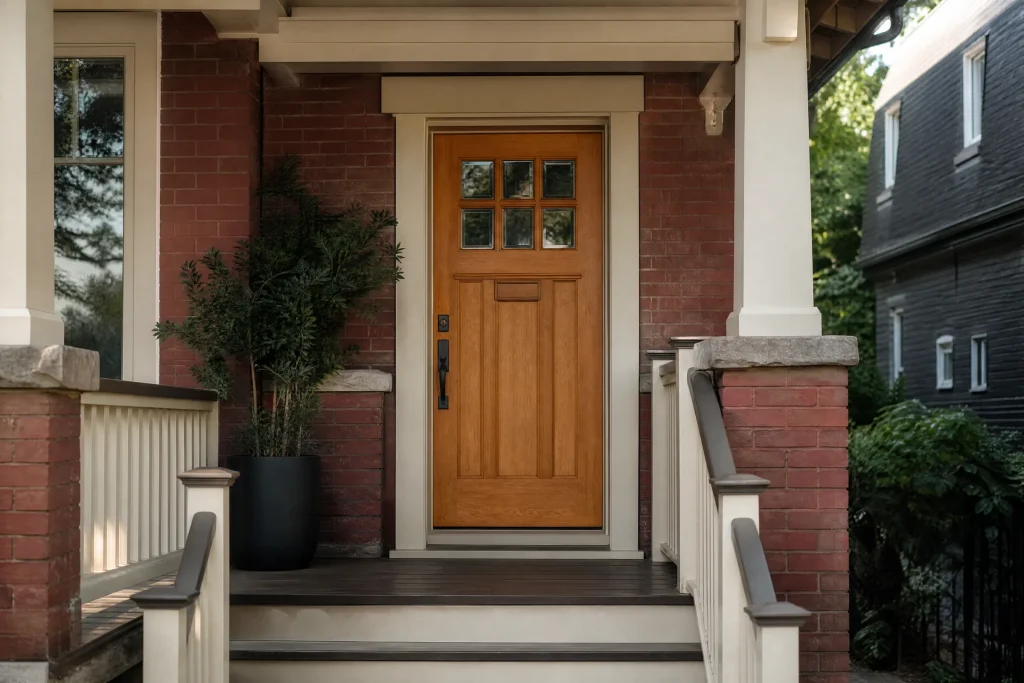
Caledon East sits in the rural middle of the Town of Caledon, and many of the homes around it are estate houses on large lots with open fields on one or more sides. This one has a front porch held up by red-brick piers and white columns, brick around the entry, beige siding across the upper storey and a steel front door that the owners had always kept black. The door faces west, straight across open land with nothing to break the wind or the afternoon sun.
The owners asked for the door and its frame only. The siding and porch columns were in good order, and they wanted the black door back as the anchor of the front elevation.
How wind and sun had worn the door
From the end of the long driveway the door looked dark grey, not black. Up close the finish was chalky: a palm wiped across it came away with a grey film. The original factory finish and a later brushed coat of black had both broken down under years of afternoon sun, which is typical of the south and west walls on exposed Caledon lots.
There were other problems under the chalk:
- Shallow dents below the lockset, the kind left by bags and boots being swung through the door.
- Rust along the bottom edge and up the lower corners, where the paint had cracked and water sitting on the threshold had reached bare steel.
- Brush marks and sags from the previous repaint, visible in raking light.
- Open joints in the sealant where the white brickmould meets the brick, letting wind-driven rain behind the frame.
Why the door came off its hinges
Steel doors show brush marks more than wood does, because there is no grain to hide them. To get a smooth, even black on a flat steel slab, spraying gives a much better result than brushing, and spraying a door in place on a windy porch would carry overspray onto the brick, the columns and the siding. So we took the slab off and set up a small spray area inside the attached garage, out of the wind.
Setting up, repairing and priming
Securing the house and protecting the garage
The opening was closed with a rigid temporary panel cut to the frame and braced from inside, and the family came and went through the garage side door for the duration. In the garage, the vehicles were moved out, the floor was swept and covered, and plastic sheeting was hung from the ceiling to make a closed booth around a pair of padded sawhorses. The overhead garage door stayed shut while spraying, which kept dust from the gravel driveway off the wet coats.
Cleaning the slab
The hardware came off first and was bagged by location. The slab was scrubbed with a water-based degreaser to lift the chalk, oily fingerprints and road film, then rinsed and dried. Paint will not hold on a chalky surface, so we kept washing until a cloth wiped across the steel stayed clean.
Dents and rust
- The dents were sanded to bare metal so the filler had something to bite into, then filled with a two-part polyester filler, which cures hard and sands well on steel.
- Once cured, the filler was block-sanded flush, checked with a hand drawn across it with eyes closed, and skimmed again where a slight hollow remained.
- Along the bottom edge and lower corners, the rust was sanded back to bright metal until no orange pitting remained.
- All bare steel, including the filled dents, received a rust-inhibitive metal primer right away, before any moisture in the air could start new rust.
Full priming
The rest of the old paint was sound under the chalk, so it stayed. The whole slab was scuff-sanded with a 220 grit sponge to remove the old brush marks and dull the surface, wiped down, and then sprayed with a waterborne bonding primer. That gave one uniform base under the black, so the repaired spots and the old paint would look the same through the finish coats.
Spraying the black
The finish is an exterior acrylic urethane enamel, chosen because it levels out smoothly when sprayed, cures hard and holds its colour in sun better than a basic exterior latex. We sprayed it with an HVLP rig in light, overlapping passes, working the panel recesses first and the flat stiles and rails last so the final passes ran full length.
After the first coat had passed the recoat time on the label, the slab was sanded lightly with a 320 grit sponge to knock down any dust nibs and wiped with a tack cloth. The second coat went on the same way. The door edges received both coats as well, including the bottom edge, which was where the rust had started. The slab stayed in the booth until it was hard enough to handle without marking.
The frame and brickmould
While the slab cured, the frame and brickmould stayed on site and were painted by brush. The failed sealant along the brick was cut out and replaced with a siliconized acrylic sealant, the wood was sanded and spot-primed where bare, and two coats of white exterior acrylic went on in a satin sheen to match the porch columns.
Choosing which black
Black sounds like one colour, but on a door it is not. Through our free colour consultation, the owners compared samples sprayed on primed panels: a true black, a soft black with a warm undertone and a very dark charcoal. They held each one up against the red brick piers early in the day, while the porch sat in shade, and again once the west sun had swung round onto it.
The charcoal looked faded against the brick, which was the problem they were trying to solve. The true black looked cold beside the warm red brick. The soft black had a slight brown undertone that sat comfortably with the brick and the beige siding, and that is the one on the door now. Satin was chosen over semi-gloss because it plays down the slight waviness of a pressed steel skin, yet still wipes clean of fingerprints.
A note on dark doors and heat
Dark colours absorb more heat than light ones, and on a sunny steel door with a storm door in front of it, trapped heat can soften paint and stress the door. This door has no storm door and sits partly under the porch roof, so a black finish was a reasonable choice. Anyone planning a dark colour behind a storm door on a sunny wall should check with the door’s maker first.
Tidying up each day
The porch was swept every evening and the drop sheets around the doorway were folded away. In the garage, the booth was left closed with the slab inside, the spray gun was cleaned, and empty cans and used sanding sponges went out with us. On the last day the slab was rehung on its hinges, the hardware and weatherstripping were refitted, the door was adjusted to close and latch smoothly, the temporary panel left with us, and the garage was cleared so the vehicles could go back in.
The finished entrance and what to watch for
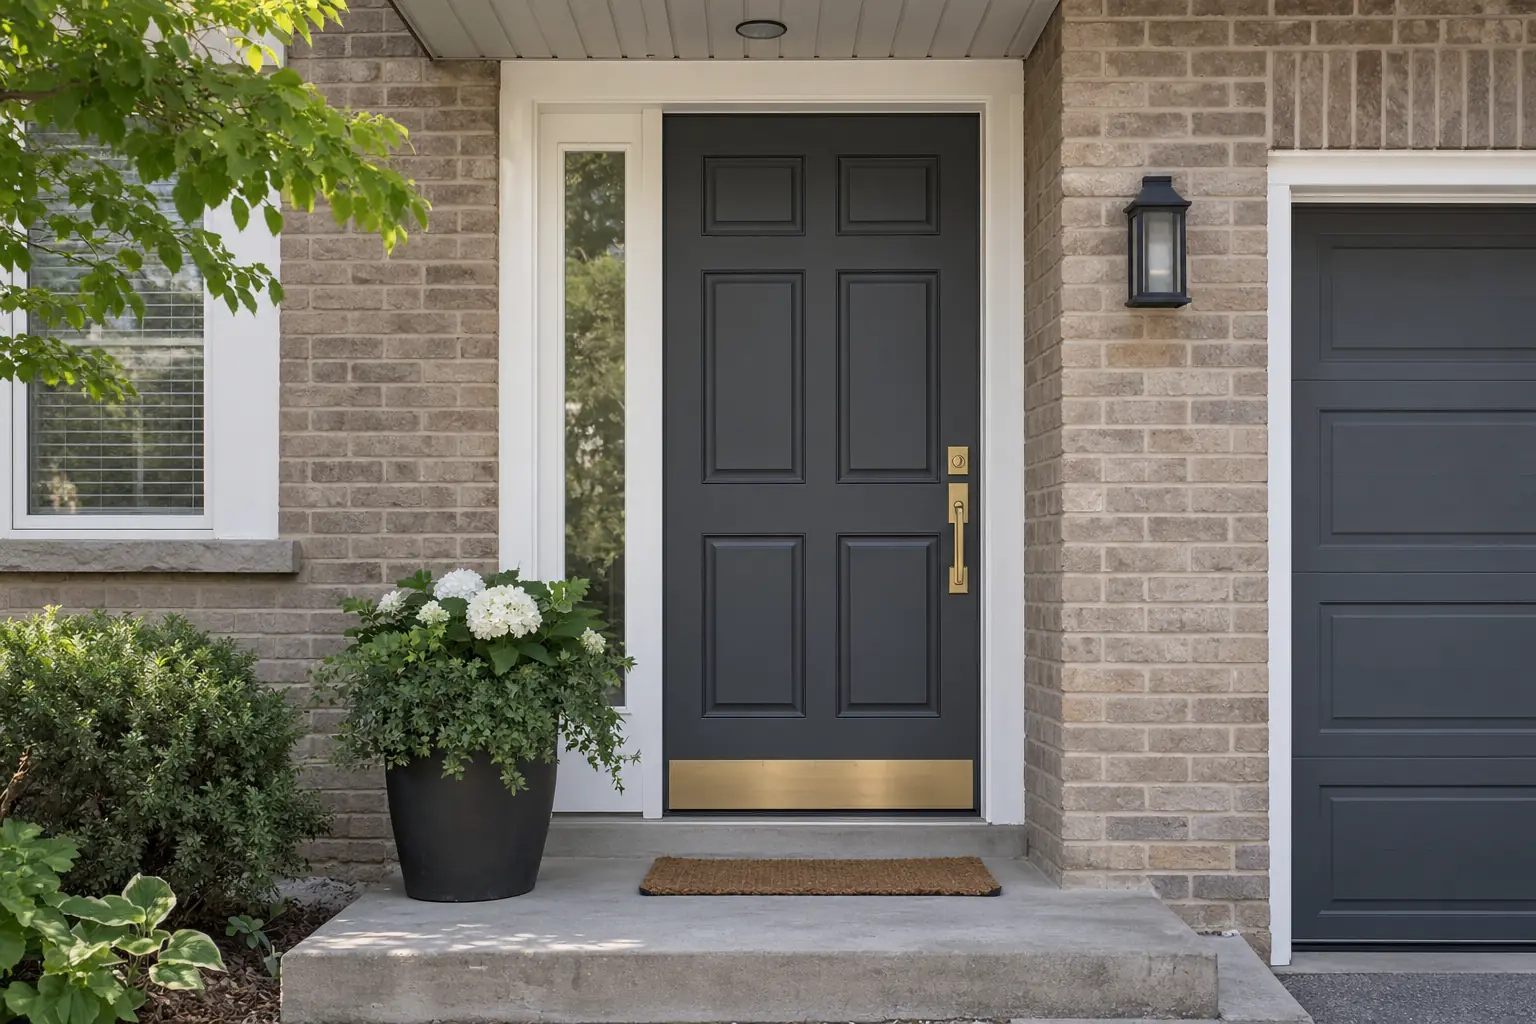
The door is a deep, even black again, with a soft, even satin sheen, with no trace of the dents below the lockset. The fresh white frame gives it a sharp outline against the red brick.
- Wipe the door with a damp cloth and mild soap when dust from the driveway builds up. Abrasive pads will polish shiny spots into satin.
- Watch the bottom edge and lower corners. If a chip opens to bare steel, touch it up promptly with the labelled primer and black we left, before rust can spread under the paint.
- Check the sealant where the frame meets the brick each spring; open joints on a windy site let rain behind the frame.
- Expect the west face to need attention sooner than doors on sheltered walls. Washing off chalk early keeps the finish going longer.
Why this method suits Caledon country homes
Exposed sites on the escarpment and across open fields take more sun and wind than a sheltered city lot, and front doors on estate homes around Caledon East and Palgrave show it first. Spraying in a closed booth, rather than on a windy porch, is what lets a steel door come out smooth and even on a property like this. We plan front door refinishing work around access too: long driveways, gates and pets are all worth mentioning when you book. More on our work in rural and village homes is on the Caledon page, and we cover the rest of Peel as well. To have your door looked at, get in touch and the repairs, priming and finish coats will be listed separately on a written quote.